Task 1 - Preparation of FortiAnalyzer and FortiWeb
Prepare FortiAnalyzer and FortiWeb for the Lab
This Chapter includes necessary steps to setup Log shipping and Event Monitoring with FortiAnalyzer of FortiWeb. Please make sure you have completed this section before moving on!
FortiWeb Preparations
- Login to FortiWeb with the give credentials
- On the left sided menu, goto
Log&Report-Log Policy-FortiAnalyzer Policy
- Select
Create Newat the top left to open the Configuration Wizard
- Provide a meaningful name for the Policy and the click
OKto save
- After the Policy has been saved, click on
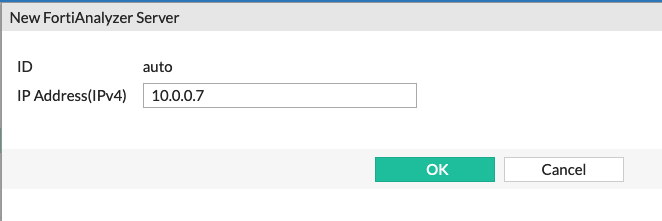
Create Newto a add a new entry to the policy - Enter the IP Address of Fortianalyzer into the corresponding field, then click on
OKto add the entry
- Check that the new entry was added successfully, click
OKagain to make sure that everything is saved.
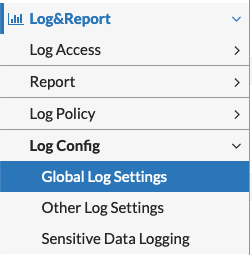
- On the left sided menu, goto
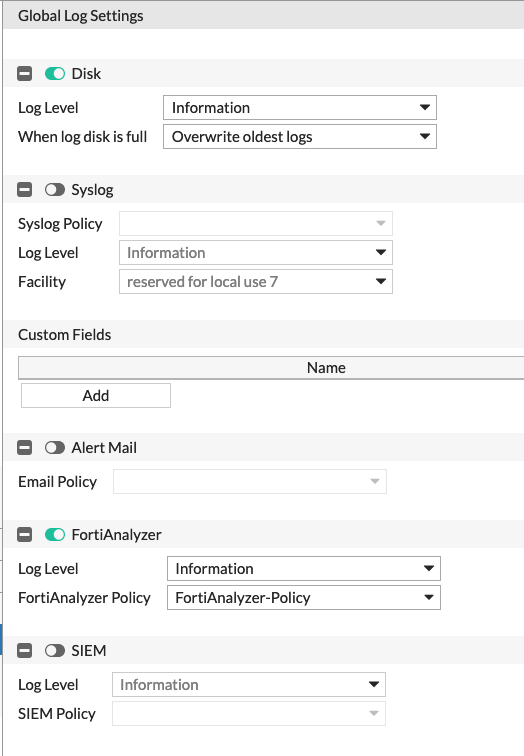
Log&Report-Log Config-Global Log Settings
- Enable FortiAnalyzer and select the previous configured FortiAnalyzer Policy
Click on
Applyat the bottom of the Page to save the configuration.To enable the global logging, open the built-in CLI by clicking on the
>_Symbol the to top right
- Execute the following commands
config log traffic-log
set status enable
end- Logging of FortiWeb to FortiAnalyzer is now enabled. Please proceed with the configuration of FortiAnalyzer
FortiAnalyzer Preparations
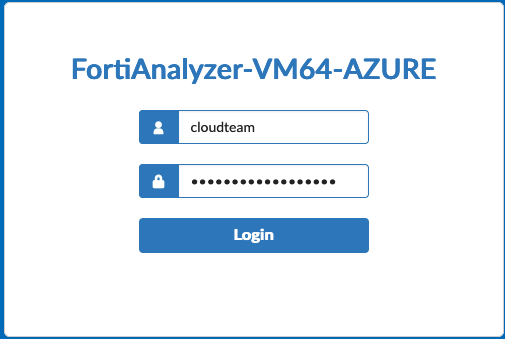
- Login to FortiAnalyzer with the given Credentials
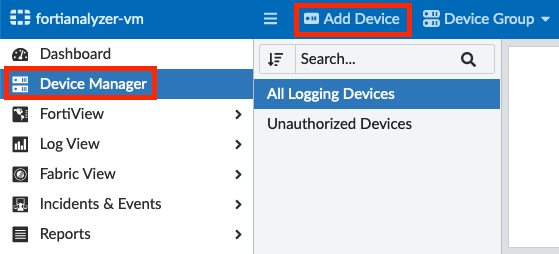
- Goto
Device Managerand click onAdd Deviceto add FortiWeb
Provide the follwoing Information, then click on
Nextto proceed with the configuration.- Name:
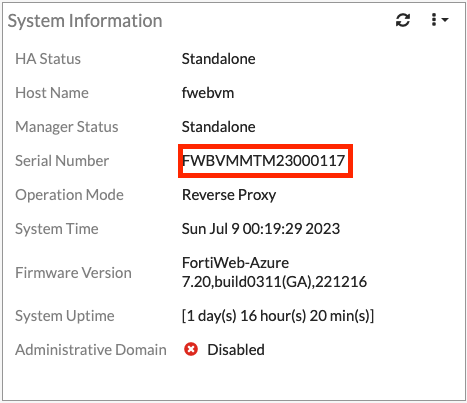
FortiWeb - Serial Number:
(This can be found at the Dashboard of FortiWeb)
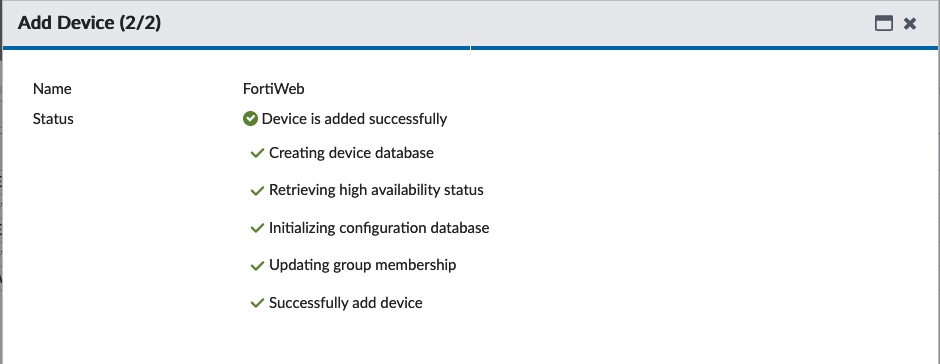
- Wait until the Device got added successfully. Then click on
Finishto close the wizard.
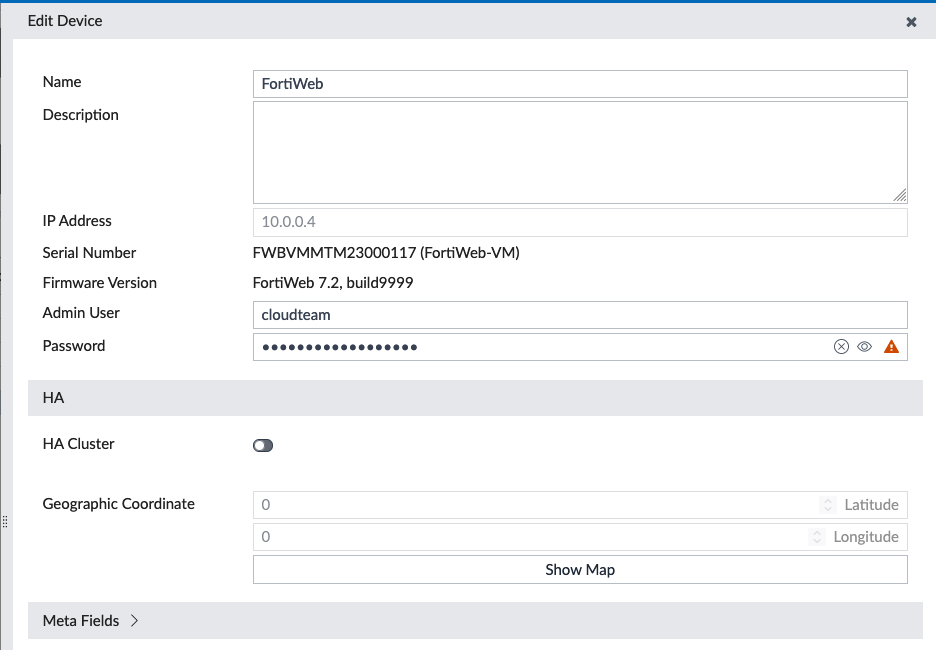
- To finalize the FortiWeb configuration, select the entry from the Device table and click on
Edit
- Update
Admin UserandPasswordwith the given credentials, then click onOKto save.
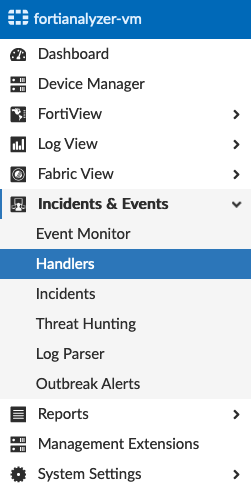
- To be able to feed Security Events within FortiSOAR, Events need to get generated within the Event Monitor. For this to work, a so called Handler needs to be in Place. The Handler for FortiWeb is disabled by default and needs to be enabled. For this, goto
Incidents & Events-Handlers
- Select the
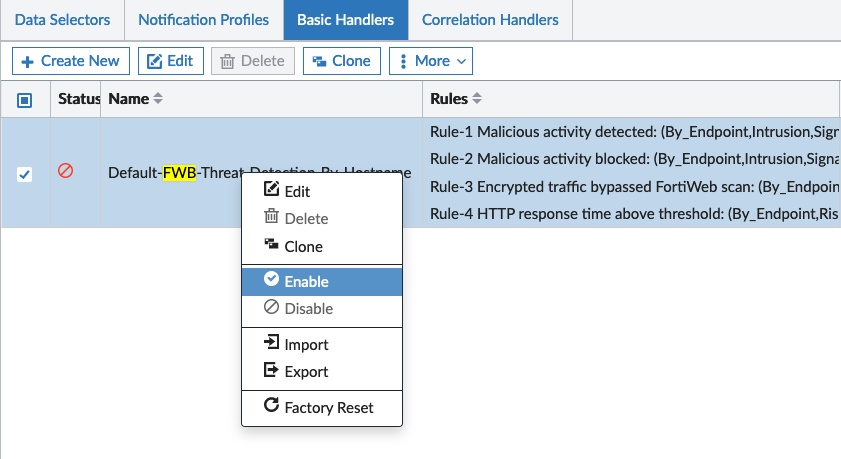
Basic HandlersTab, then use the Search field at the top right to search forFWB
- Right click on the search result, click on
Enableto activate the handler.
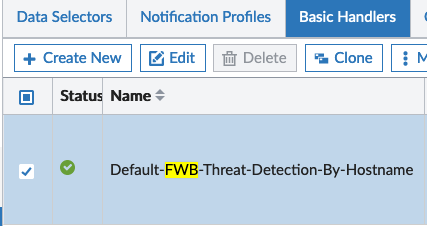
- Check that the Status changes from
disabledtoenabled(green checkmark)
- As soon as FortiWeb detects an attack, a new Event entry will get added. See the following Example:
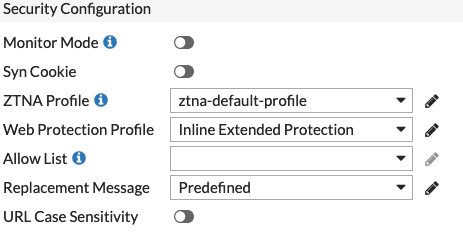
Please make sure, that a
Web Protection Profileis used within the configured FortiWeb Policy. The default policies provided by FortiWeb are more than enough with regards to this lab.- Name:
Congratulations, you are done with the preparations. Please continue to the next Section of the Lab.
