Workshop Setup Guide
Prerequisites Checklist
Before starting the hands-on lab, ensure you have completed the following setup steps and have the necessary tools ready:
- Azure Portal Access: Valid Azure subscription credentials
- Fortinet Support Portal Account: Registered account with FortiFlex access
- Postman: Desktop application, Web Version, or Azure VM
- Web Browser: Chrome, Firefox, or Edge (latest version)
- Lab Environment Access: Resource group and permissions provided by instructor
Tip
Login URL’s for all the portals used in this Workshop are perma-linked in the left navbar for easy reference!
Step 1: Azure Portal & Cloudshell Access
Use these steps to access your Azure Portal environment.
Open a browser and access the following URL: https://portal.azure.com
Use the credentials provided in the email you got from fortinetsecdevops@gmail.com.
- Username: “flexxx@fortinetcloud.onmicrosoft.com”
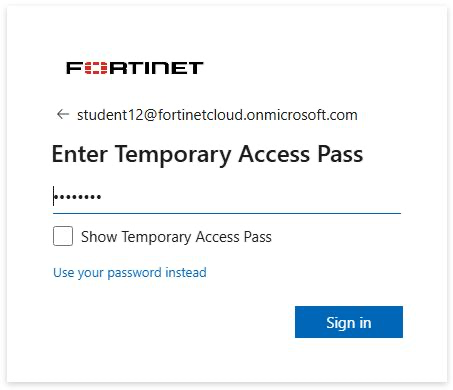
Enter Temporary access credentials, and click Sign In
Click No on the ‘Stay signed in?’ prompt
Click Get started on the ‘Welcome to Microsoft Azure’ page.
Click Skip on the ‘How do you plan to use Azure’ page.
Click Skip on the ‘Now, let show you around Azure’ page.
- After login, you should see the Azure dashboard
- Locate your assigned resource group:
flex[XX]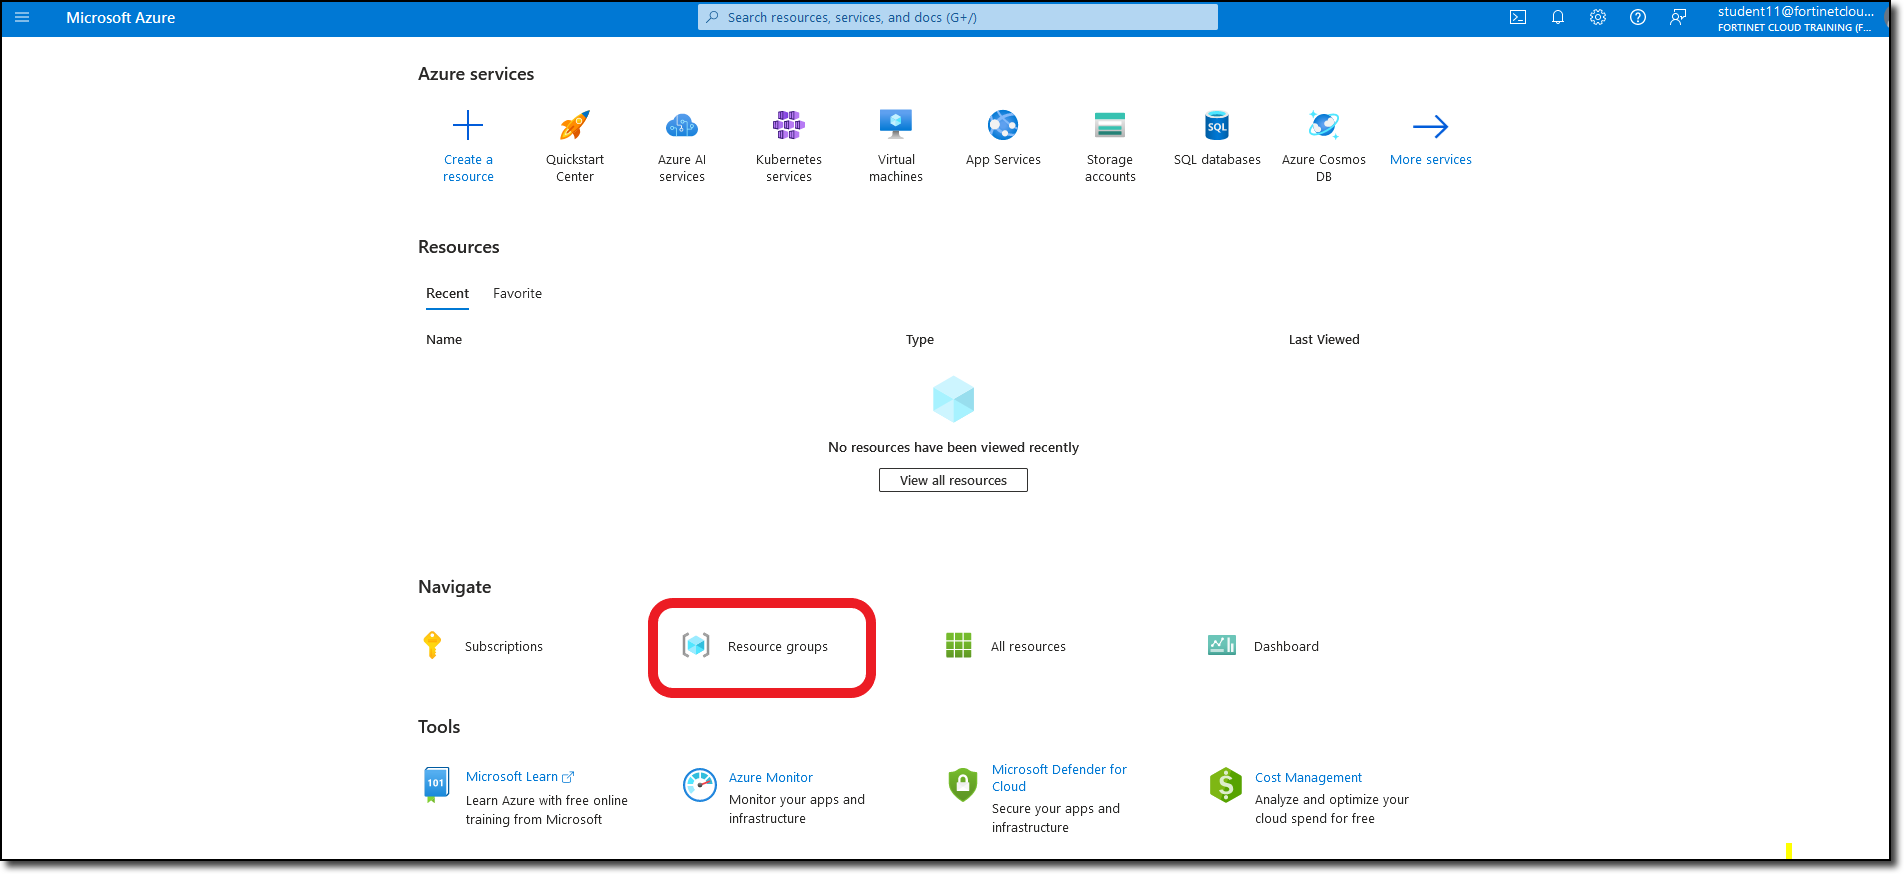
- Click the Cloud Shell icon in the top navigation bar and Select Bash as the shell type
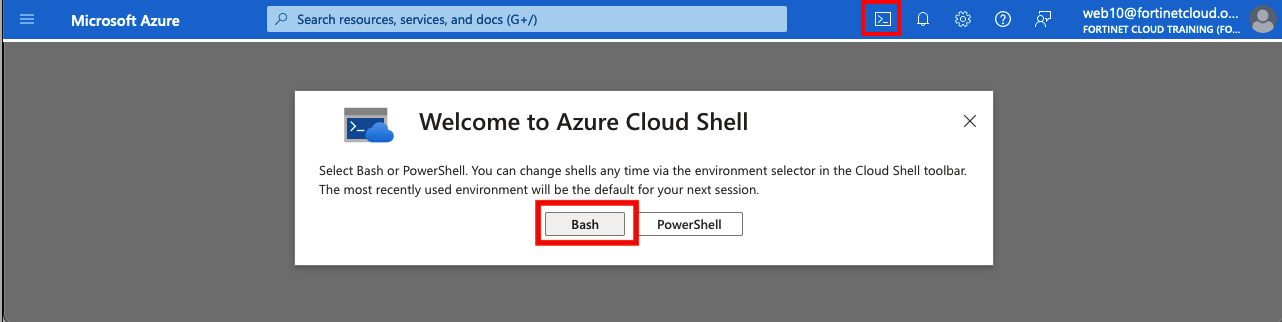
- Wait for the Cloud Shell to initialize
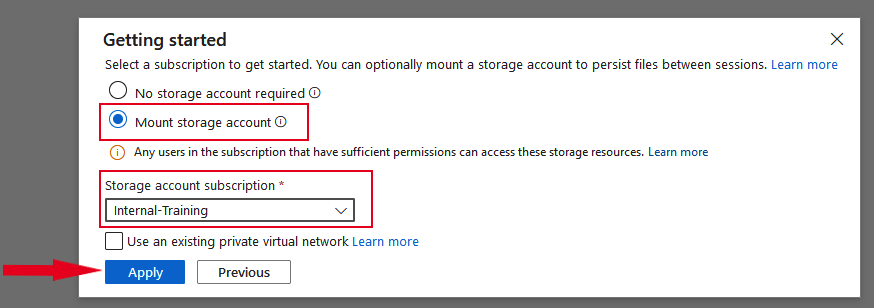
Next, you will see a “Getting started” page.
- Select Mount Storage Account
- Choose Internal-Training as the Storage account subscription
- Click Apply
- On the Mount storage account screen
click Select existing storage account
click Next

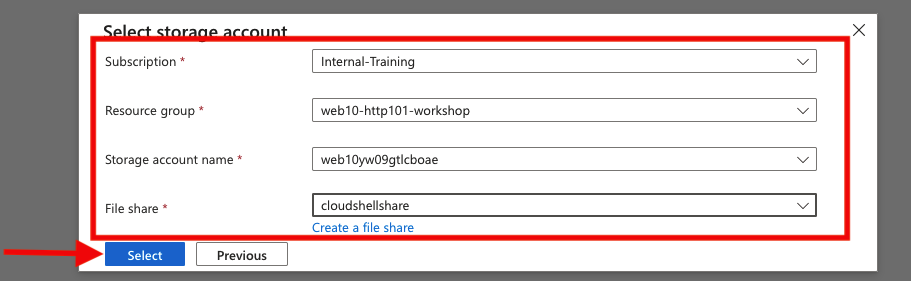
- On the Select storage account screen (values in drop down)
choose Internal-Training as description
resource group will be “student number”-flex105-workshop
storage account name will be “student number” followed by some random numbers and letters
File share will be cloudshellshare
Click Select
Step 2: Fortinet Support Portal Access
Tip
We’ve provisioned a Fortinet Support Portal account with appropriate Flex entitlements for this workshop Same credentials as the Azure Portal, slightly different logon procedure. YOU MUST LOGIN USING THIS URL which is conveniently perma-listed on the left navbar, and as long as you use the same browser as your Azure login, you should be signed in with SAML SSO
Browse to the following URL: https://customersso1.fortinet.com/saml-idp/proxy/demo_sallam_okta/login/
Warning
Important: PLEASE URL EXACTLY AS ABOVE, ENDING WITH /. Do not use general Fortinet Support Portal URL.
Enter the credentials provided in the email you got from fortinetsecdevops@gmail.com
Username: “flex[XX]@fortinetcloud.onmicrosoft.com”
Temporary Access Password: “[TemporaryPassword]”
You can choose No to “stay Signed In”
You may have to click “Login” at the SAML Login Portal
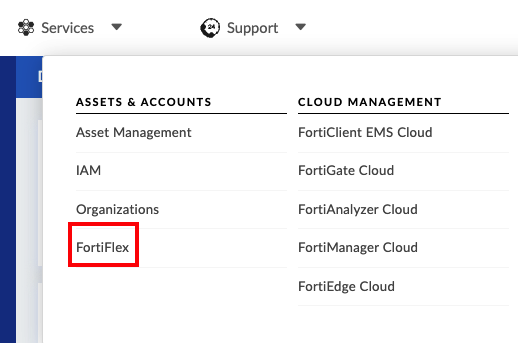
From the FortiCloud Main Portal, look for “FortiFlex” in the main navigation menu
- Click to enter the FortiFlex dashboard
Step 3: Postman Options
We will be using an existing Postman Collection to interact with the FortiFlex API
- Postman desktop application will provide the best user experience and is a great tool for working with API’s
- If you can’t install the Desktop client for some reason, you can use Postman’s web version requiring a login (you can use your personal email)
- If you’d prefer not creating a Postman login, you can create an Azure VM with Postman pre-installed, and import the
Installing Postman
Option 1: Desktop Application (Recommended) 👈
- Download from https://www.postman.com/downloads/
- Install following the standard process for your operating system
- Create a free Postman account when prompted
Option 2: Web Version
- Go to https://web.postman.co/
- Sign in with your Google or create a Postman account
Option 3: Azure VM
- Continue to the next step to create an Azure VM with Postman pre-installed
Setup Complete? Let’s address some common questions before diving into the lab.