Task 3 - Explore different API types/flavours
| Goal | In this Lab you will explore different types of APIs. |
| Task | You will use different tools like curl, Postman or Burp Suite to interact with the APIs. |
| Verify task completion | If properly executed, the applications will return data as pictured below |
This will give you a better understanding of how APIs work and how they can be used in different scenarios.
In the previous task you have already gained some experience with a REST API. In this task you will explore different types of APIs like SOAP or GraphQL.
Interacting with GraphQL API
Open the Postman application by typing the following command in a terminal window:
PostmanA new window will open which will look like this:
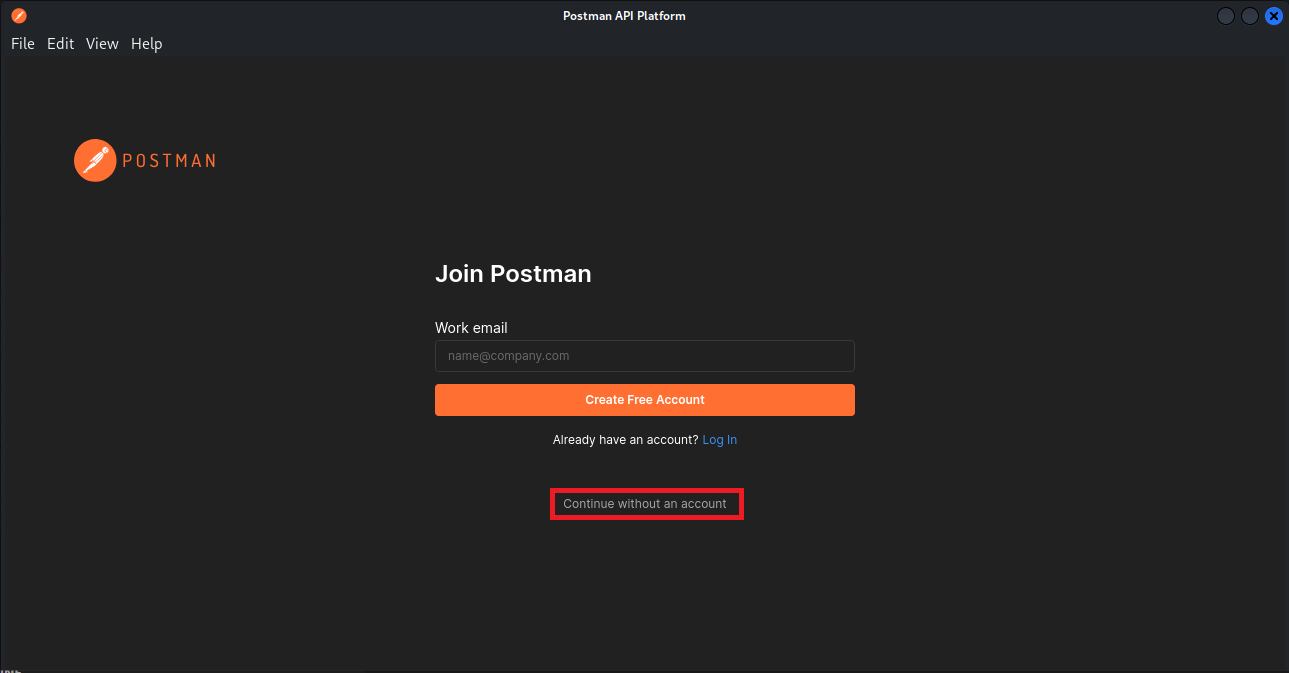
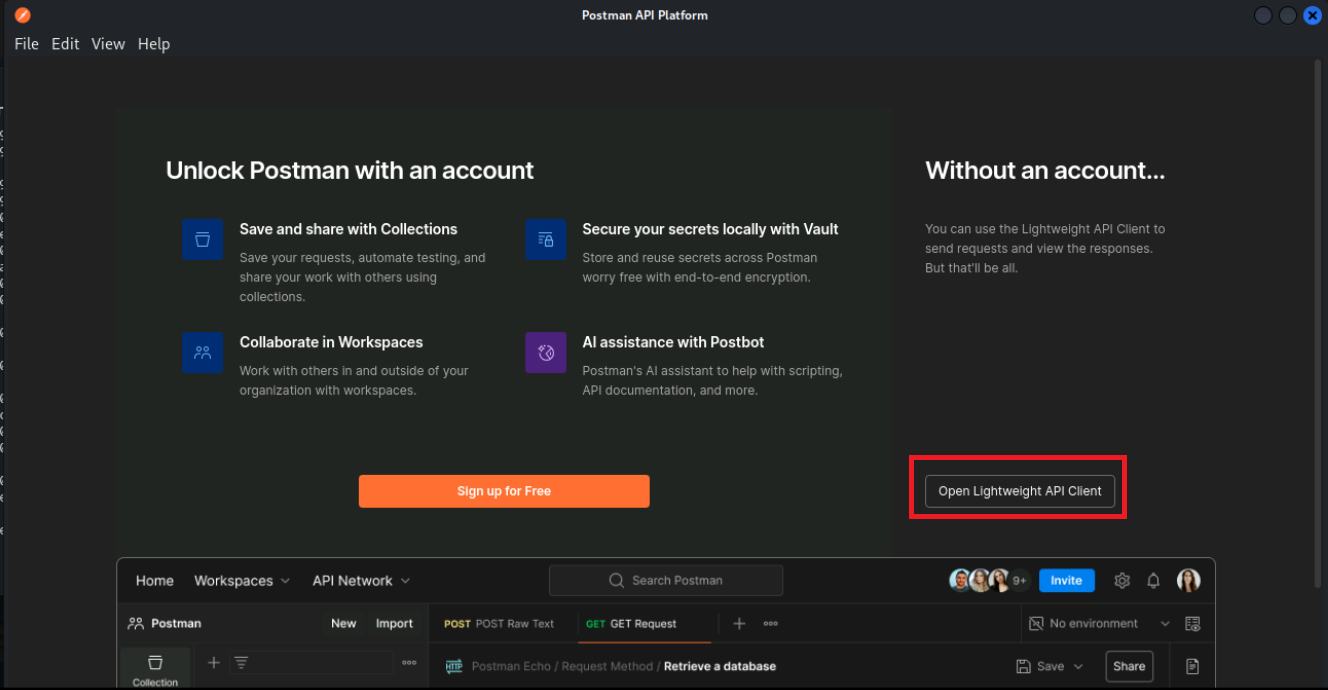
select lightweight API client below the Account creation form.
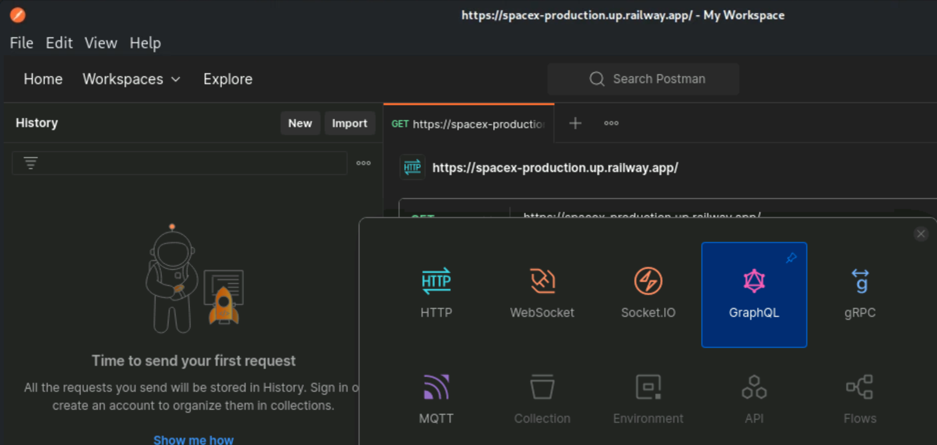
An empty Workspace will open.
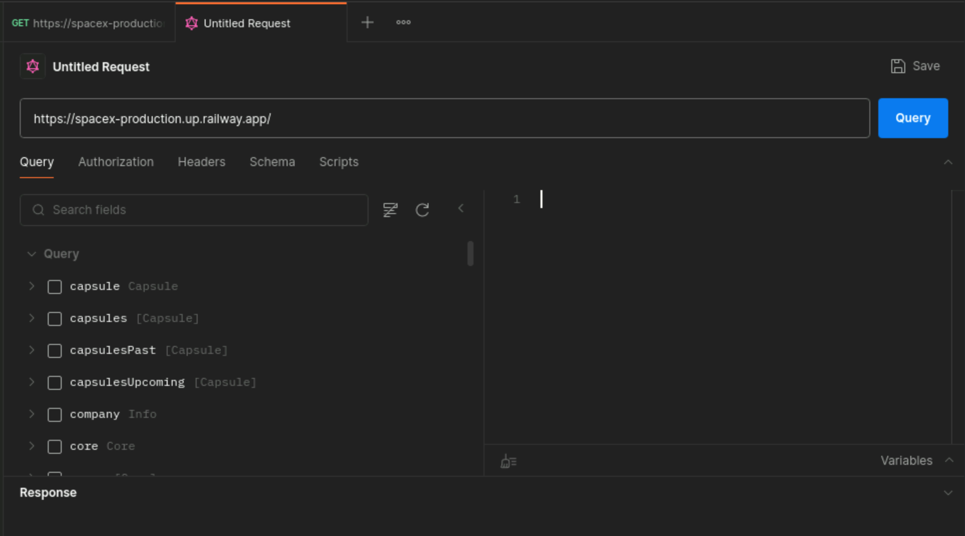
To create a new GraphQL request, select File…New in the top left and then GraphQL
As URL, enter
https://spacex-production.up.railway.app/. Postman will automatically detect that this is a GraphQL API and populate the Queries.Click below the url to open the list of queries

It should look something like:
Spend a moment exploring the Queries.
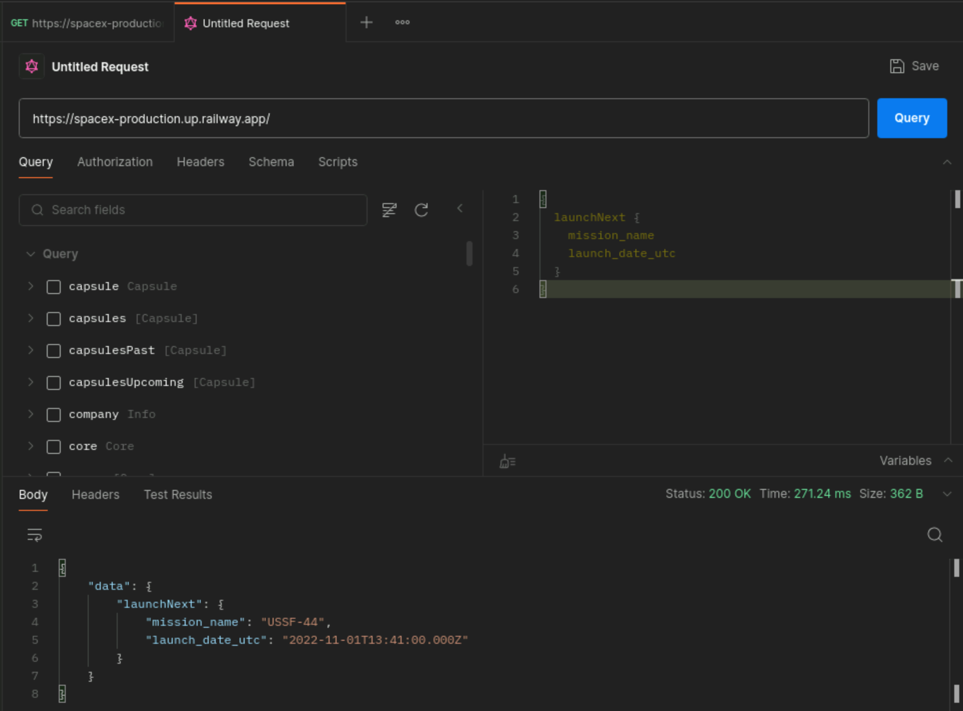
In the query editor on the right, start by writing a simple query to fetch the name and date of the next SpaceX launch. Enter the following query:
{
  launchNext {
    mission_name
    launch_date_utc
  }
}
Click on the Blue Query button to the right of the URL. You may need to click on the up “^” symbol to on the Response line in order to view the output.
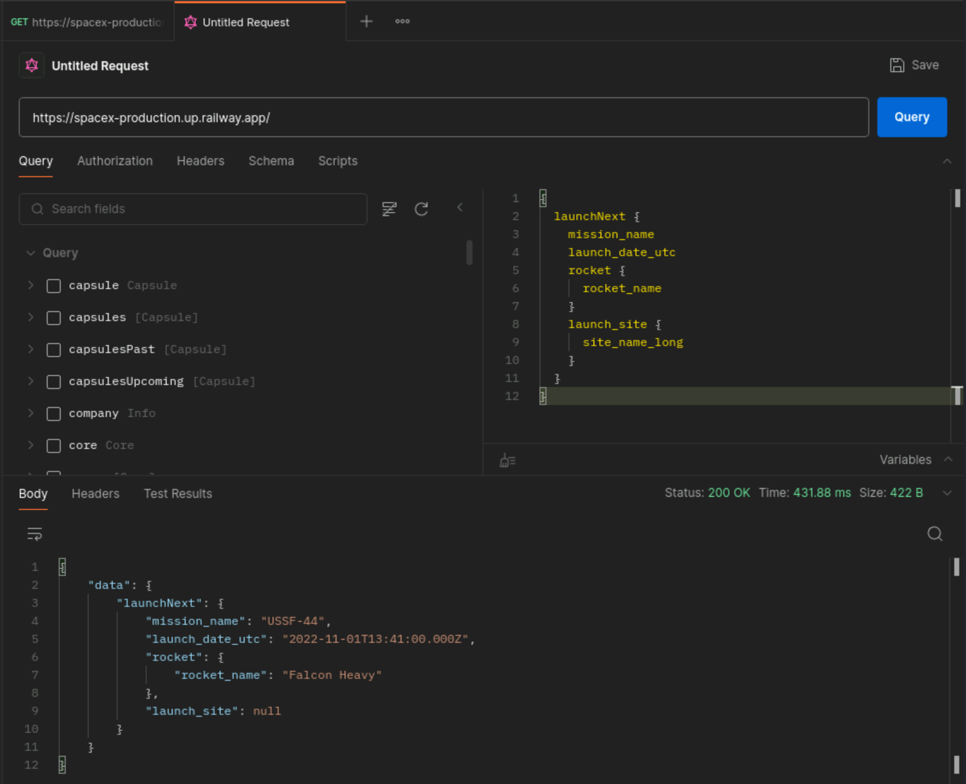
Let’s continue by getting more data and details by including the rocket and the launch site. Enter the following query:
{
  launchNext {
    id
    mission_id
    mission_name
    launch_date_utc
    rocket {
      rocket_name
    }
    launch_site {
      site_name_long
    }
  }
}
Click on Query and review the output.
GraphQL queries all the usage of Arguments/Variables within Queries. Update the previous query by adding an Argument. Enter the following query:
{
  launch(id: "6243aec2af52800c6e91925d") {
    mission_name
    launch_date_utc
    details
    rocket {
      rocket_name
    }
    launch_site {
      site_name_long
    }
  }
}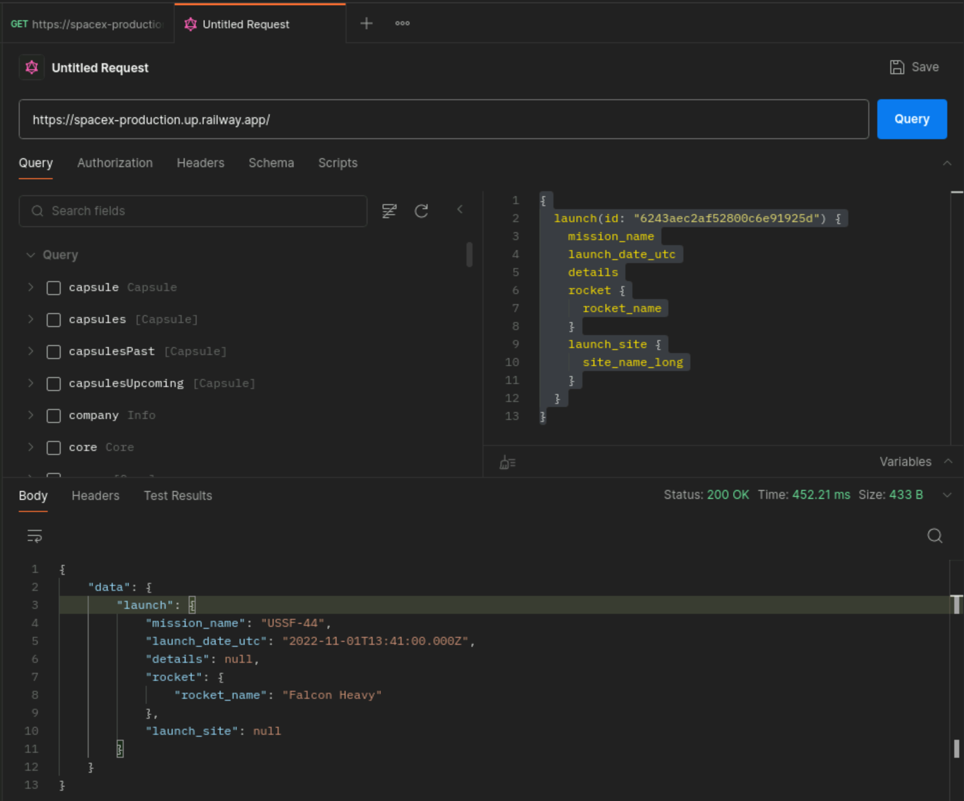
Click on Query and review the output.
Let’s advance our GraphQL skills and adjust the queries using variables. Enter the following query:
query LaunchDetails($id: ID!) {
  launch(id: $id) {
    mission_name
    launch_date_utc
    details
    rocket {
      rocket_name
    }
    launch_site {
      site_name_long
    }
  }
}
Click on Variables and enter the following JSON:
{
  "id": "6243aec2af52800c6e91925d"
}
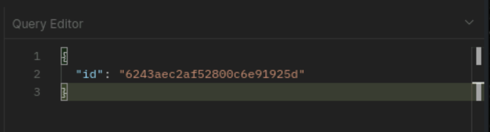
Click on Query and review the output.
To get some more practice, try to write your own queries and explore the SpaceX API.
List the last 5 launches with their mission names and launch dates.
Retrieve details of a specific rocket by its ID, including its name, type, and stages.
Get the upcoming launches with their mission names and launch dates.
Interacting with SOAP API
SOAP API descriptor
Open Firefox Browser from the navigation bar
Open the following URL:
https://www.crcind.com/csp/samples/SOAP.Demo.cls?wsdl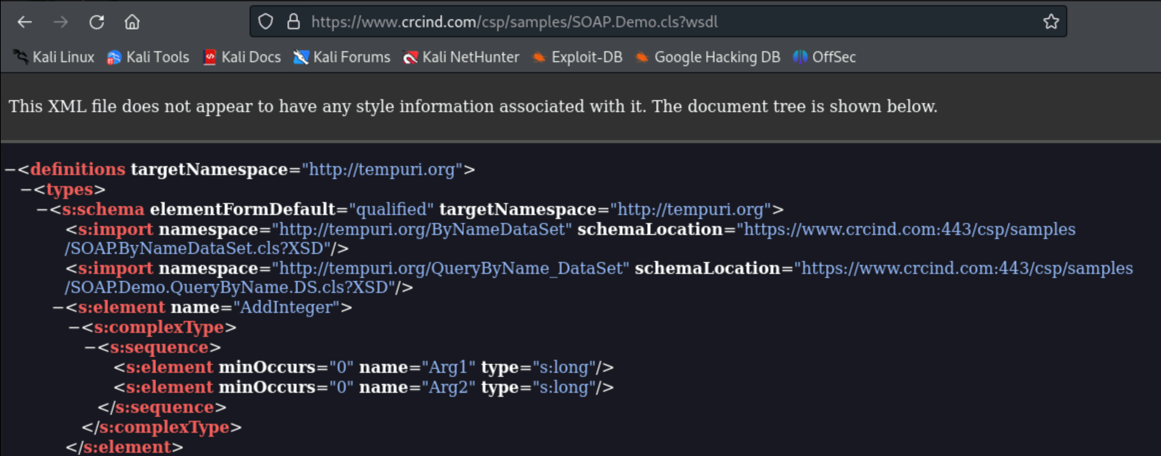
You will see the WSDL document, which describes the methods available in the SOAP API and their parameters.
Interacting with SOAP API using Postman
Open the Postman application. If Postman is still open from the previous task, you can skip step 1-4
A new window will open which will look like this:
select lightweight API client below the Account creation form.
An empty Workspace will open.
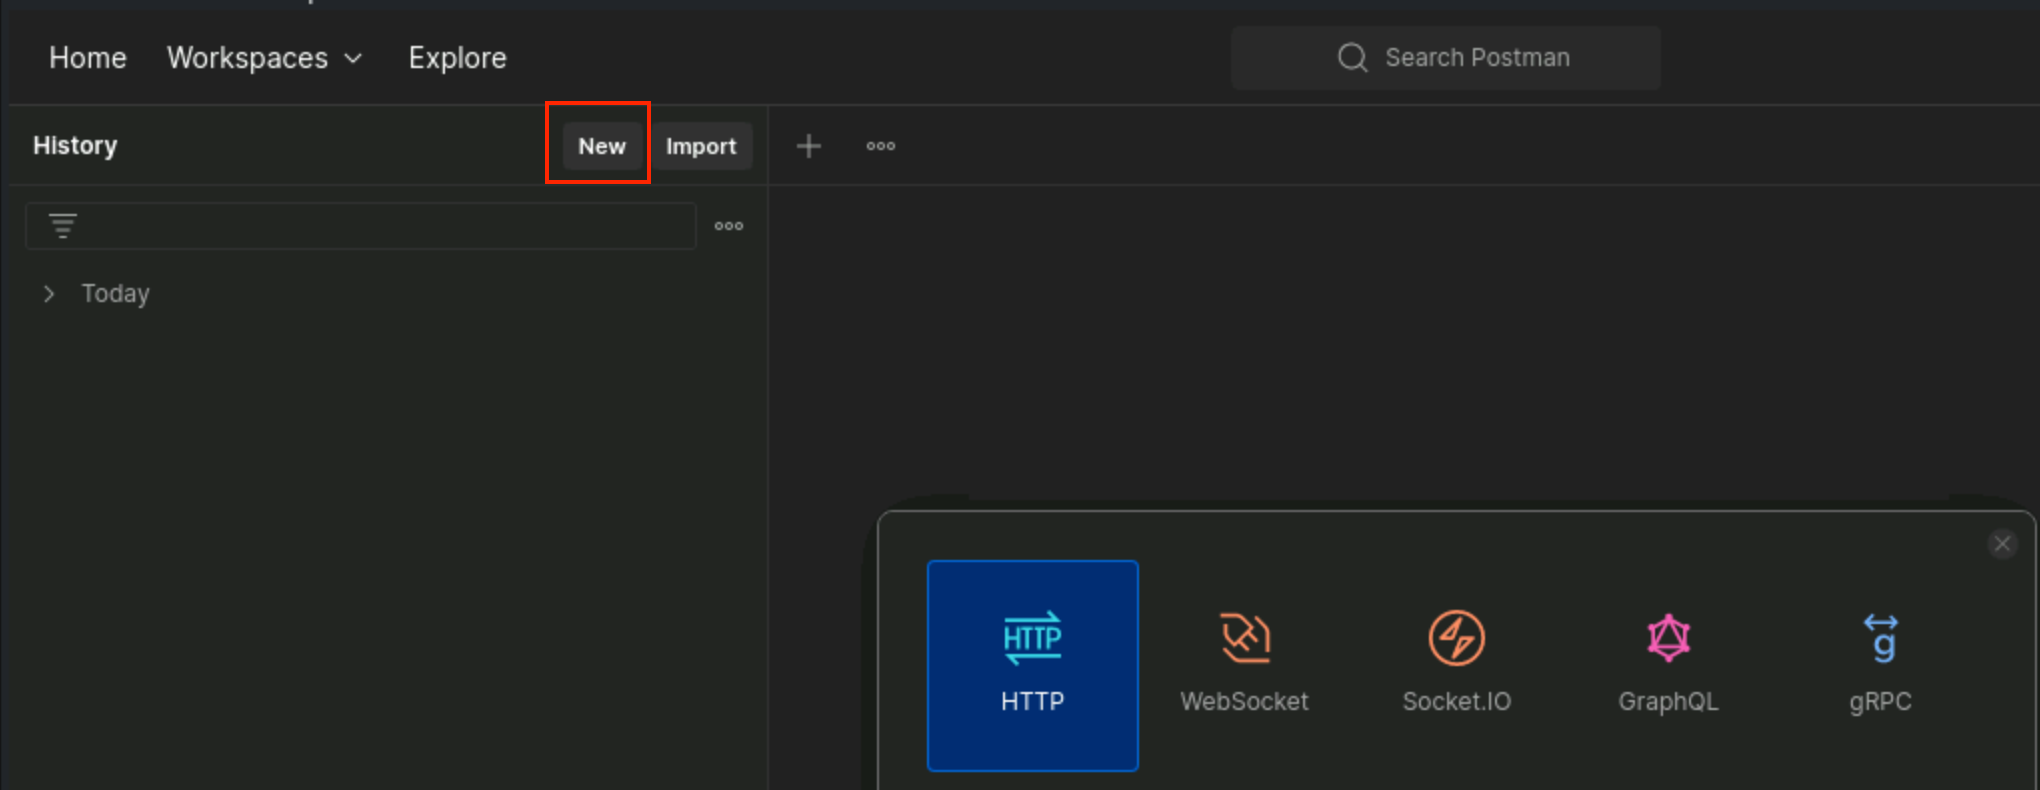
Create a new HTTP request by clicking on New at the left top and the select HTTP
Change the request type to POST and enter the URL
https://www.crcind.com/csp/samples/SOAP.Demo.cls
Click on the “Headers” tab. Add 2 new headers with the following key/value pairs:
Key Value Content-Typetext/xmlSOAPActionhttp://tempuri.org/SOAP.Demo.GetByName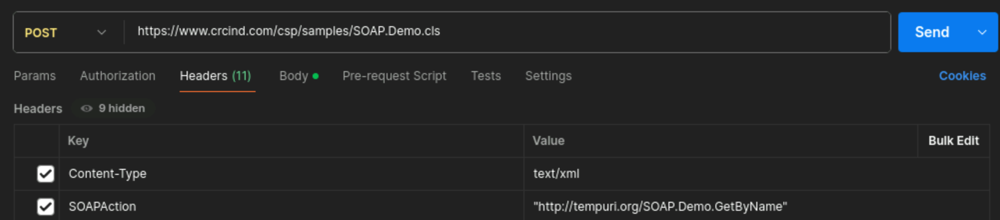
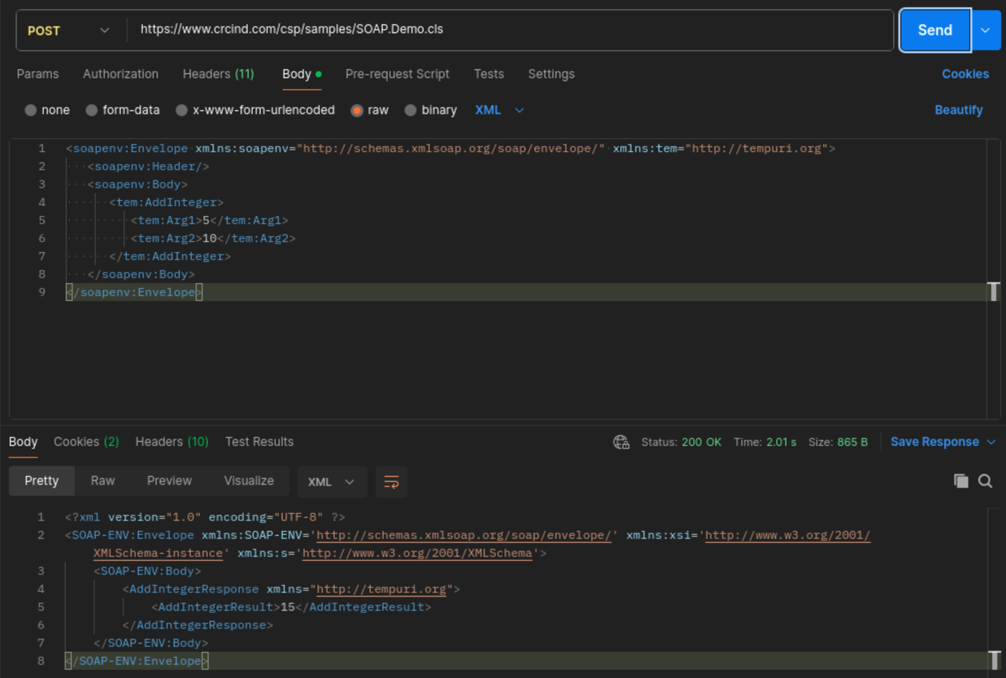
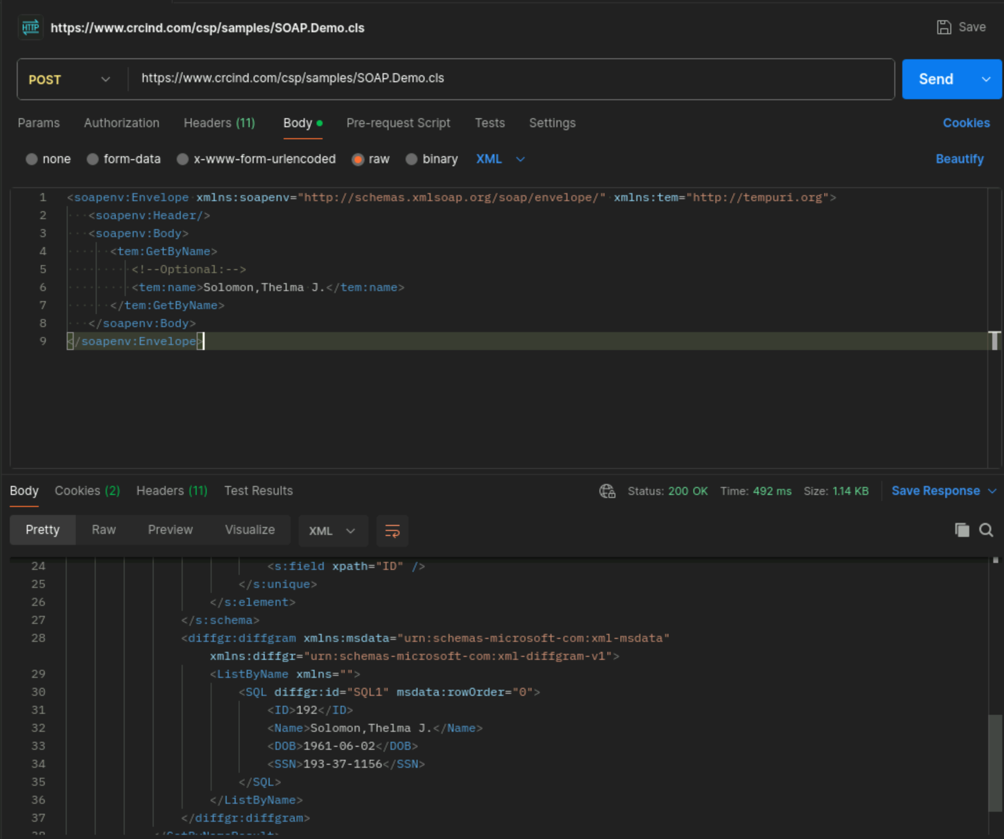
Click on the “Body” tab. Select the raw option and enter the following XML:
<soapenv:Envelope xmlns:soapenv="http://schemas.xmlsoap.org/soap/envelope/" xmlns:tem="http://tempuri.org">
   <soapenv:Header/>
   <soapenv:Body>
      <tem:GetByName>
         <!--Optional:-->
         <tem:name>Solomon,Thelma J.</tem:name>
      </tem:GetByName>
   </soapenv:Body>
</soapenv:Envelope>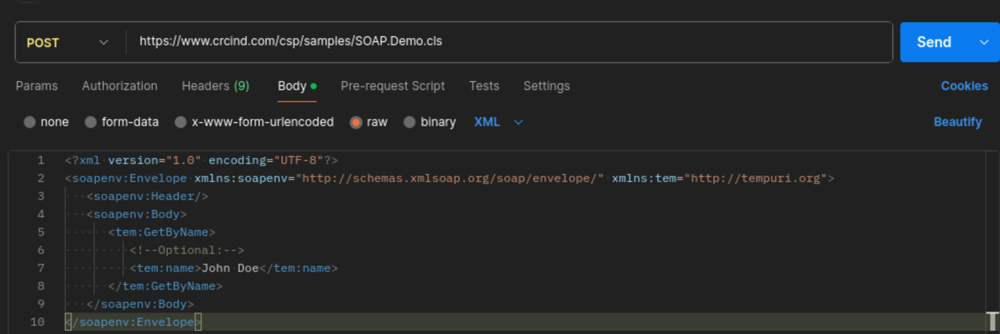
Click on Send and review the output. (Scroll down to find the details)
The GetByNameResponse contains the result of the GetByName method call.
The GetByNameResult contains the details of the person with the name Solomon,Thelma J.
The WSDL document describes other methods that you can experiment with. For example, you can try the AddInteger method.
Hint
Update the header SOAPAction according to the function you want to use.
<soapenv:Envelope xmlns:soapenv="http://schemas.xmlsoap.org/soap/envelope/" xmlns:tem="http://tempuri.org">
   <soapenv:Header/>
   <soapenv:Body>
      <tem:AddInteger>
         <tem:Arg1>5</tem:Arg1>
         <tem:Arg2>10</tem:Arg2>
      </tem:AddInteger>
   </soapenv:Body>
</soapenv:Envelope>