Task 2: Deploy Linux Virtual Machines
Now that a VNET is configured, Task 2 will cover
- Deploying two Linux Virtual Machines (VMs) in the VNET
- Identify assigned Public IP (PIP)
- Confirm access to the Internet
- Confirm access between each VM
linux-a-vm will have an interface in subnet snet-a linux-b-vm will have an interface in subnet snet-b
Steps to create linux-a-vm
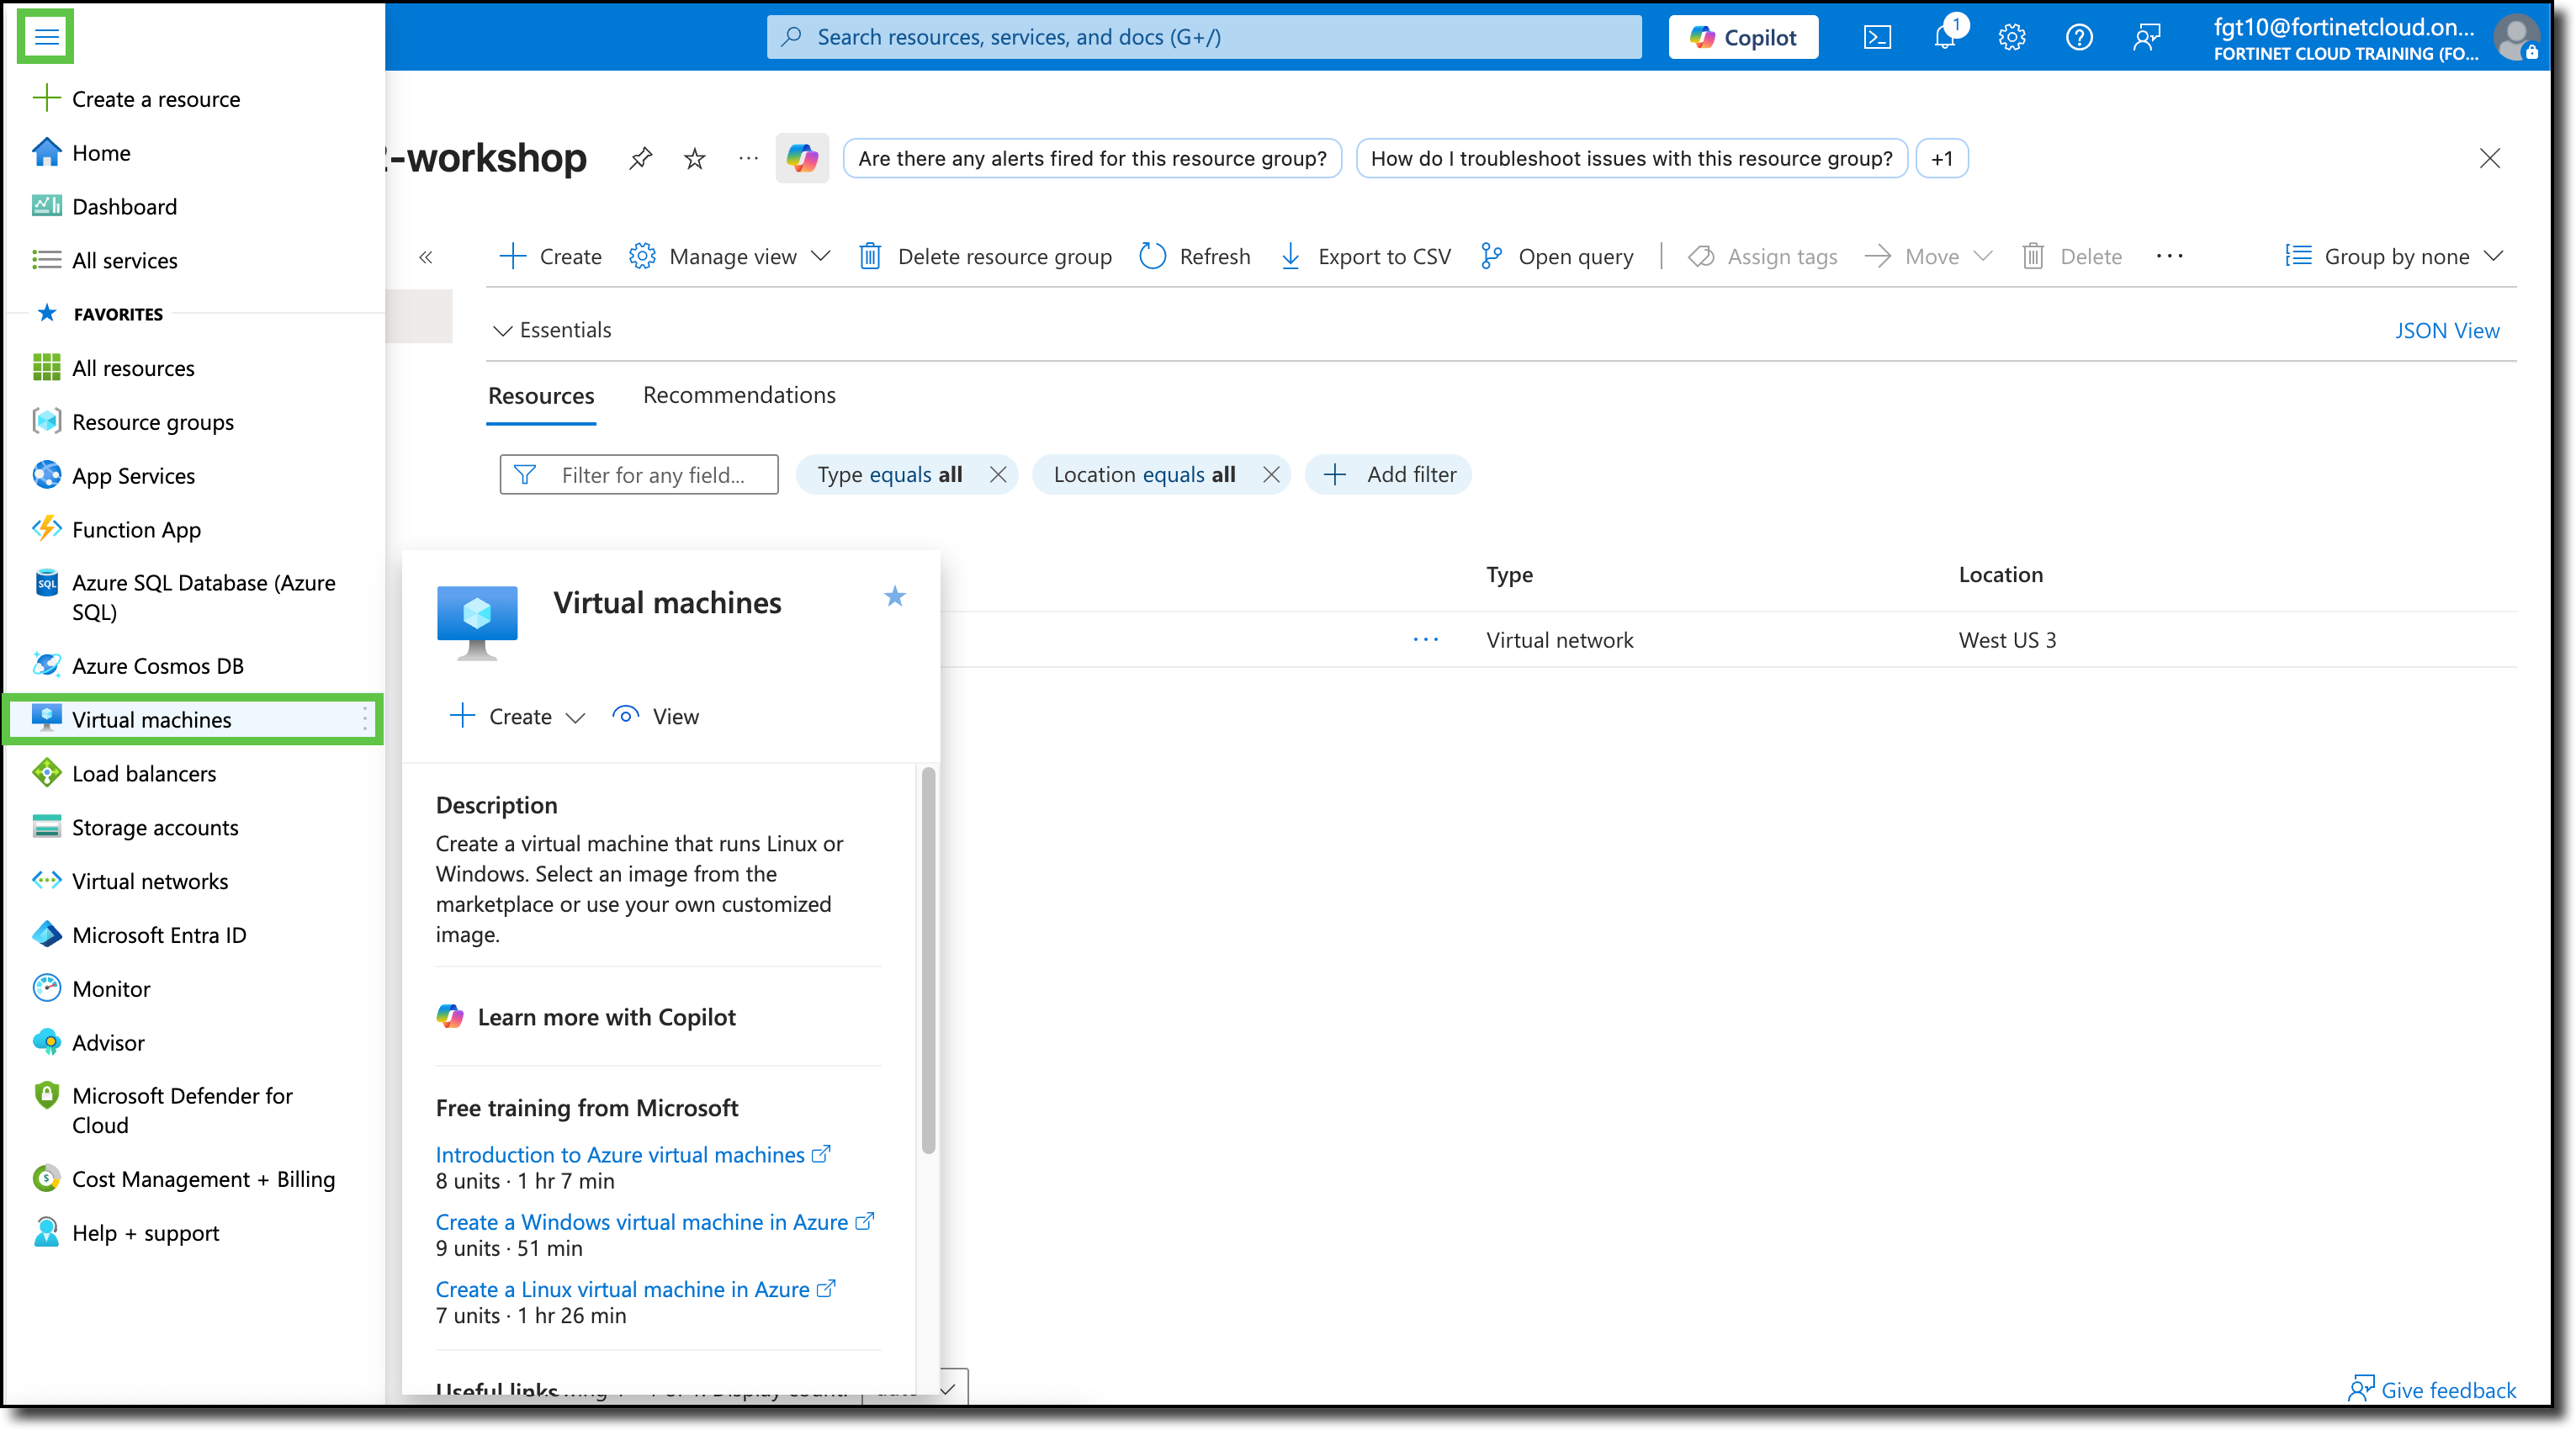
Click the Hamburger menu in the upper-left corner of the Azure Portal to show the “Portal Menu”
Click “Virtual machines”
Click “+ Create”
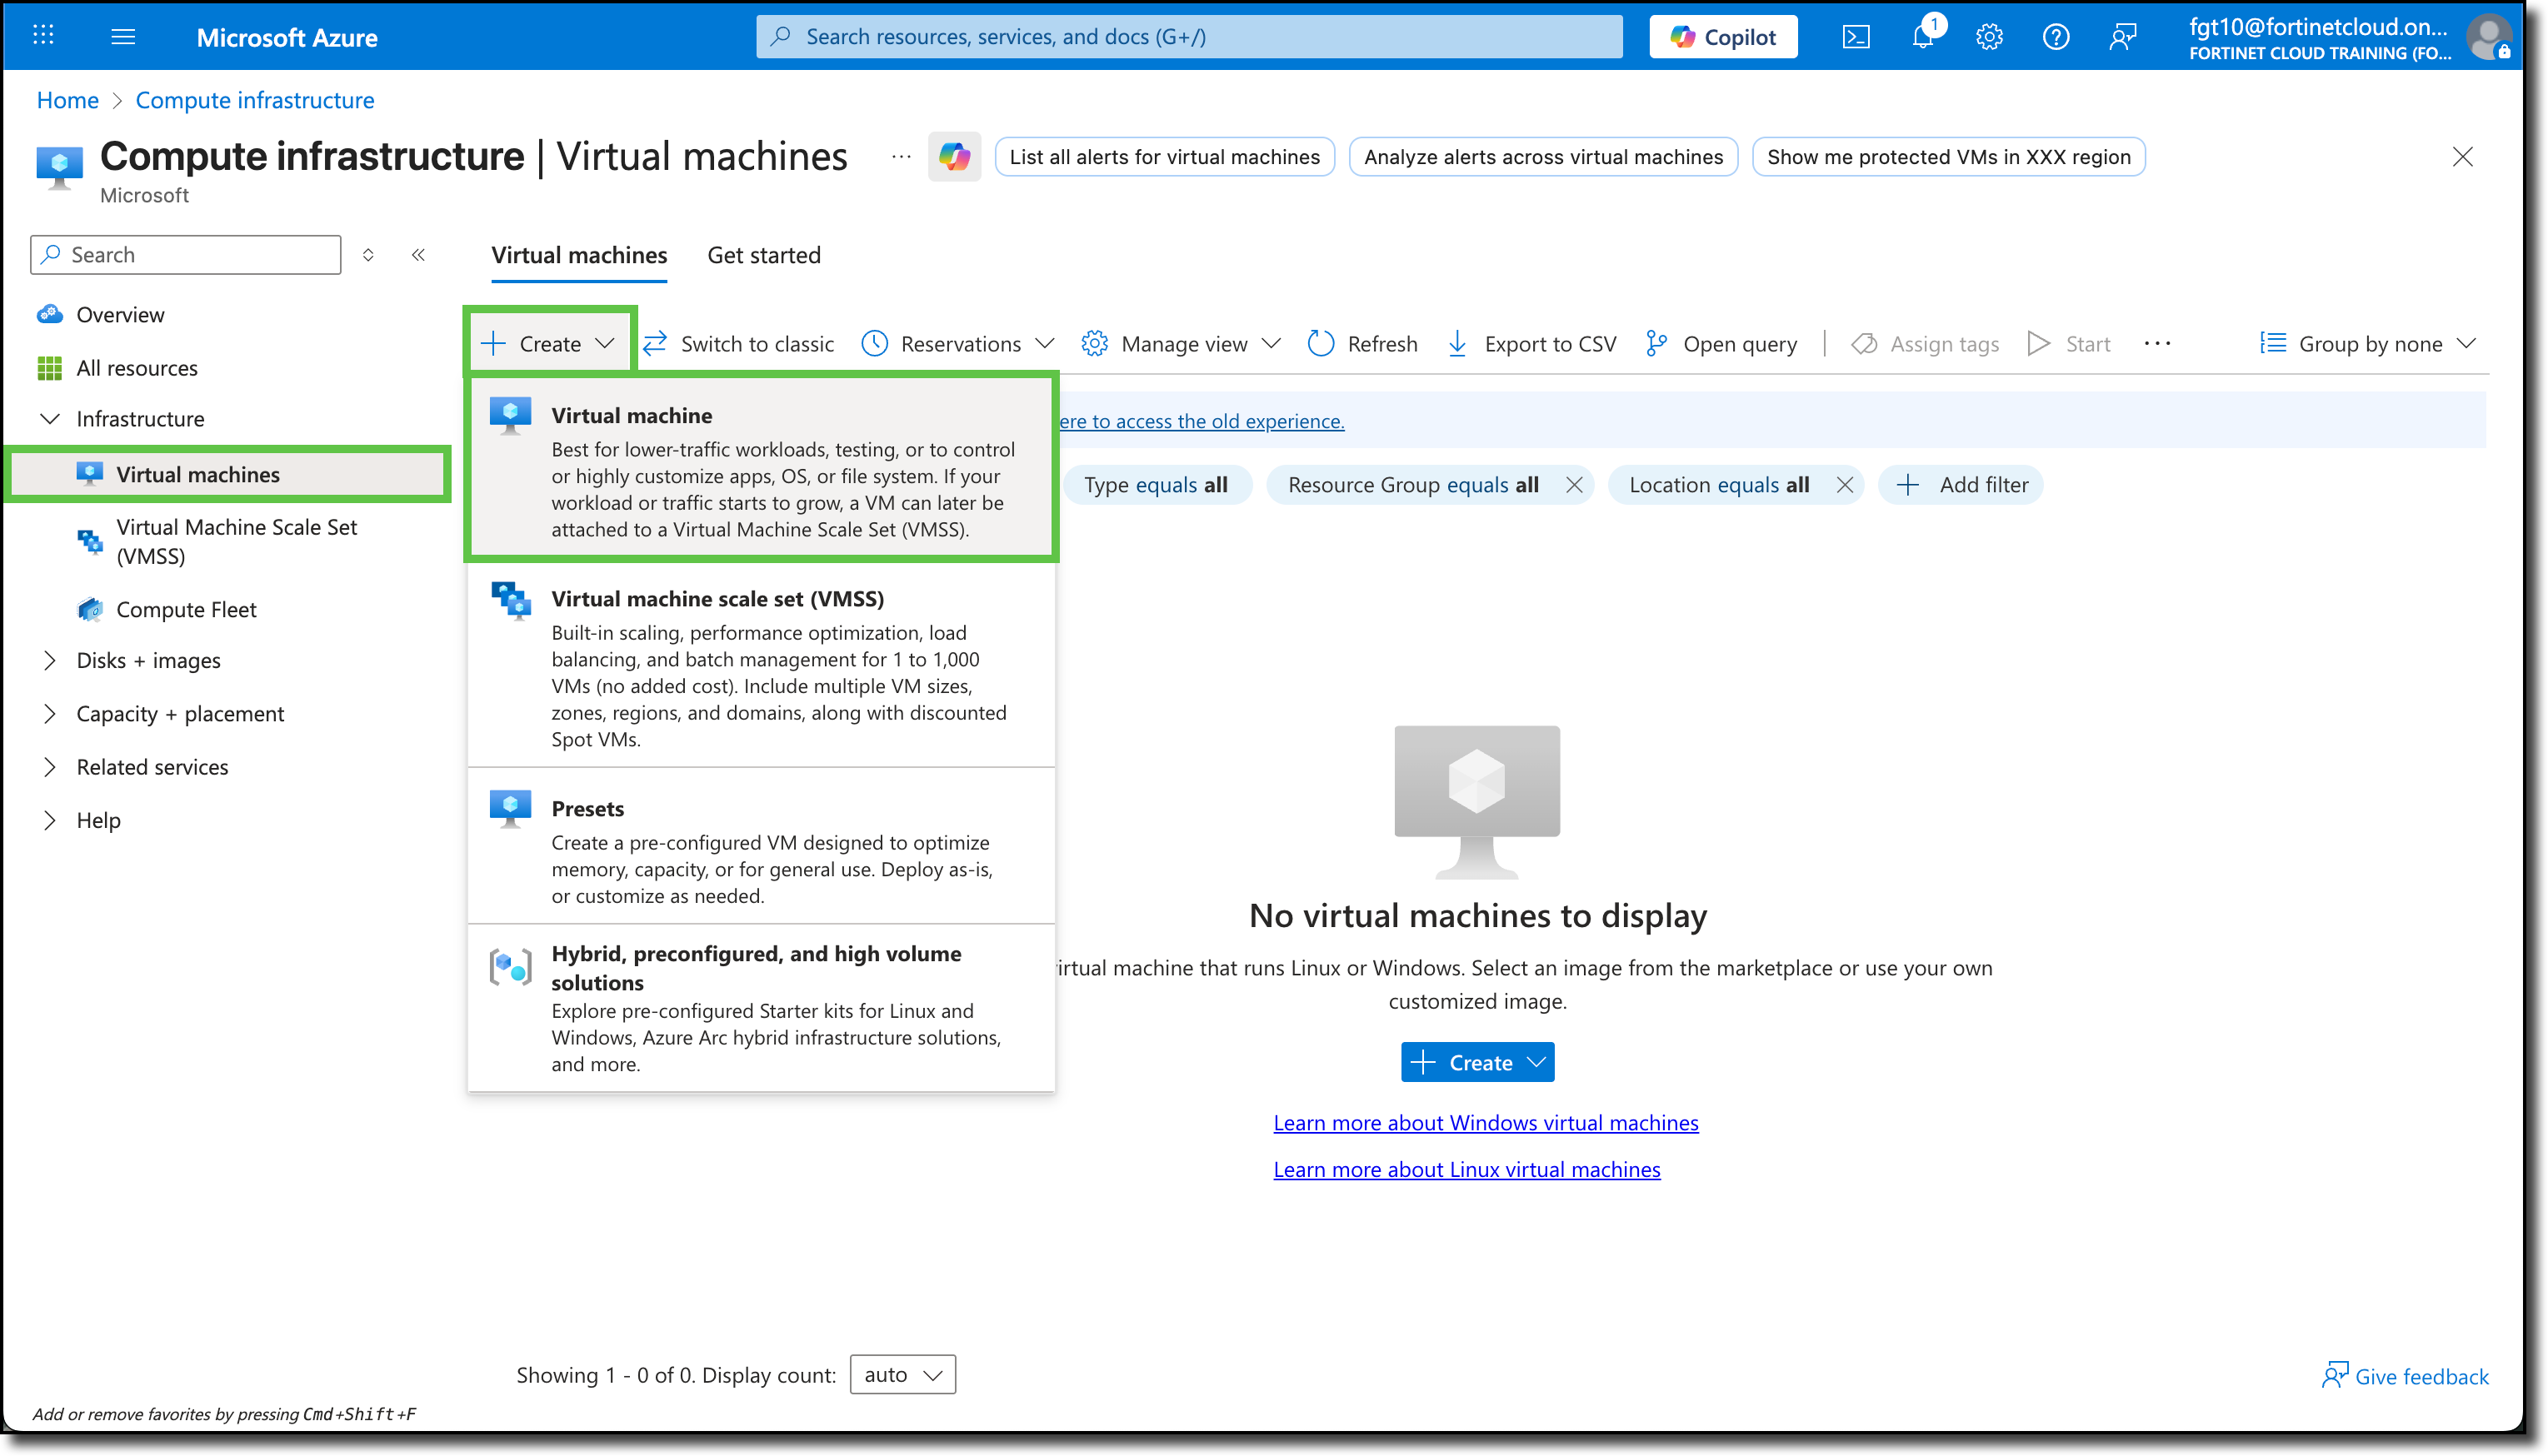
Click Virtual Machine", You will be redirected to the Create a virtual machine template.
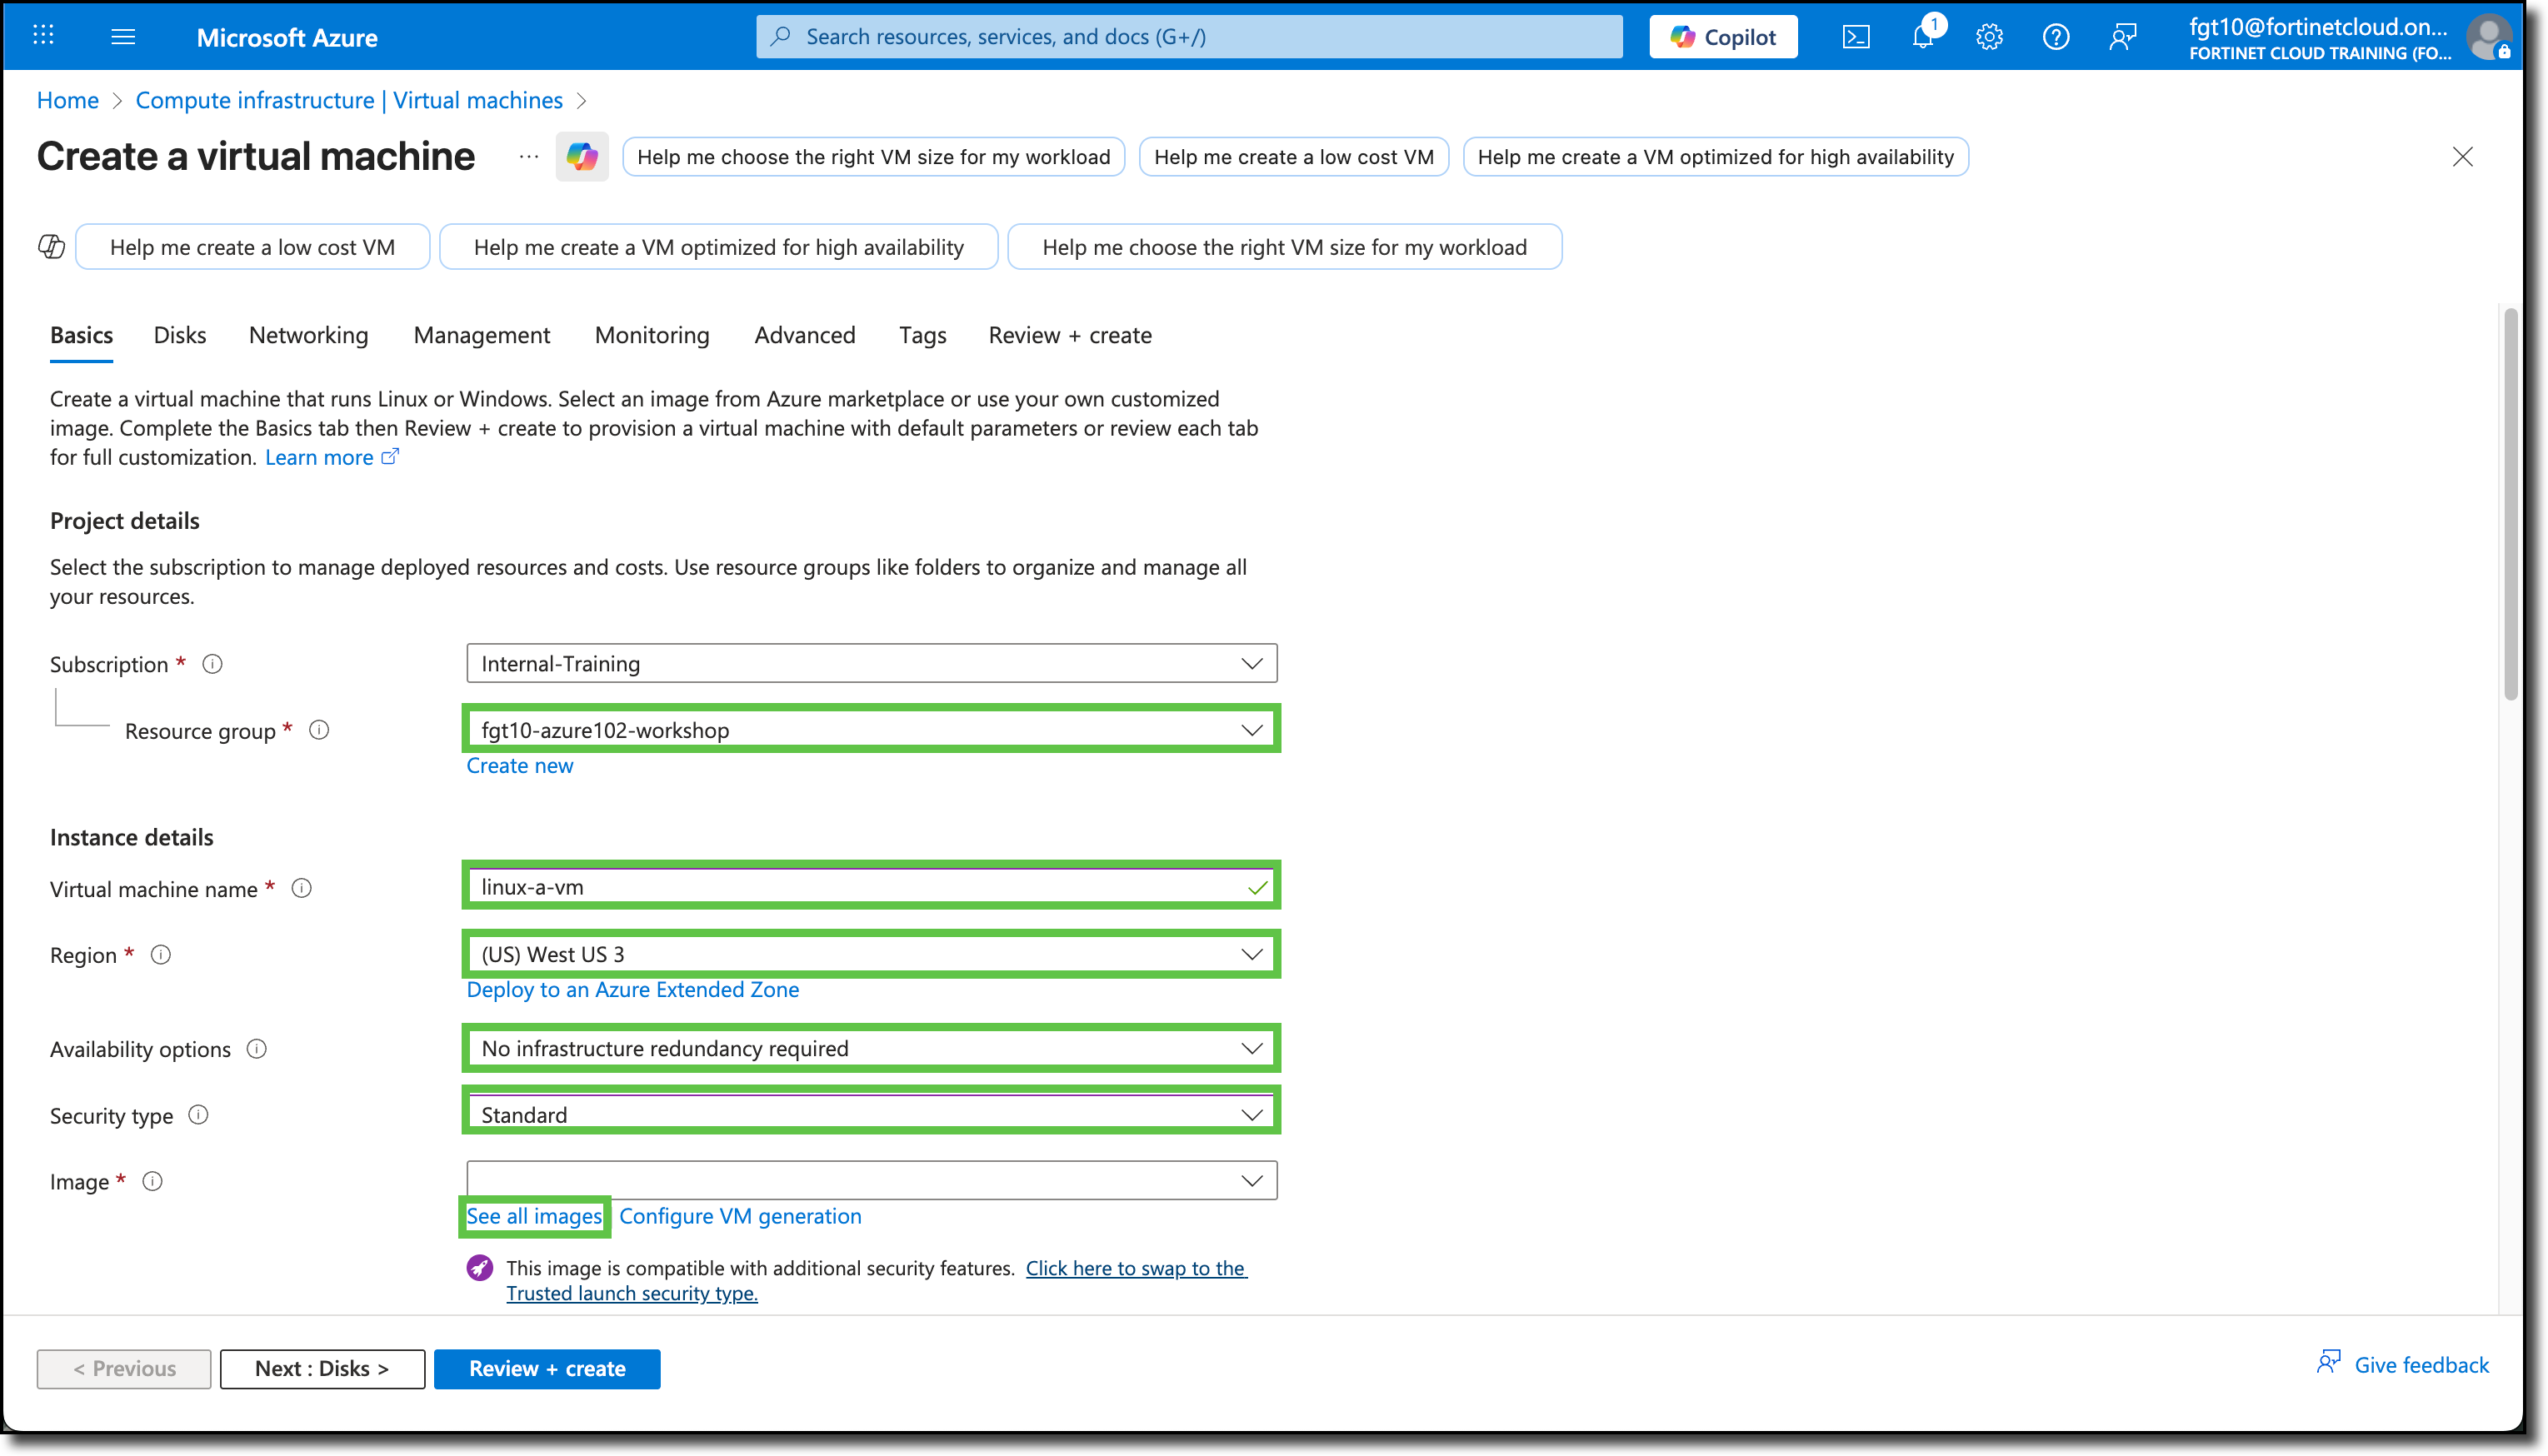
Under the Basics tab, the Subscription and Resource Groups may already be filled in with your assigned info. If not, see the screenshot below for details.
Update the following fields:
(Leave the default entry for fields not listed here)
- Resource group: fgtXX-azure102-workshop
- Virtual machine name:
linux-a-vm - Availability options: No infrastructure redundancy required
- Security type: Standard
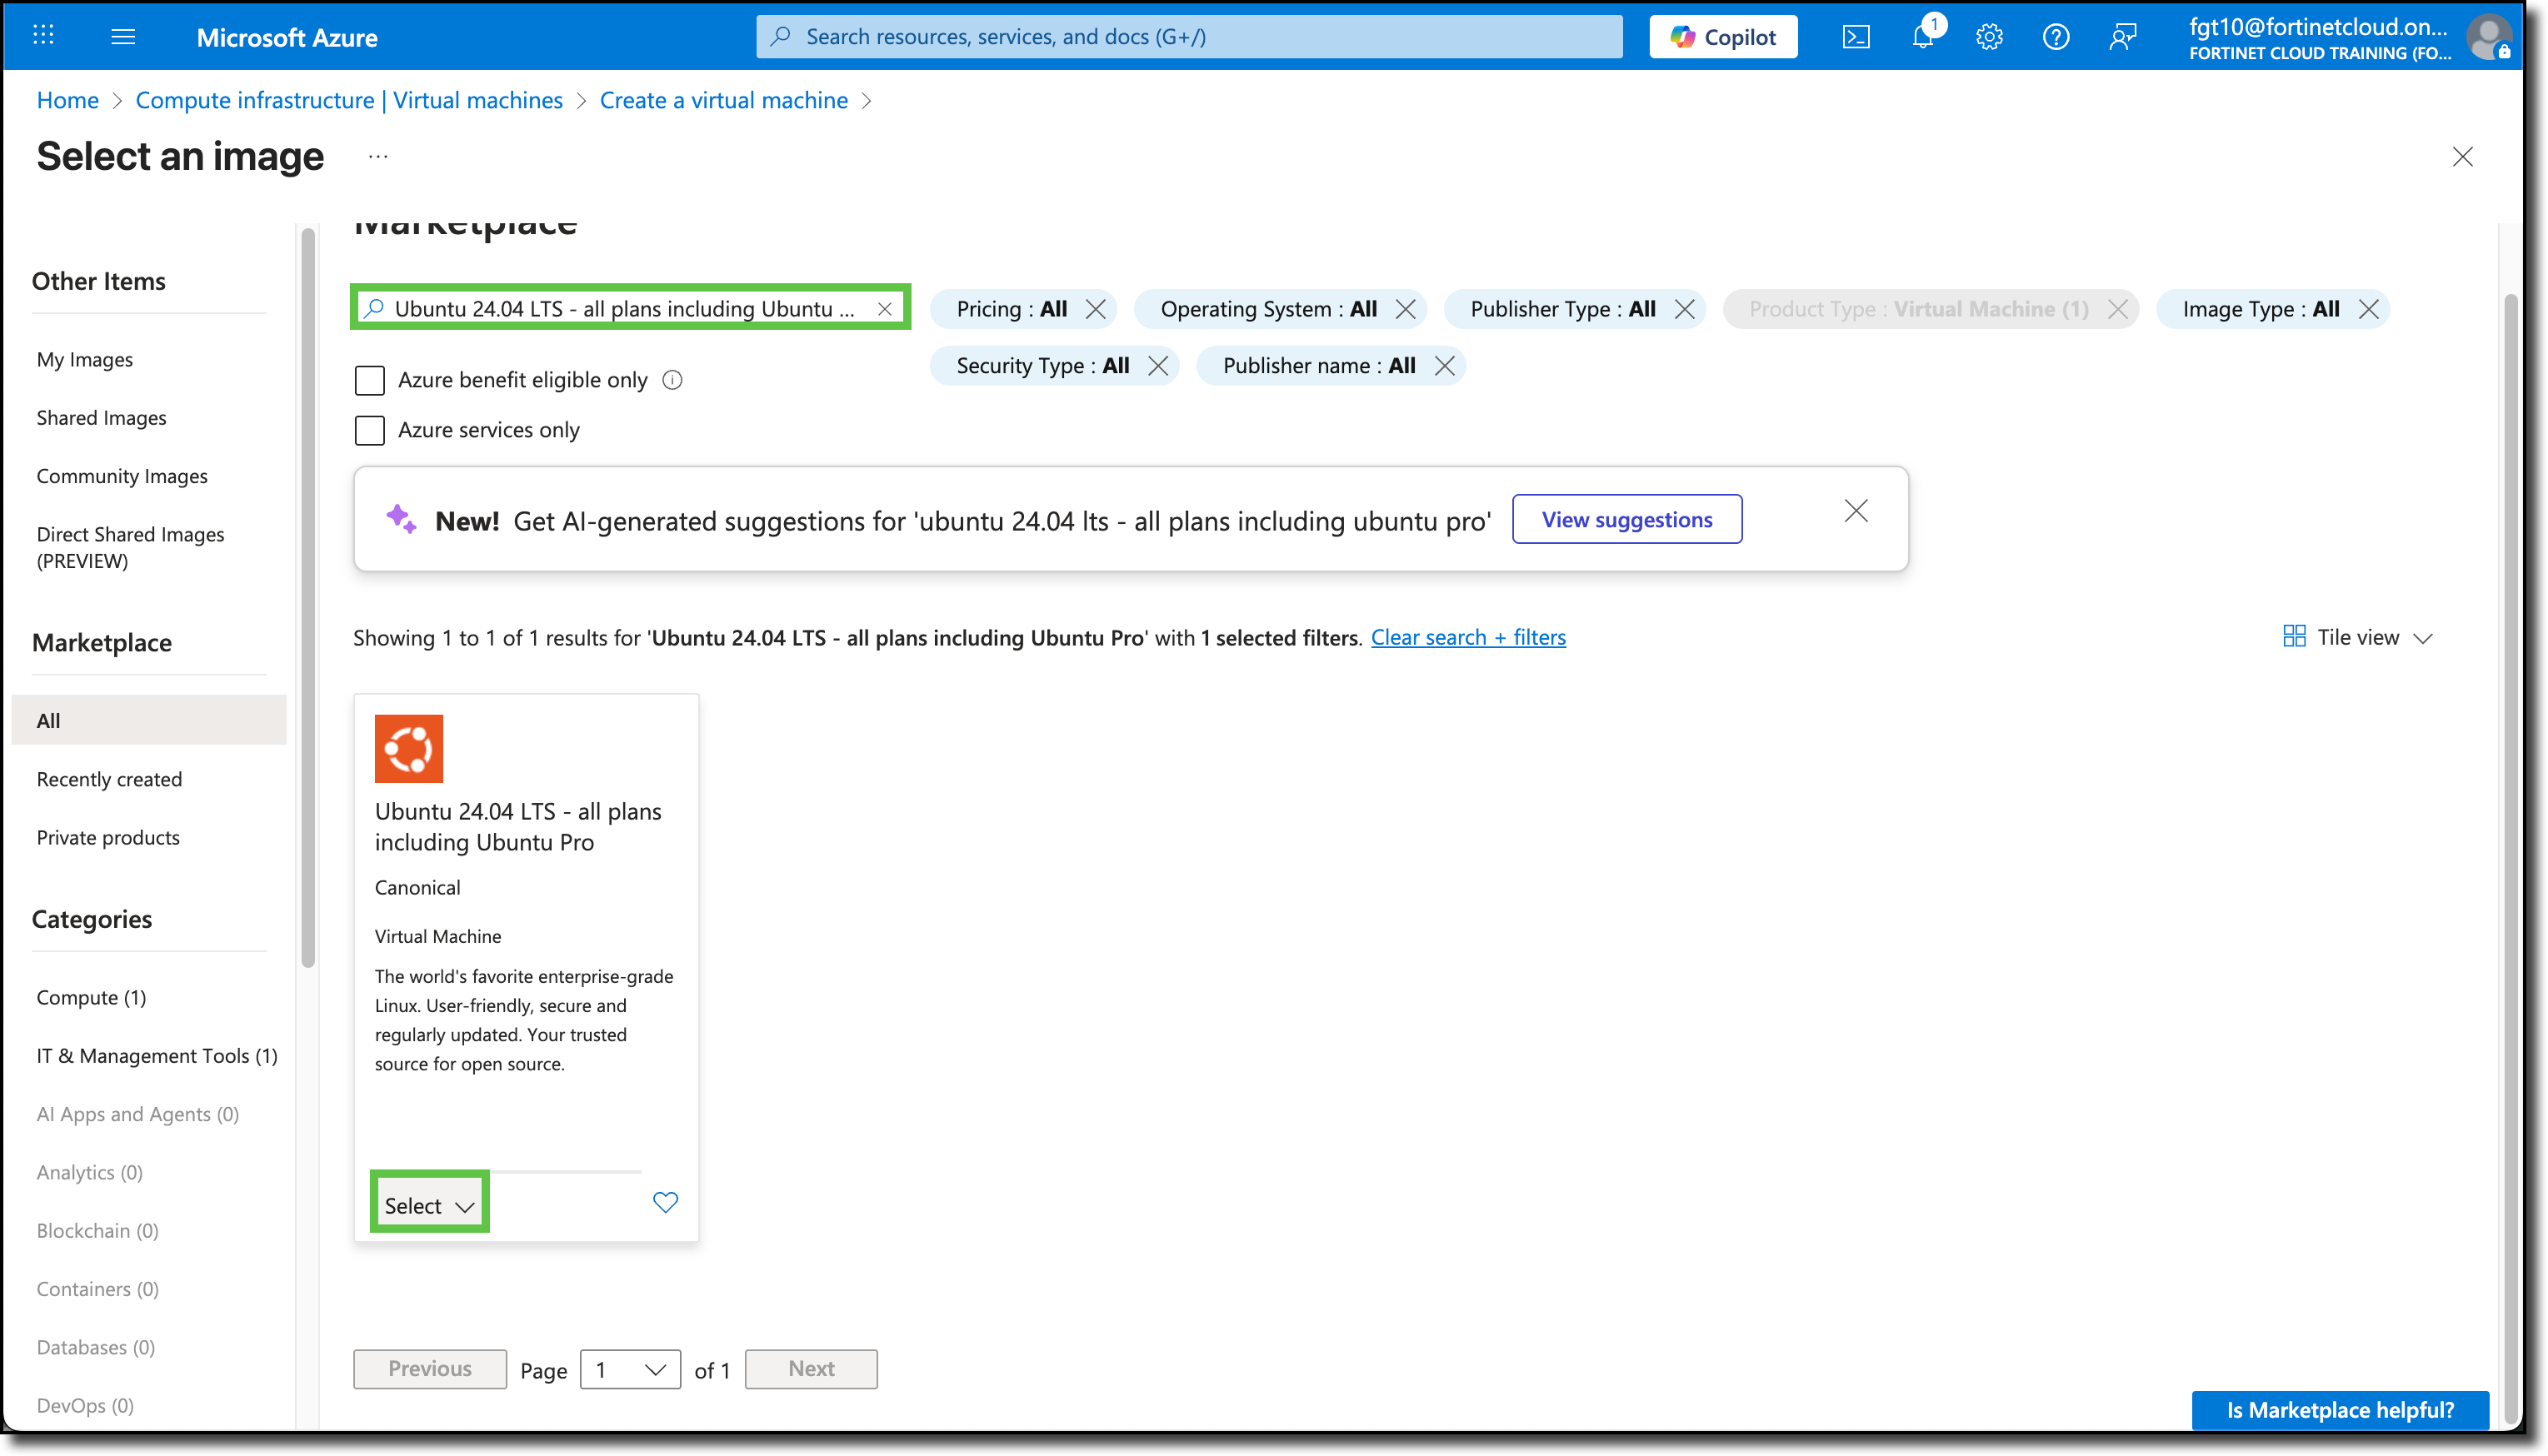
- Image: Select See all images under the image drop-down
Enter
Ubuntu 24.04 LTSin the search fieldClick “Select”
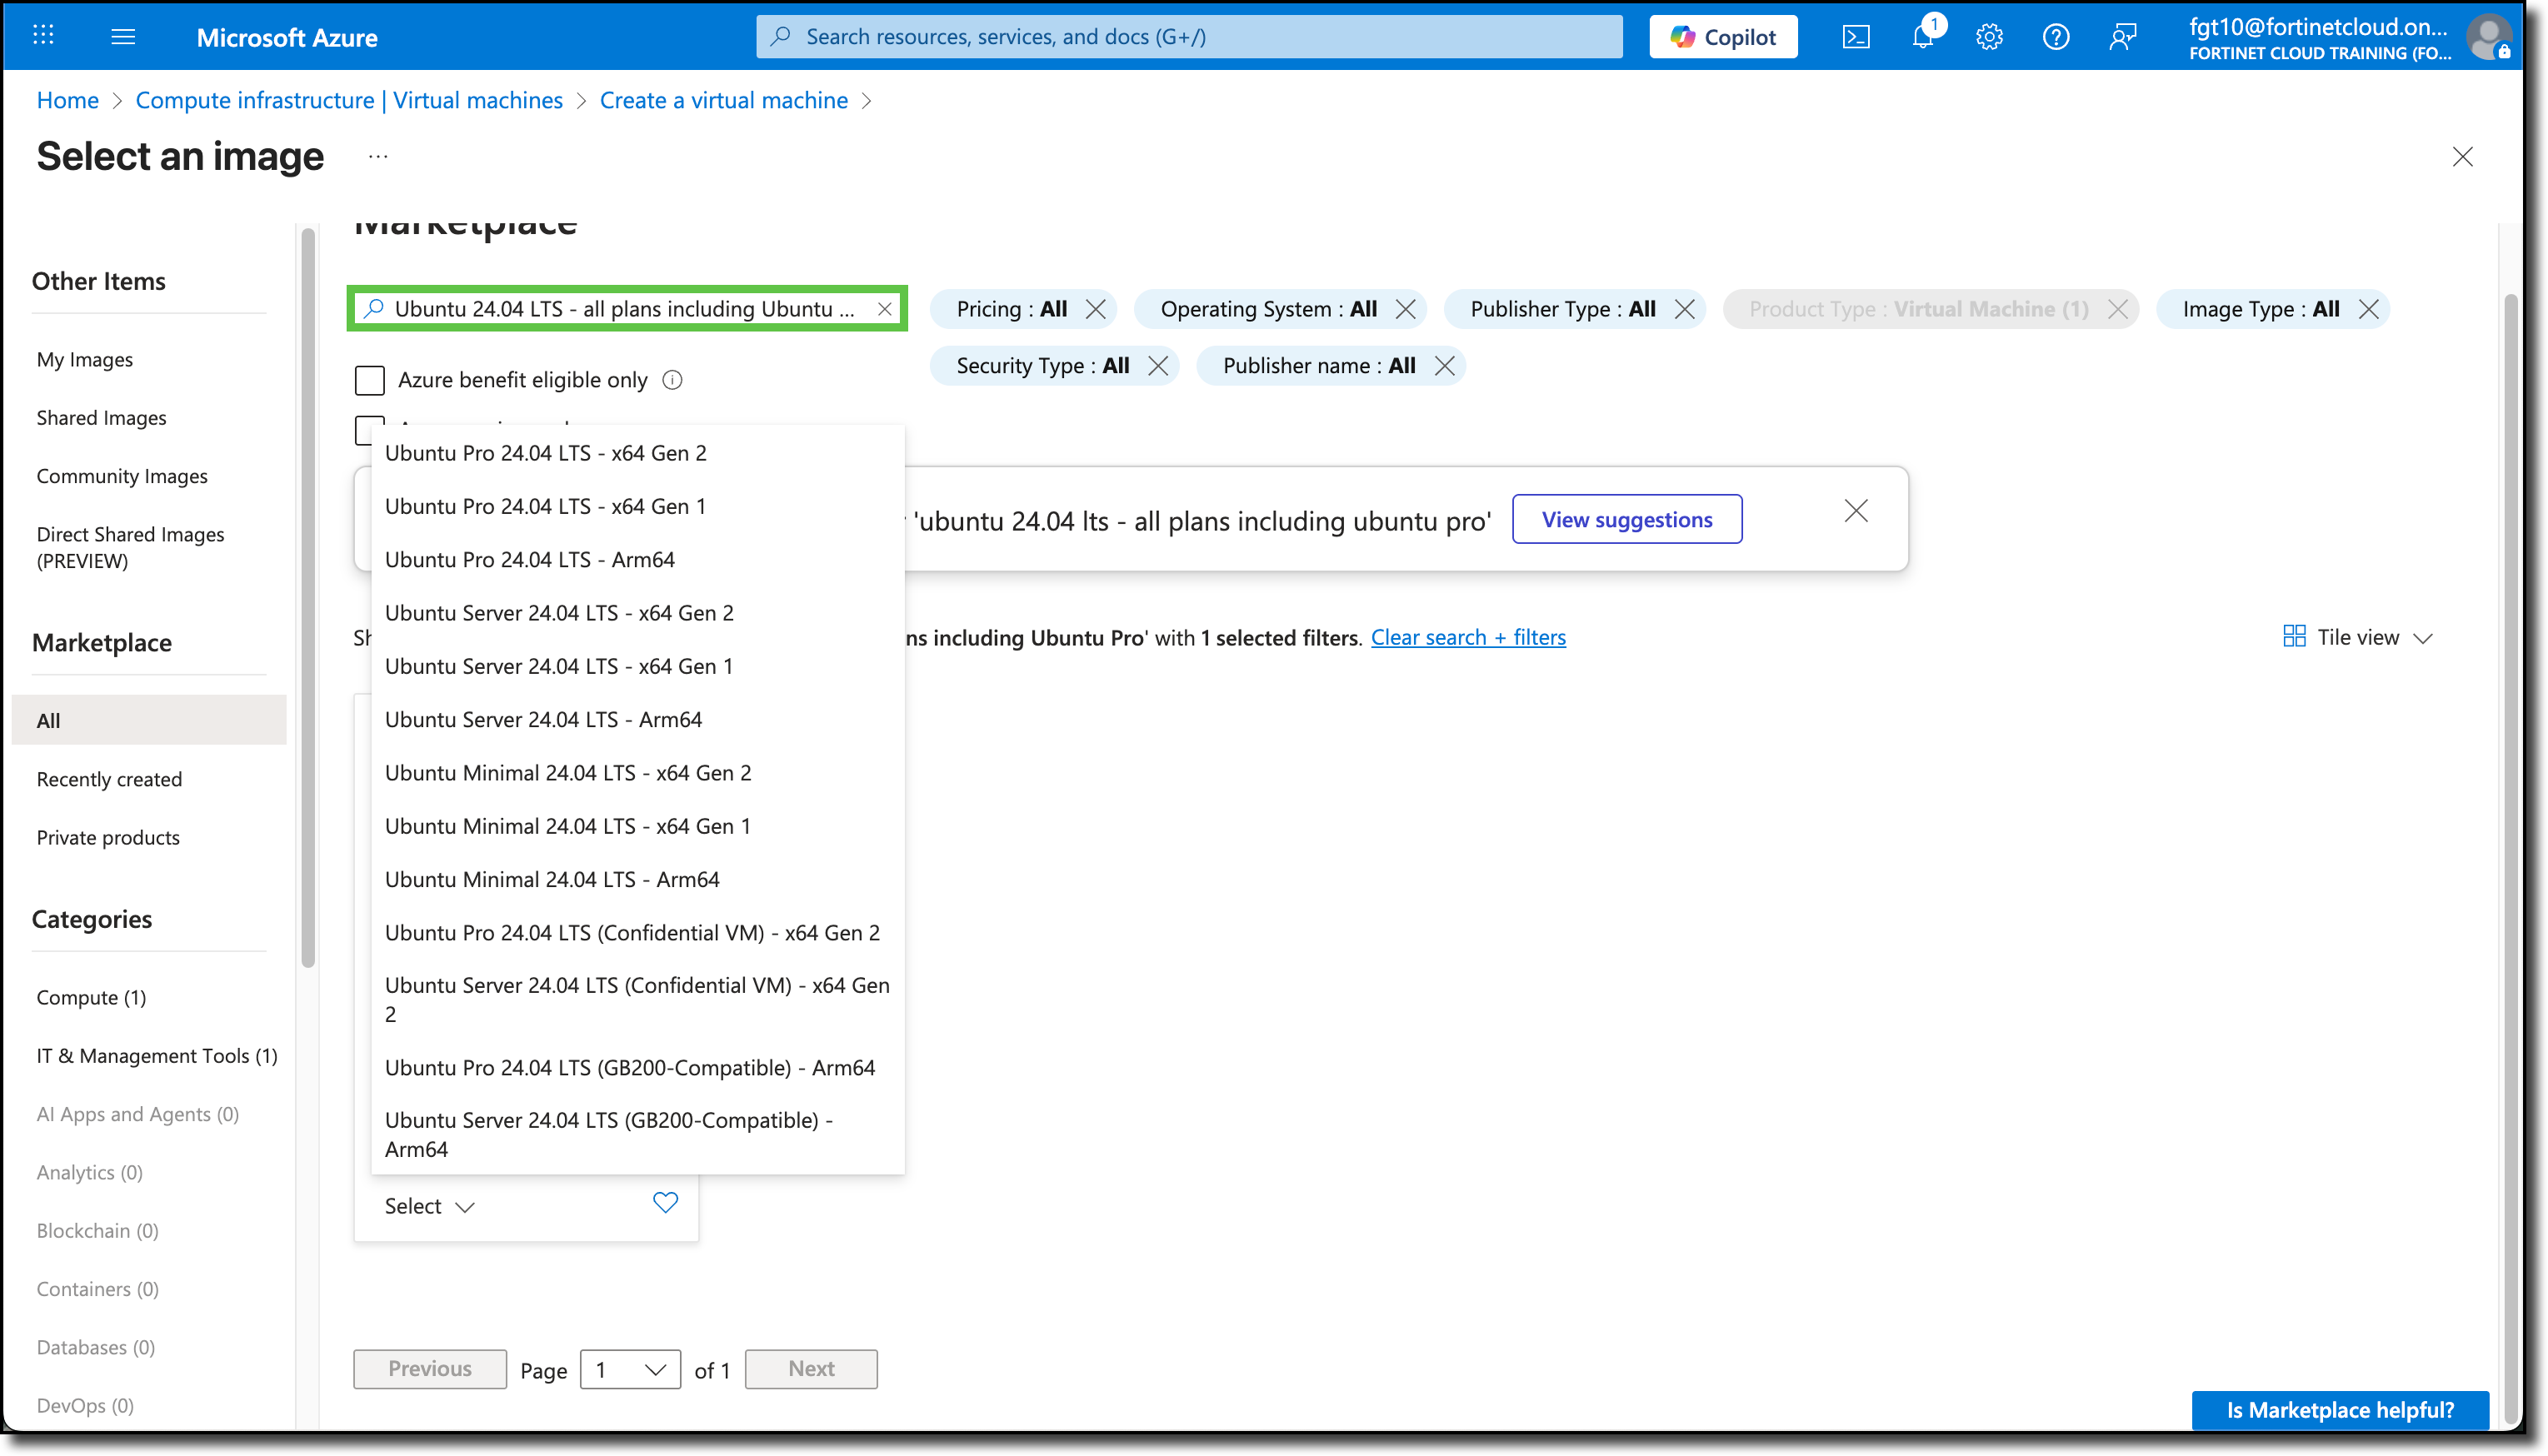
Click “Ubuntu Server 24.04 LTS - x64 Gen 1”
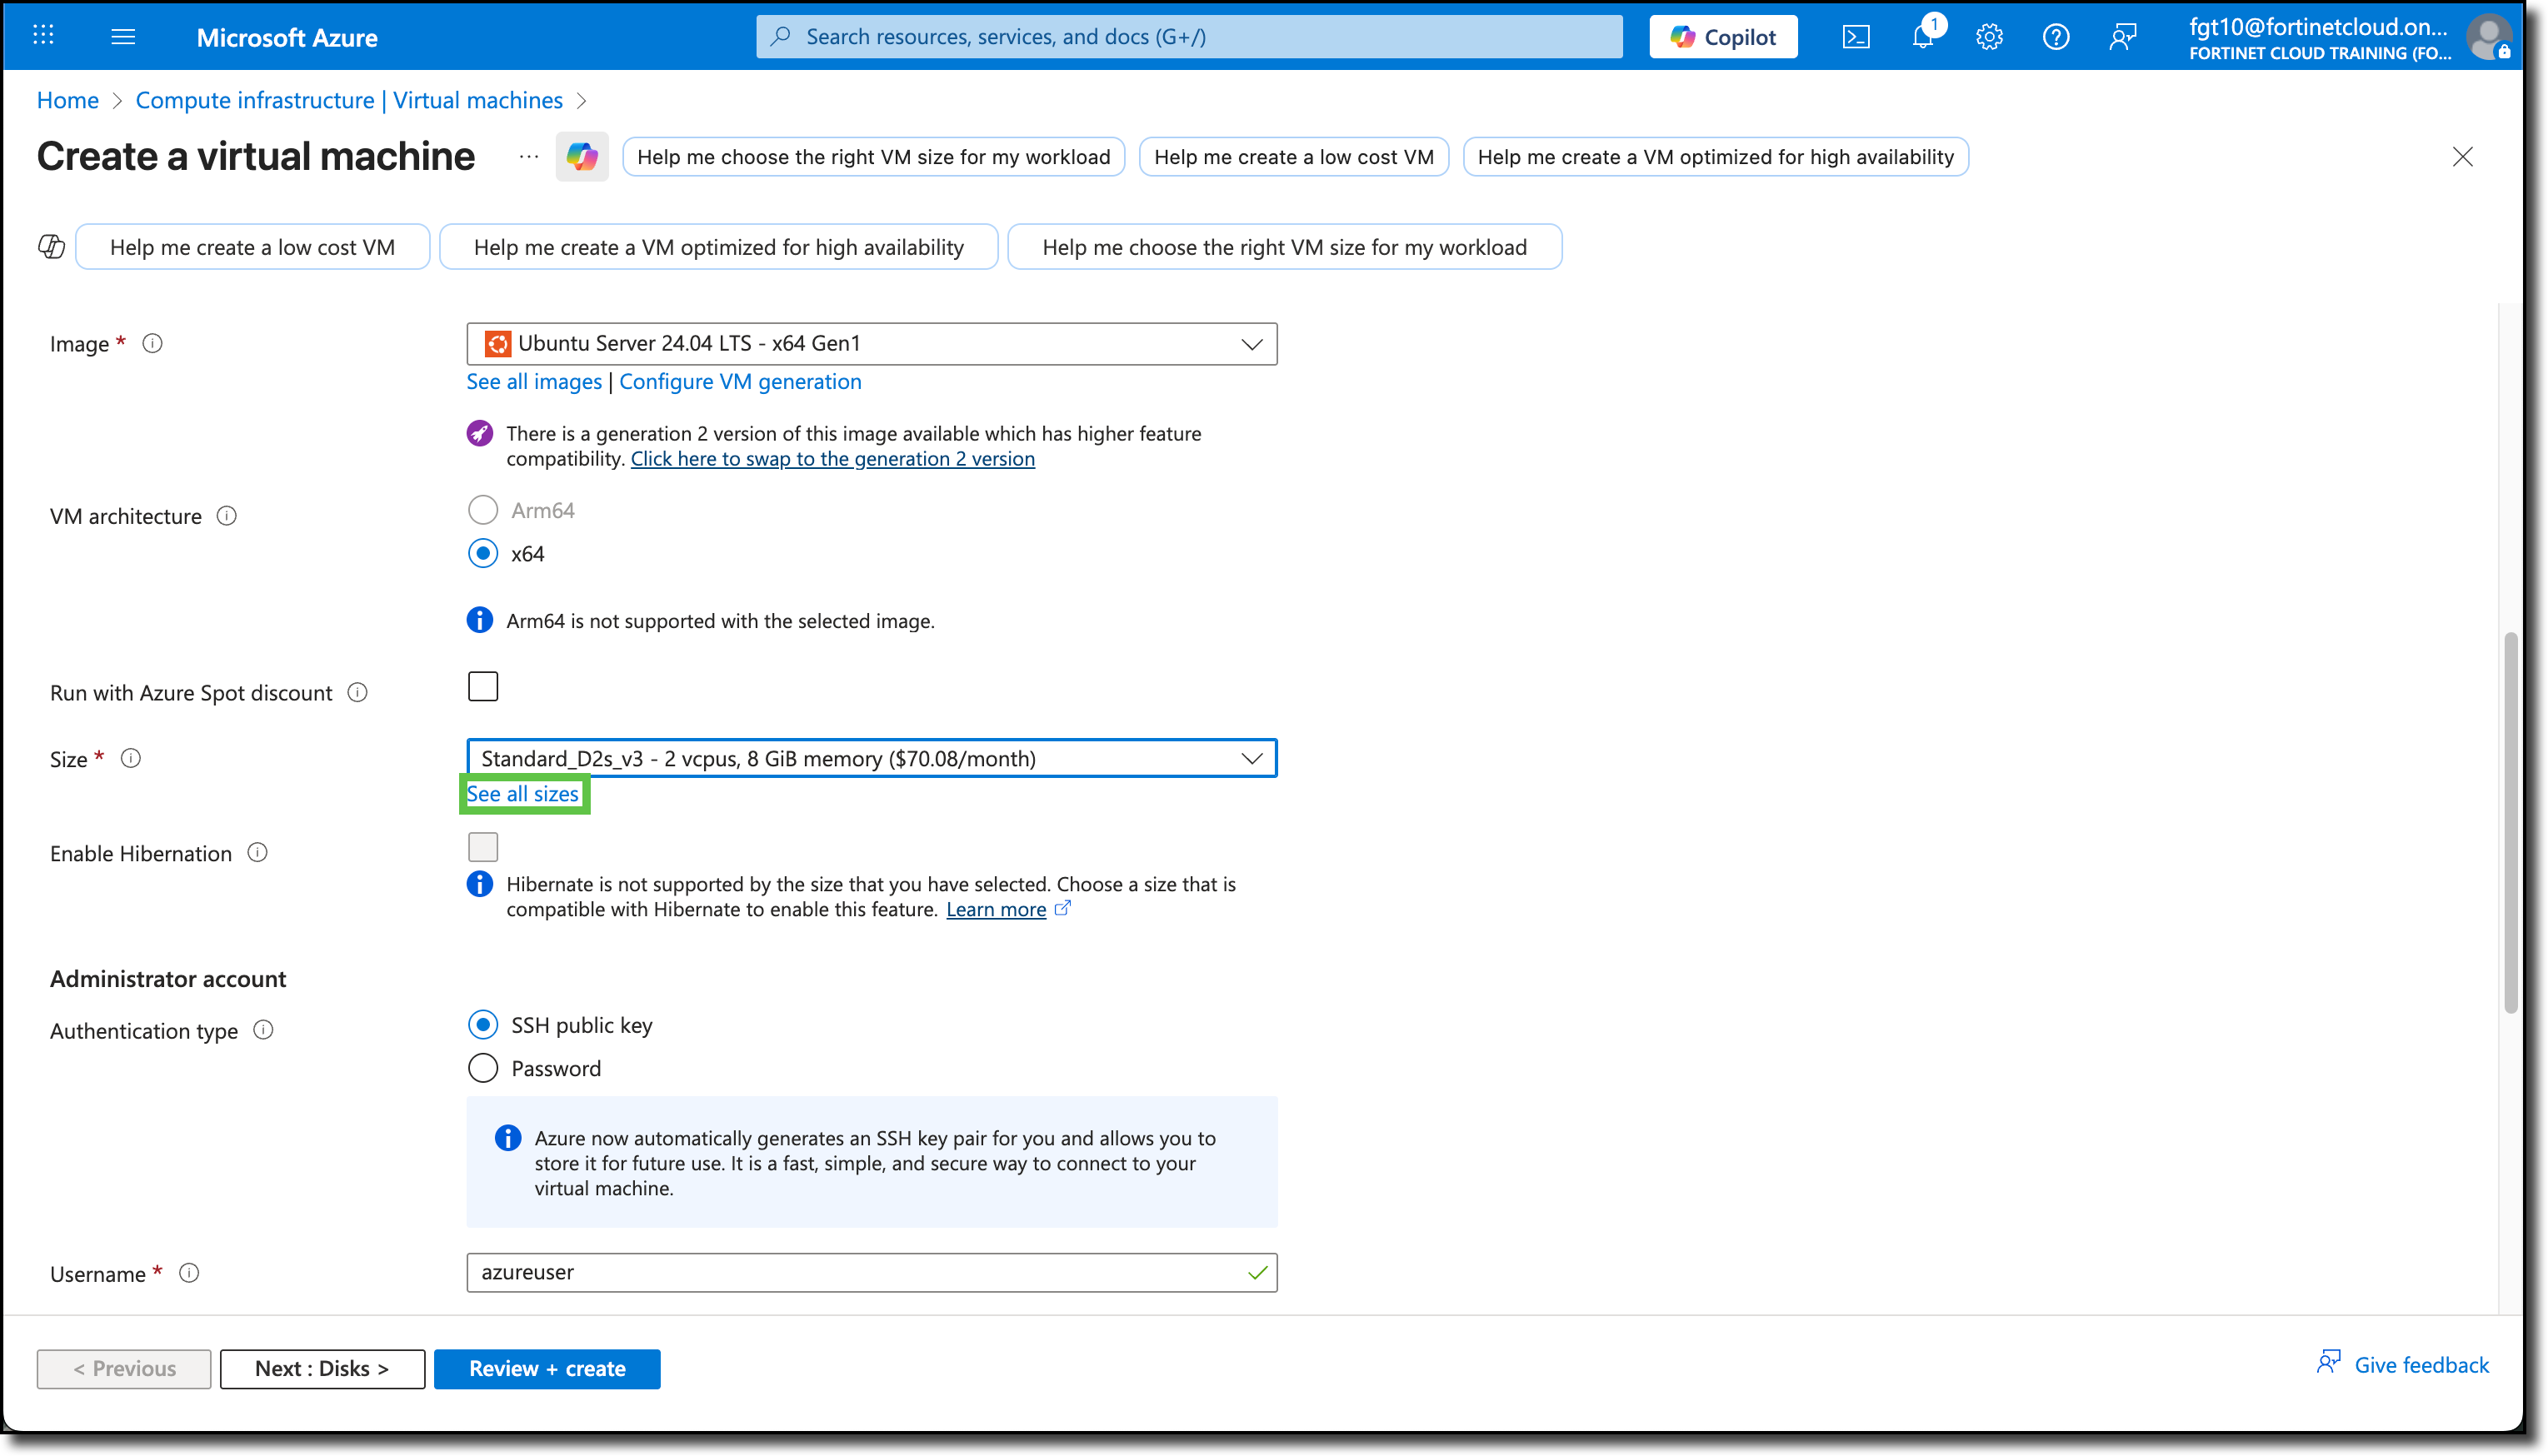
Continuing from Create a virtual machine Basics tab:
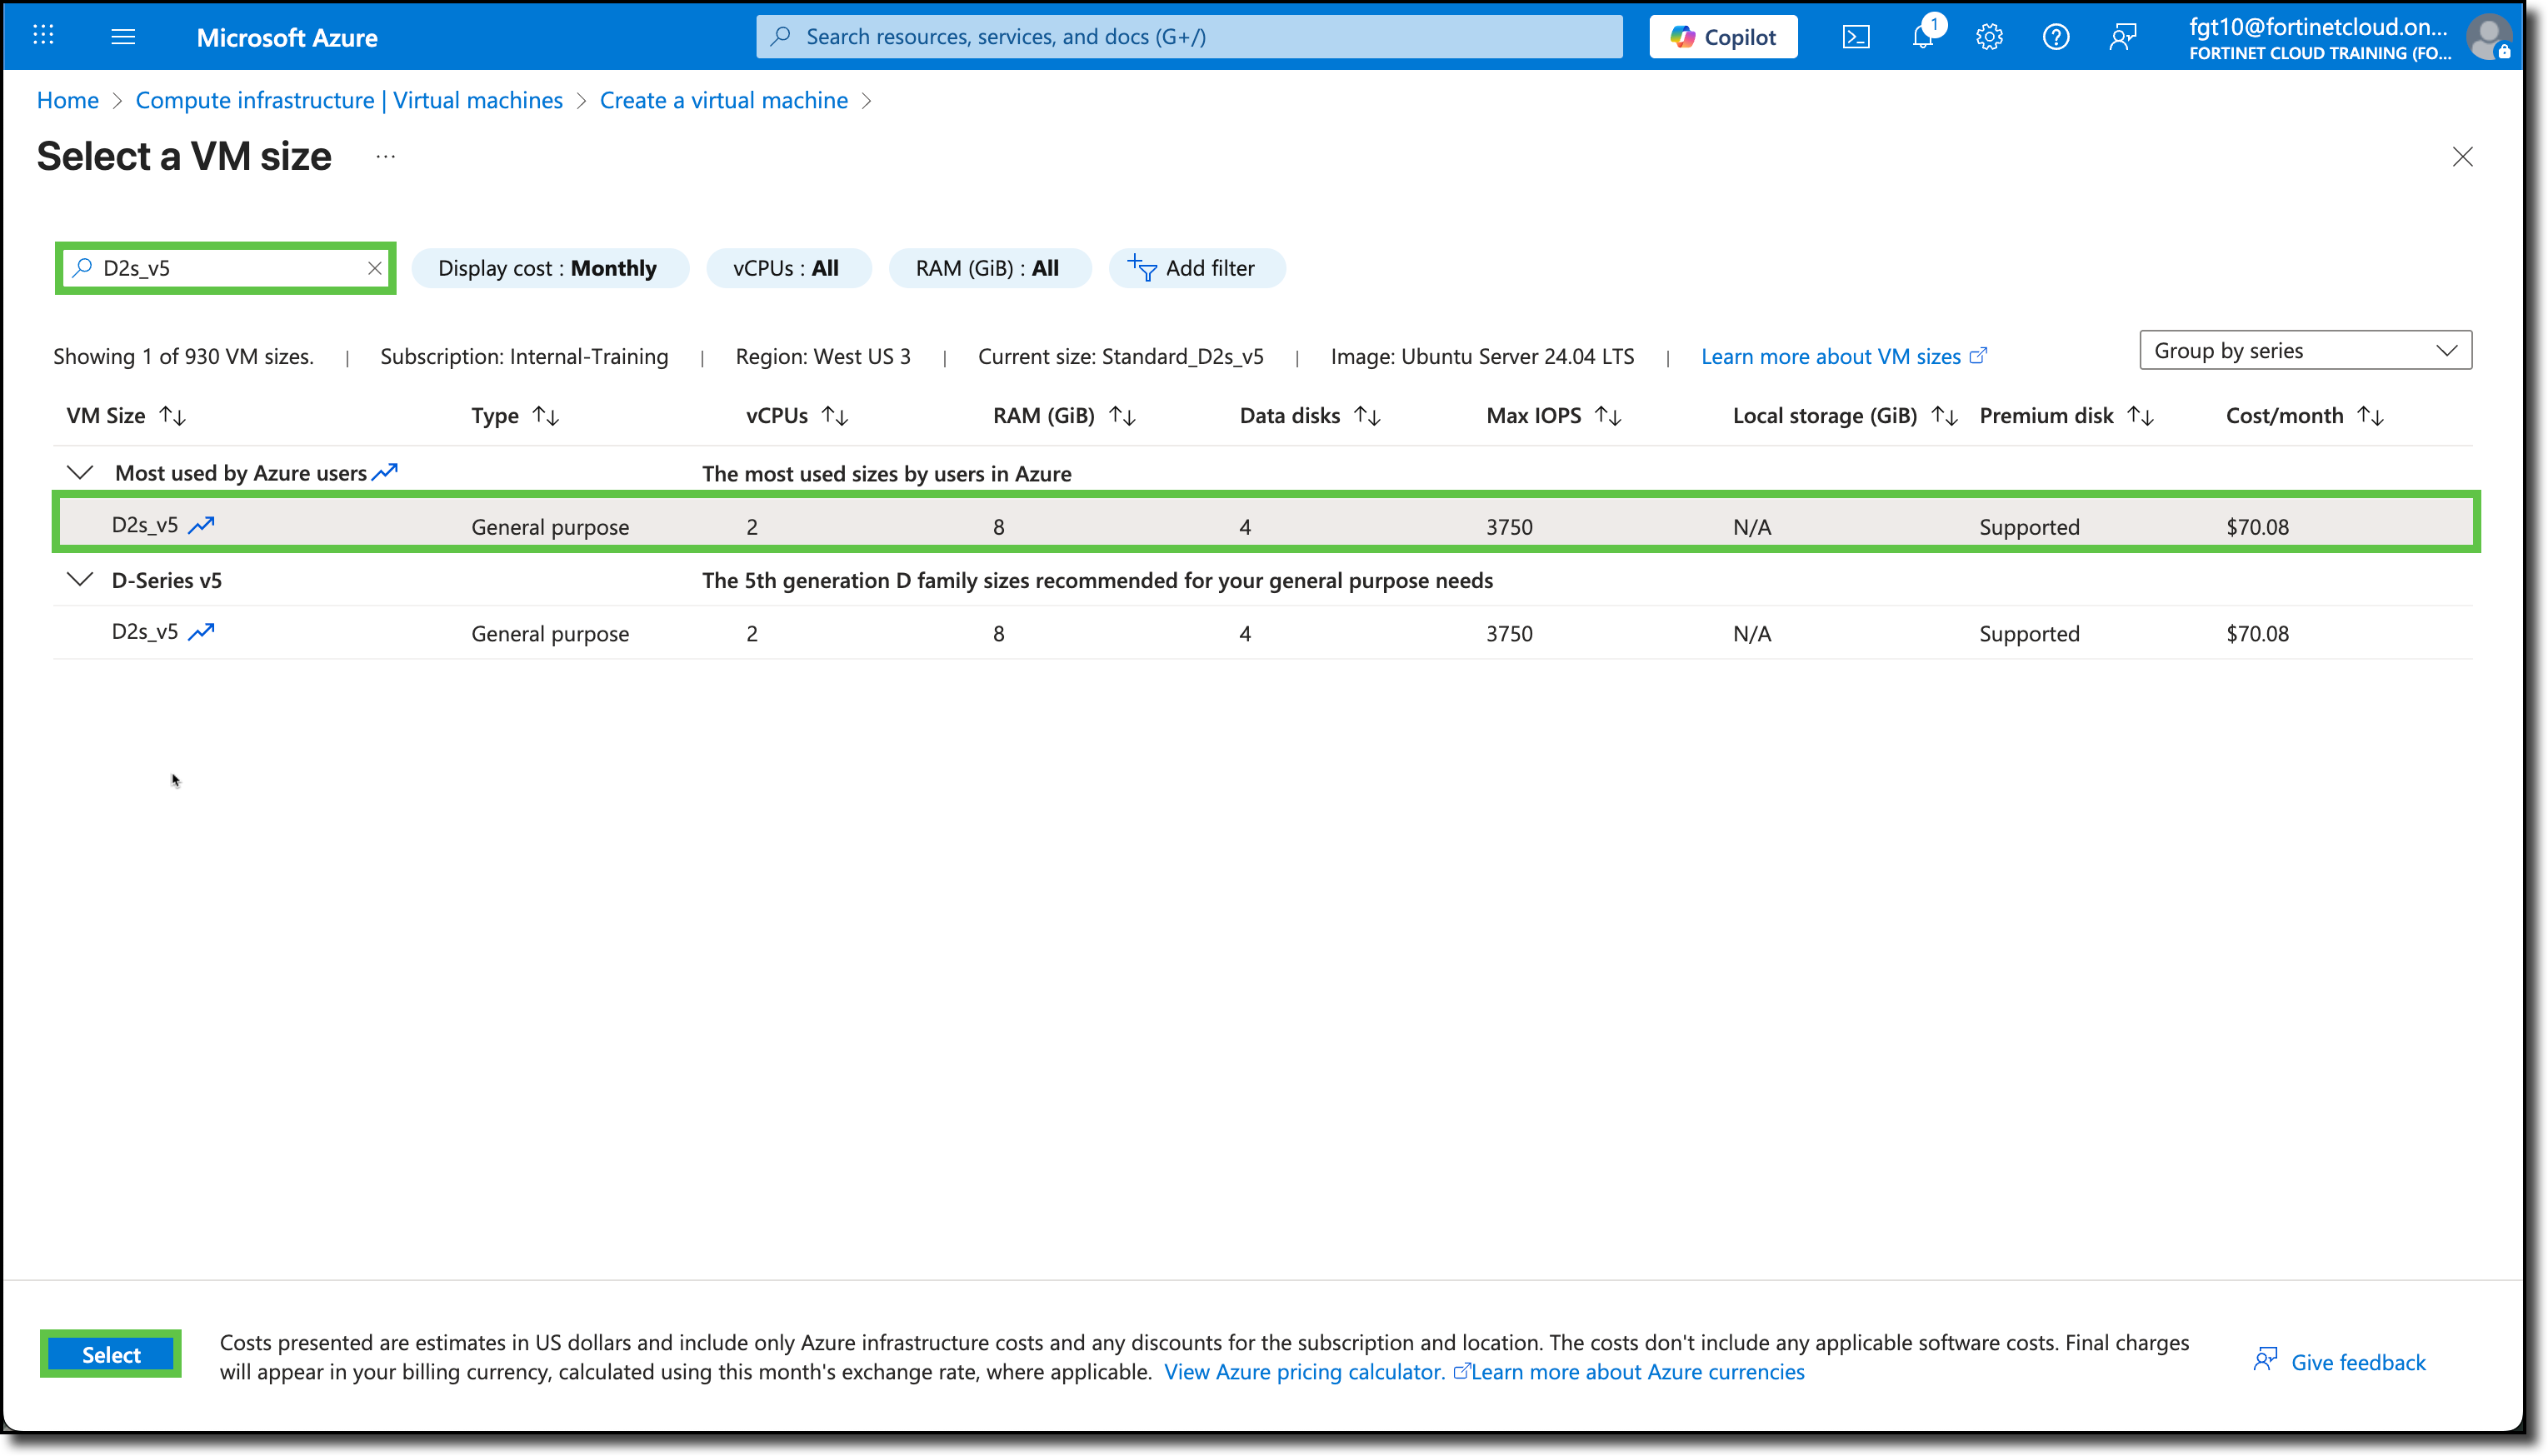
- Size: Select See all sizes under the size drop-down
Search for
D2s_v5Select “D2s_v5”
Click “Select”
Continuing from Create a virtual machine Basics tab:
- Authentication type: Password
- Username:
azureuser - Password:
123Password#@! - Confirm password:
123Password#@!
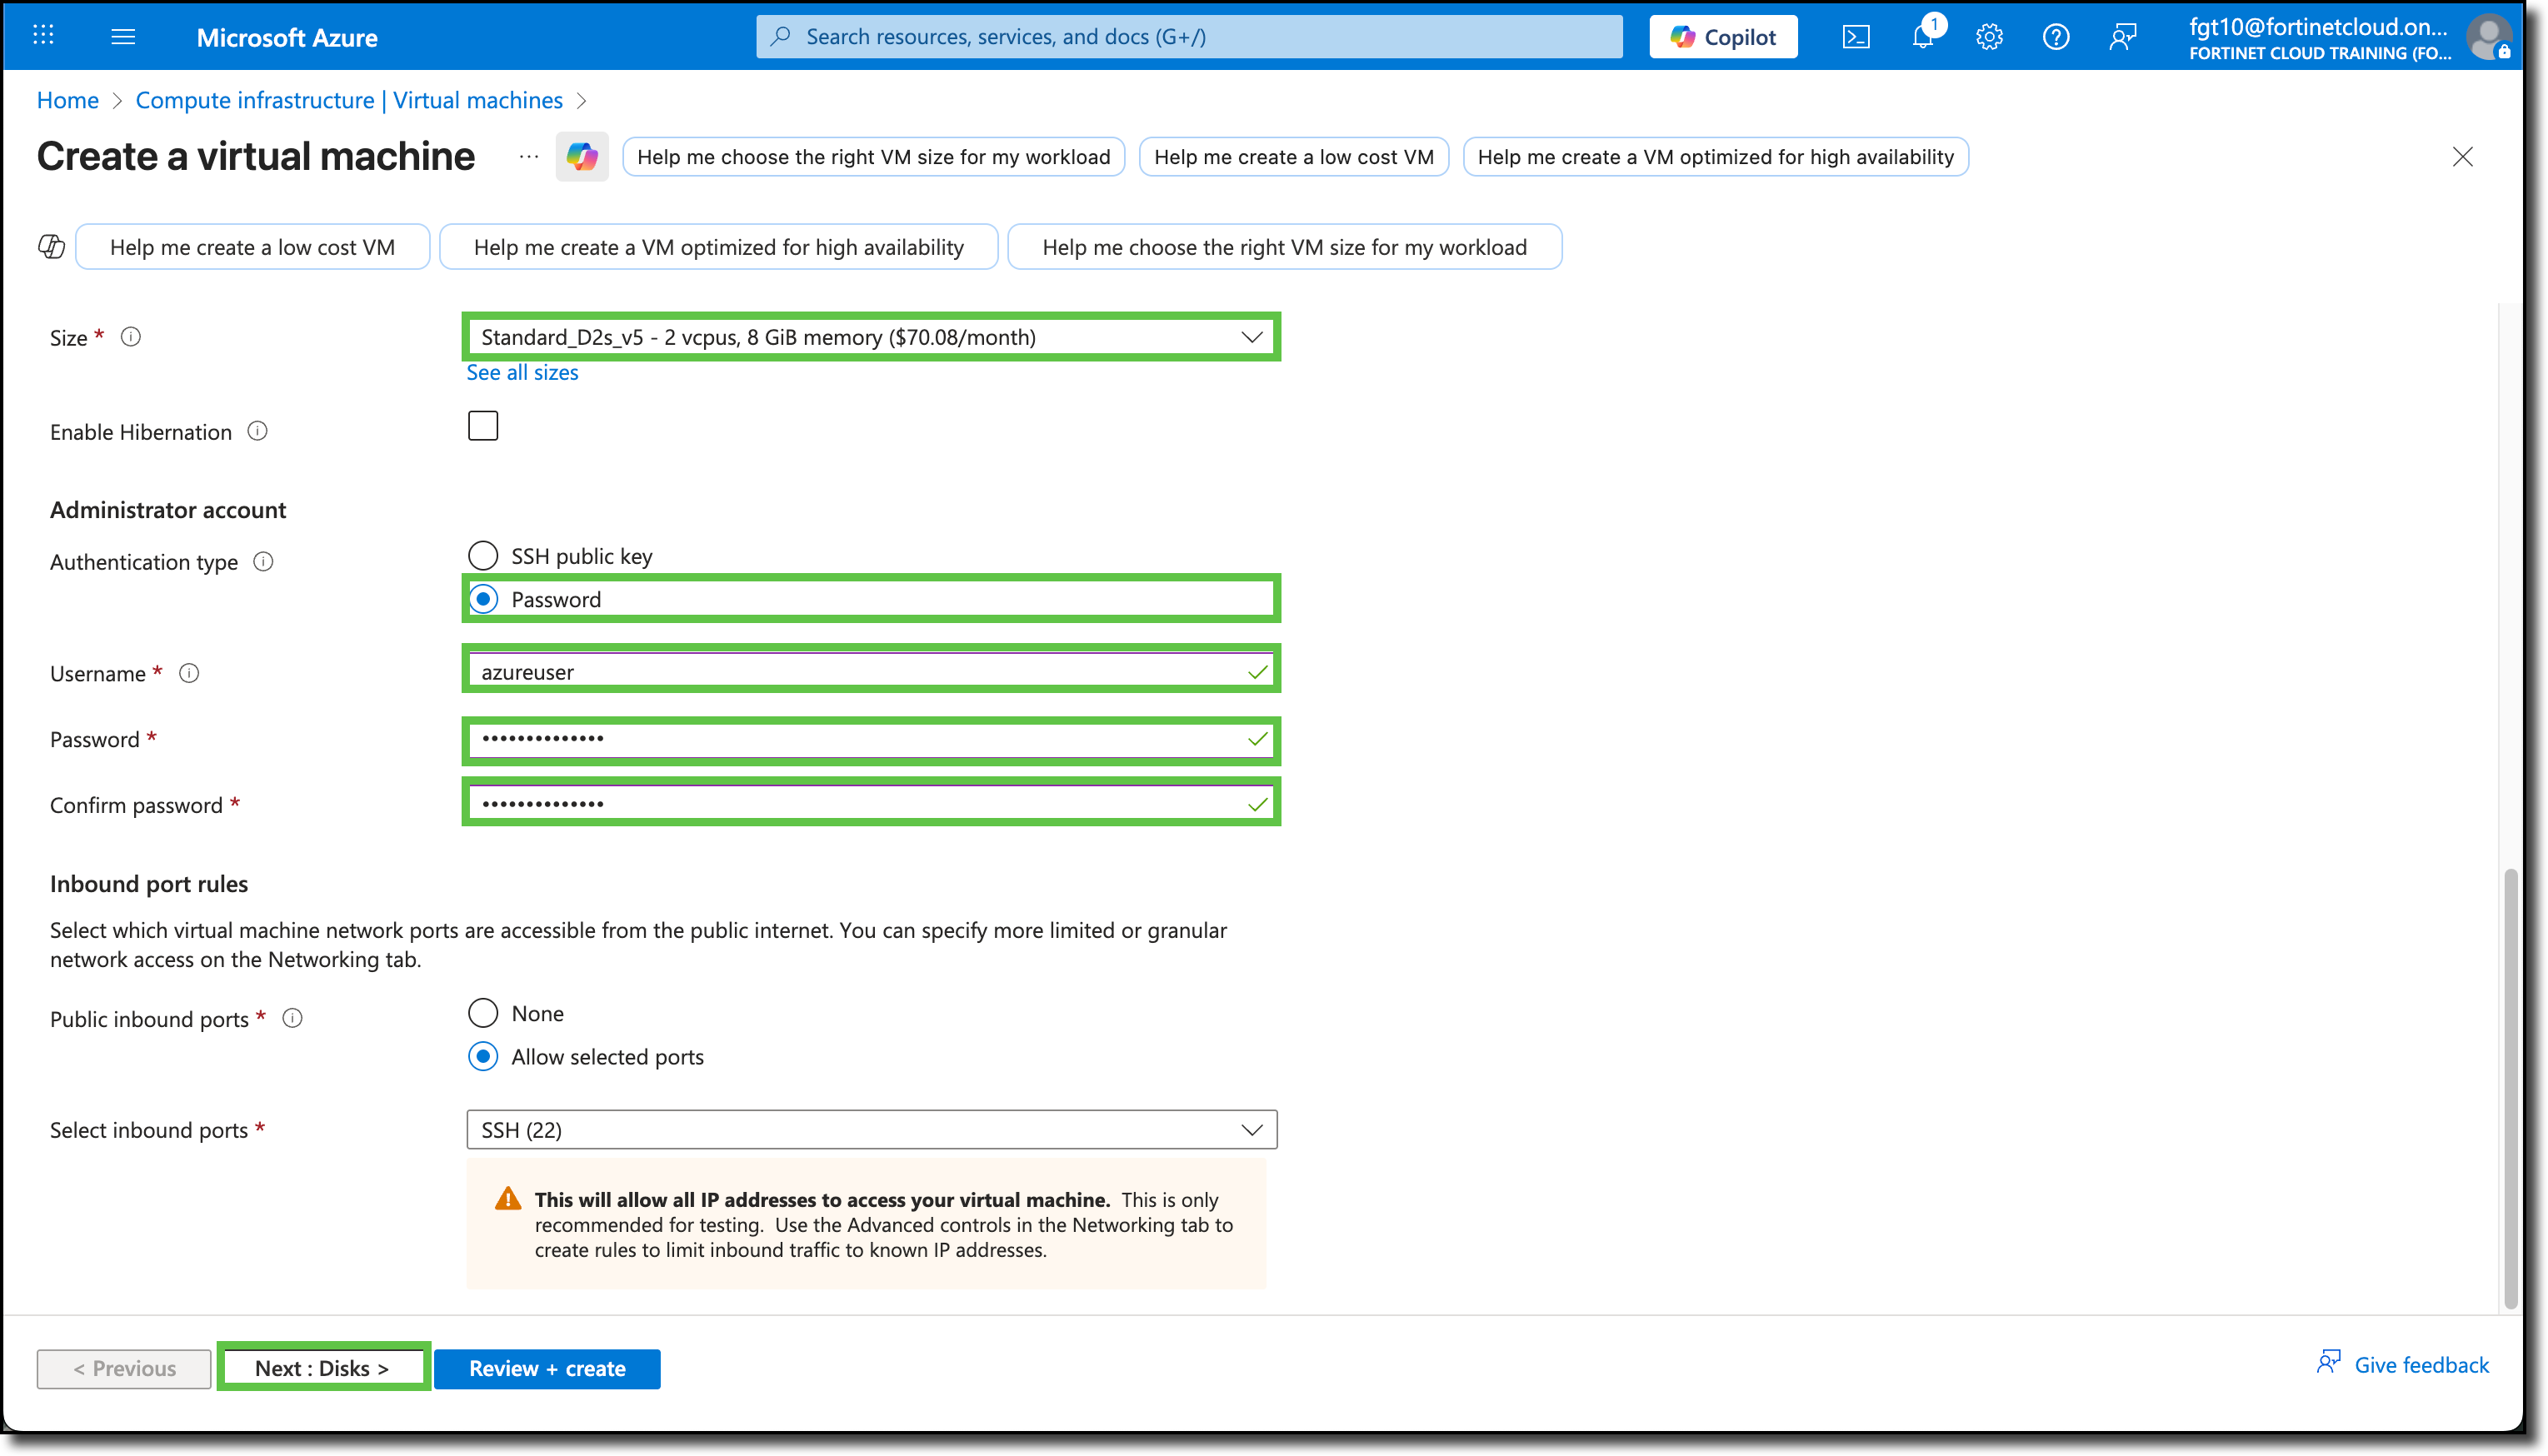
Confirm the changes and the other field’s default entries match as shown here.

Click Next: Disks >.
On the Disk tab, keep the default settings, take a moment to review the available disk services and settings.
Click “Next: Networking >”
On the Networking tab, update the following fields:
(Leave the default entry of the other fields not listed here)
- Virtual network: Select abc-server-vnet
- Subnet: Select snet-a (192.168.1.128/27)
- Delete public IP and NIC when VM is deleted: Select
Confirm the changes and the other field’s default entries match as shown here.
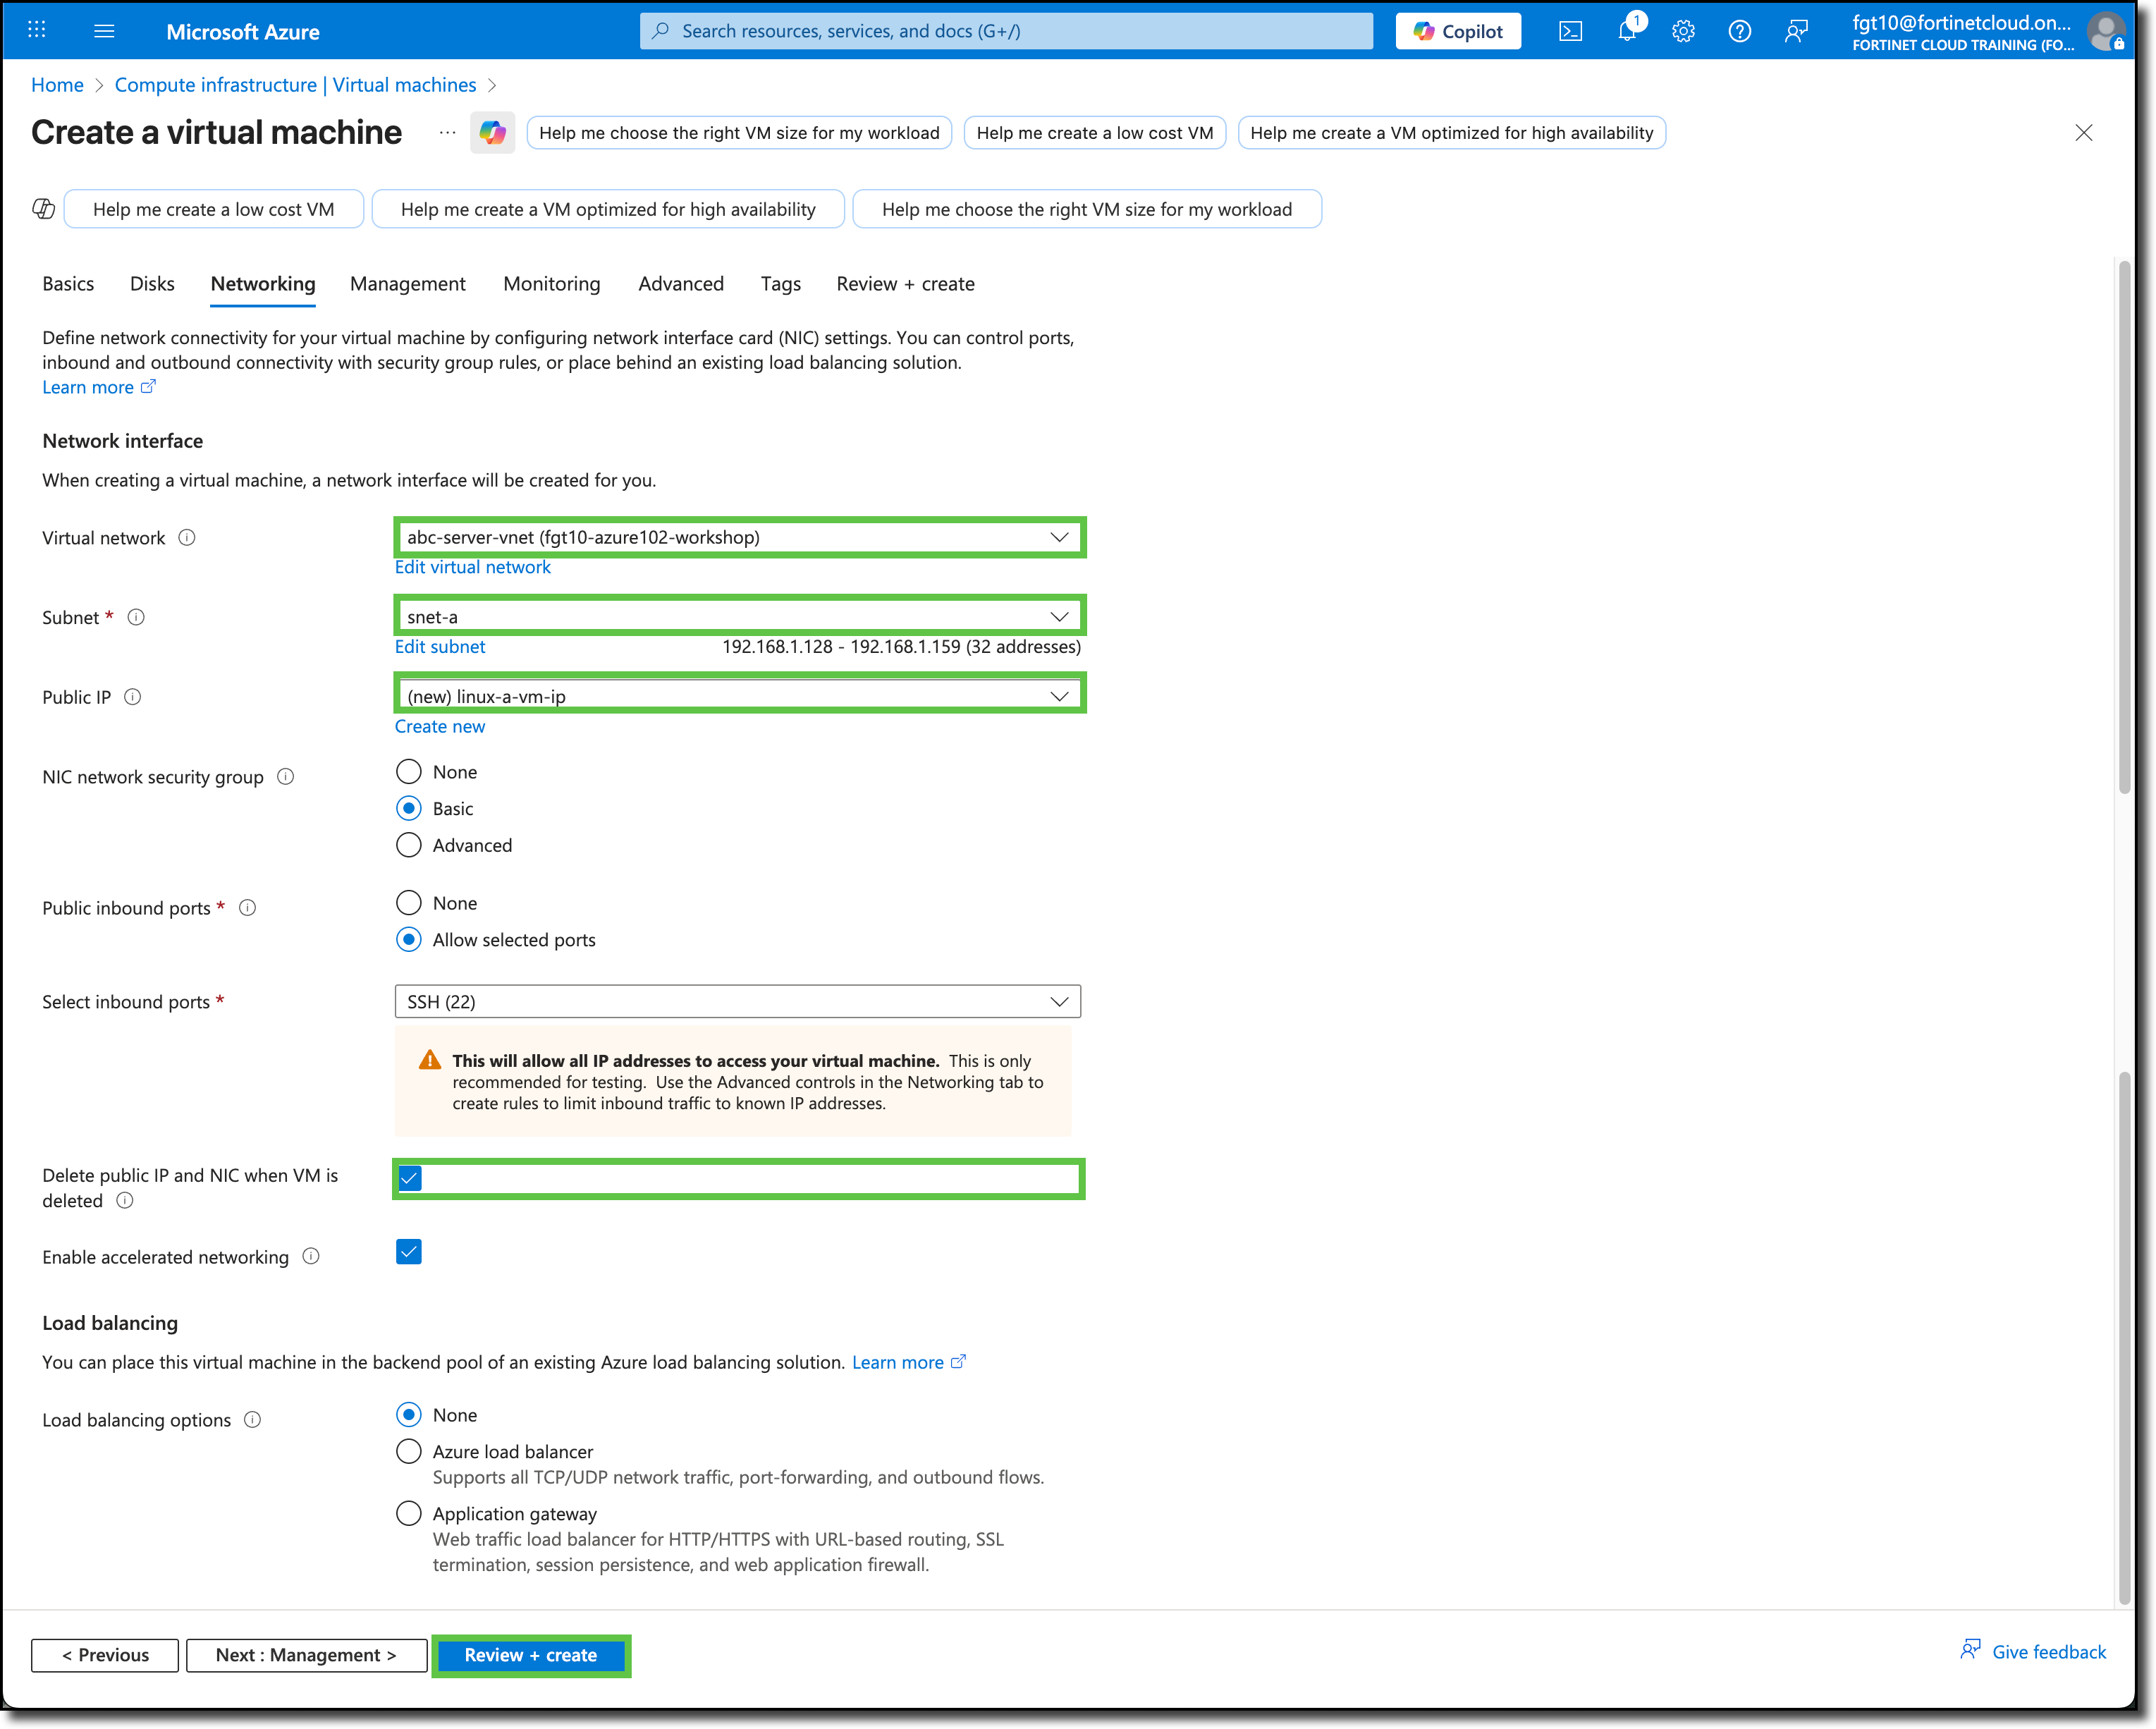
Select Review + create >.
Note
You are skipping the Management, Monitoring, Advanced, and Tags tabs. Feel free to review those tabs to view the available services and settings on those tabs.
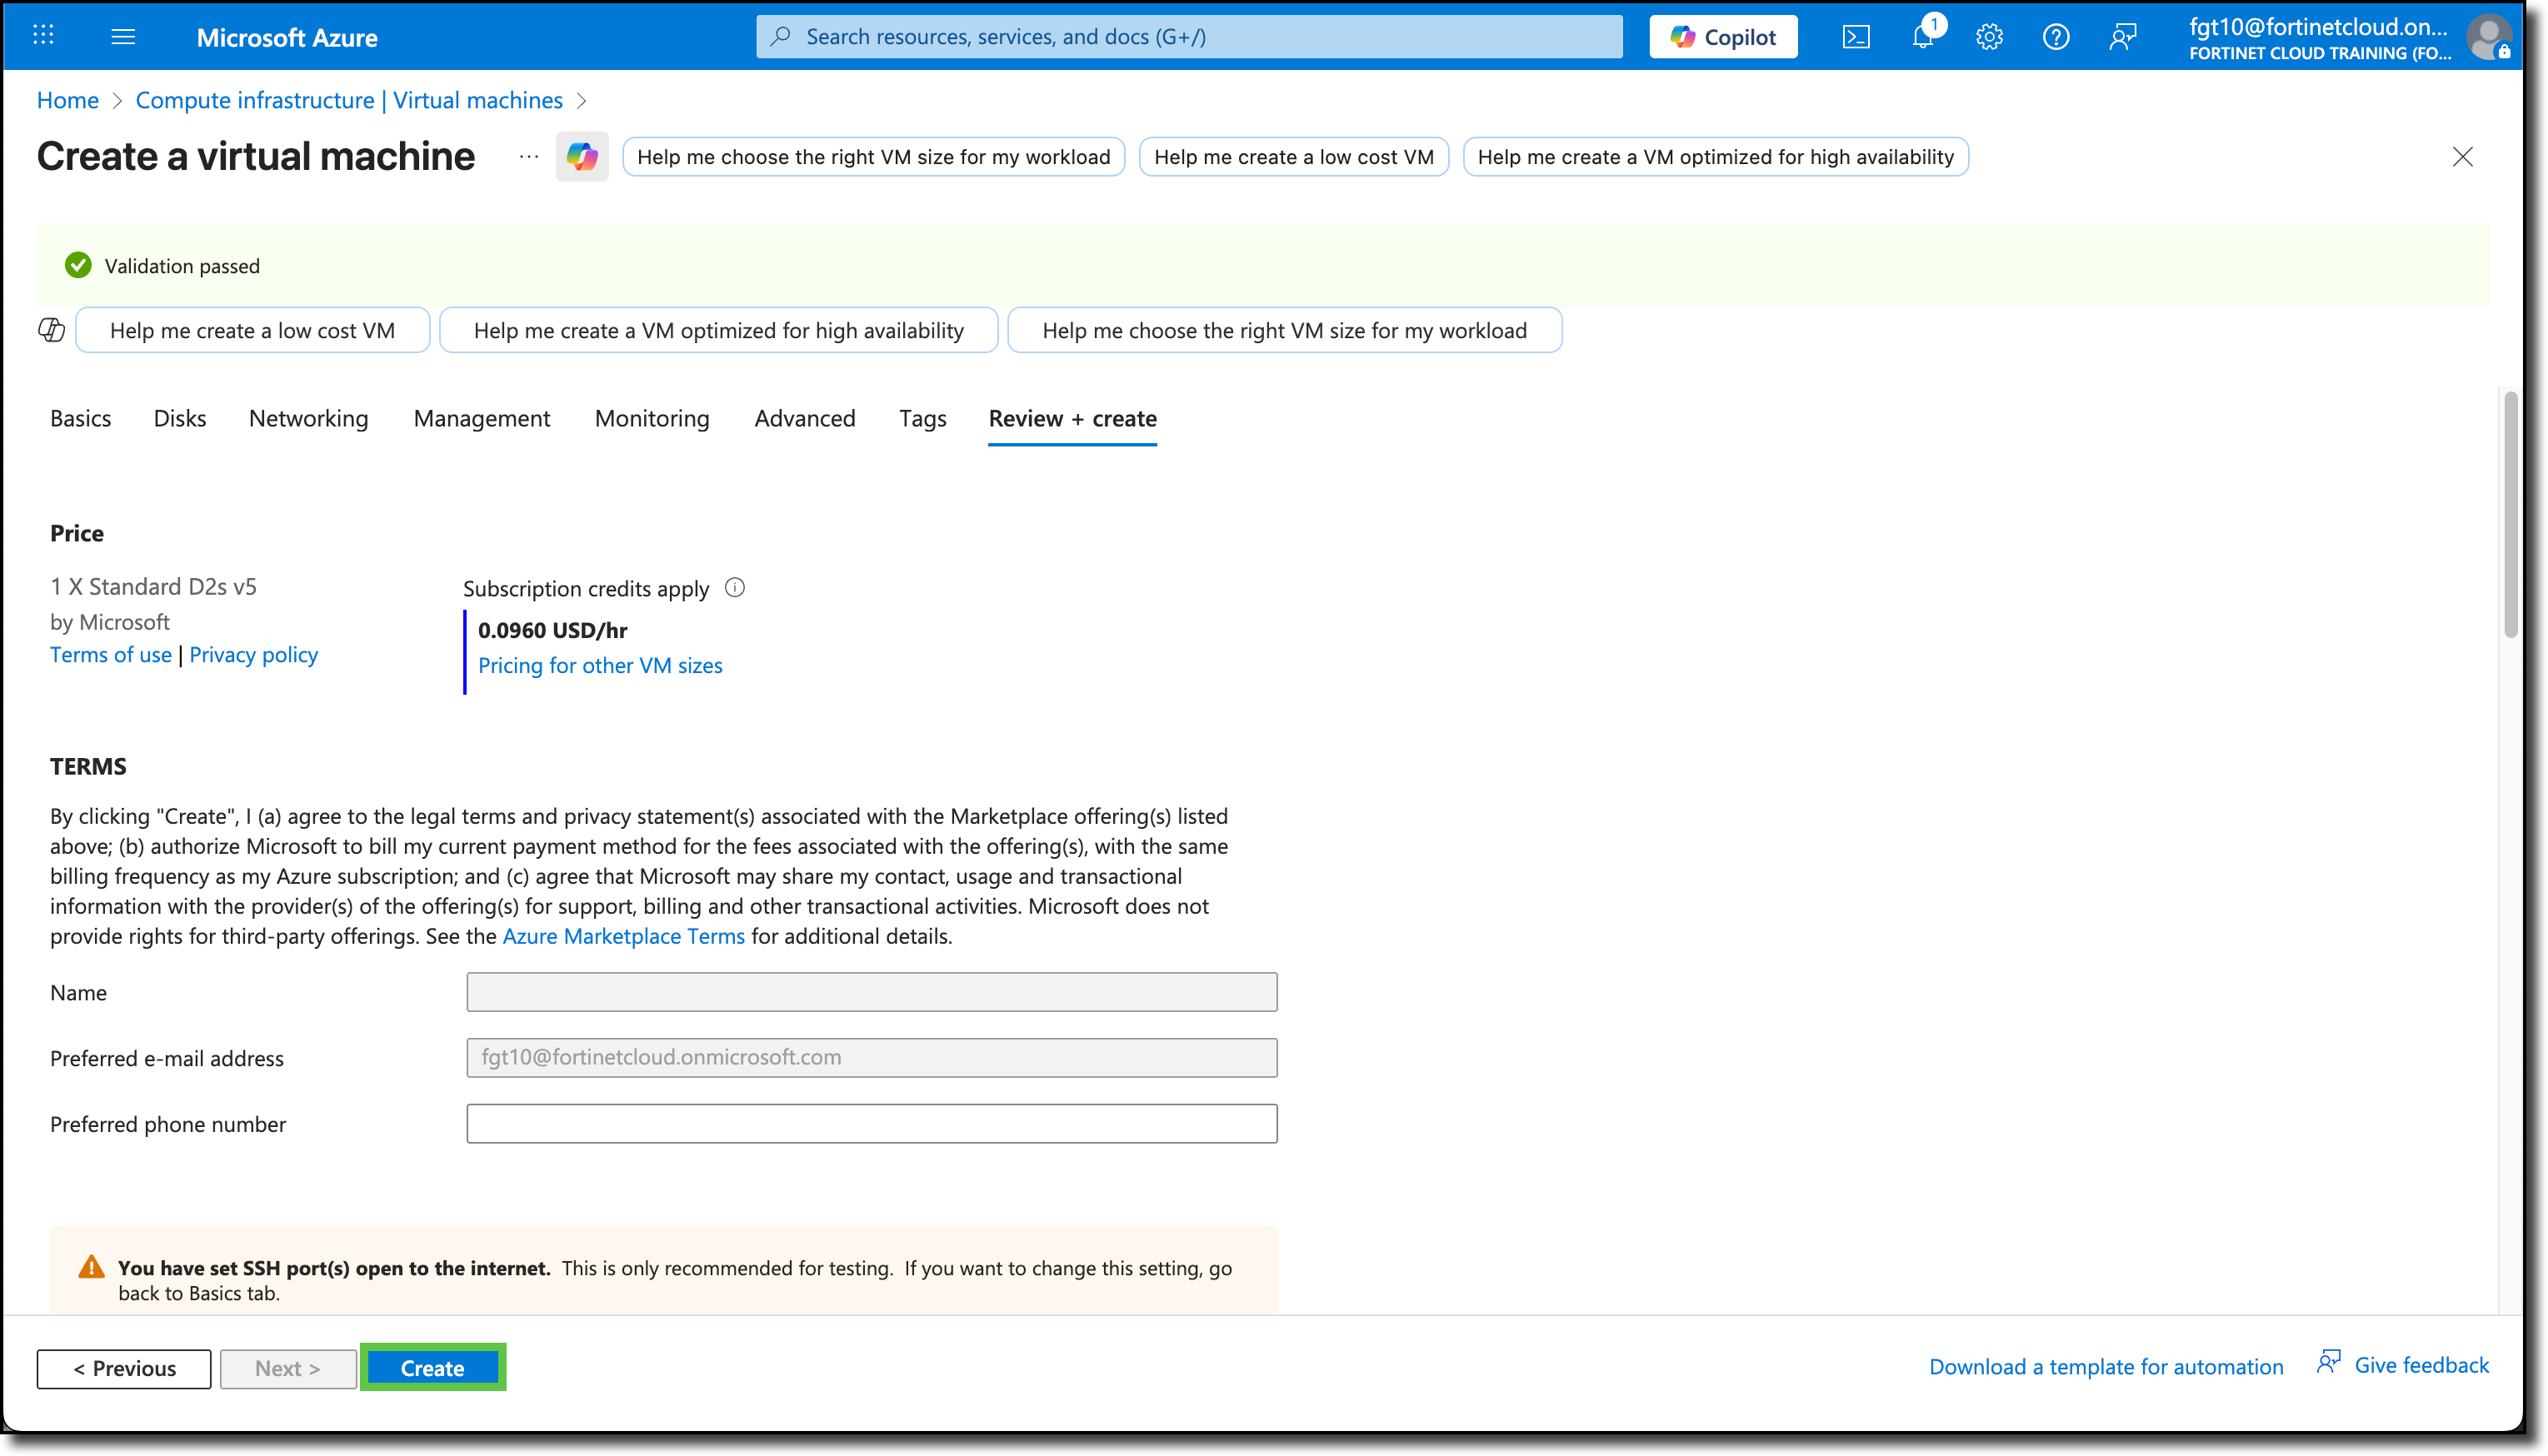
Confirm the template validation has passed and select Create
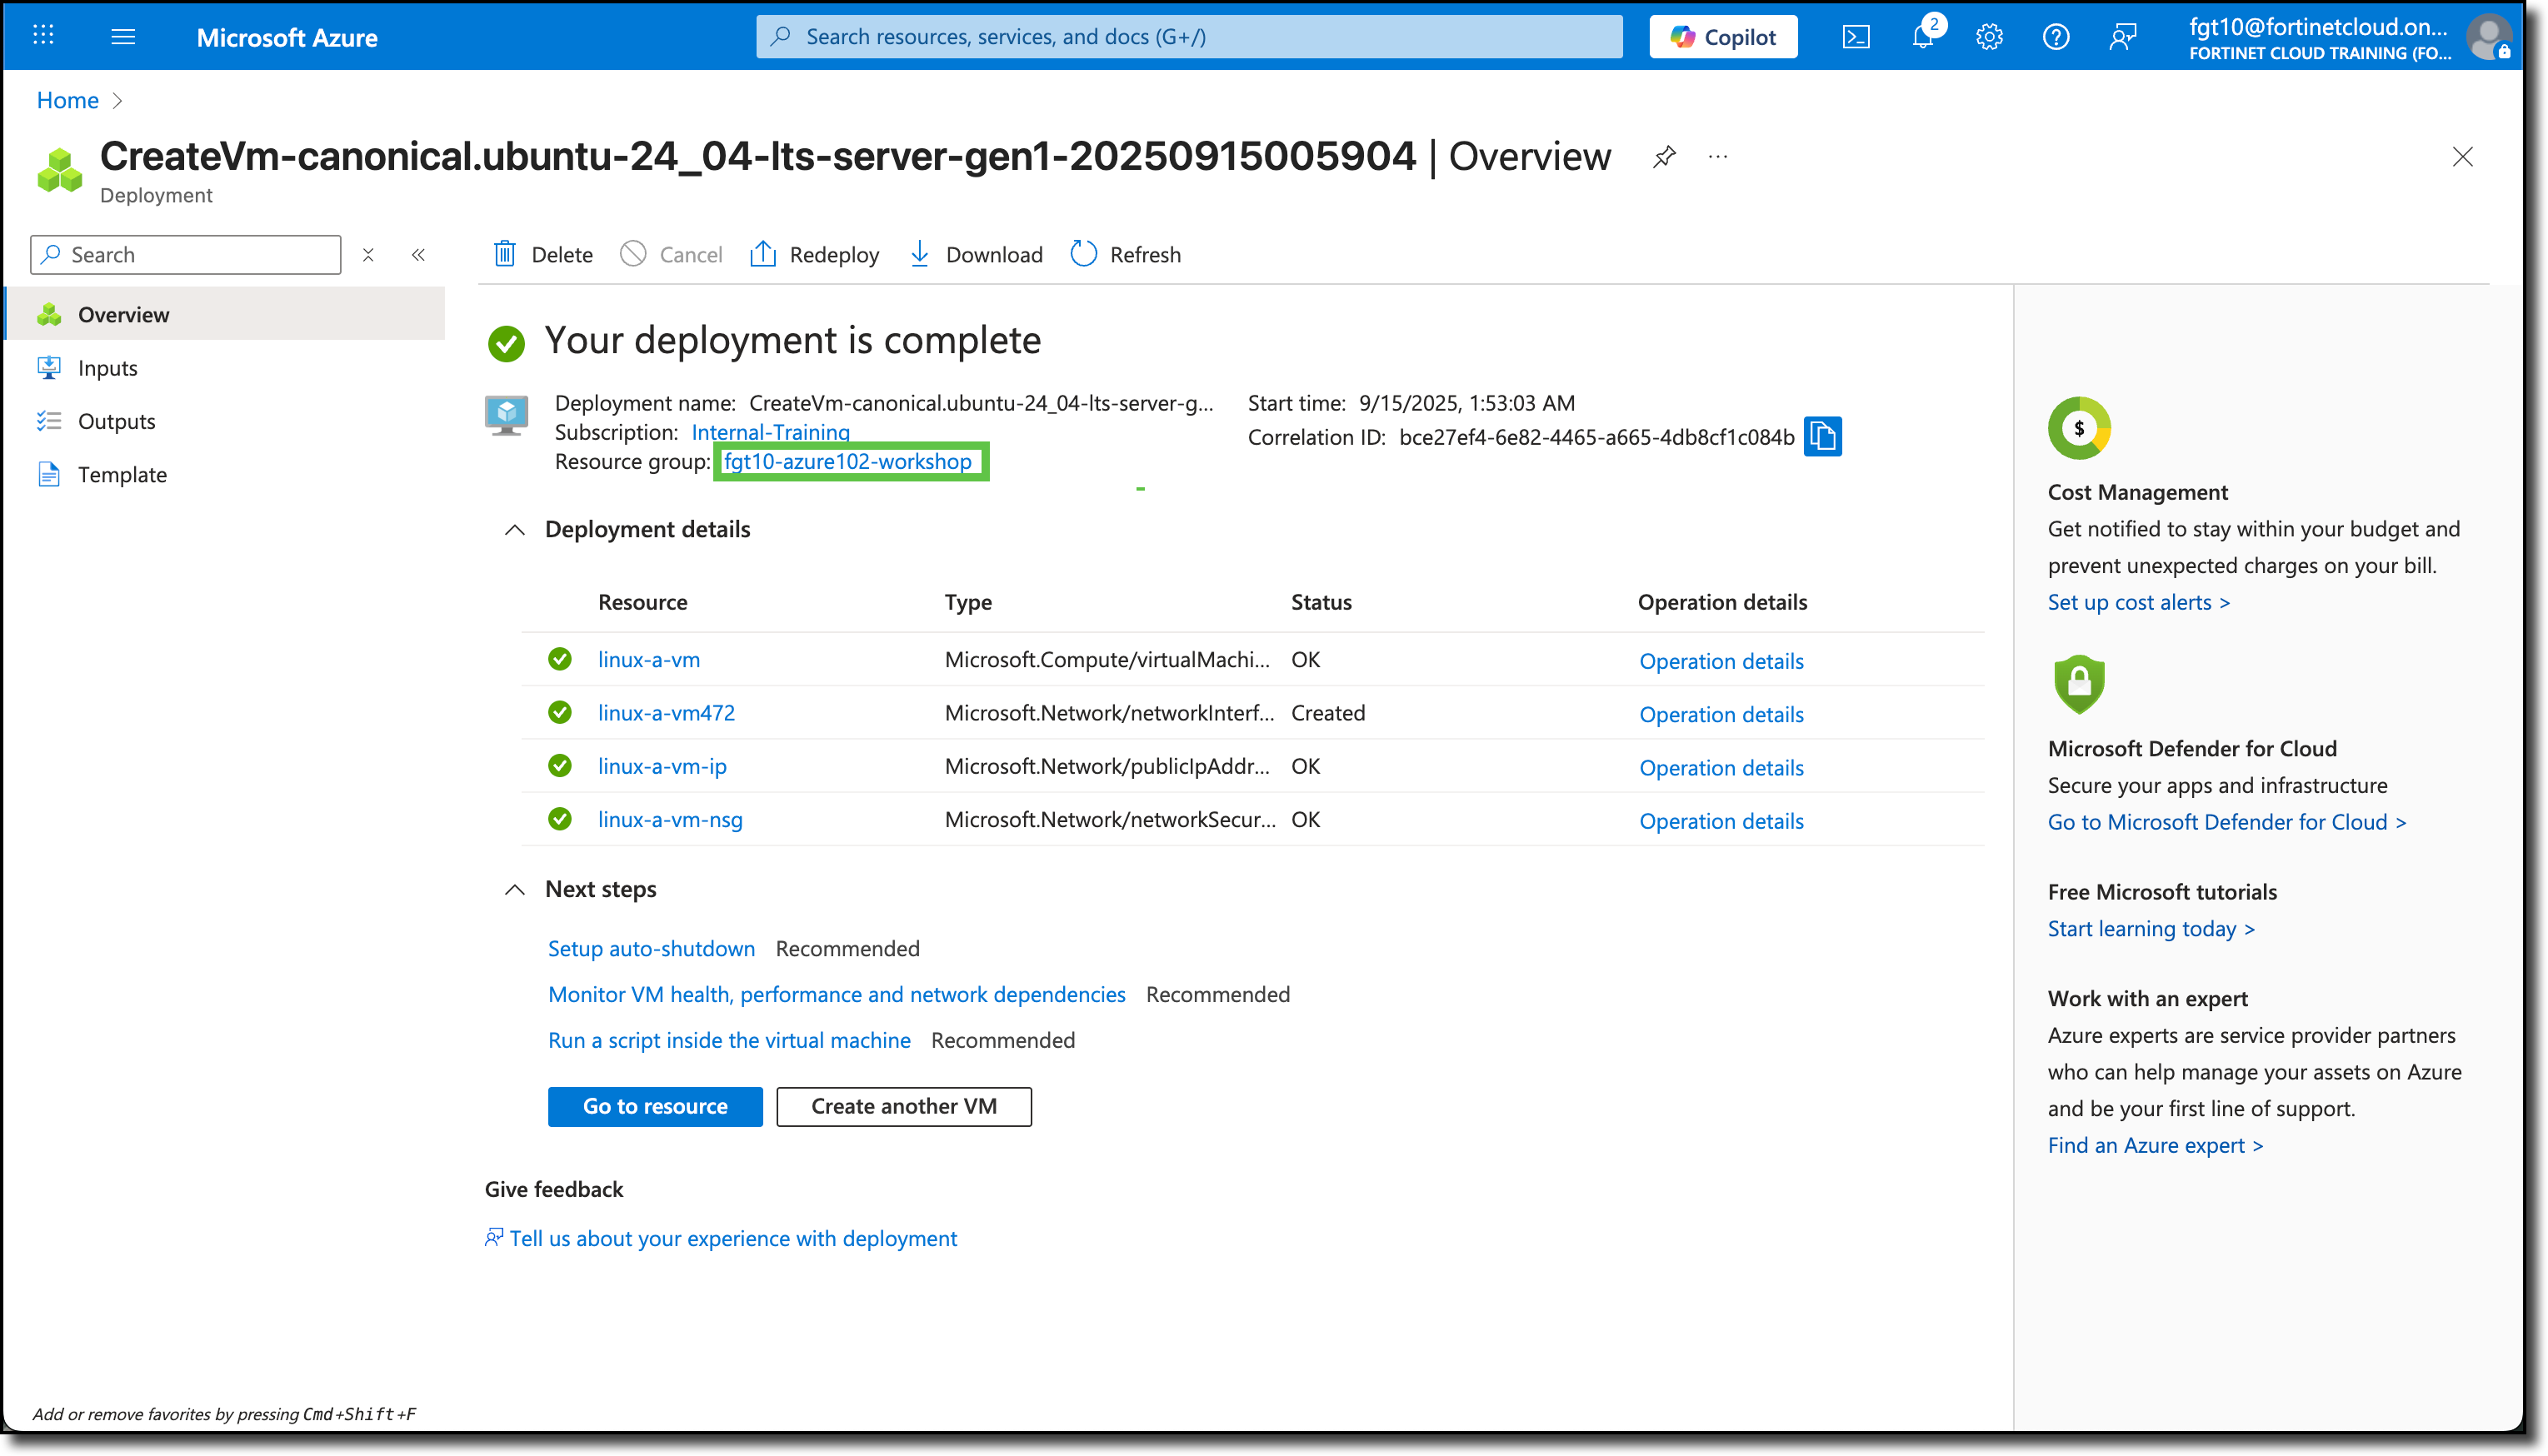
The Deployment is in progress notice is displayed.
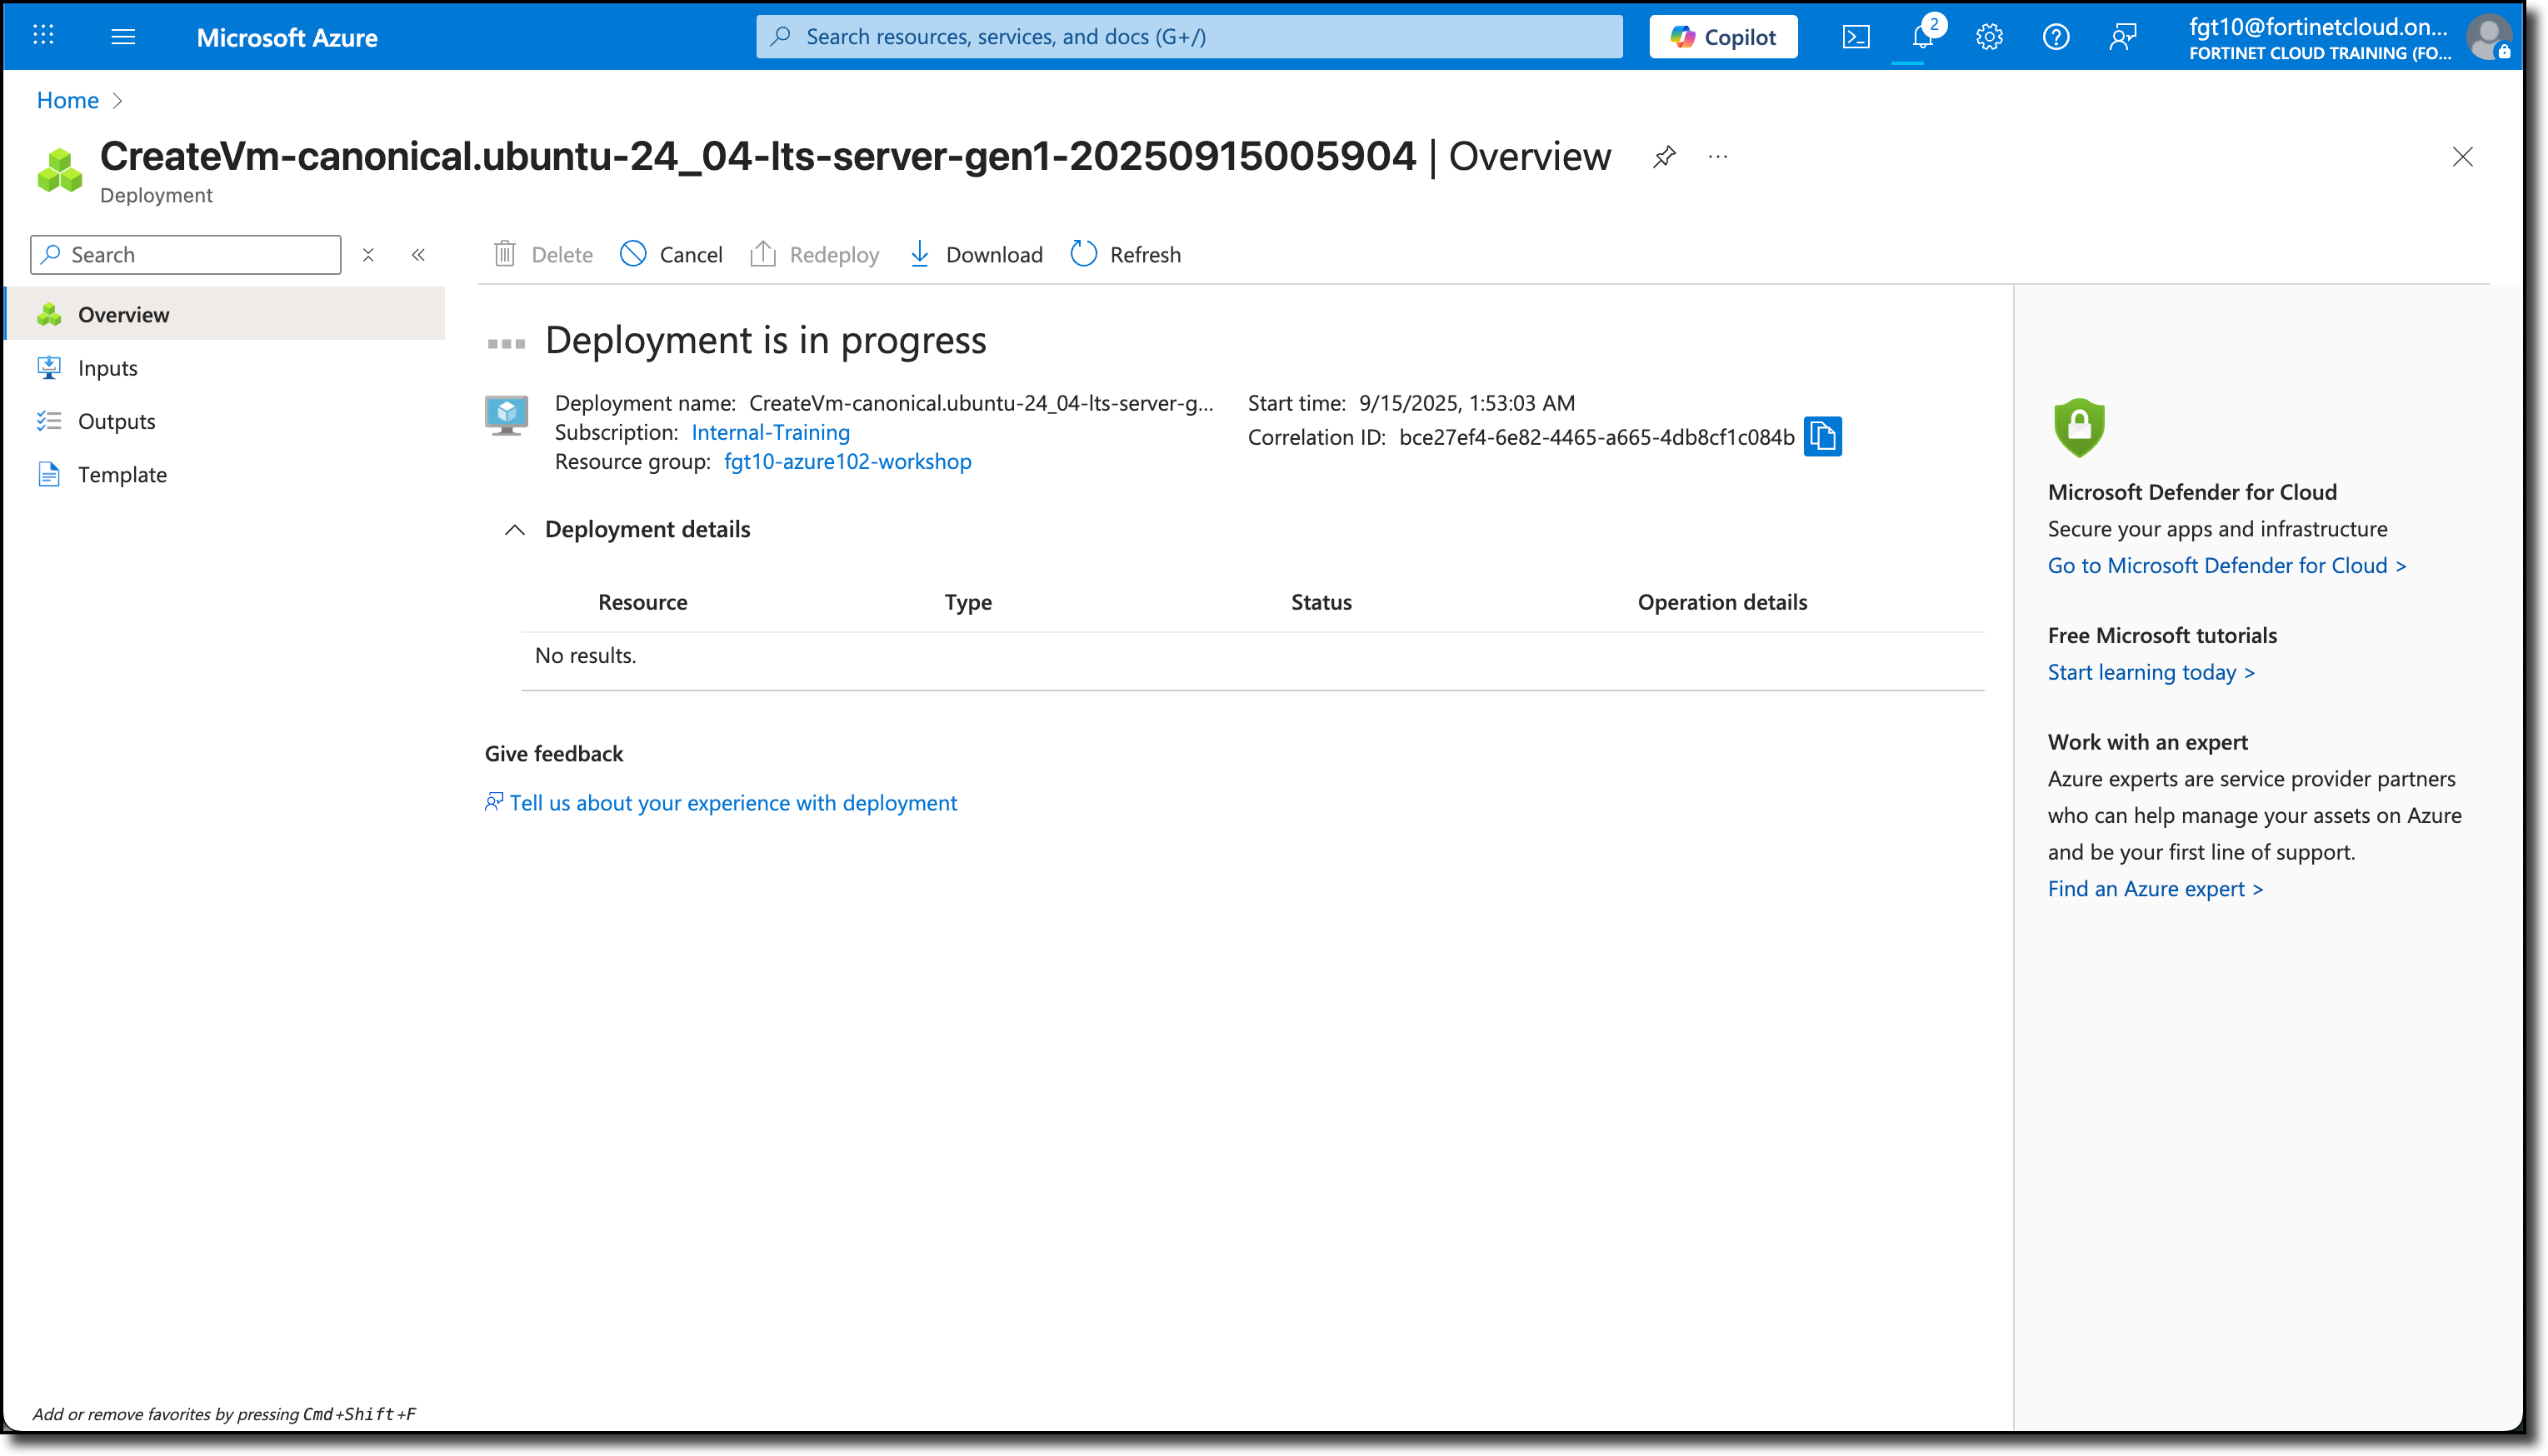
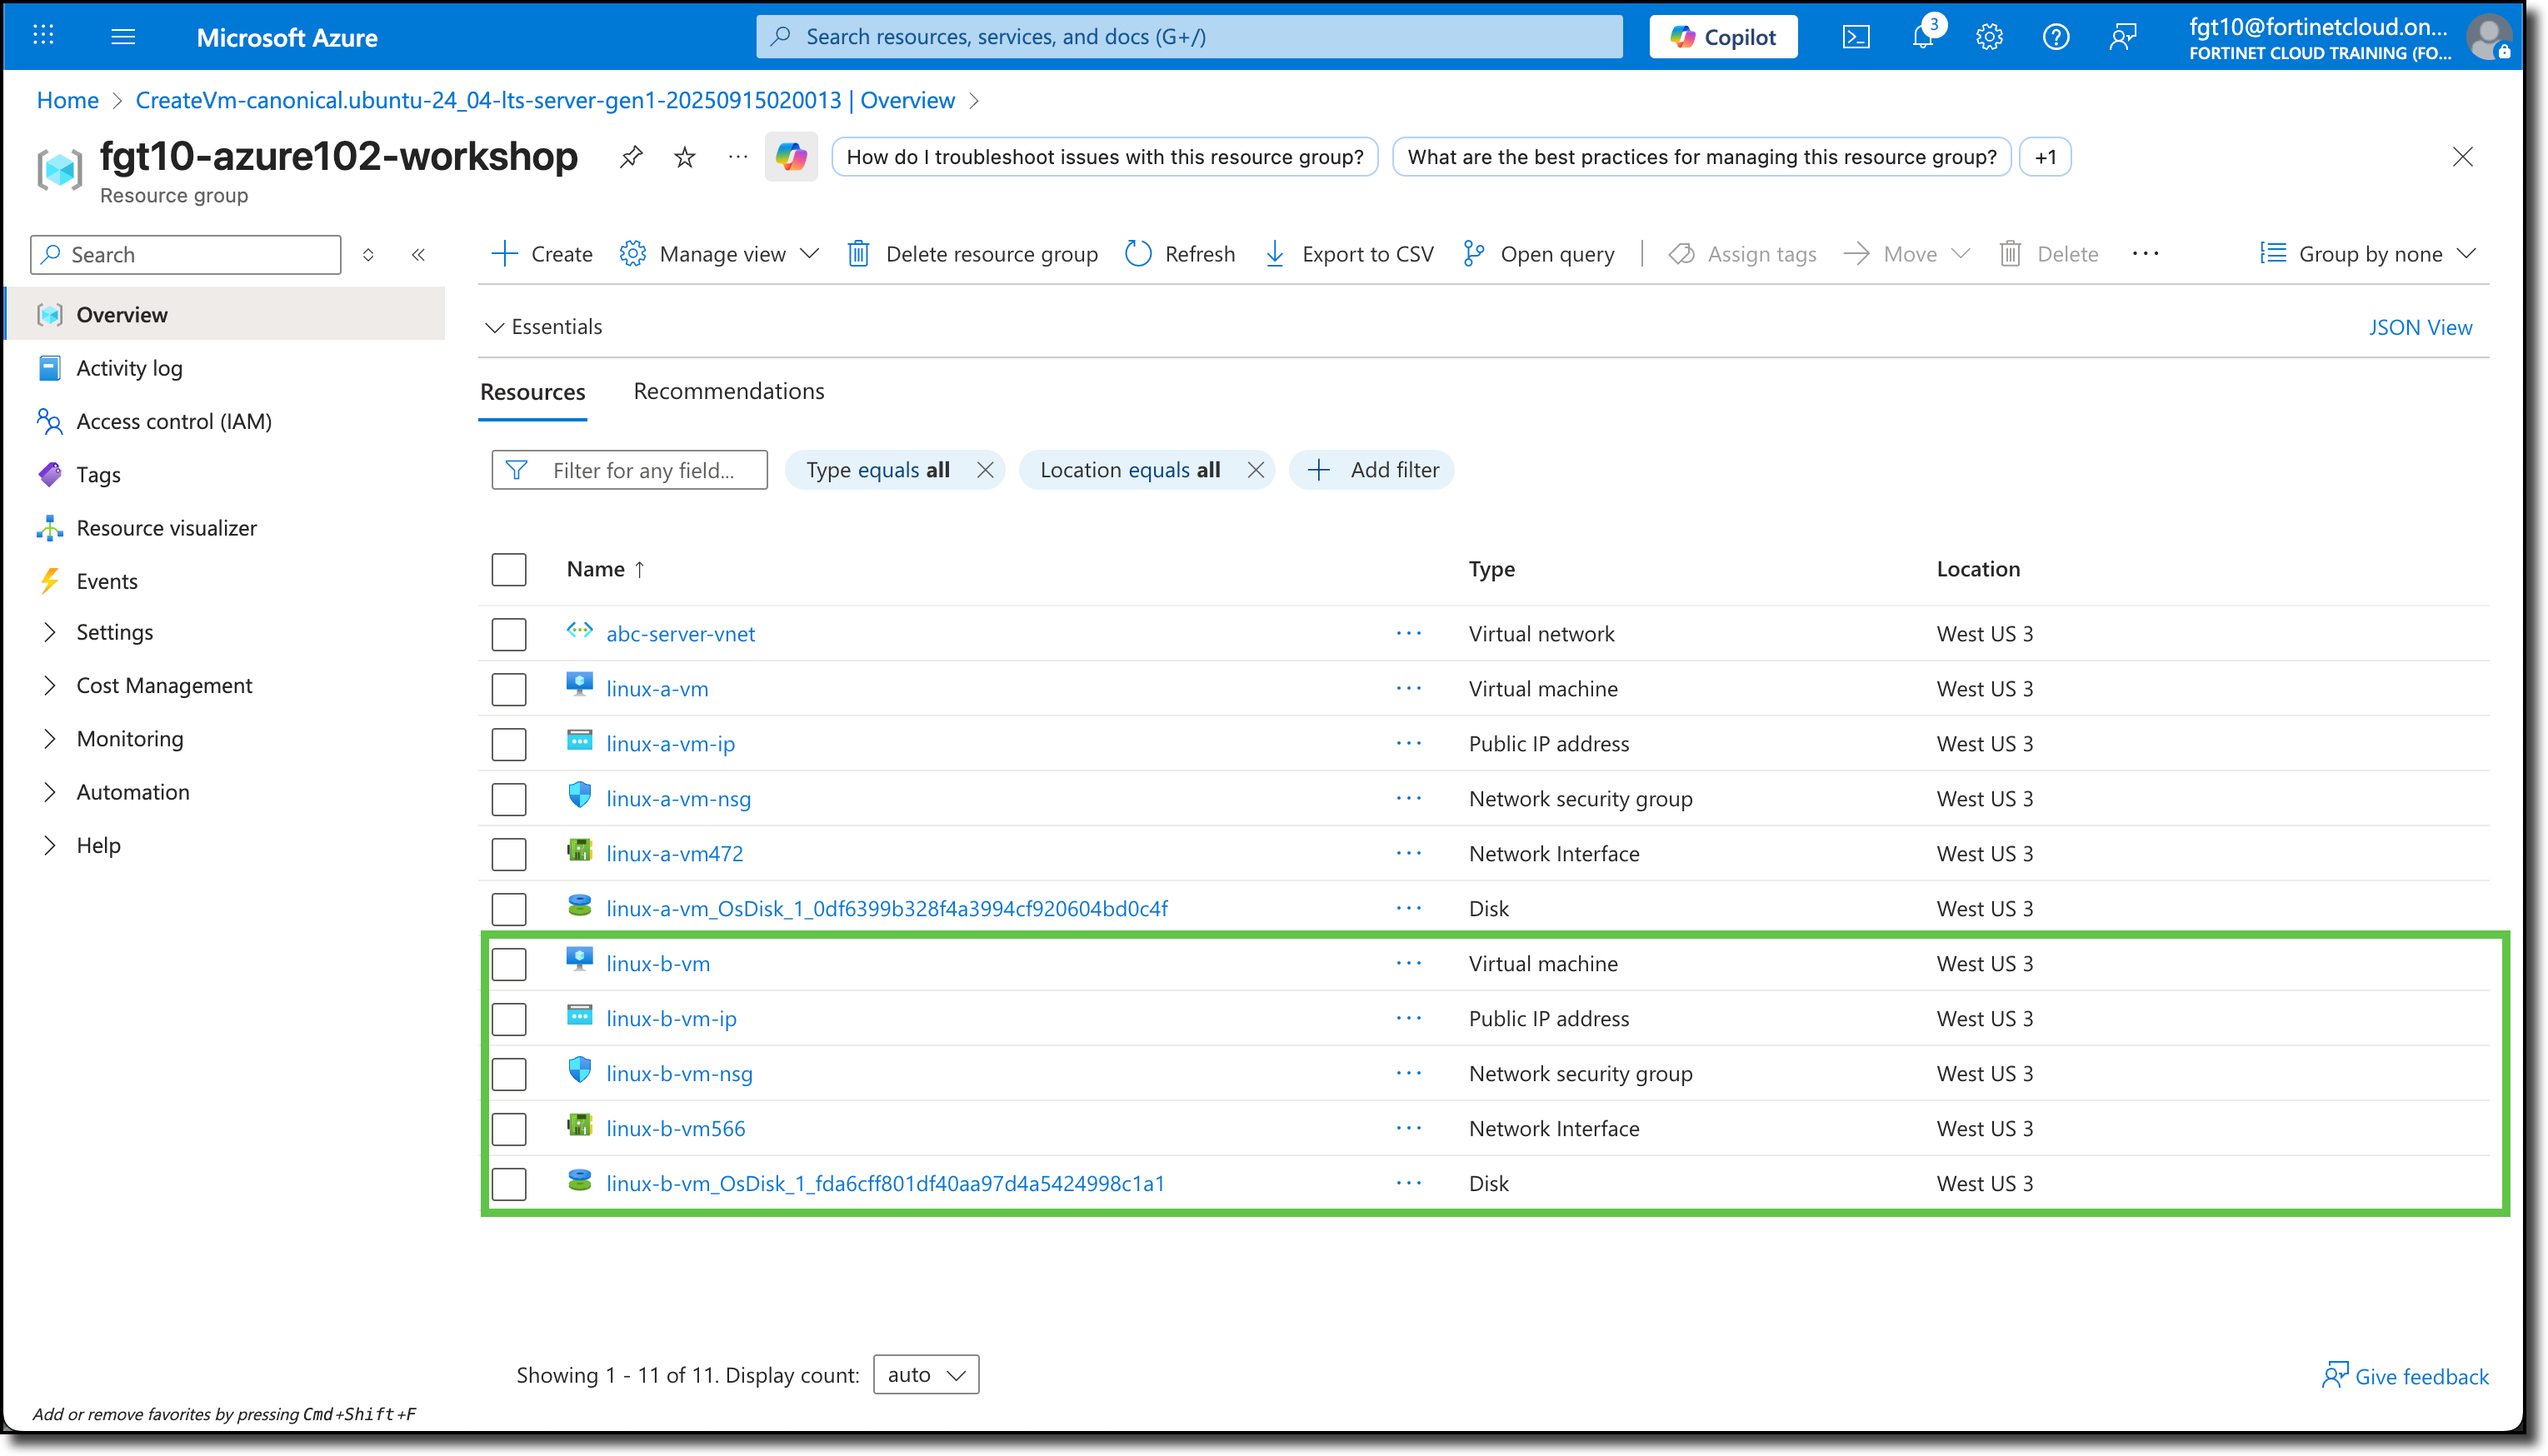
Once the Your deployment is complete notice is displayed, click on the fgtXX-azure102-workshop link to be re-directed to your Resource Group.
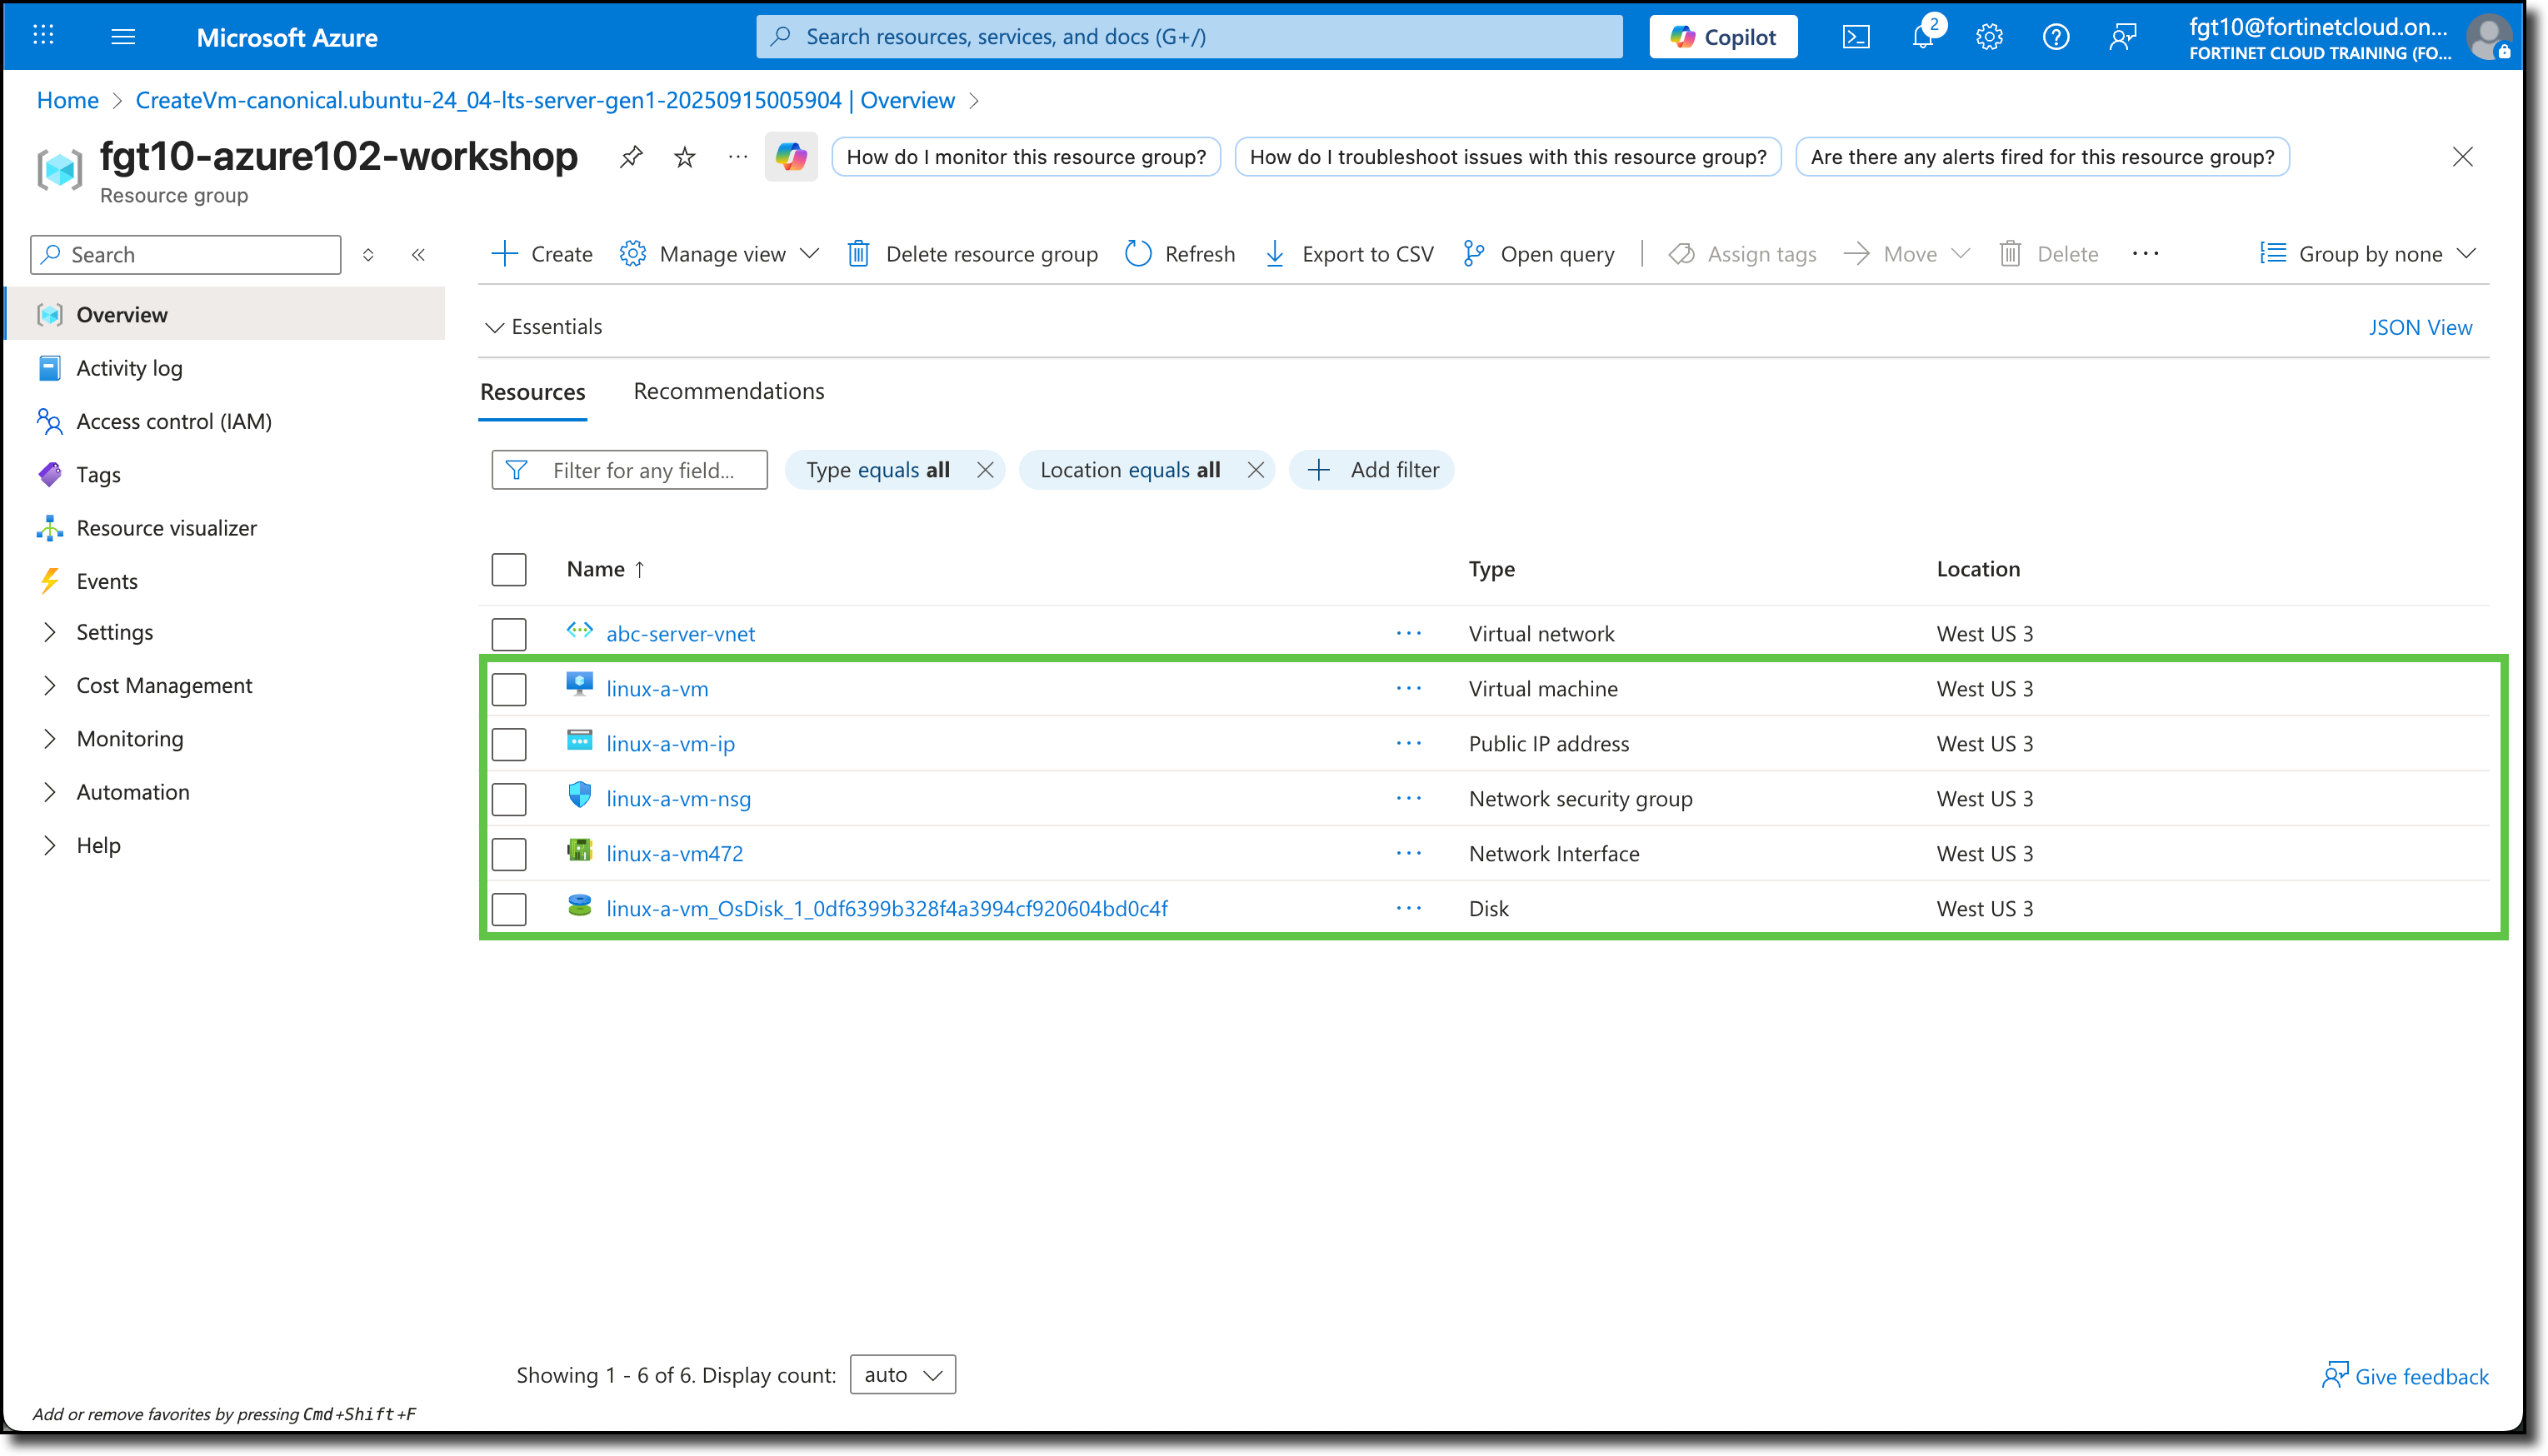
Verify the new linux-a-vm and the associated components are listed.
Steps to create linux-b-vm
Follow the same steps to create the linux-b-vm. You will need to alter the following where appropriate:
- Virtual machine name:
linux-b-vm - Subnet: snet-b (192.168.1.160/27)
- Virtual machine name:
Verify the new linux-b-vm and the associated components are listed.