Task 2: Deploy a Route Table and Create a UDR
In Task 2, you will deploy a Route Table and modify the Route Table by associating both protected subnets to use port2 of the FortiGate as the default route. These routes are referred to as User Defined Routes (UDRs).
Create and configure an Azure Route Table
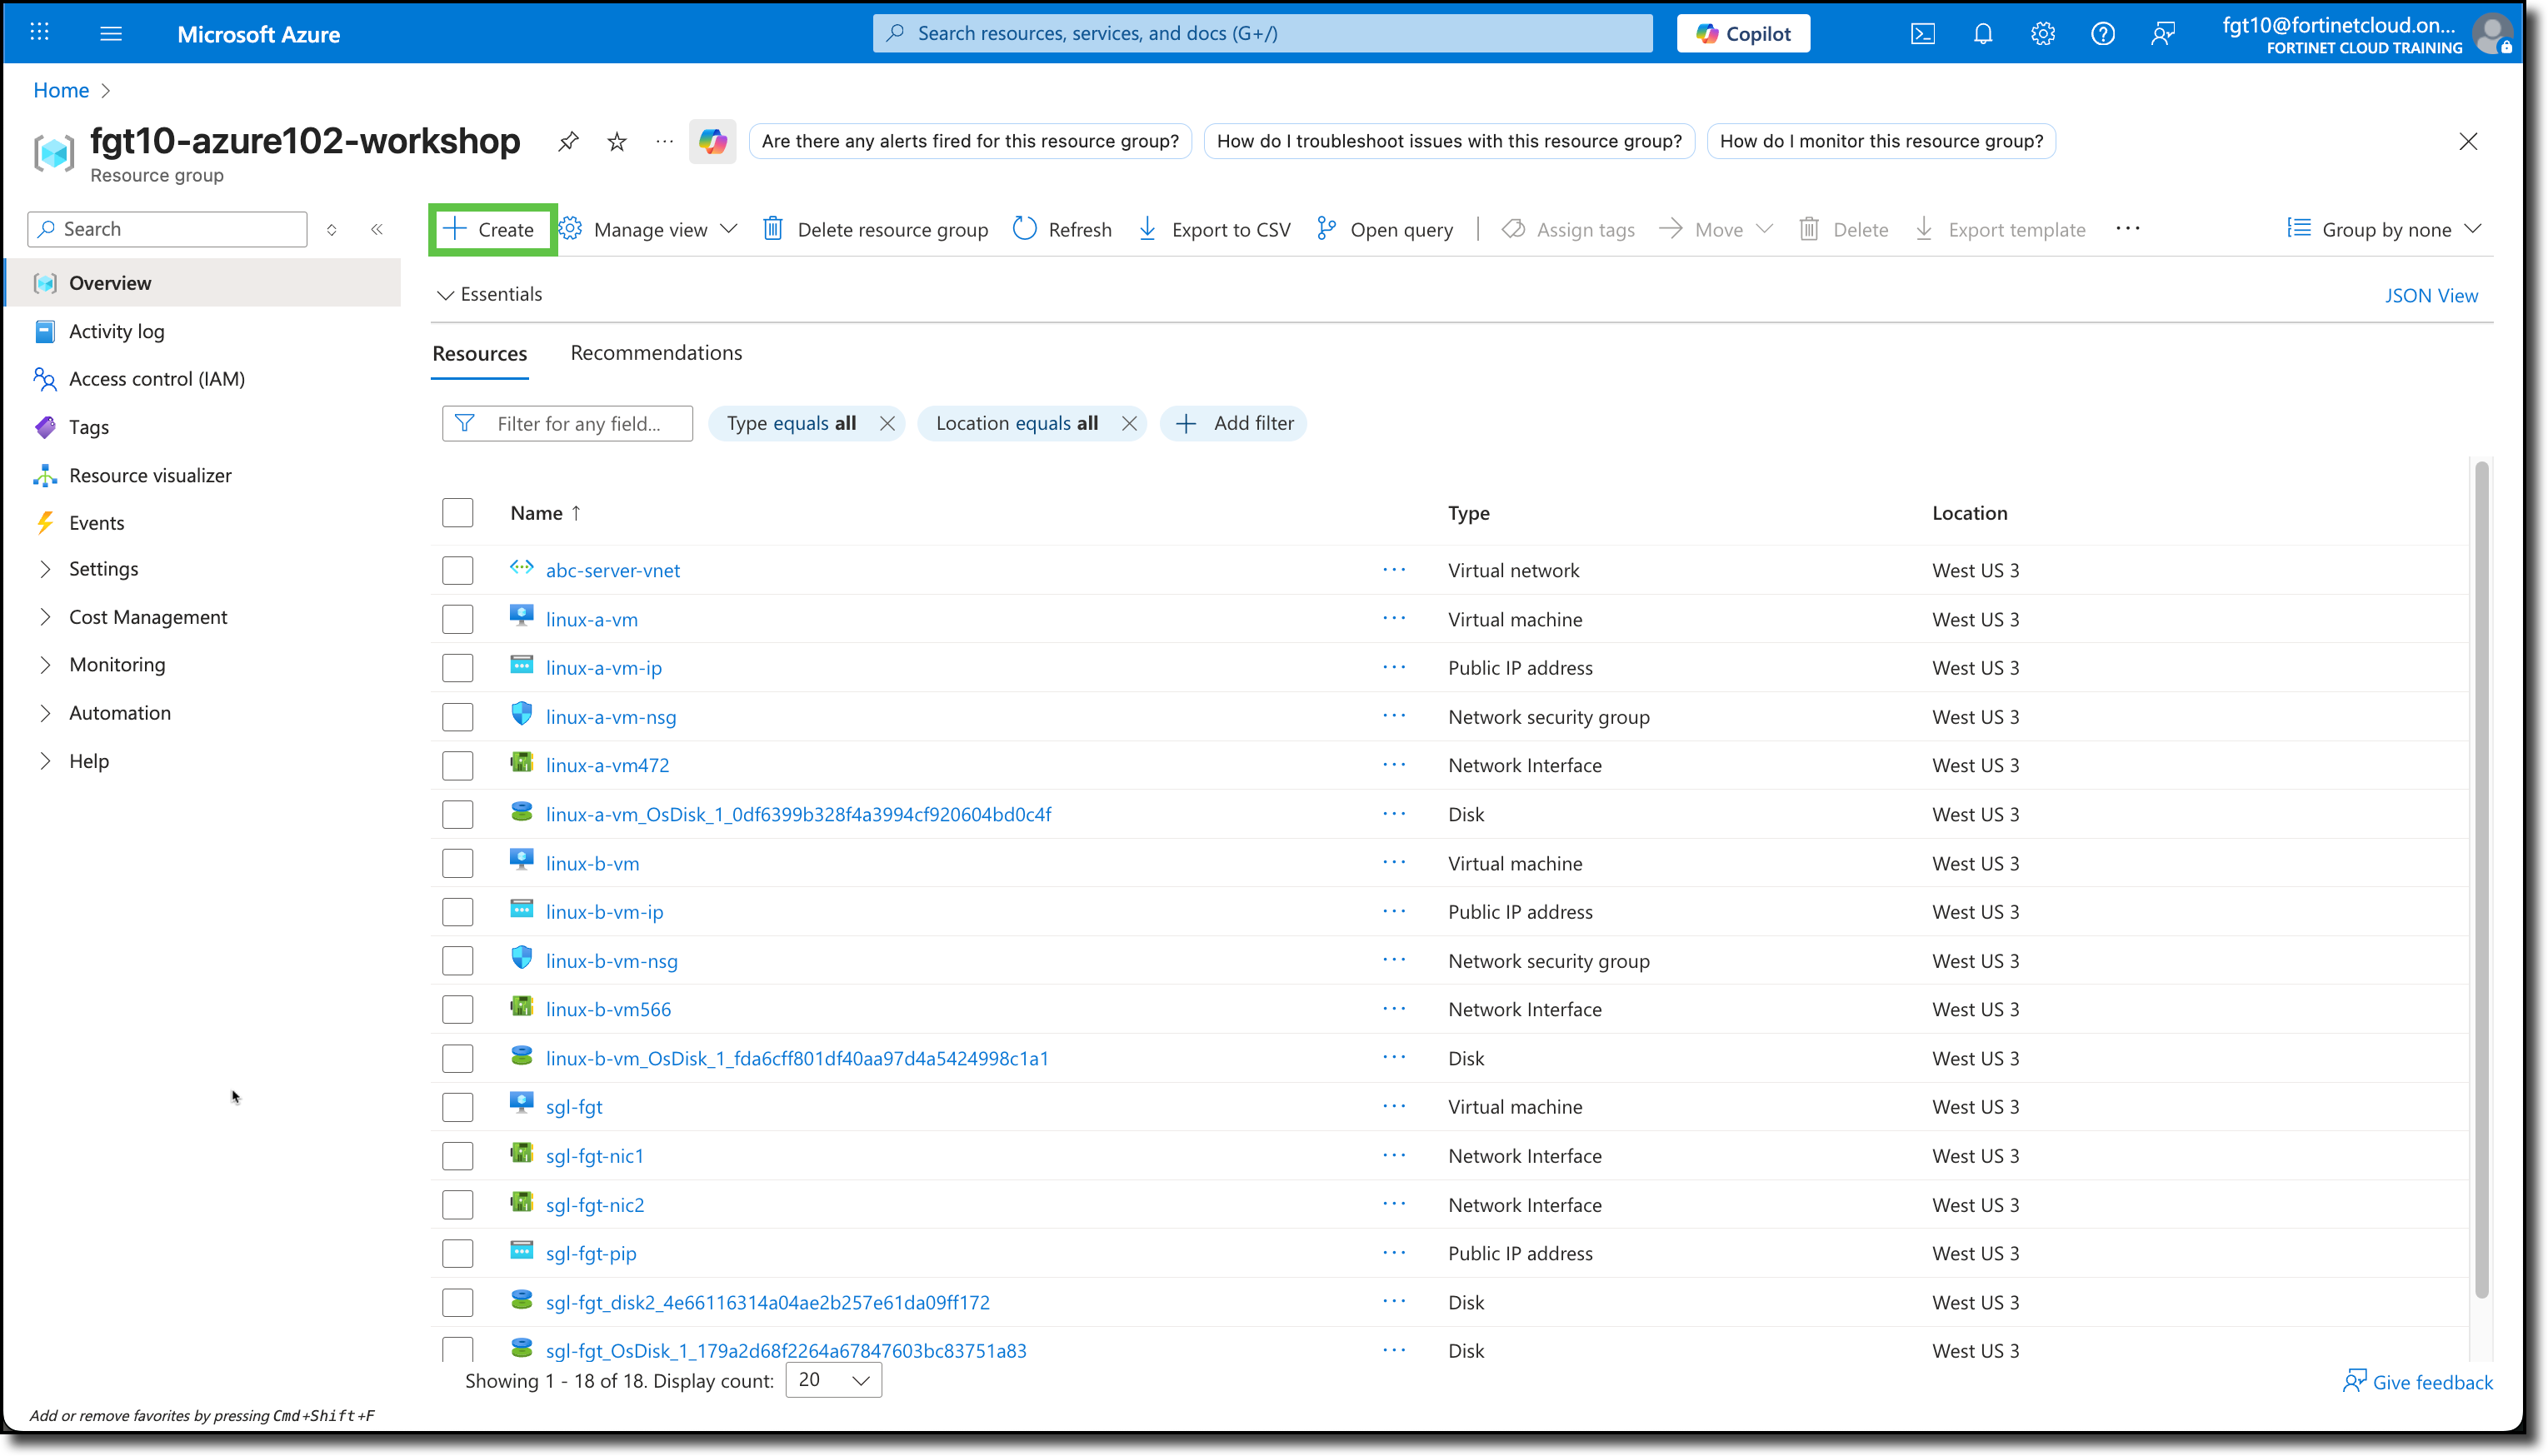
Navigate to your Resource Group
Click “+ Create”
You will be redirected to the Azure Marketplace.
Search
Route TableSelect the “Route table” offering from Microsoft
Click “Create”
Click “Route table”

You will be redirected to the Create Route table template.
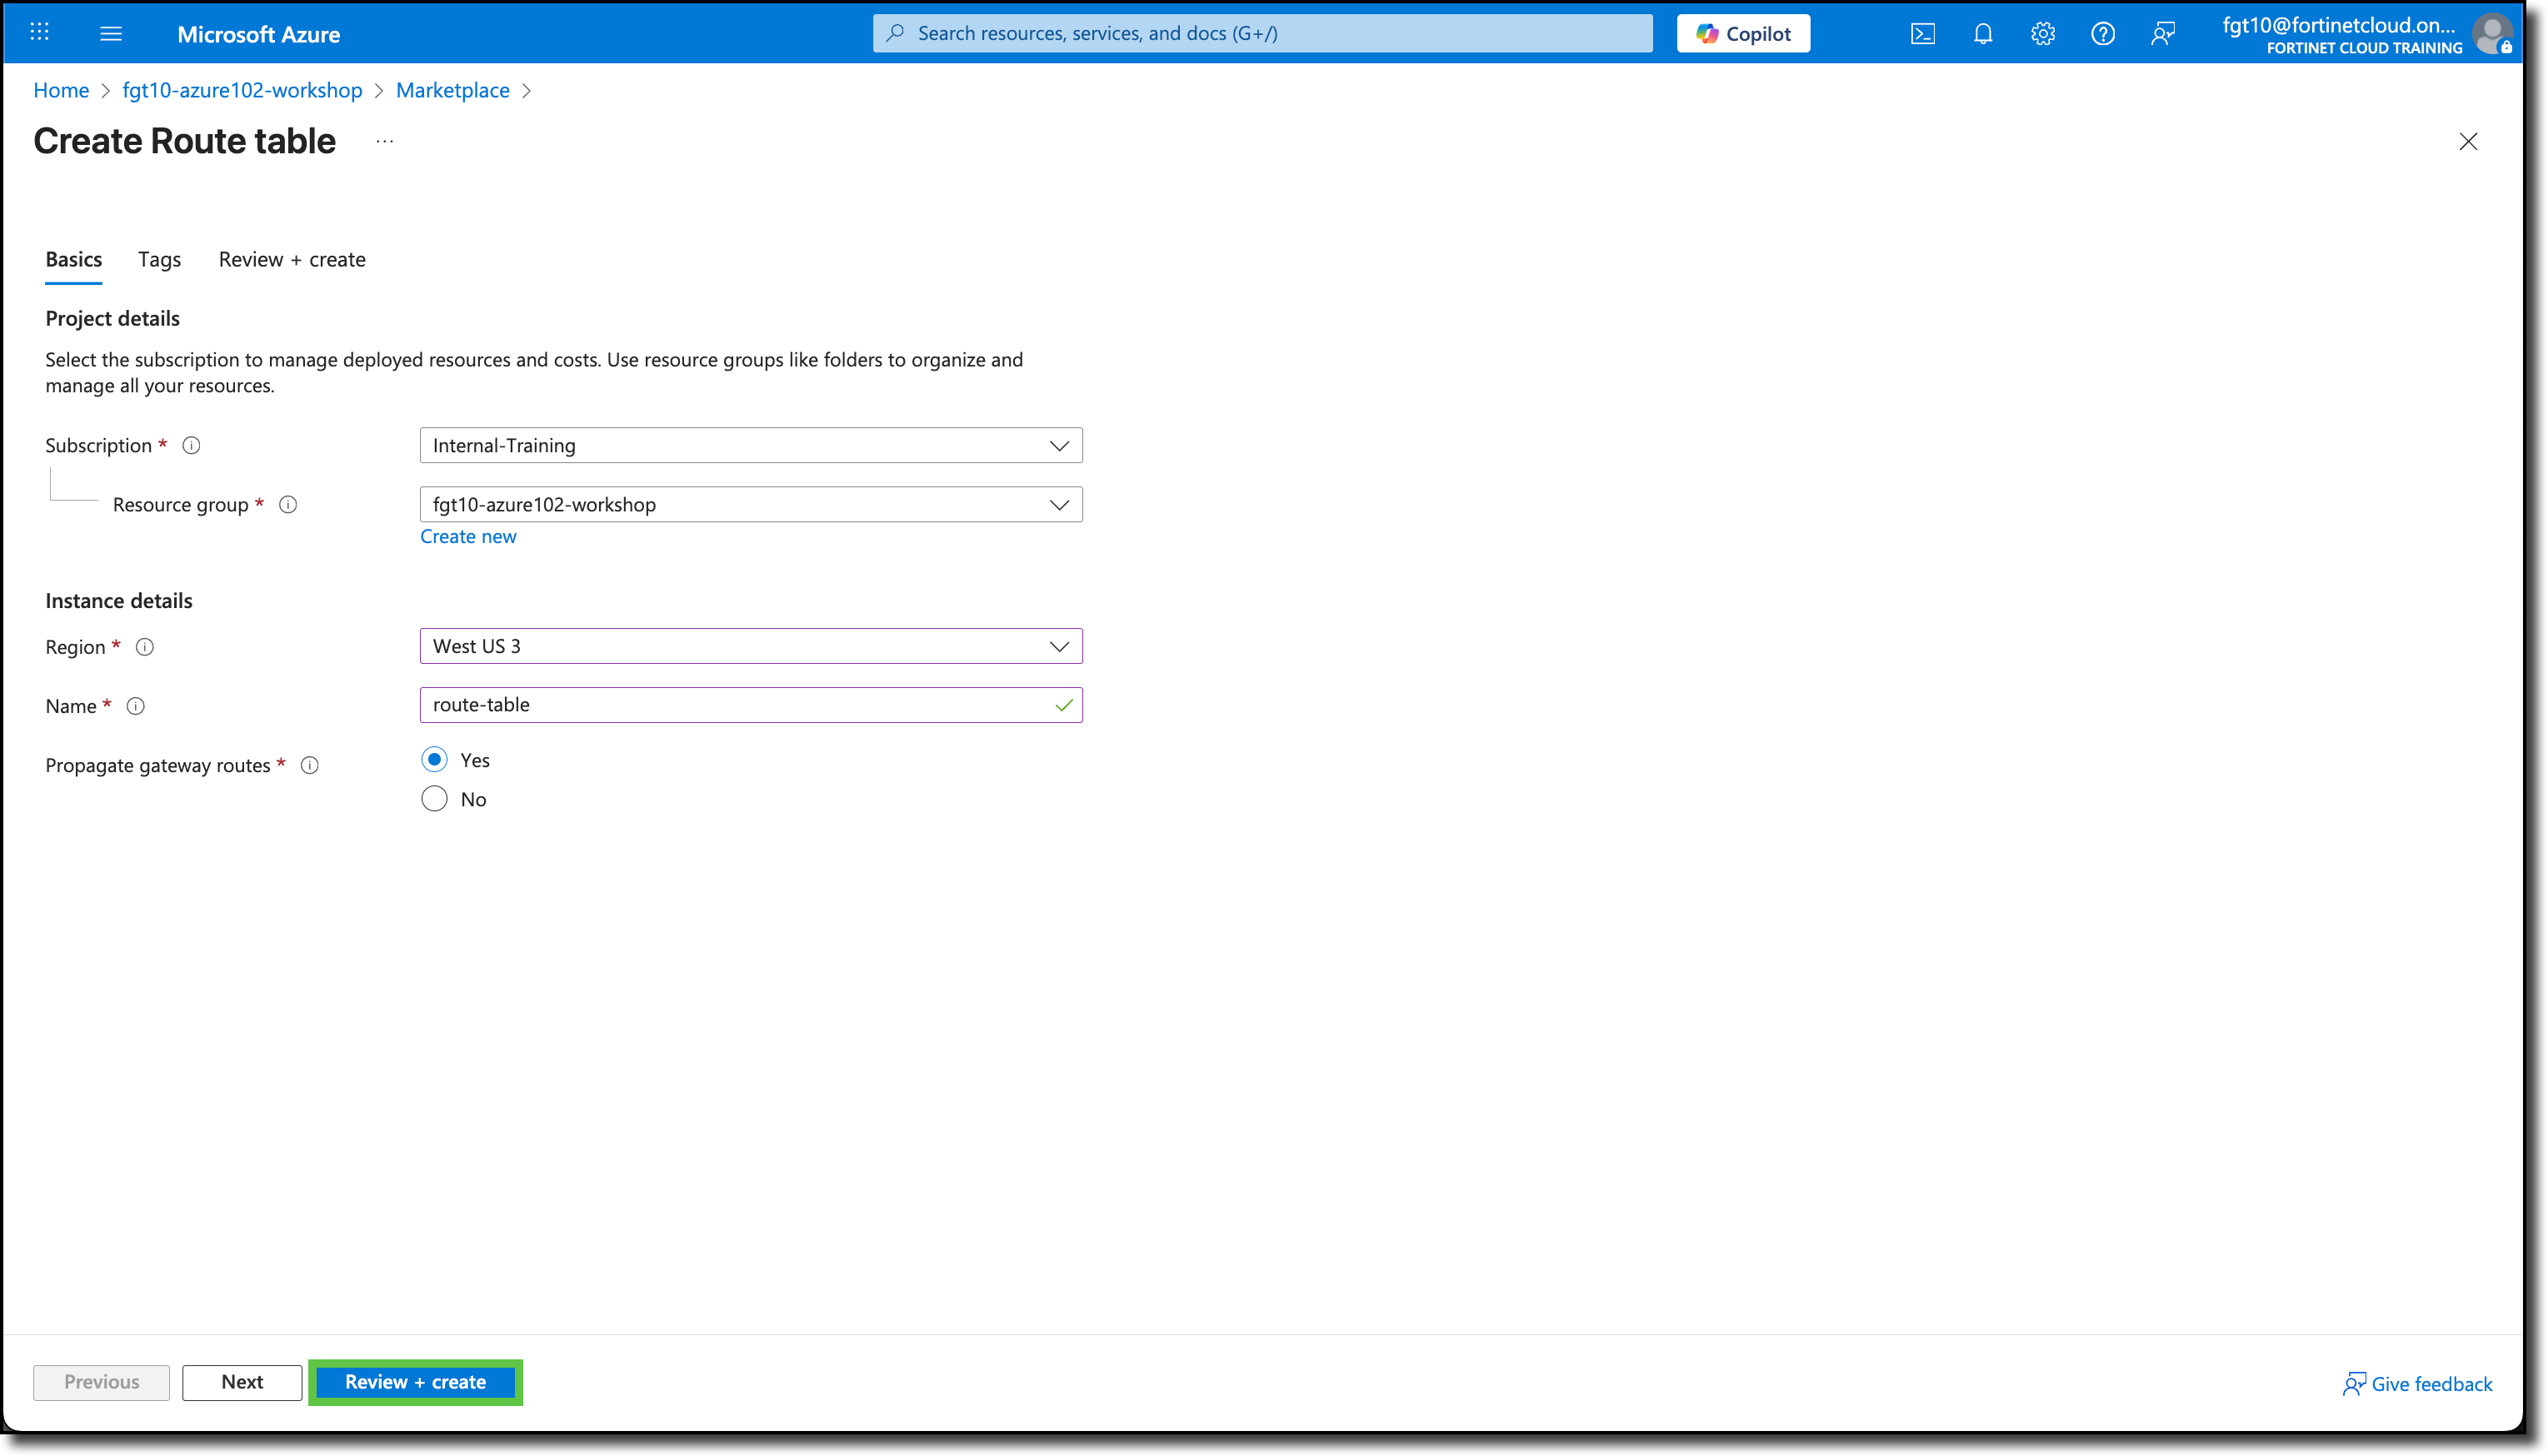
Under the Basics tab, the Subscription and Resource Groups should already be filled in with your assigned info. If not, see the screen shot below for details.
Under Instance details, enter the following:
- Region: West US 3
- Name:
route-table
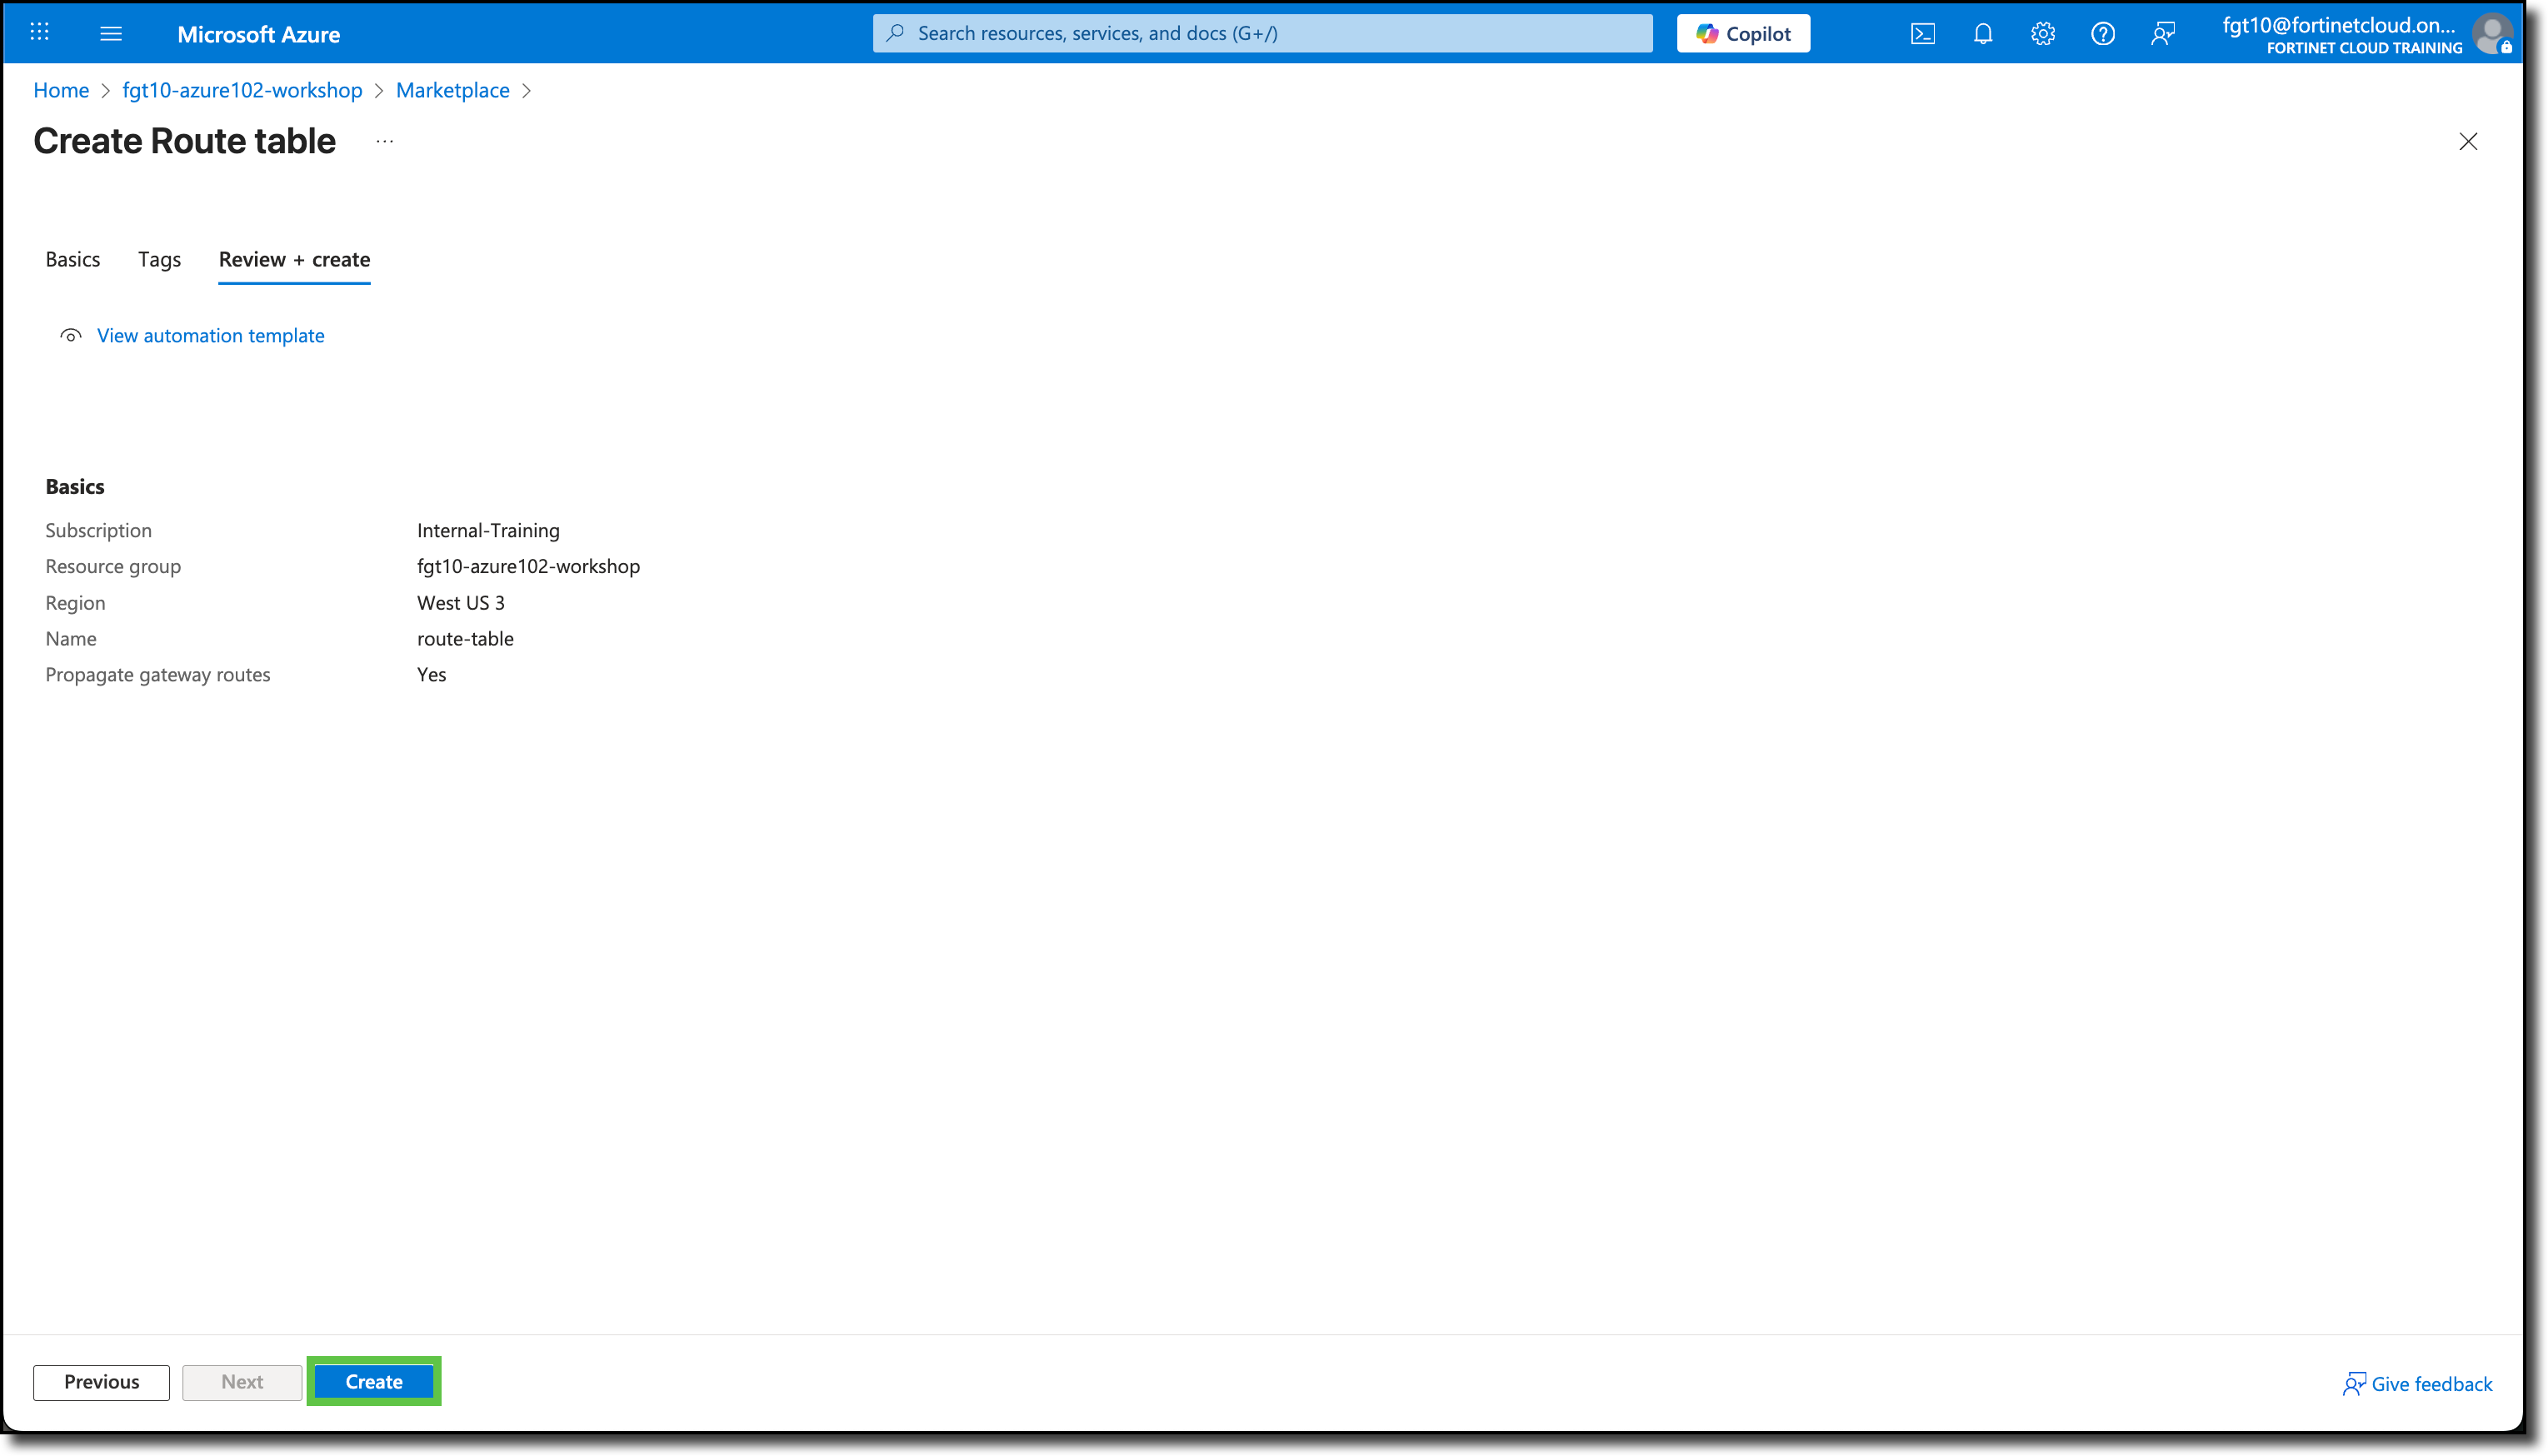
Click “Review + create”
Click “Create”
Click on the “Resource group” when the deployment is complete
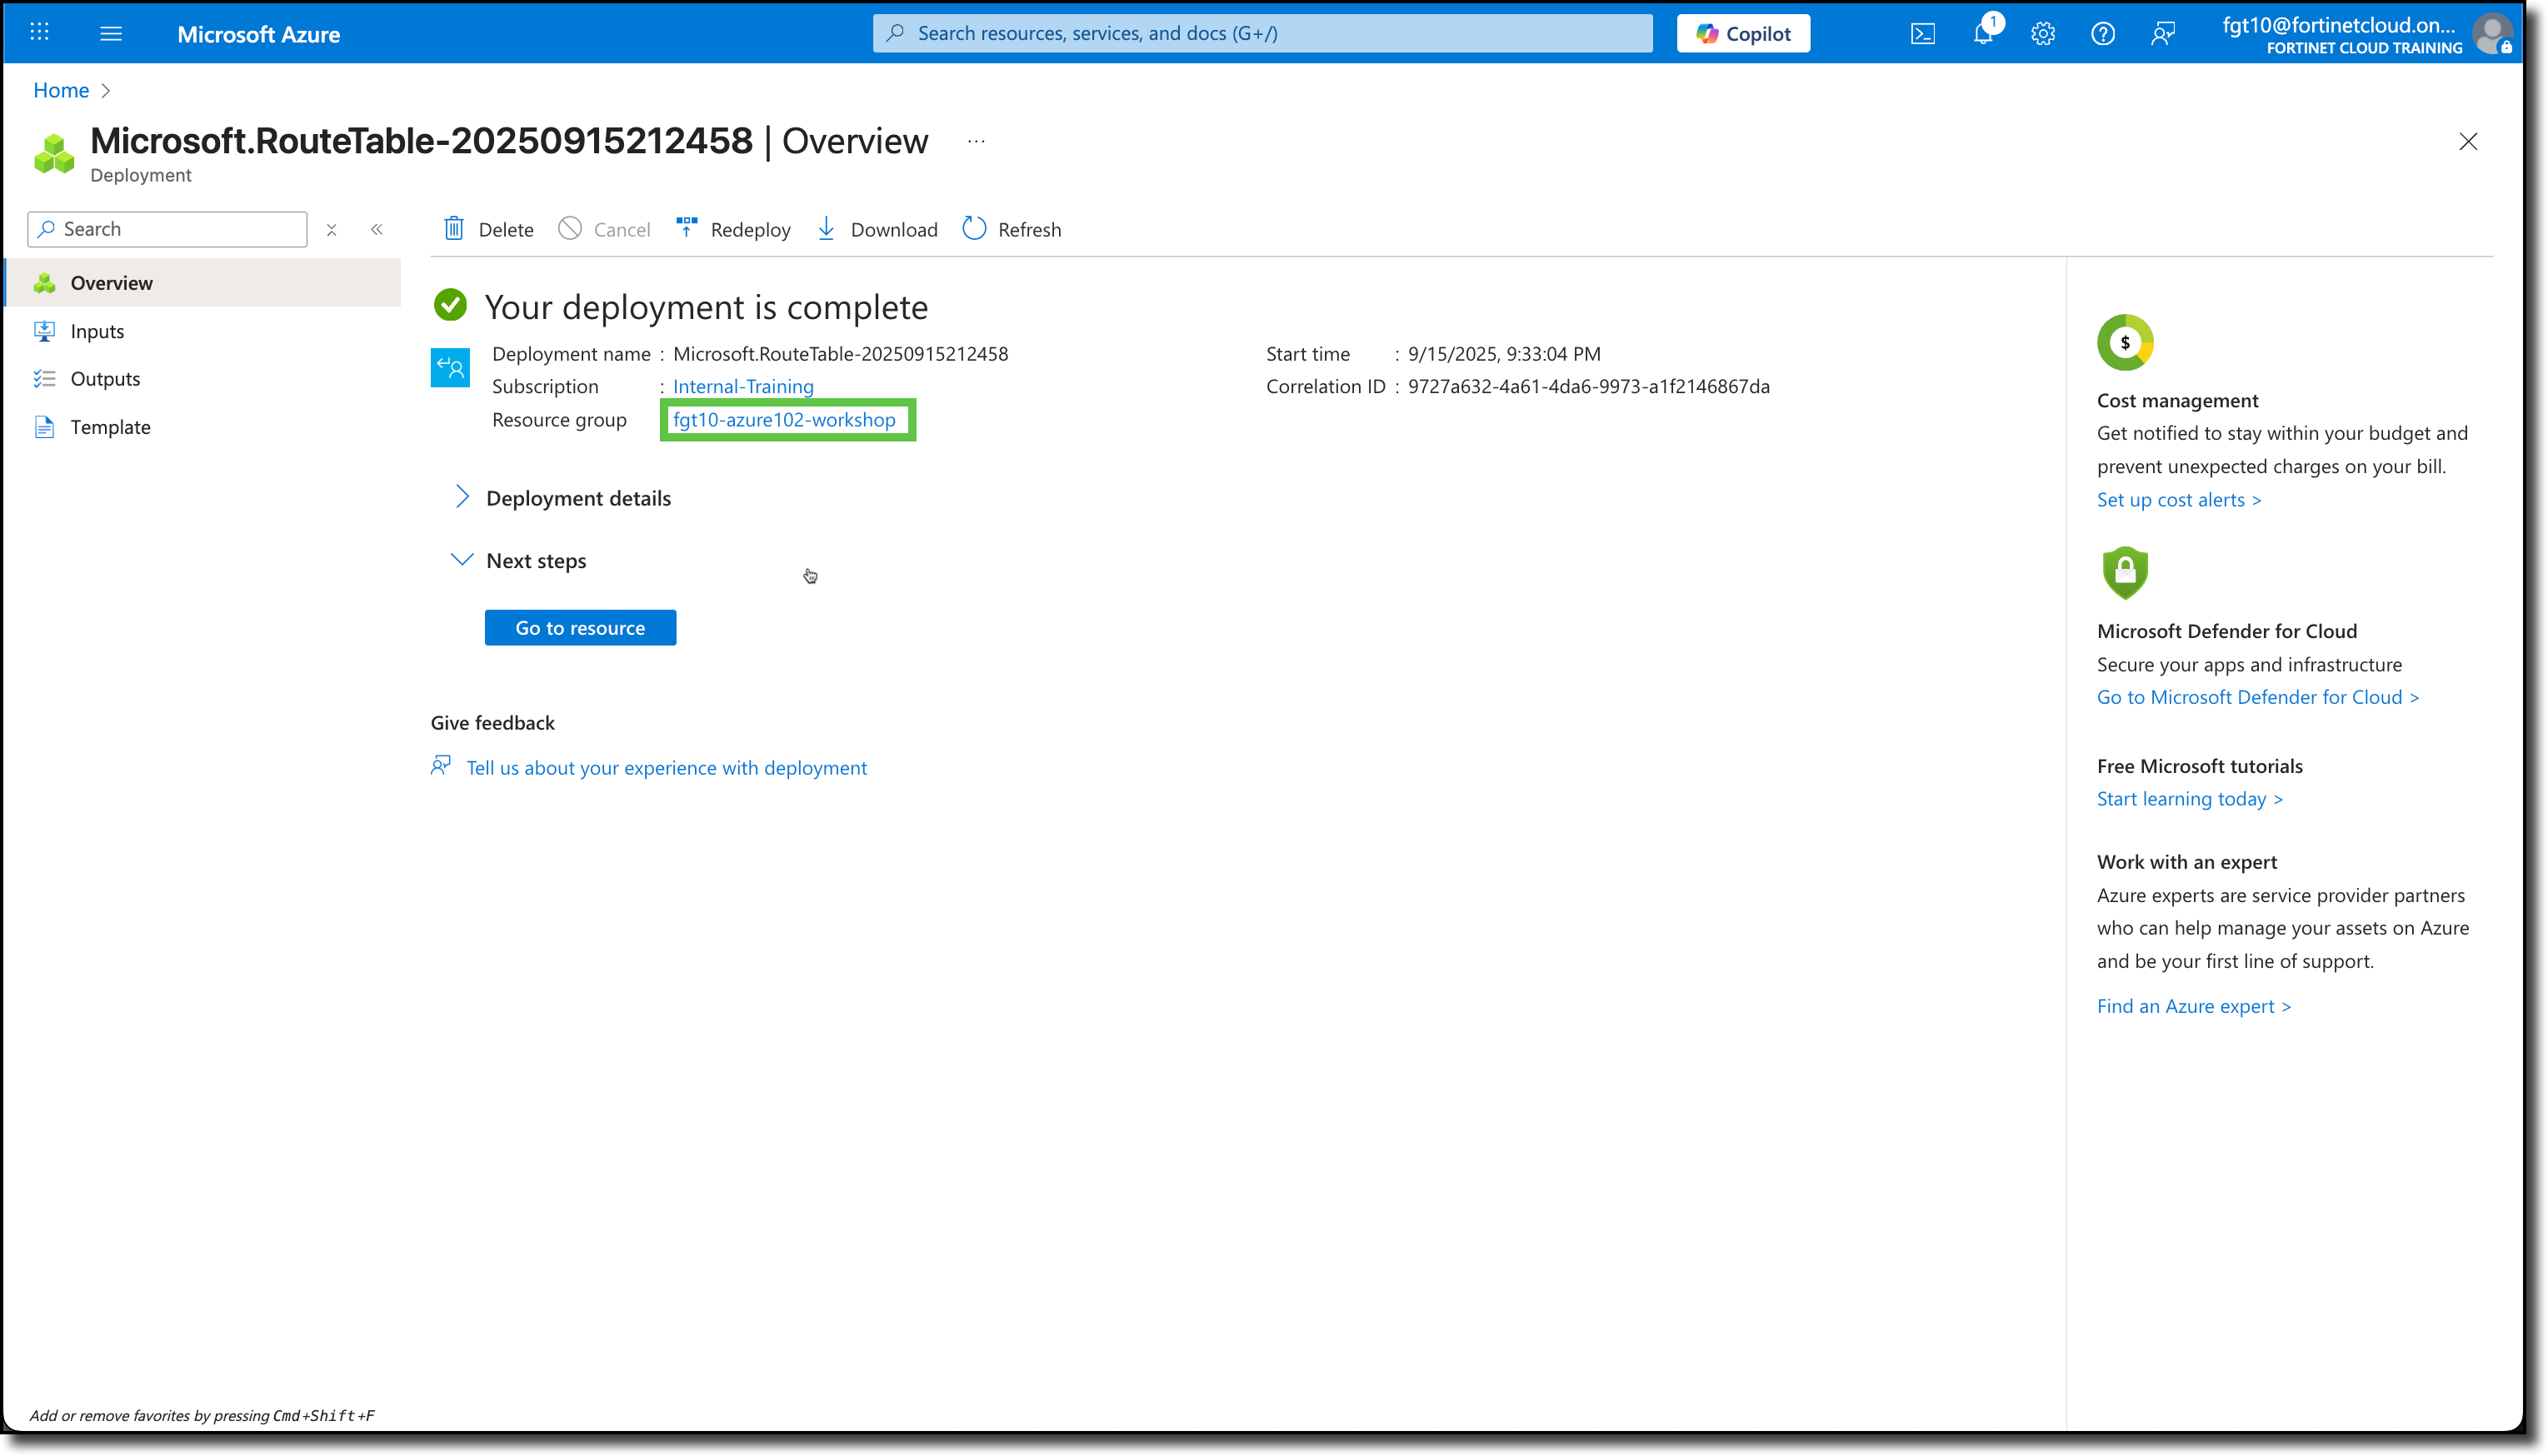
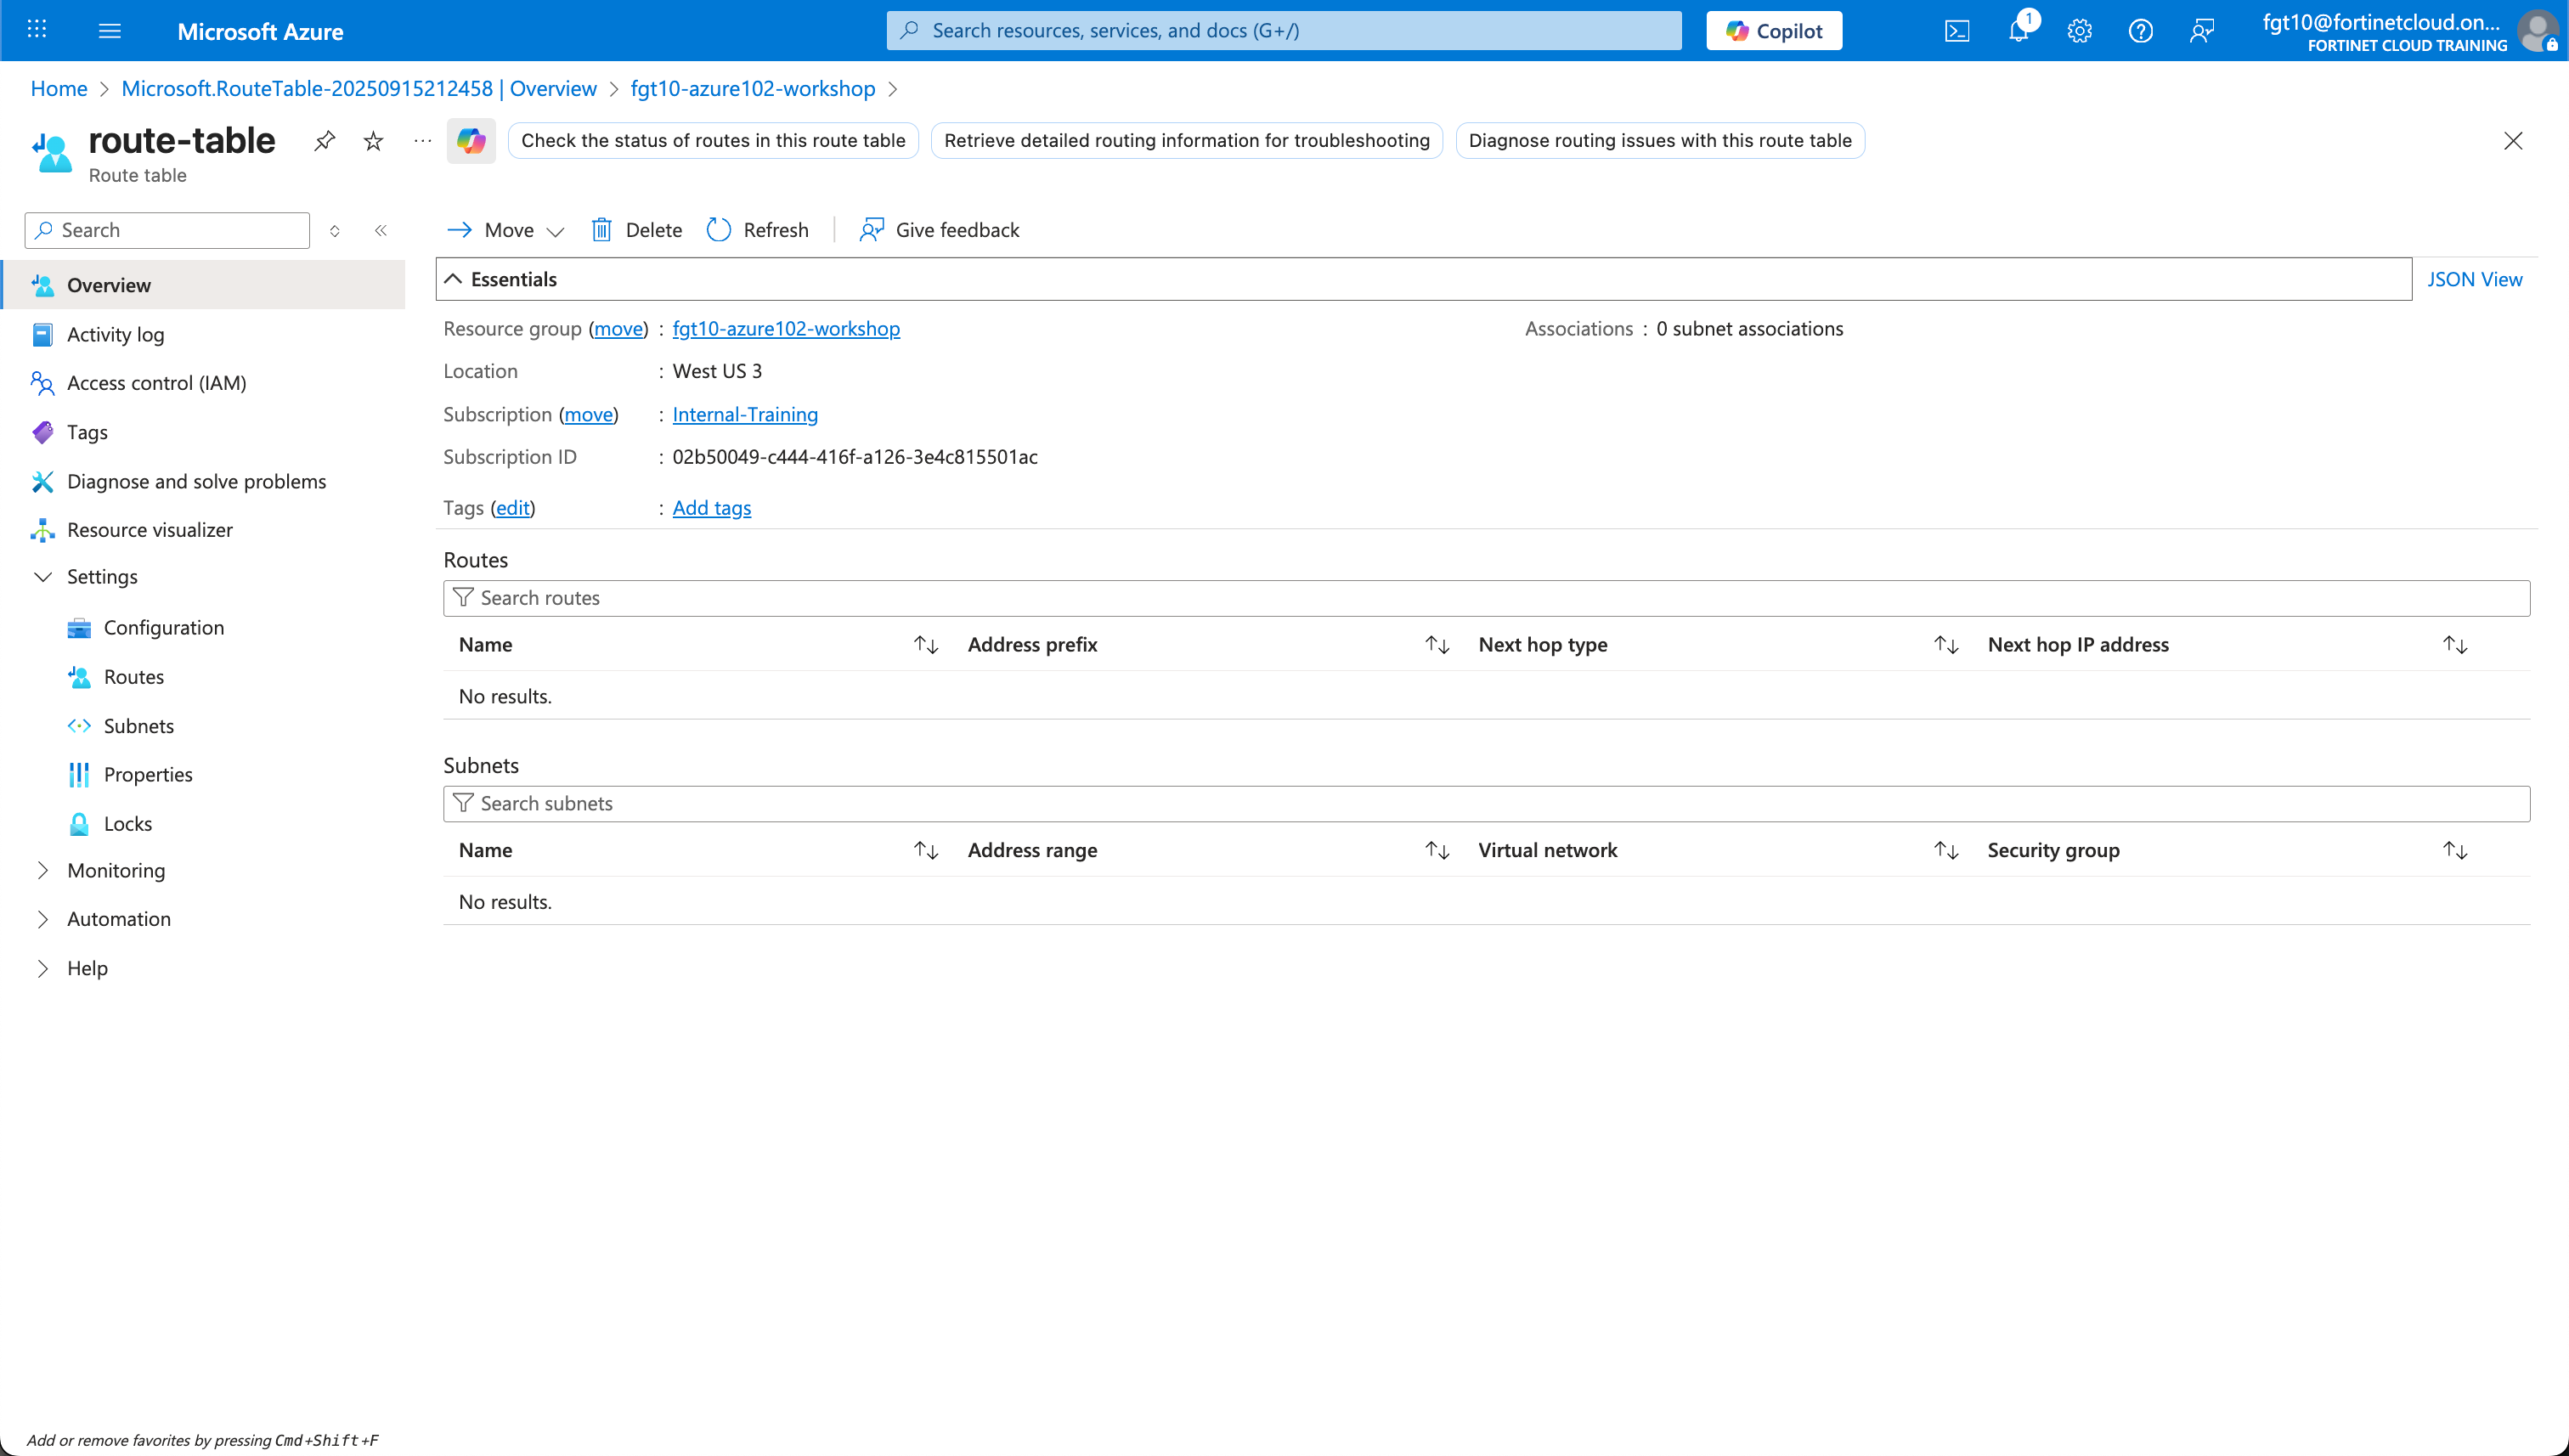
Click on “route-table”
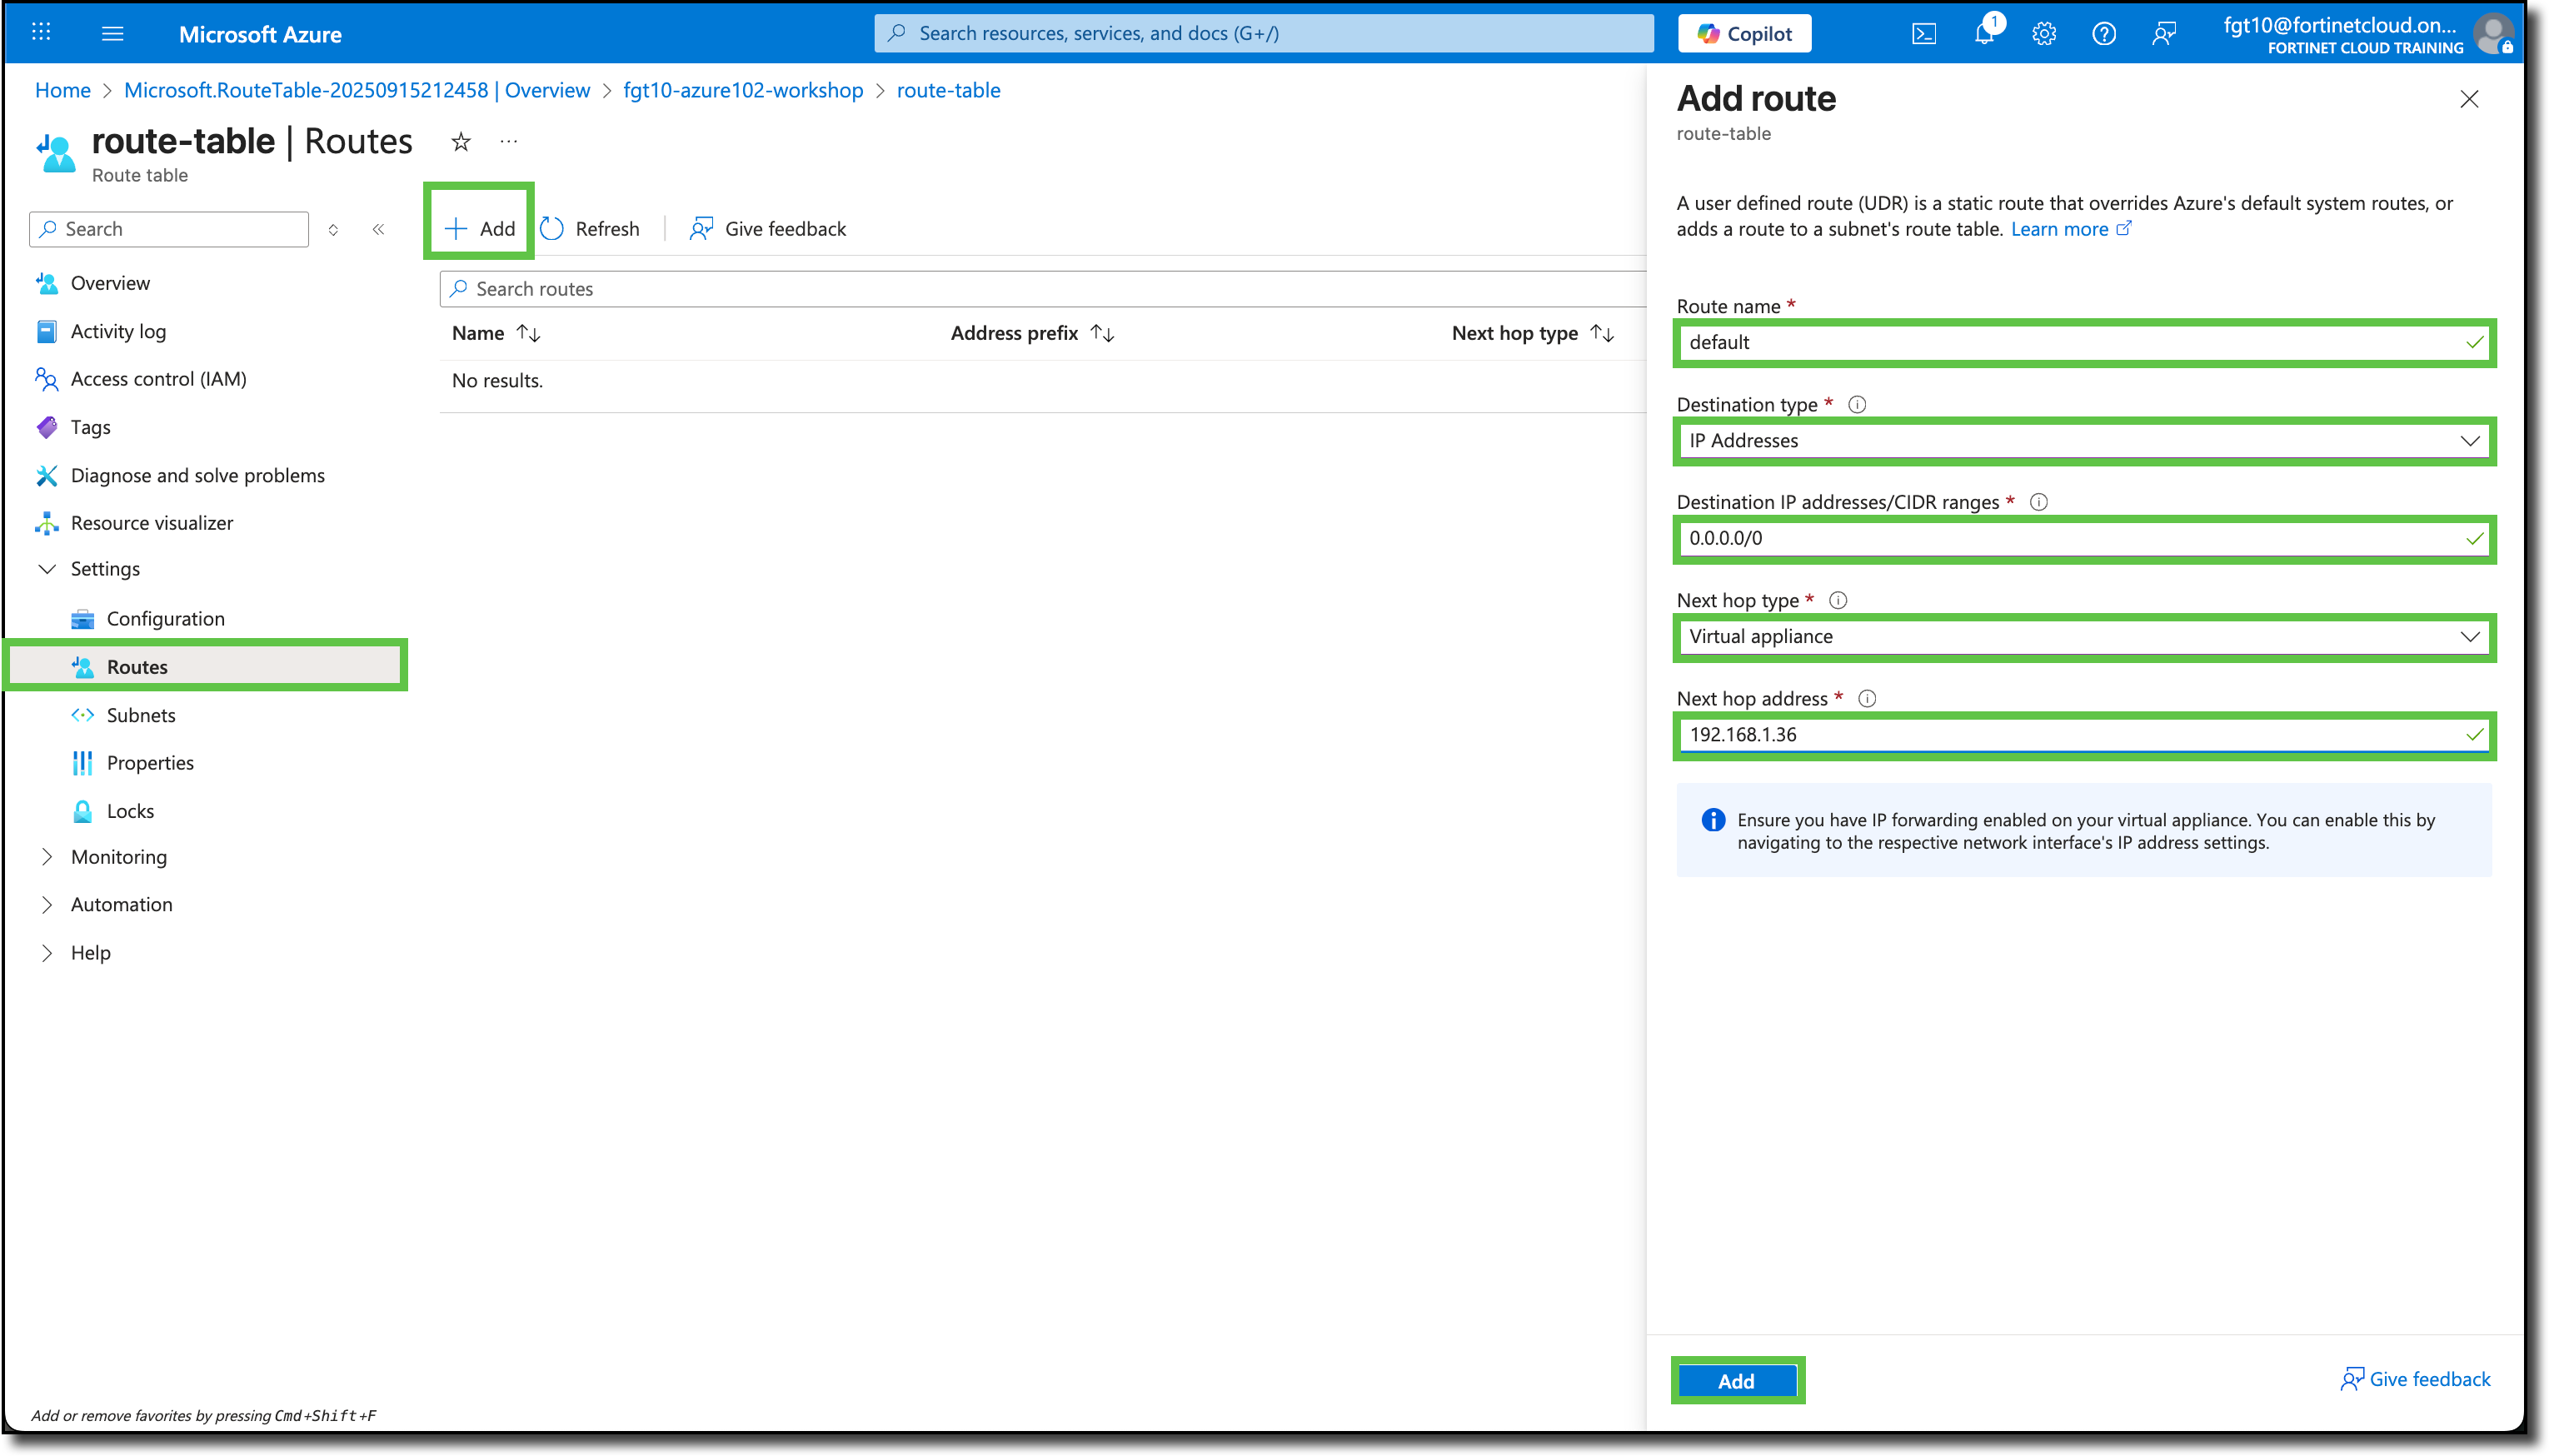
Click “Routes” under “Settings”
Click “+ Add”
Enter in the Add route panel
- Route name:
default - Destination type: Select IP Addresses
- Destination IP address/CIDR ranges:
0.0.0.0/0 - Next hop type: Select Virtual appliance
- Next hop address:
192.168.1.36(Confirm this is the same IP assigned to port2 on your FortiGate NVA).
- Route name:
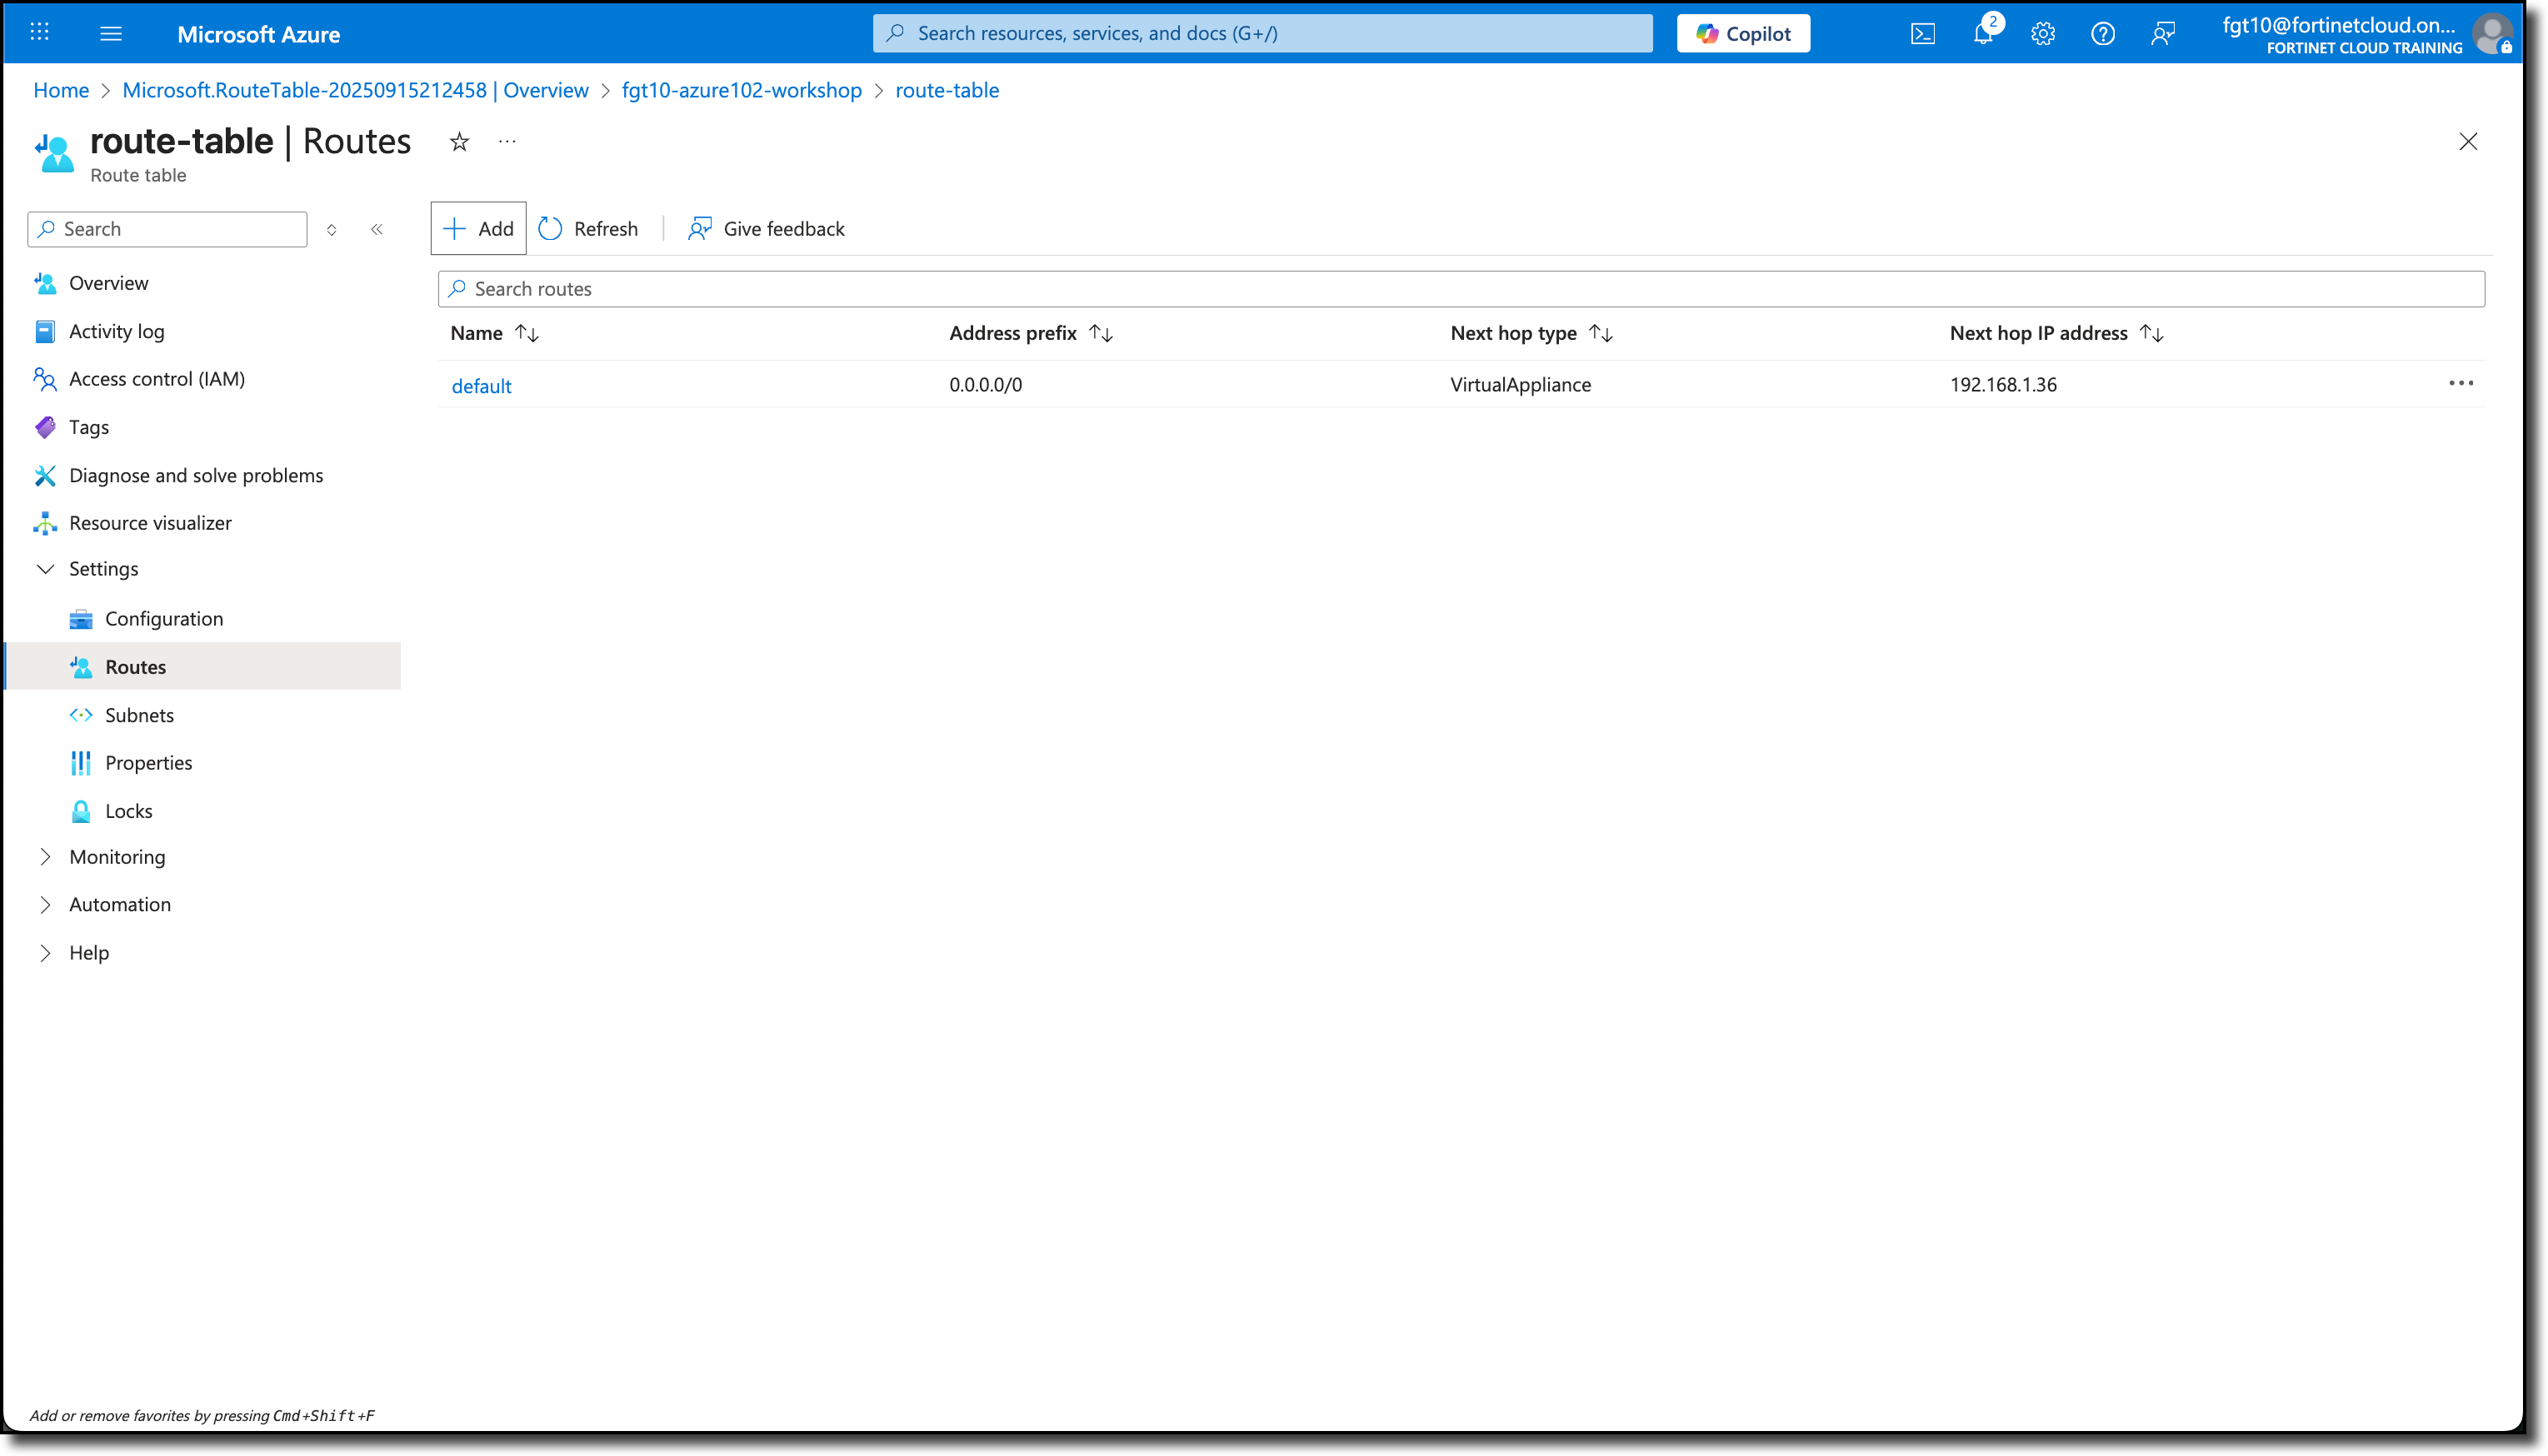
Click Add
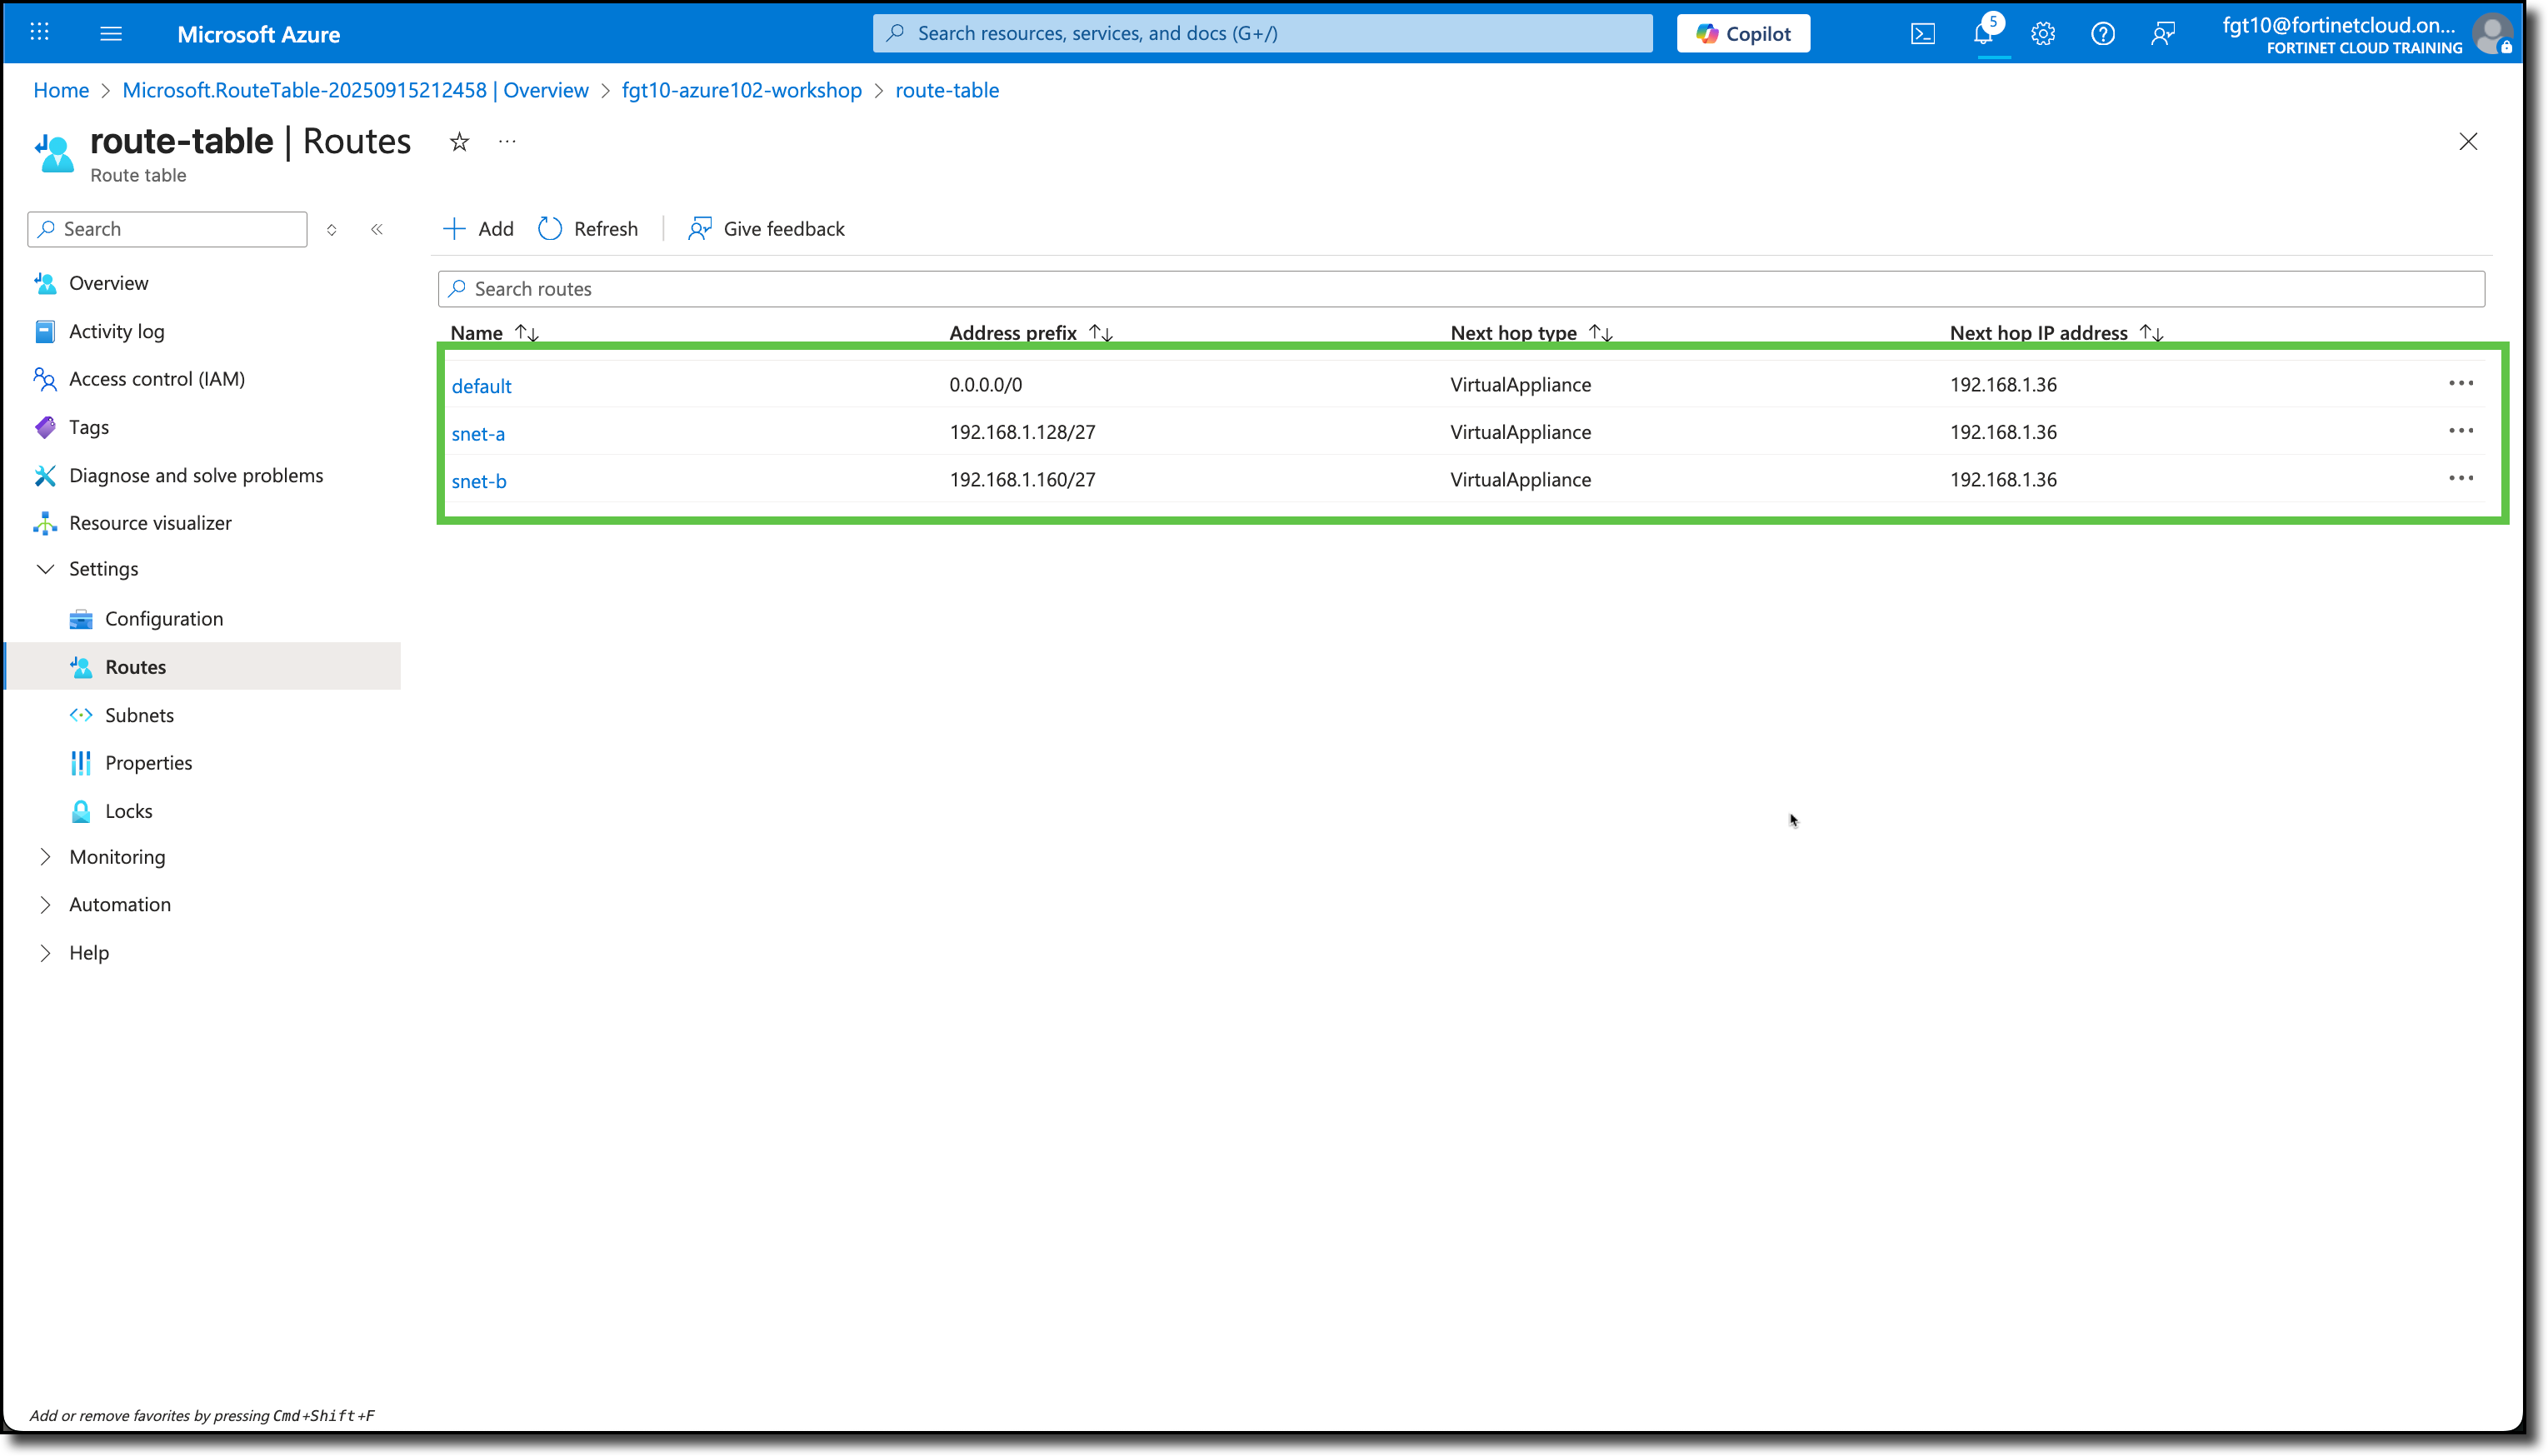
The new route called default is listed under the Routes section
Add two more routes for snet-a and snet-b.
- Route name:
snet-a - Destination type: Select IP Addresses
- Destination IP address/CIDR ranges:
192.168.1.128/27 - Next hop type: Select Virtual appliance
- Next hop address:
192.168.1.36(Confirm this is the same IP assigned to port2 on your FortiGate NVA).
- Route name:
Click Add
- Route name:
snet-b - Destination type: Select IP Addresses
- Destination IP address/CIDR ranges:
192.168.1.160/27 - Next hop type: Select Virtual appliance
- Next hop address:
192.168.1.36(Confirm this is the same IP assigned to port2 on your FortiGate NVA).
- Route name:
Click Add
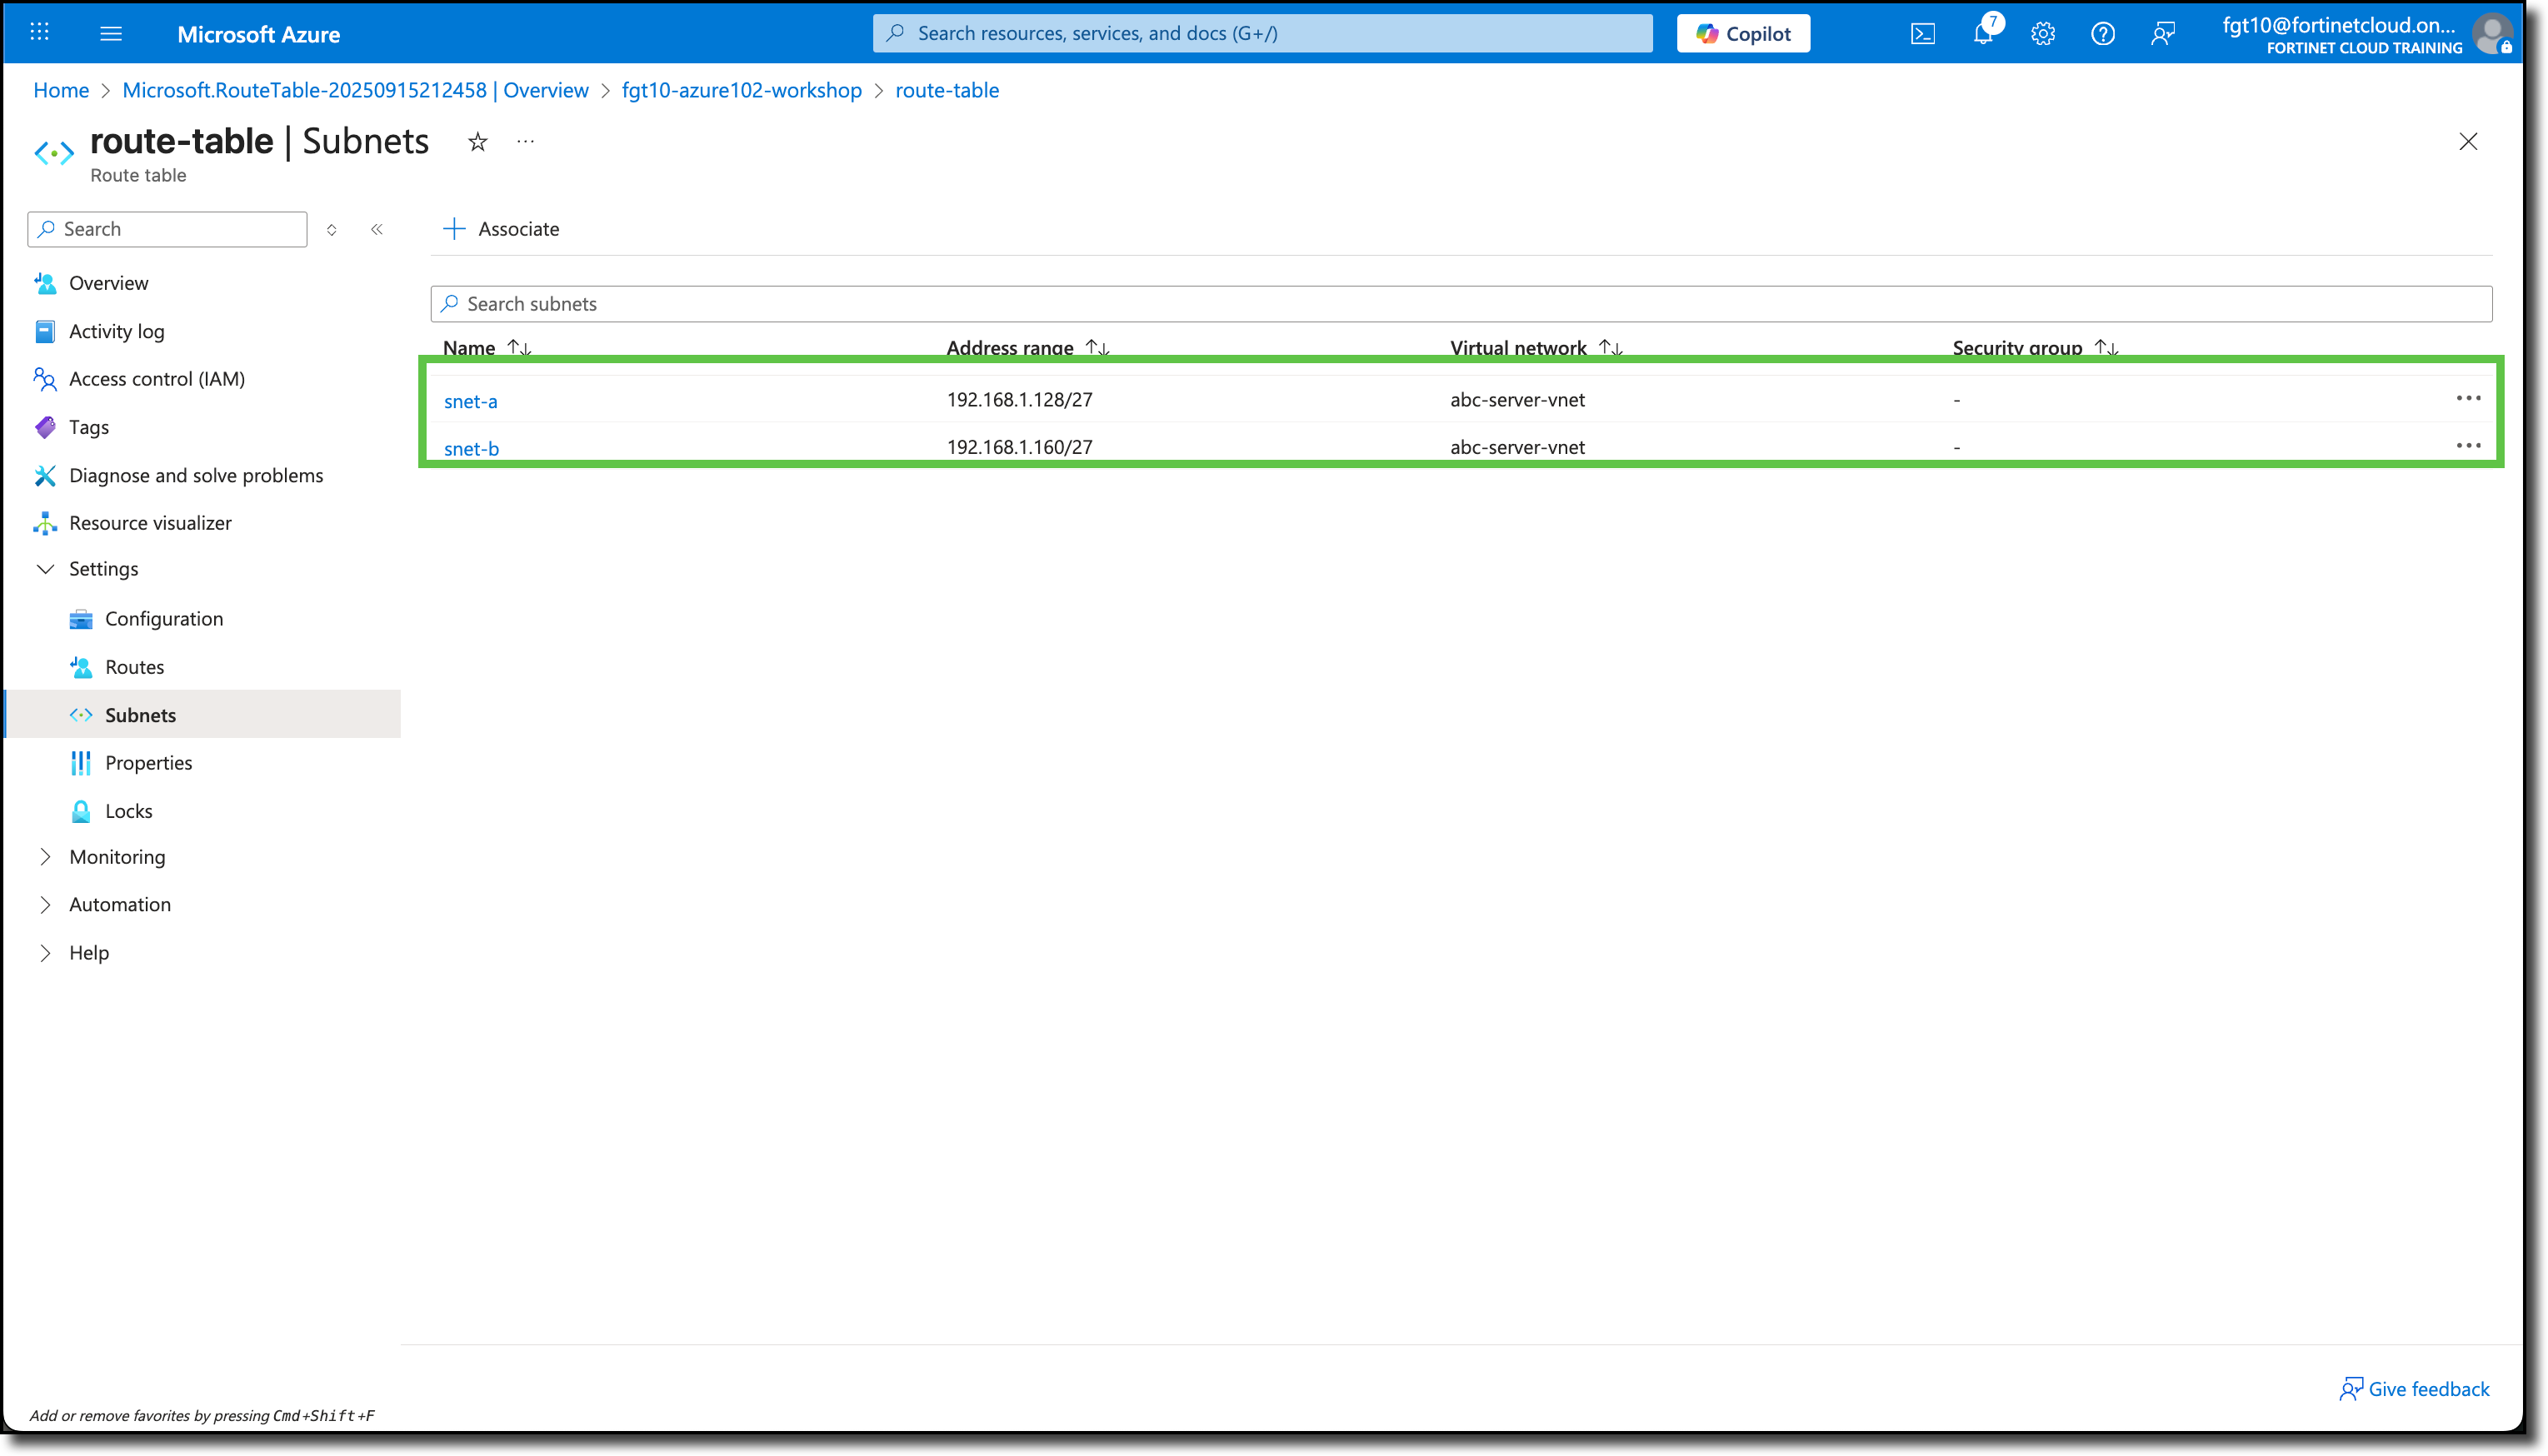
Click “Subnets”
Click “+ Associate”
Enter in the Associate subnet panel
- Virtual network: abc-server-vnet
- Subnet: Select snet-a
Click “OK”
Enter in the Associate subnet panel
- Virtual network: abc-server-vnet
- Subnet: Select snet-b
Click “OK”

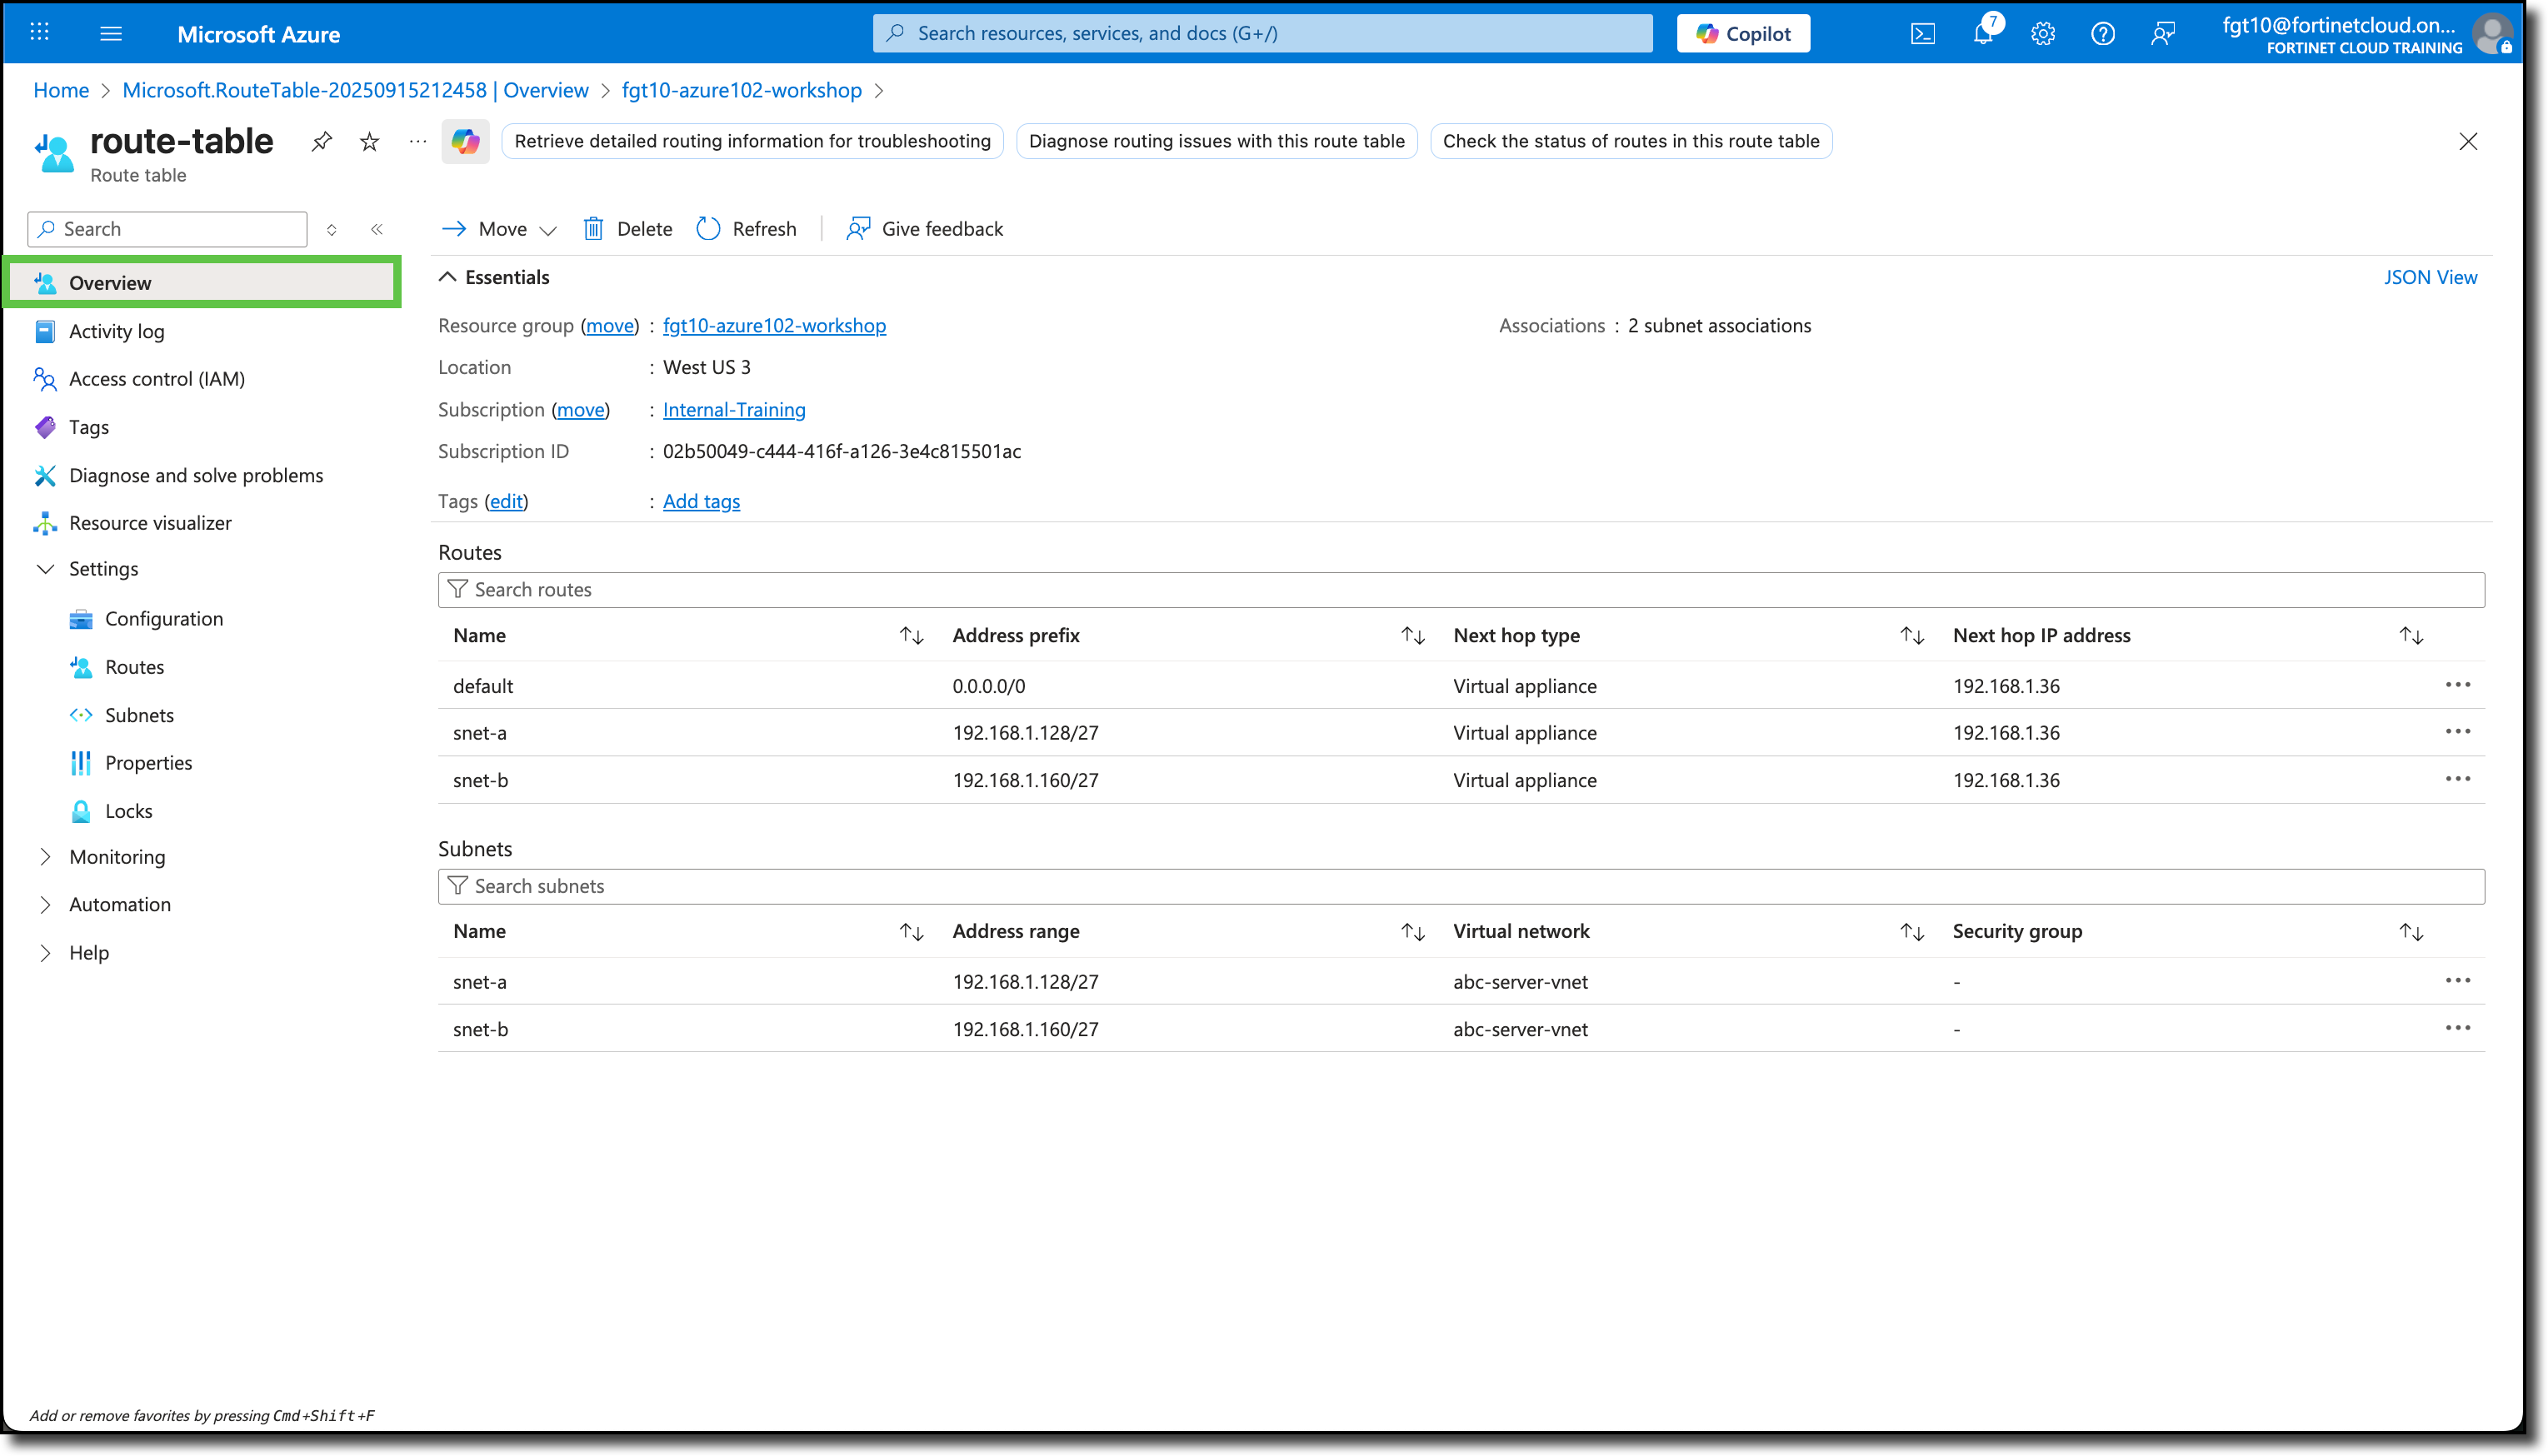
Click Overview
View a summary of the Routes and associated Subnets
Remove the Public IP Addresses from the Linux VMs
Navigate to your Resource Group
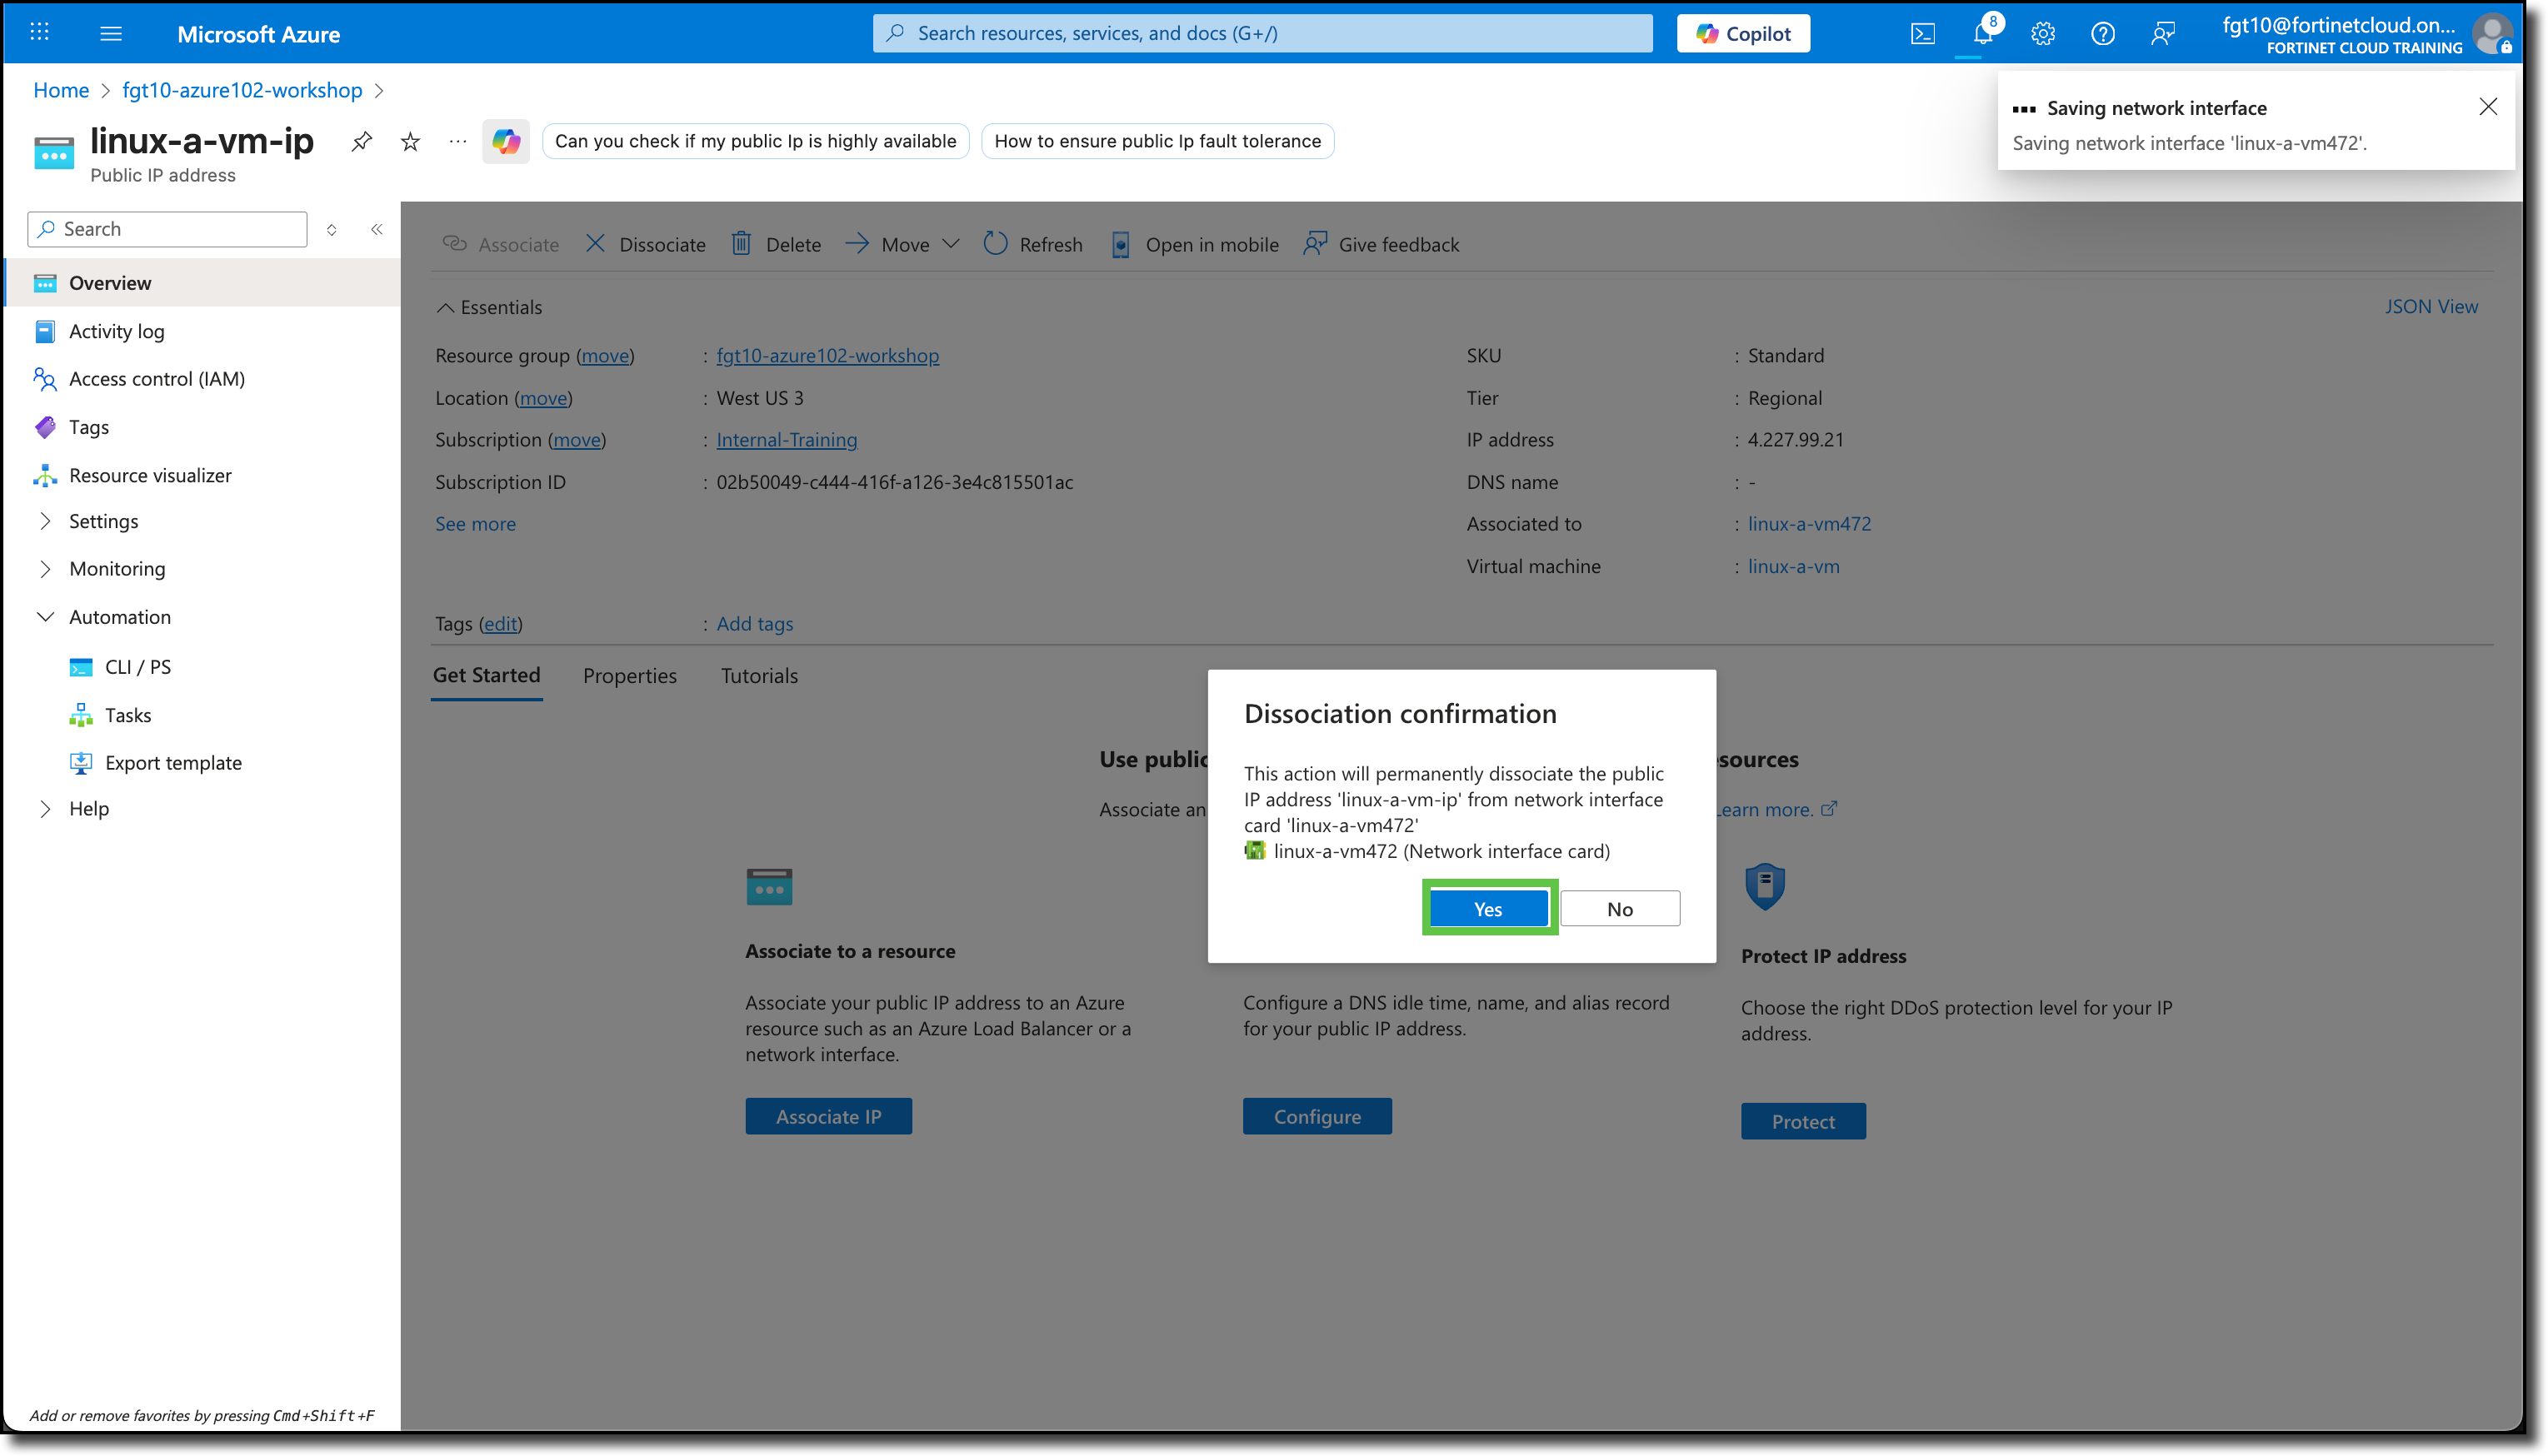
Click on “linux-a-vm-ip”
Click on “Disassociate”
Click “Yes” to confirm disassociation
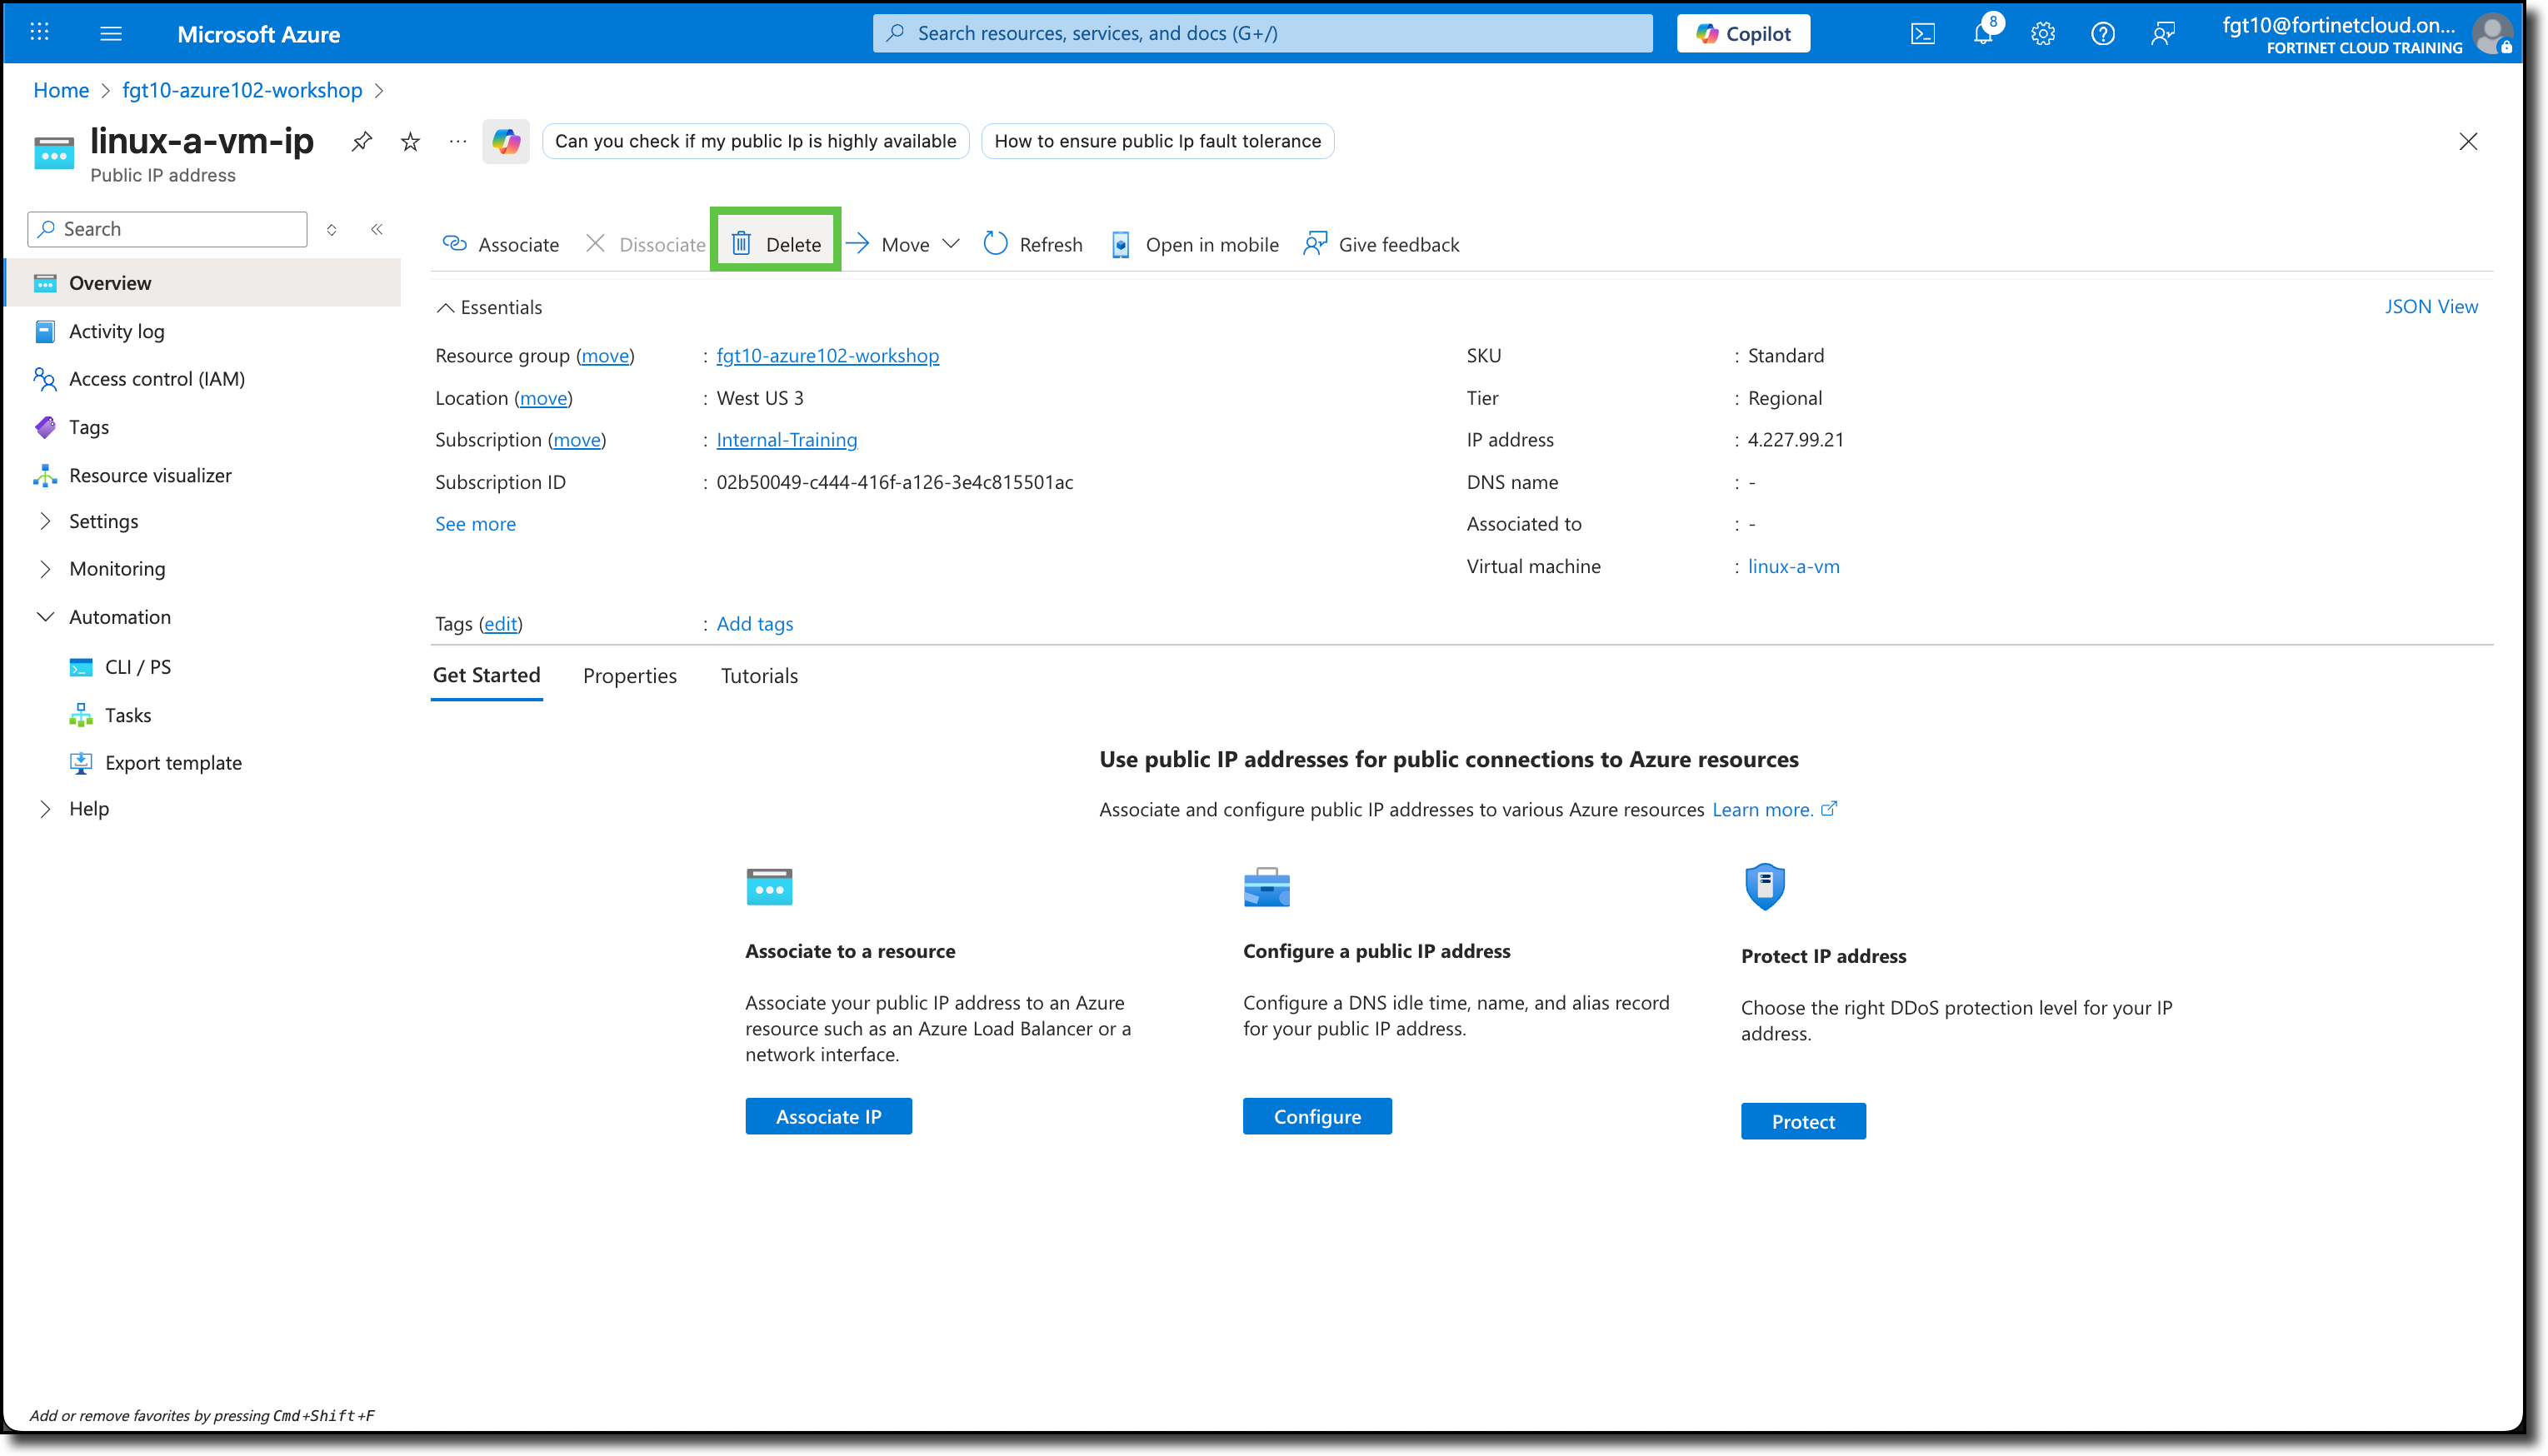
Click on “Delete”
Click “Yes” to confirm deletion
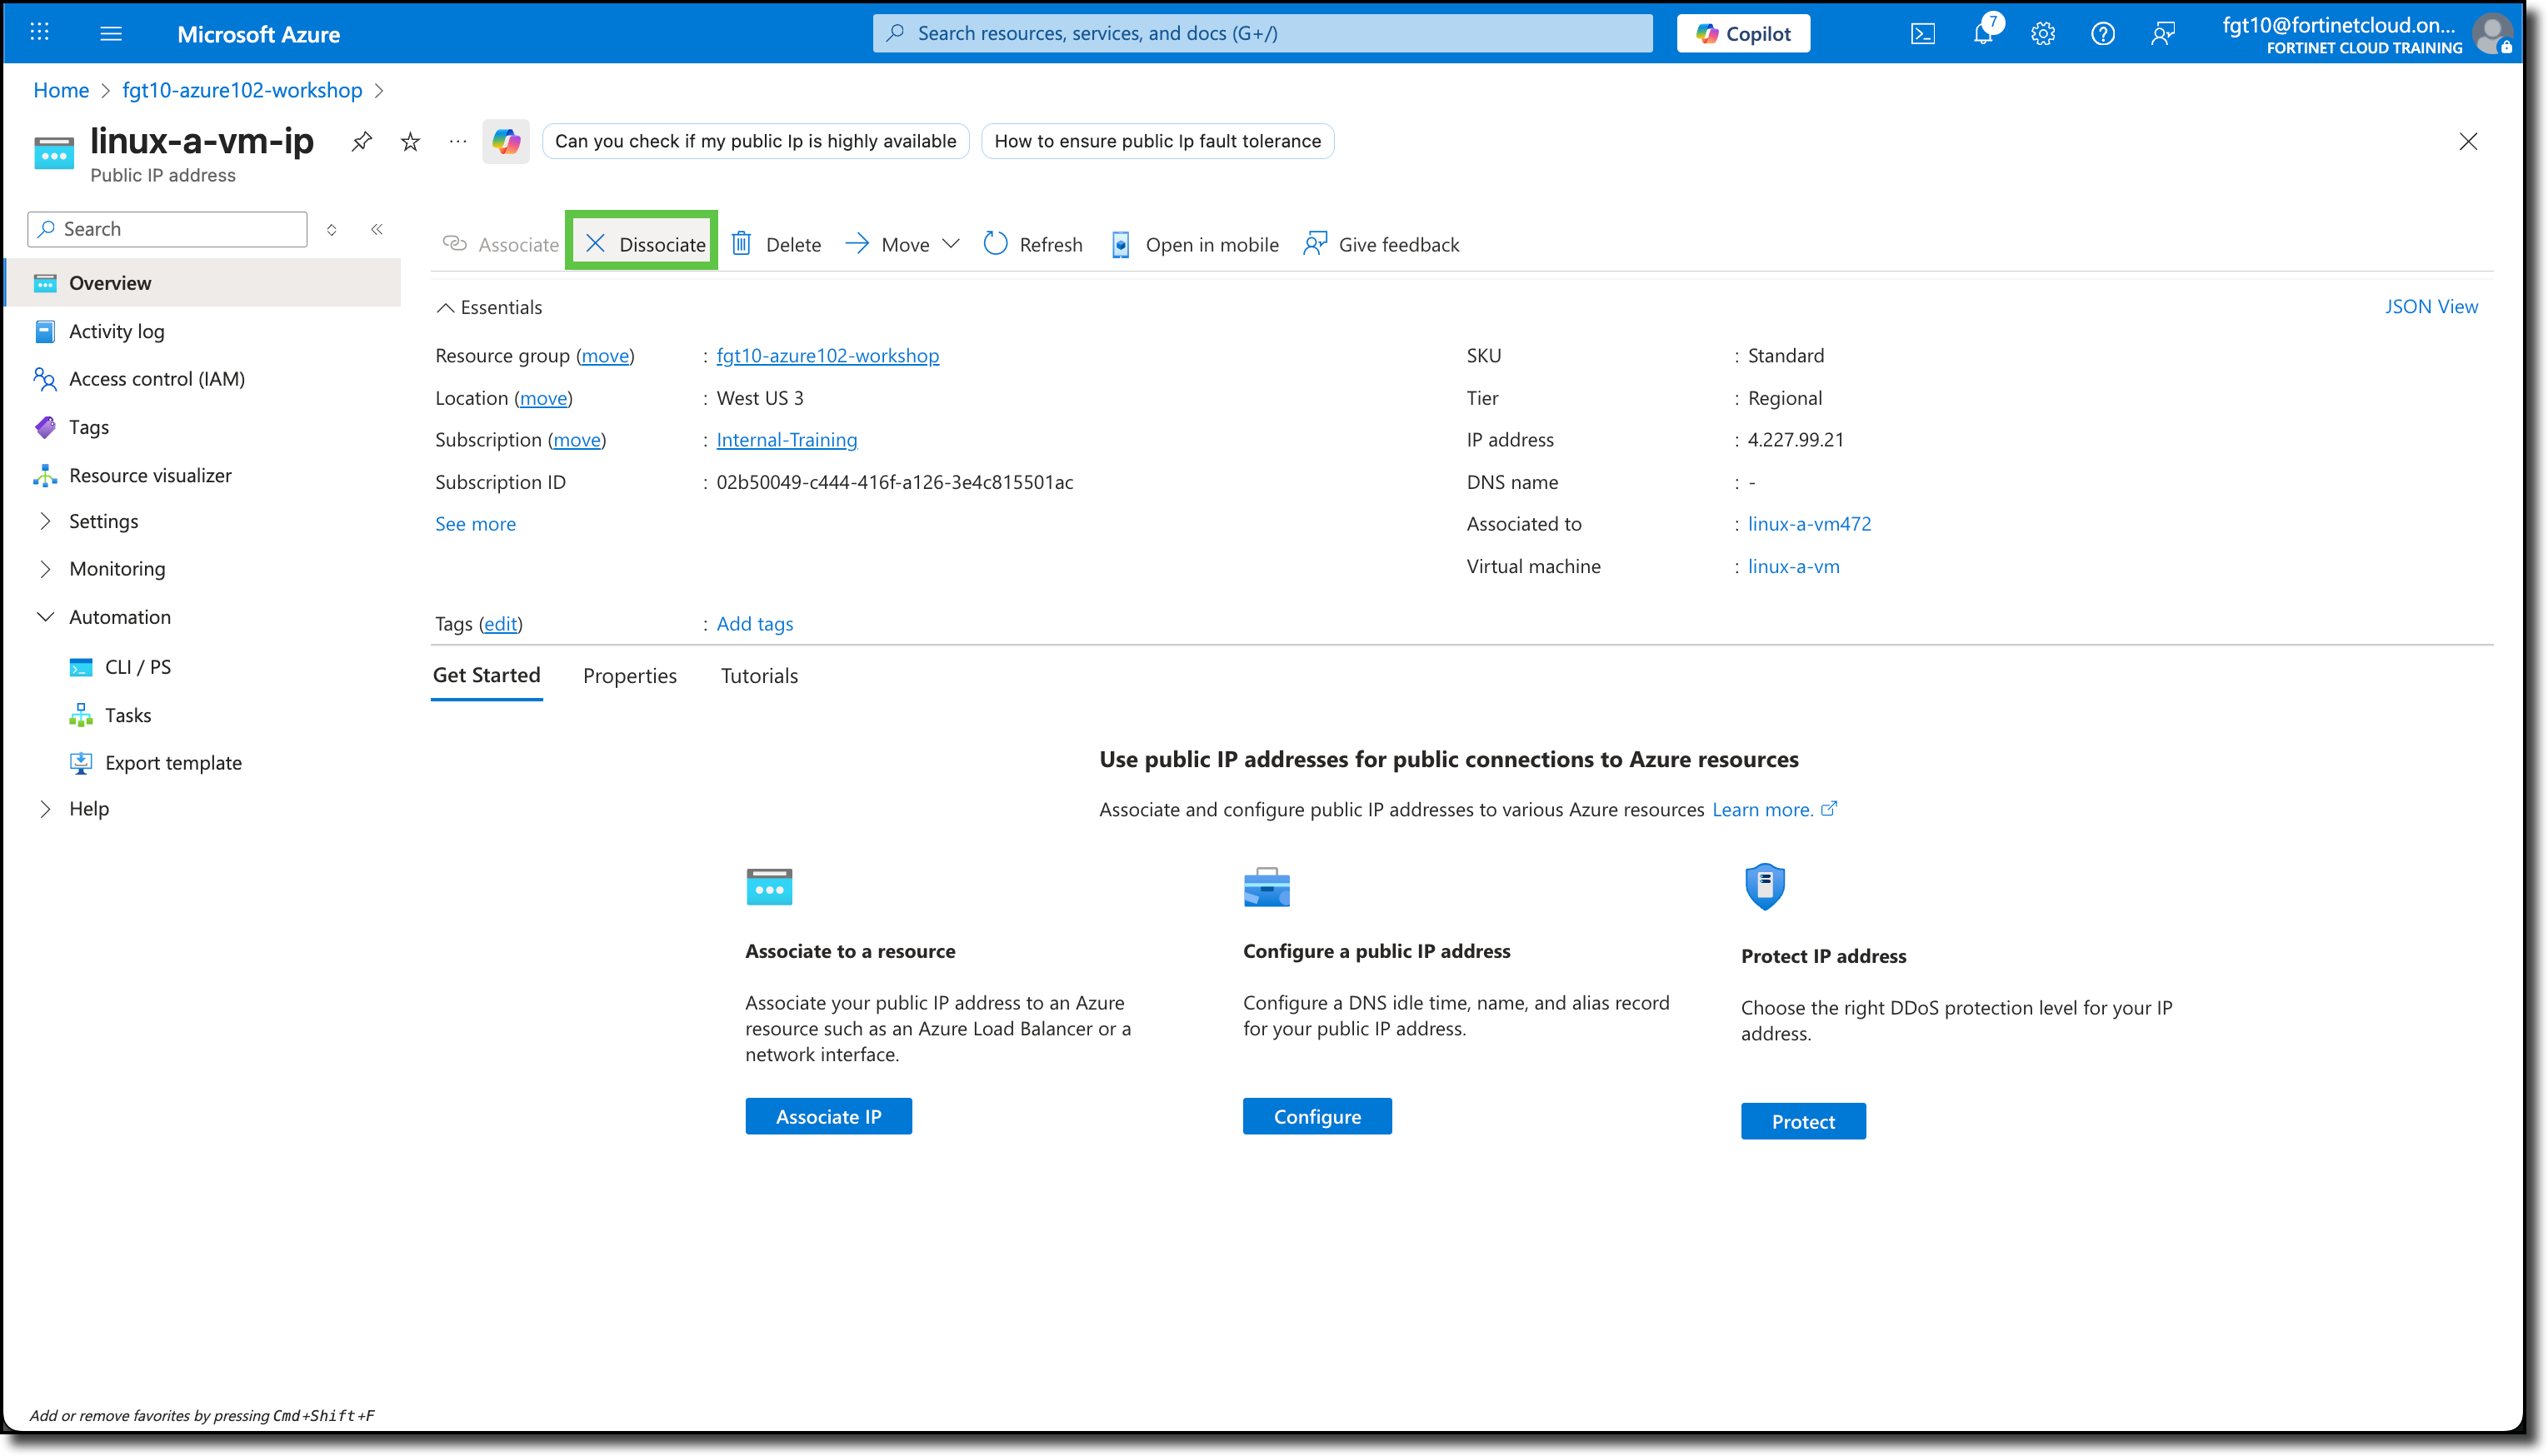
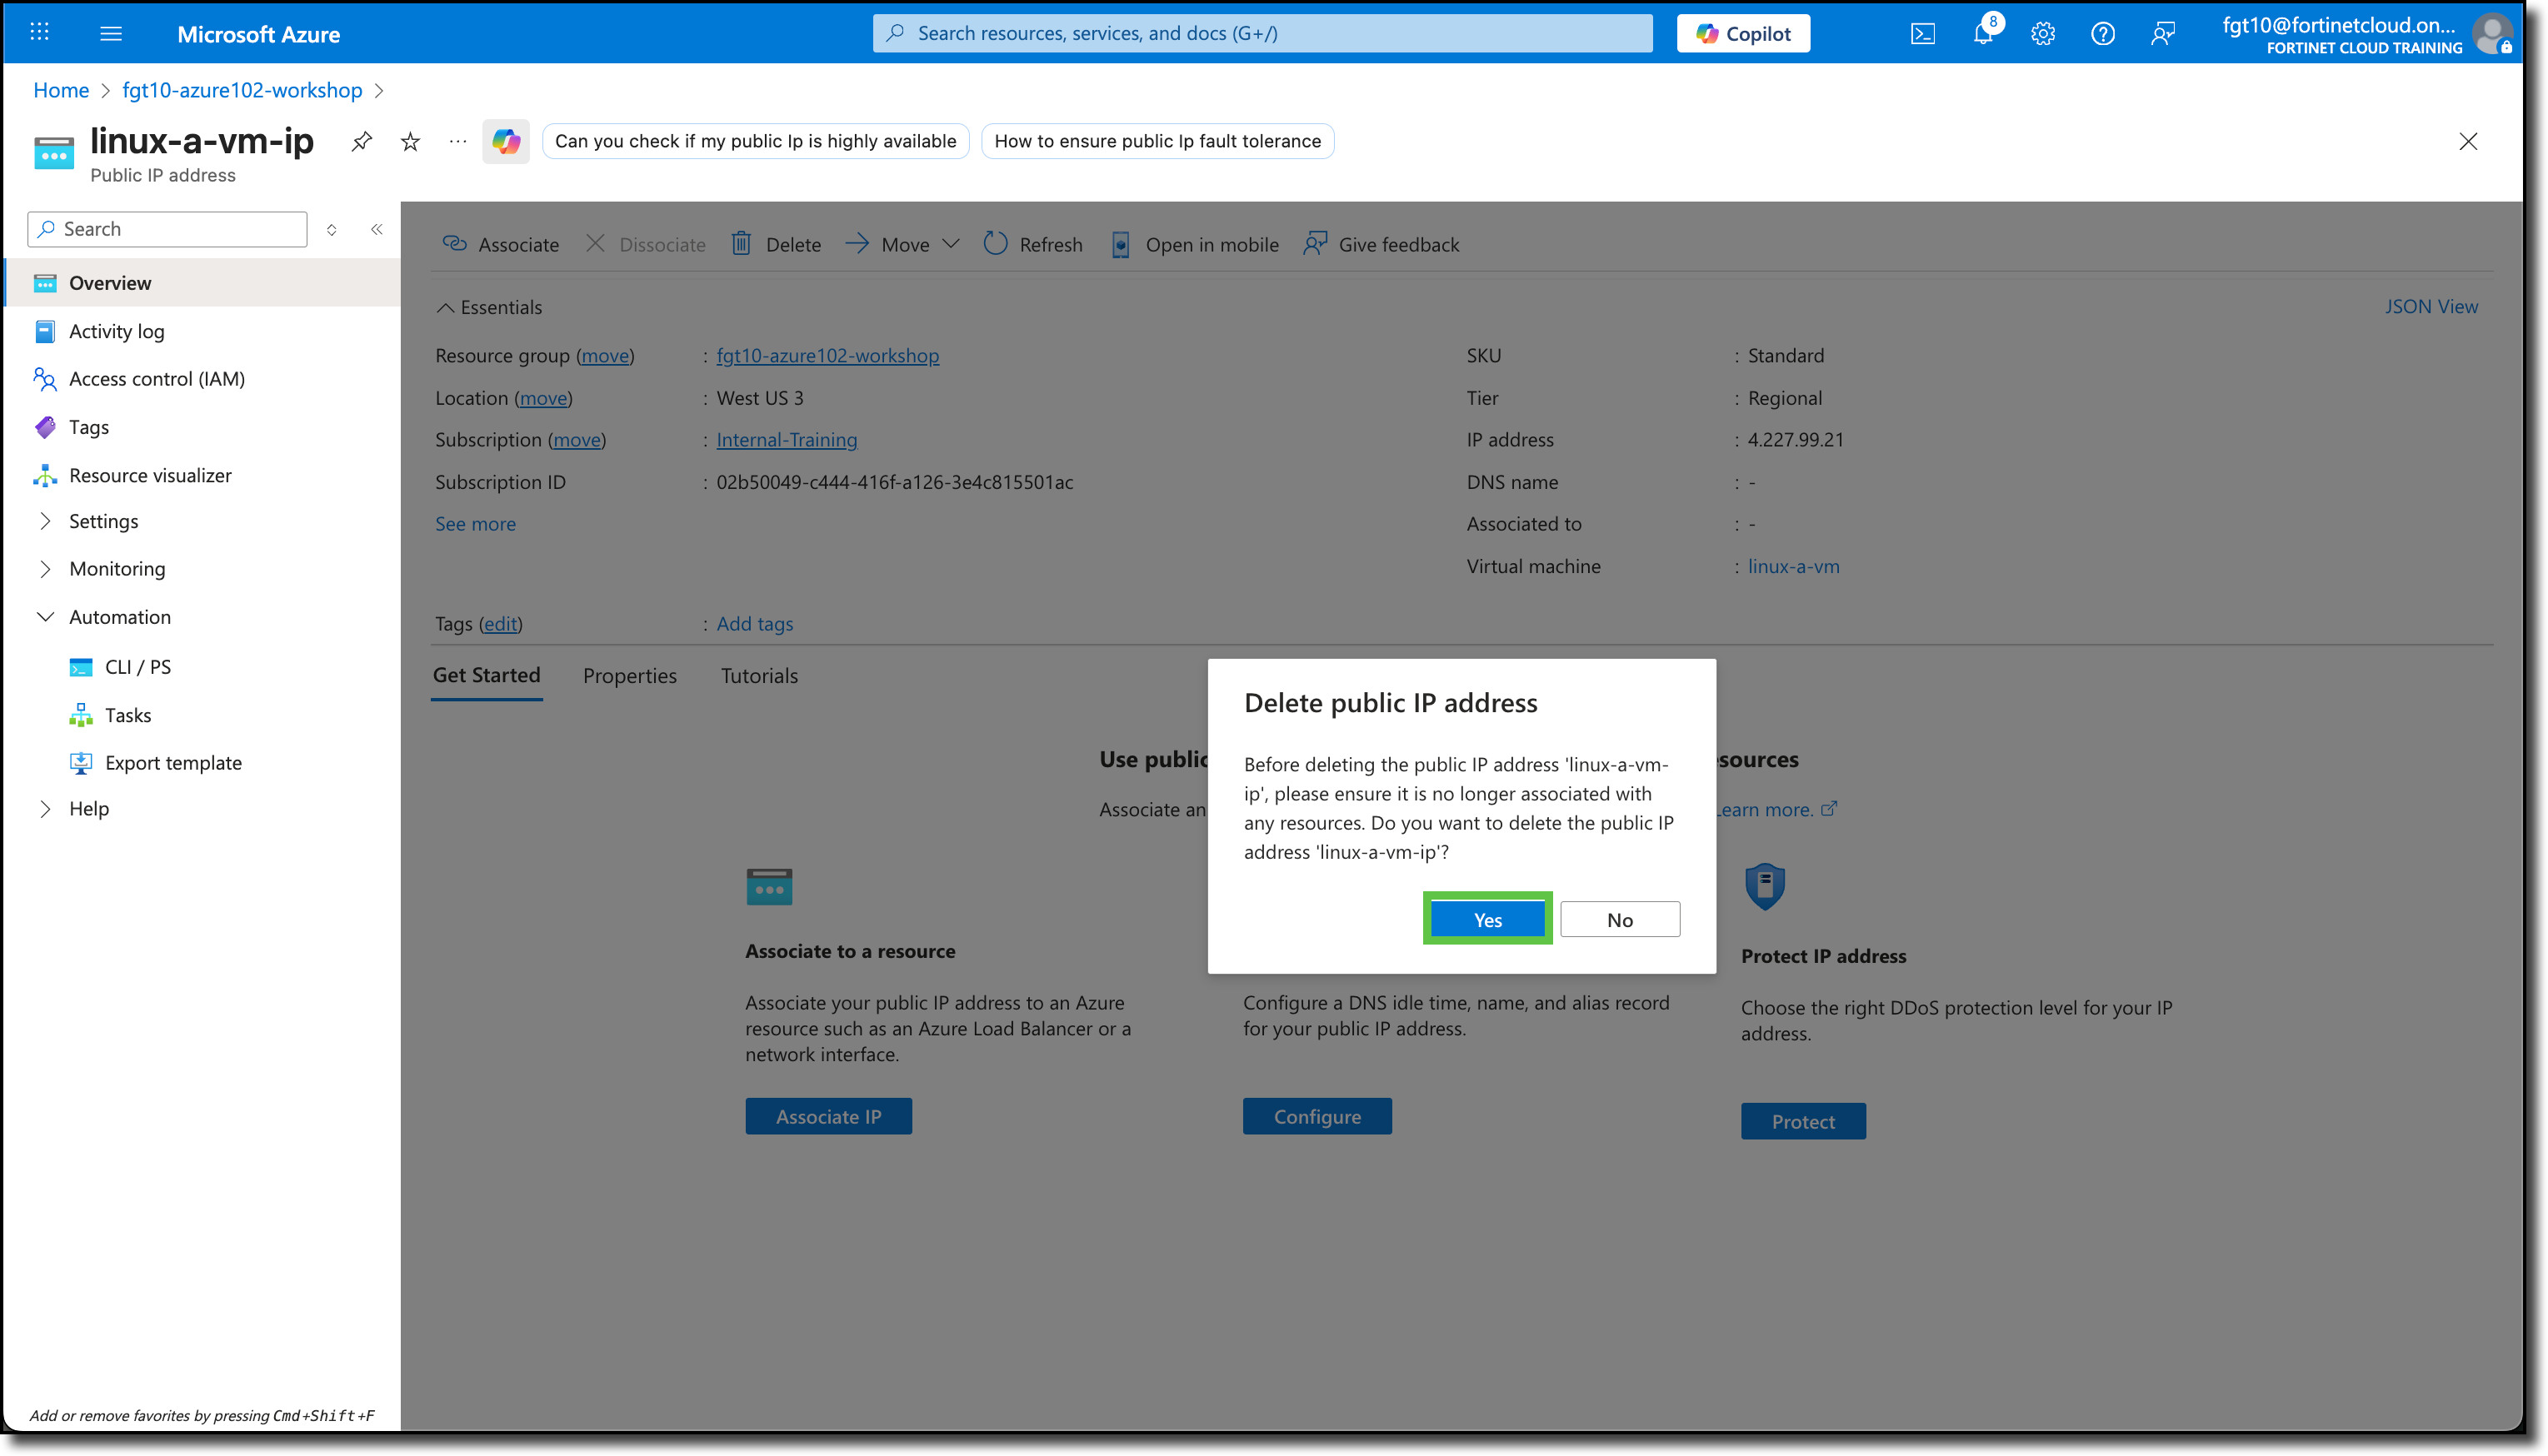
Repeat for “linux-b-vm-ip”
Because the Route Table is associated to the VNET, directing traffic to the FortiGate using the Public IPs attached to the Linux VMs is not possible because traffic leaving Linux VMs will be forced to the FortiGate and there will be no awareness and the traffic will be dropped.
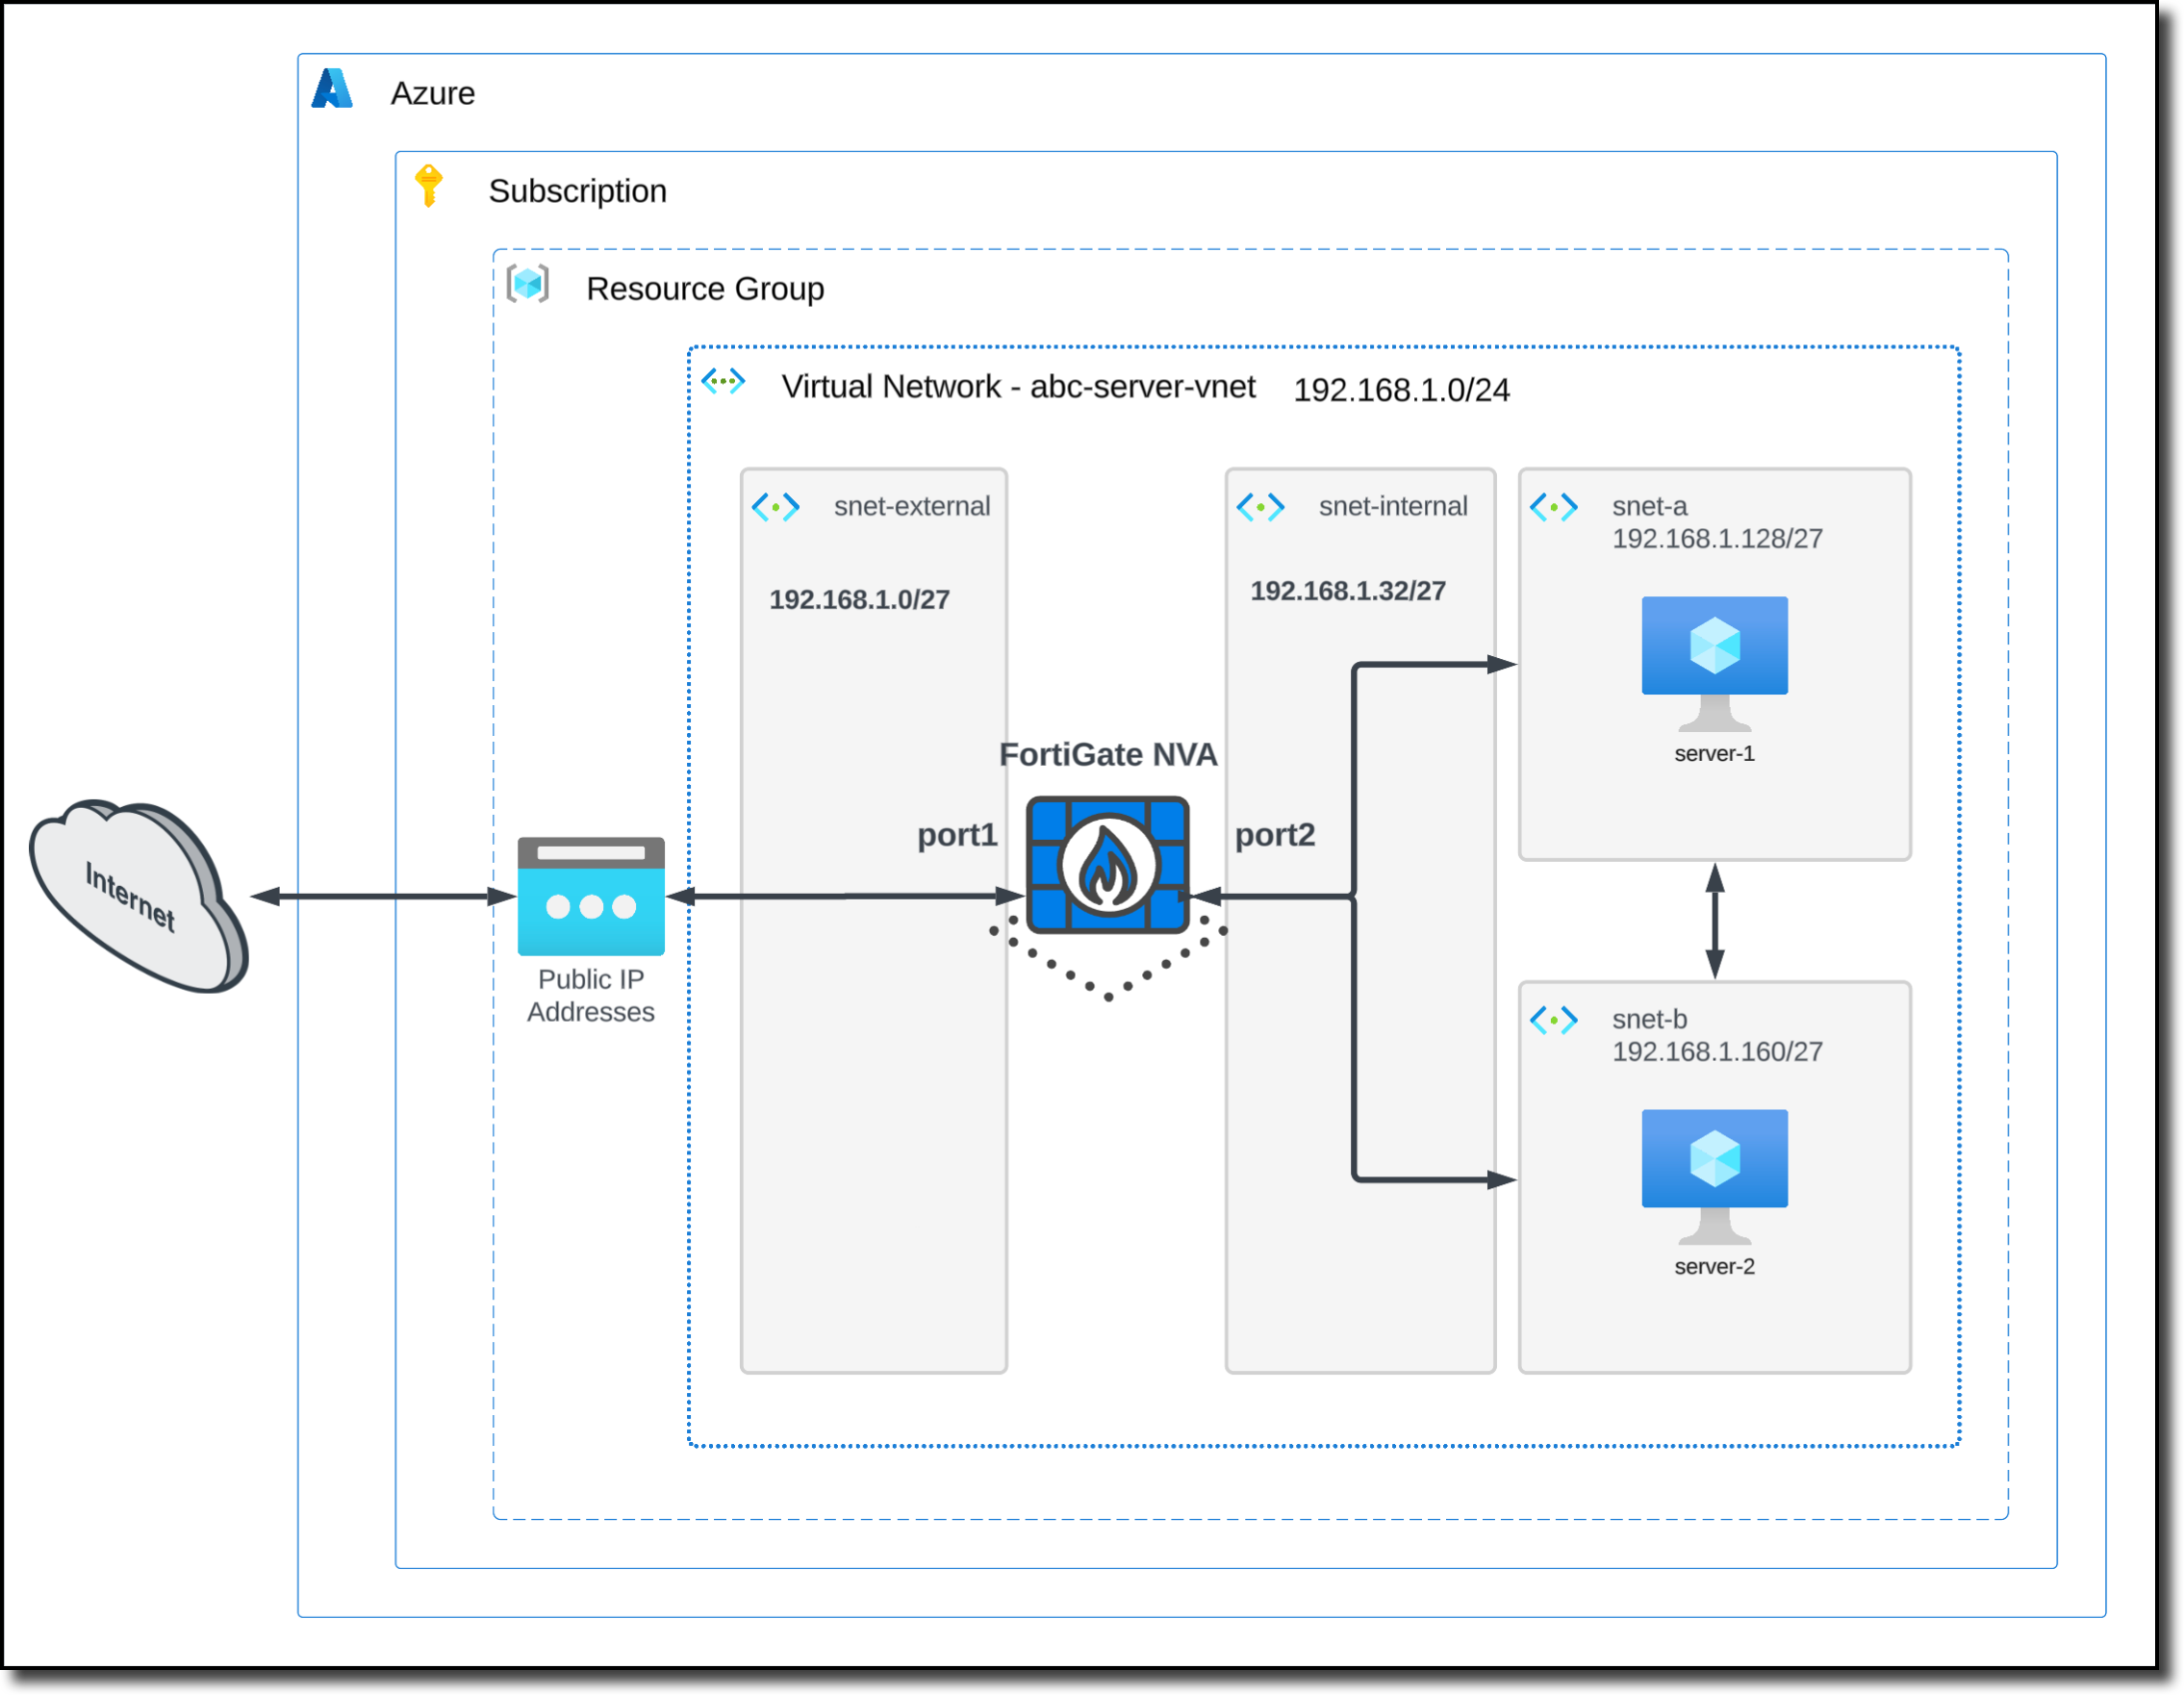
The following diagram is a representation of your current VNET with Linux VM deployment and FortiGate NVA