Task 1: Deploy a second VWAN Hub
In this task deploy a second vWAN hub.
Deploy a VWAN Hub
The initial vWAN hub setup was already done for you before the session. Now you will deploy a second hub in another Azure region. The hub will eventually have a Virtual Network (VNET) peered to it, with a Linux VM deployed in the VNET as well.
Add a VWAN Hub.
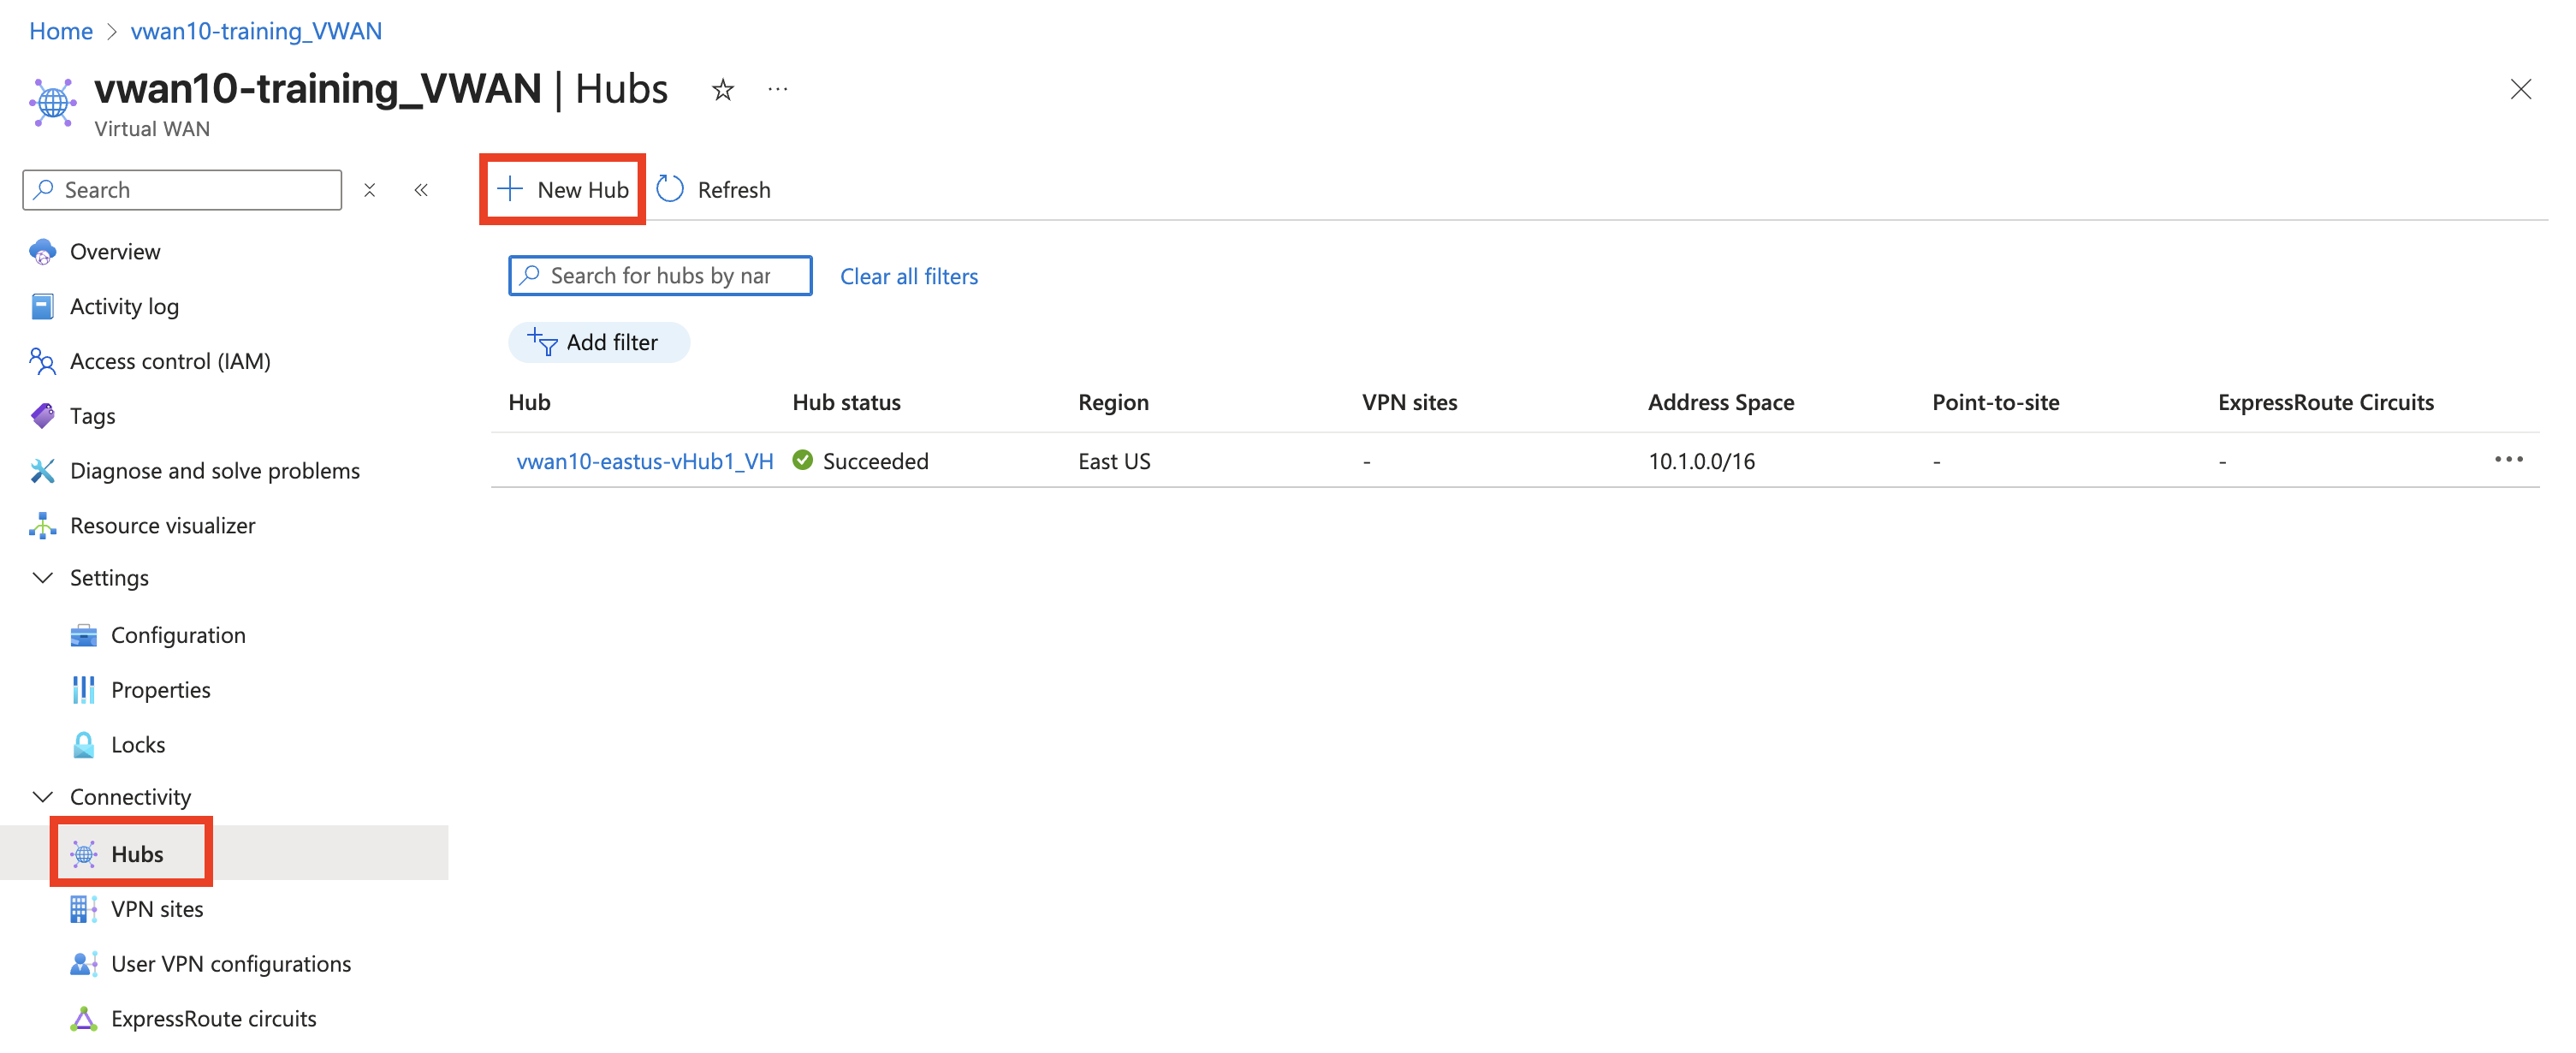
Navigate to your assigned vWAN vwanXX-eastus_VWAN
On the left under “Connectivity” select “Hubs”.
Click - “+ New Hub” button
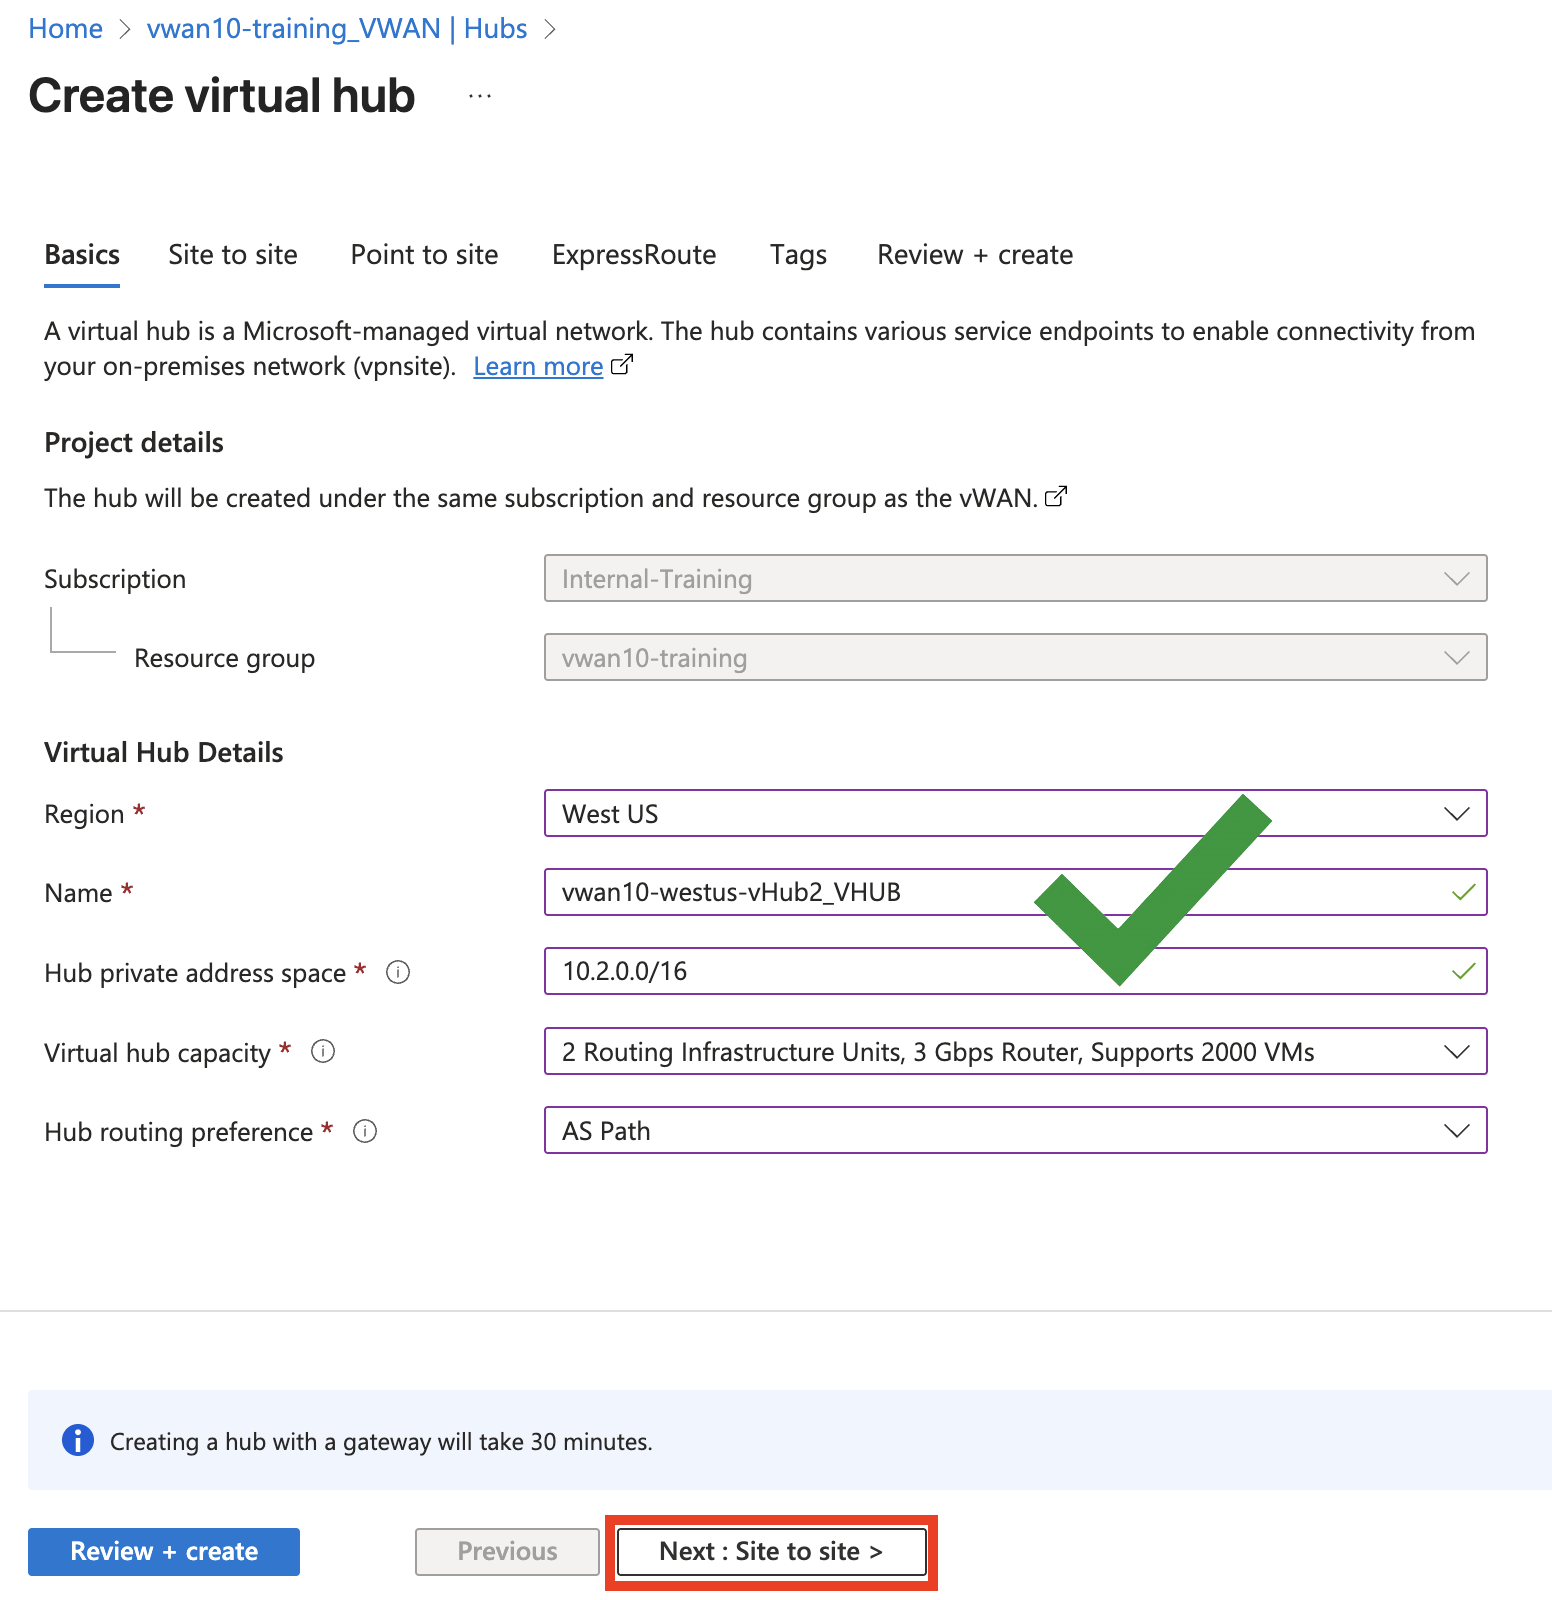
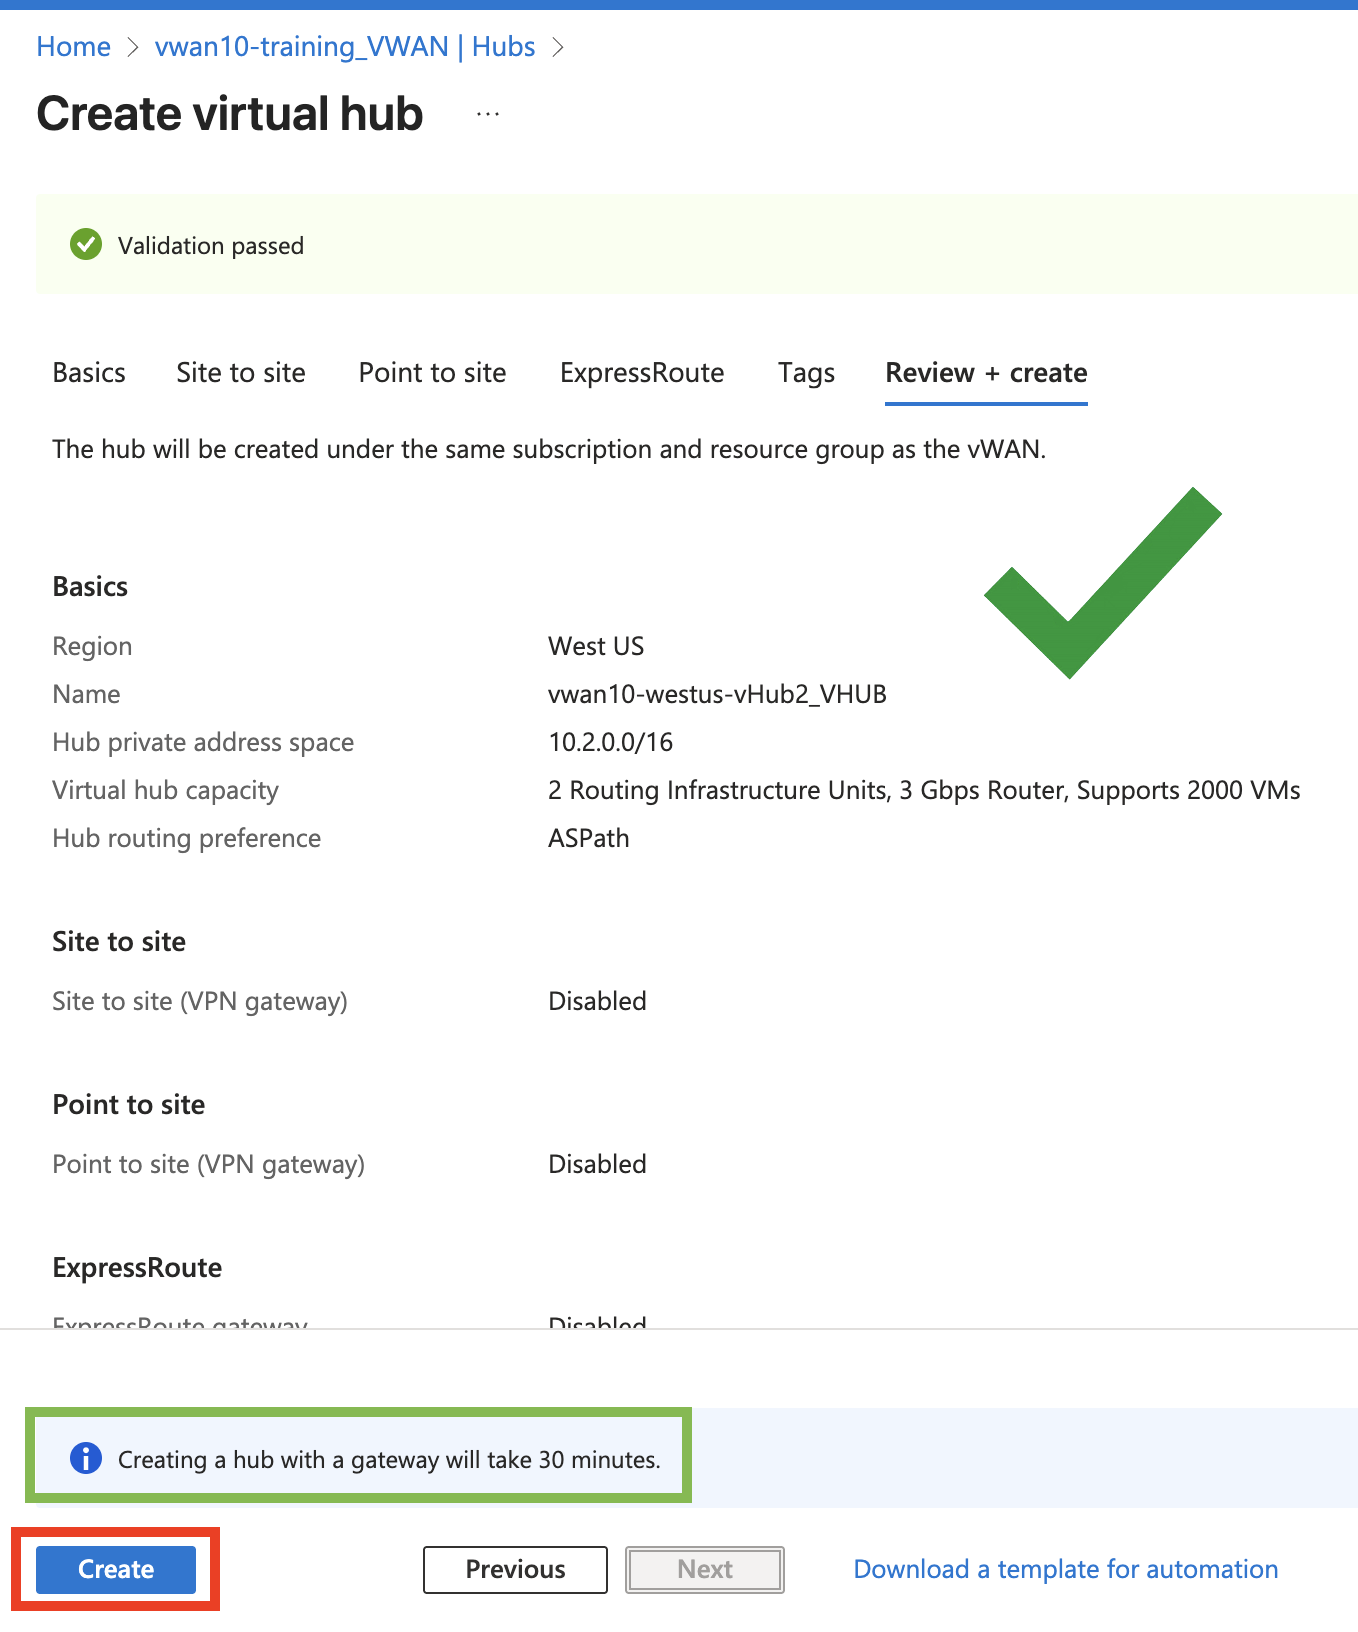
Select - Region “West US”
Enter - Name vwanXX-westus-vHub2_VHUB <– Where XX is your assigned number.
Enter - Hub private address space “10.2.0.0/16”
Select - Virtual hub capacity “2 Routing Infrastructure Units, 3 Gbps Router, Supports 2000 VMs”
Select - Hub routing preference “AS Path”
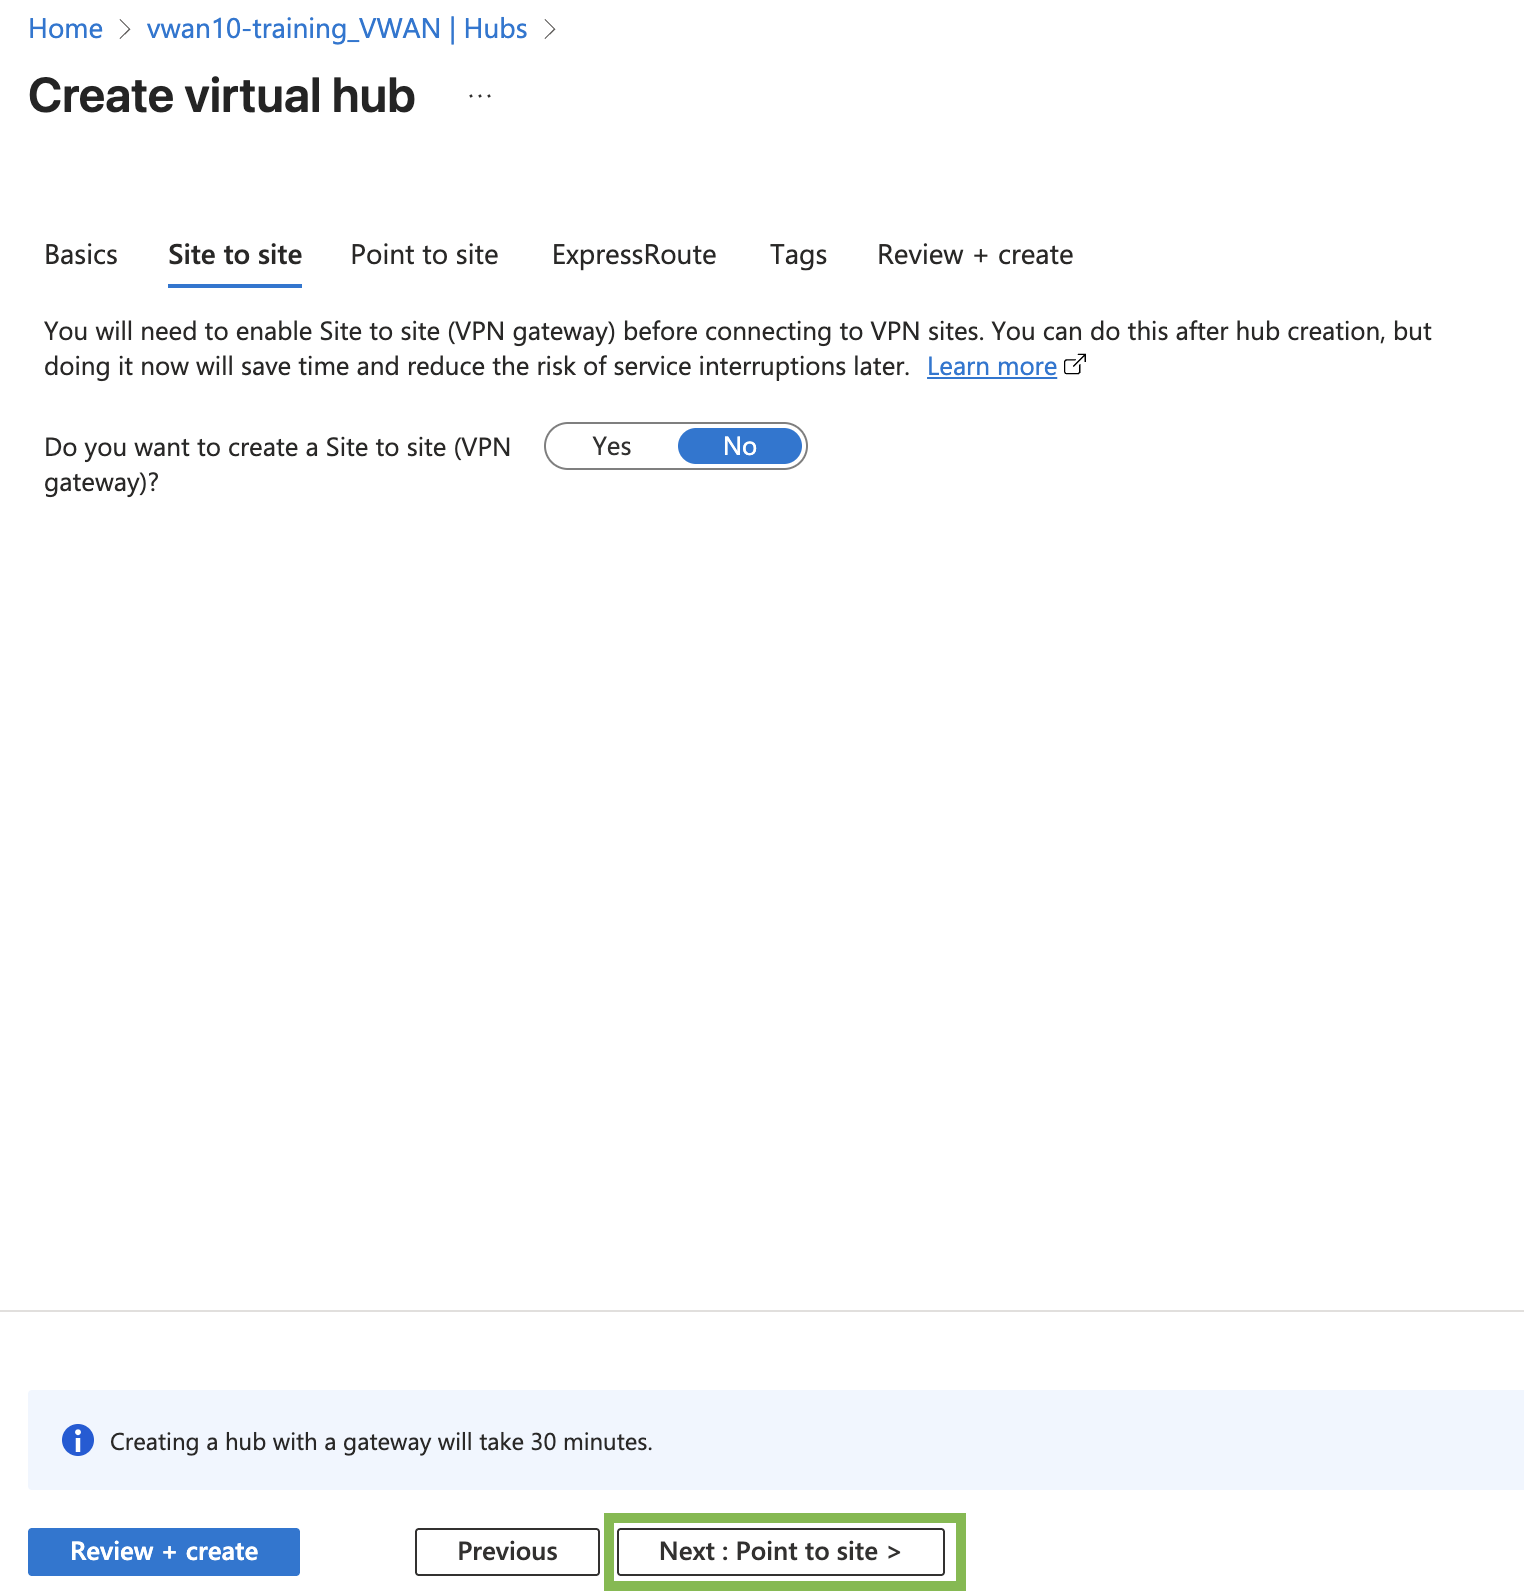
Click - “Next: Site to Site” button
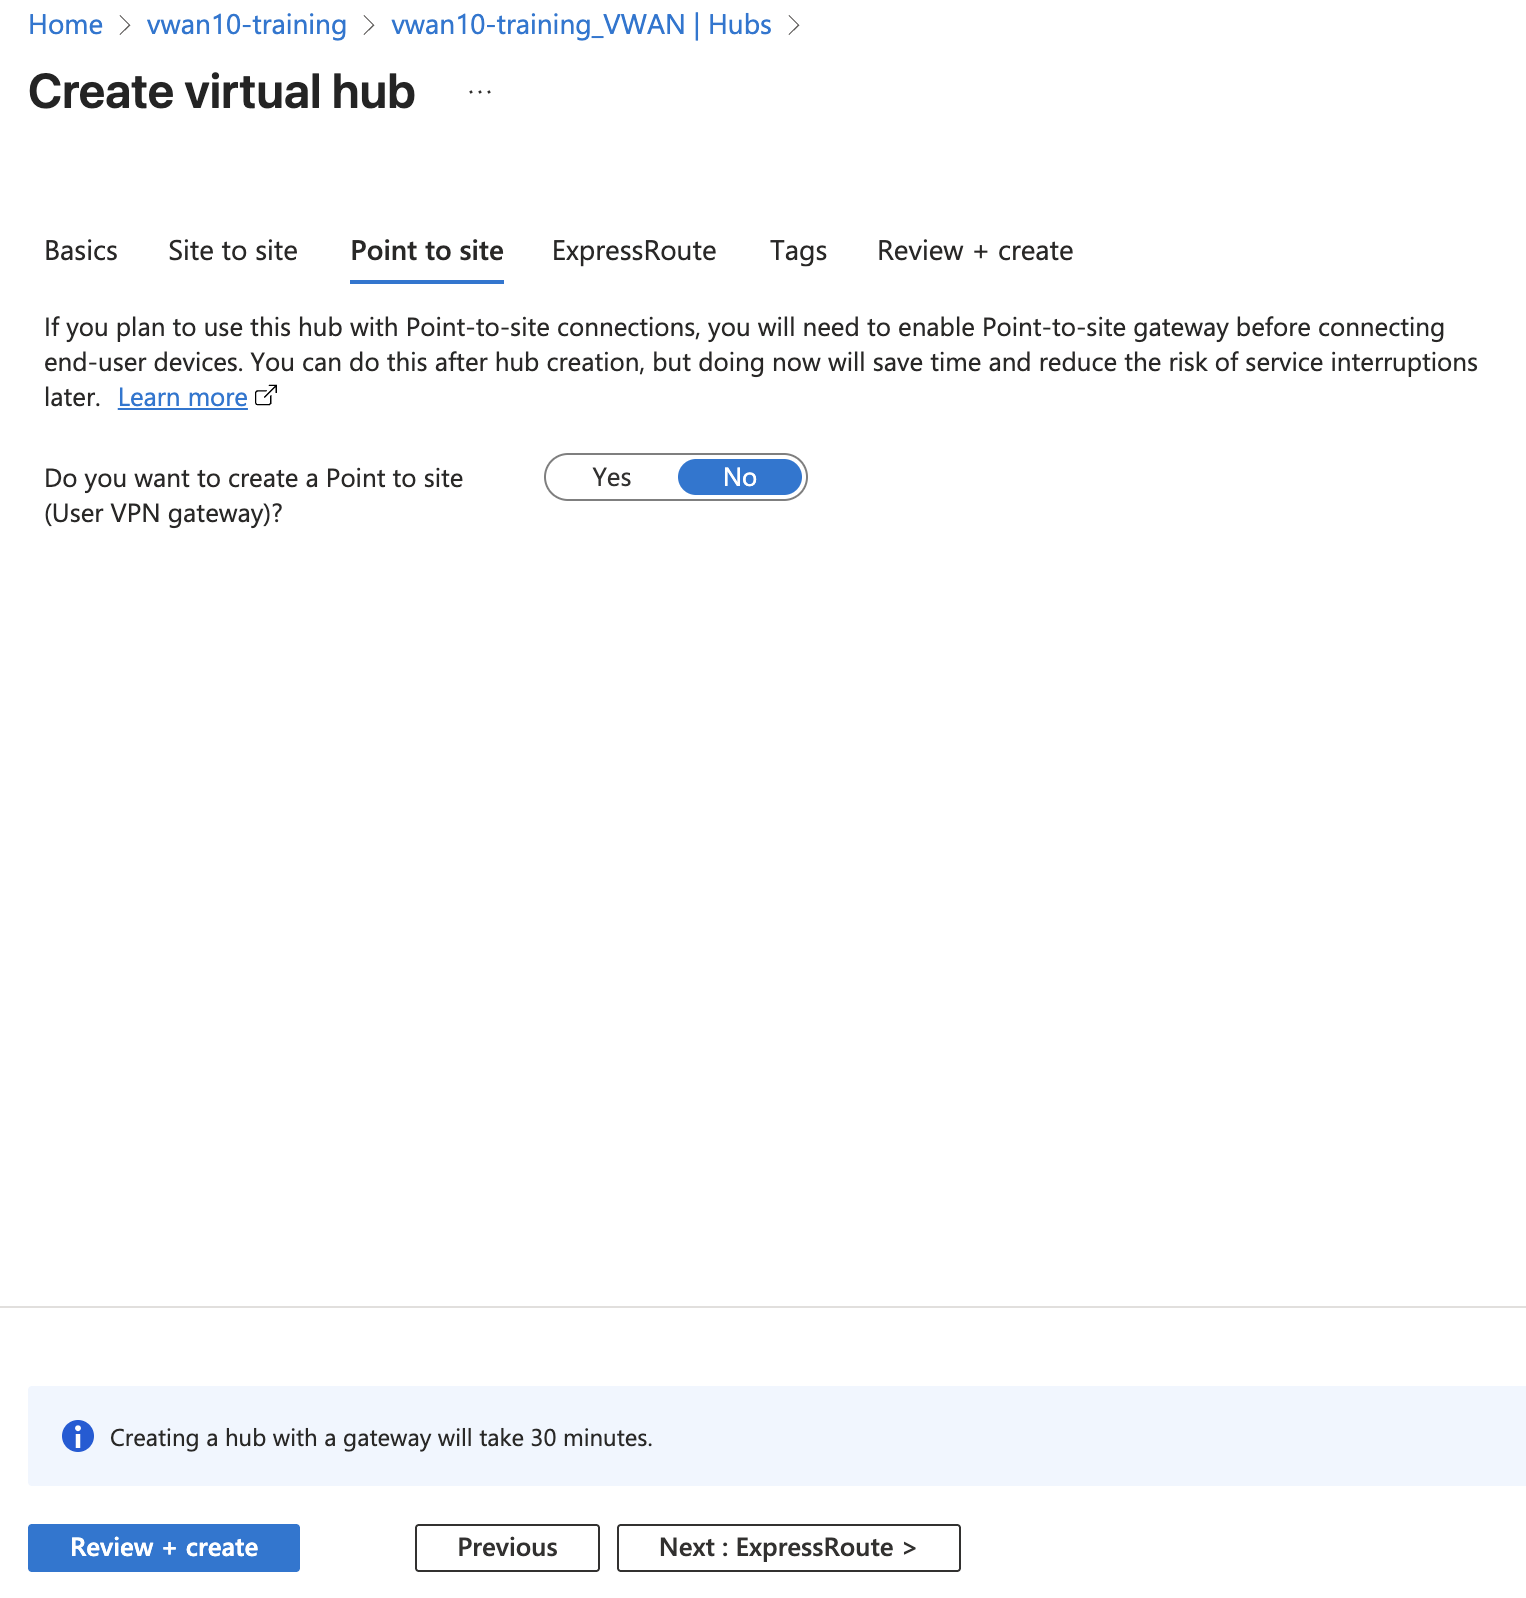
Click - “Next: Point to Site” button
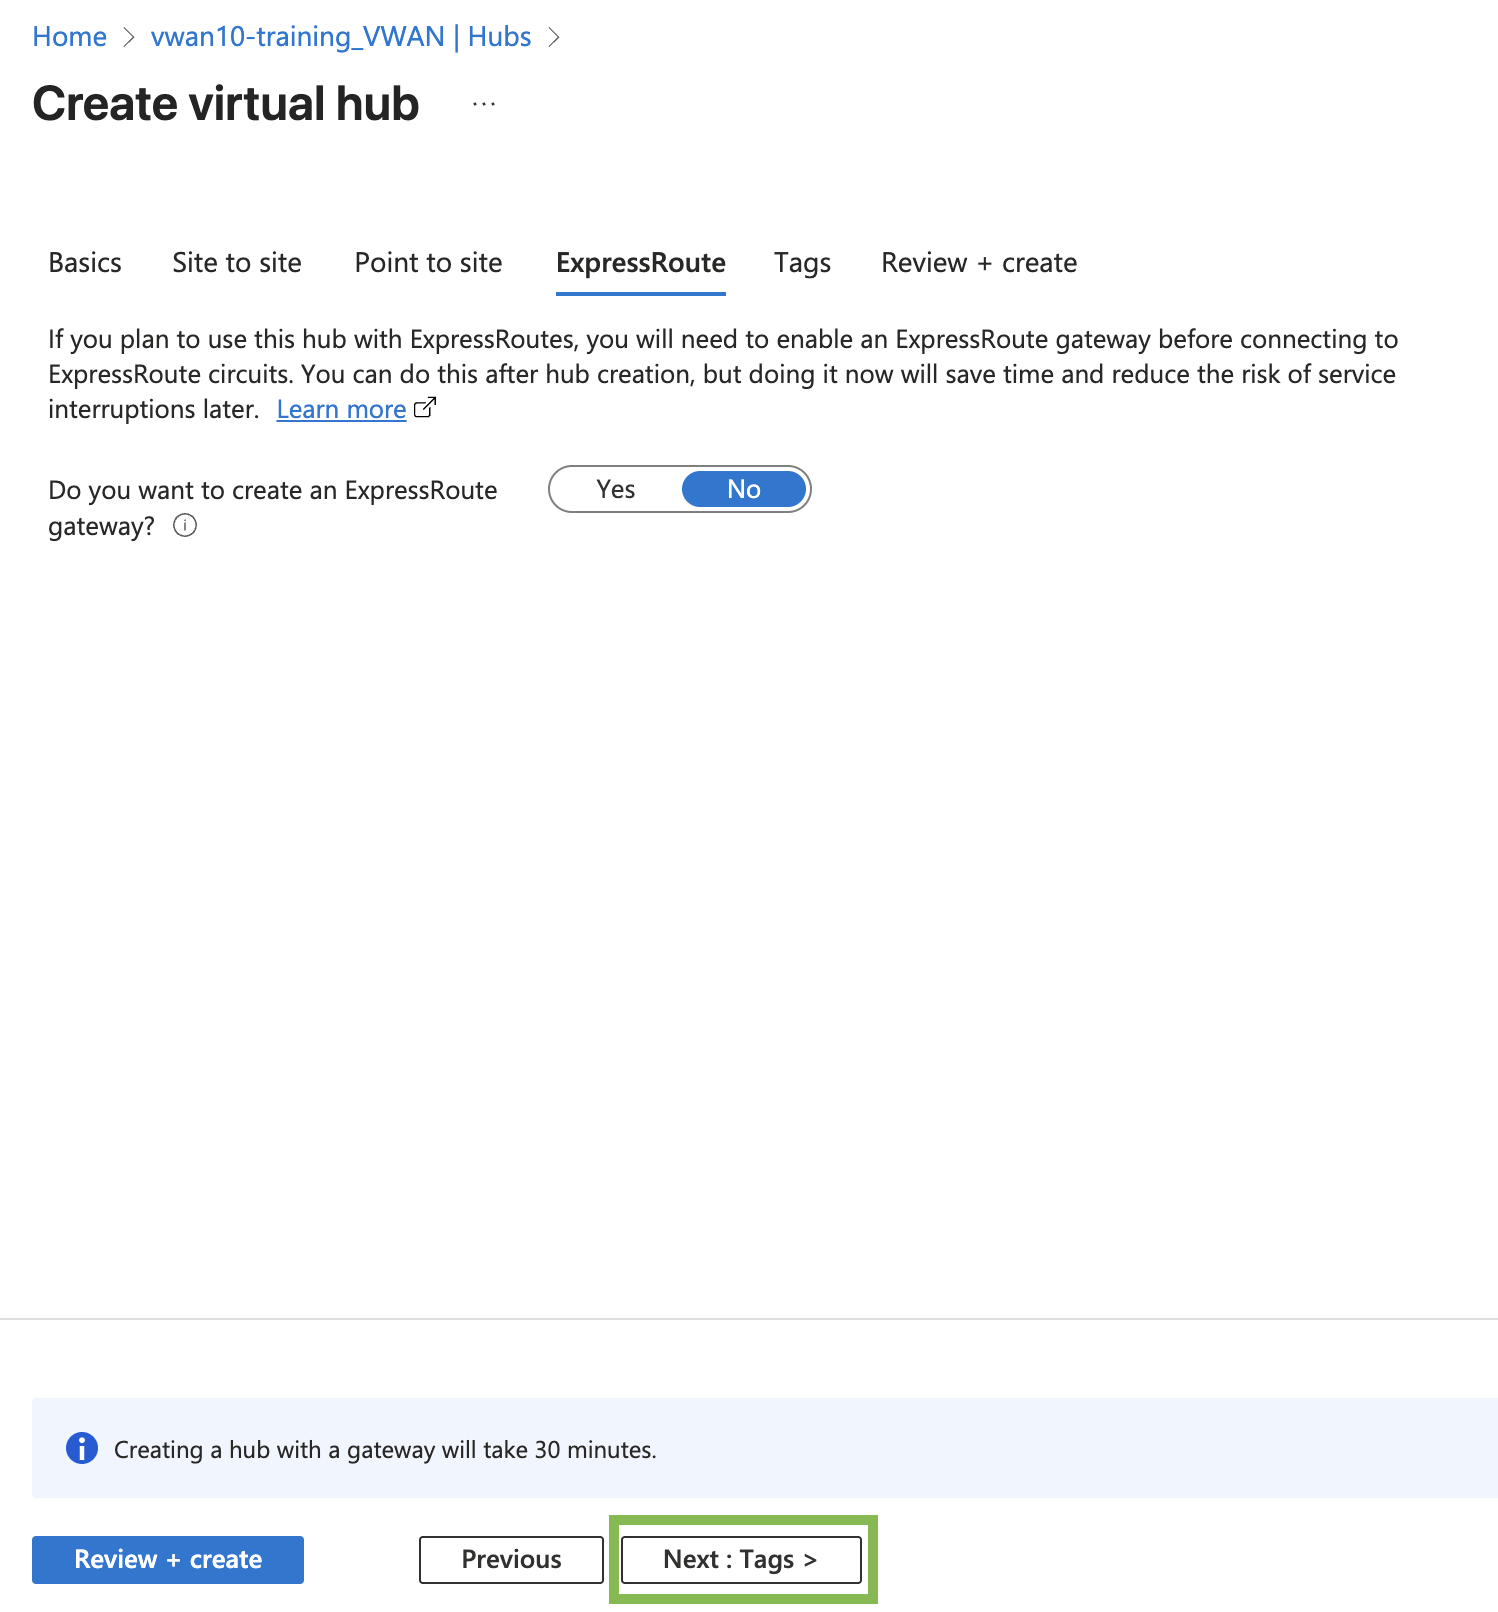
Click - “Next: ExpressRoute” button
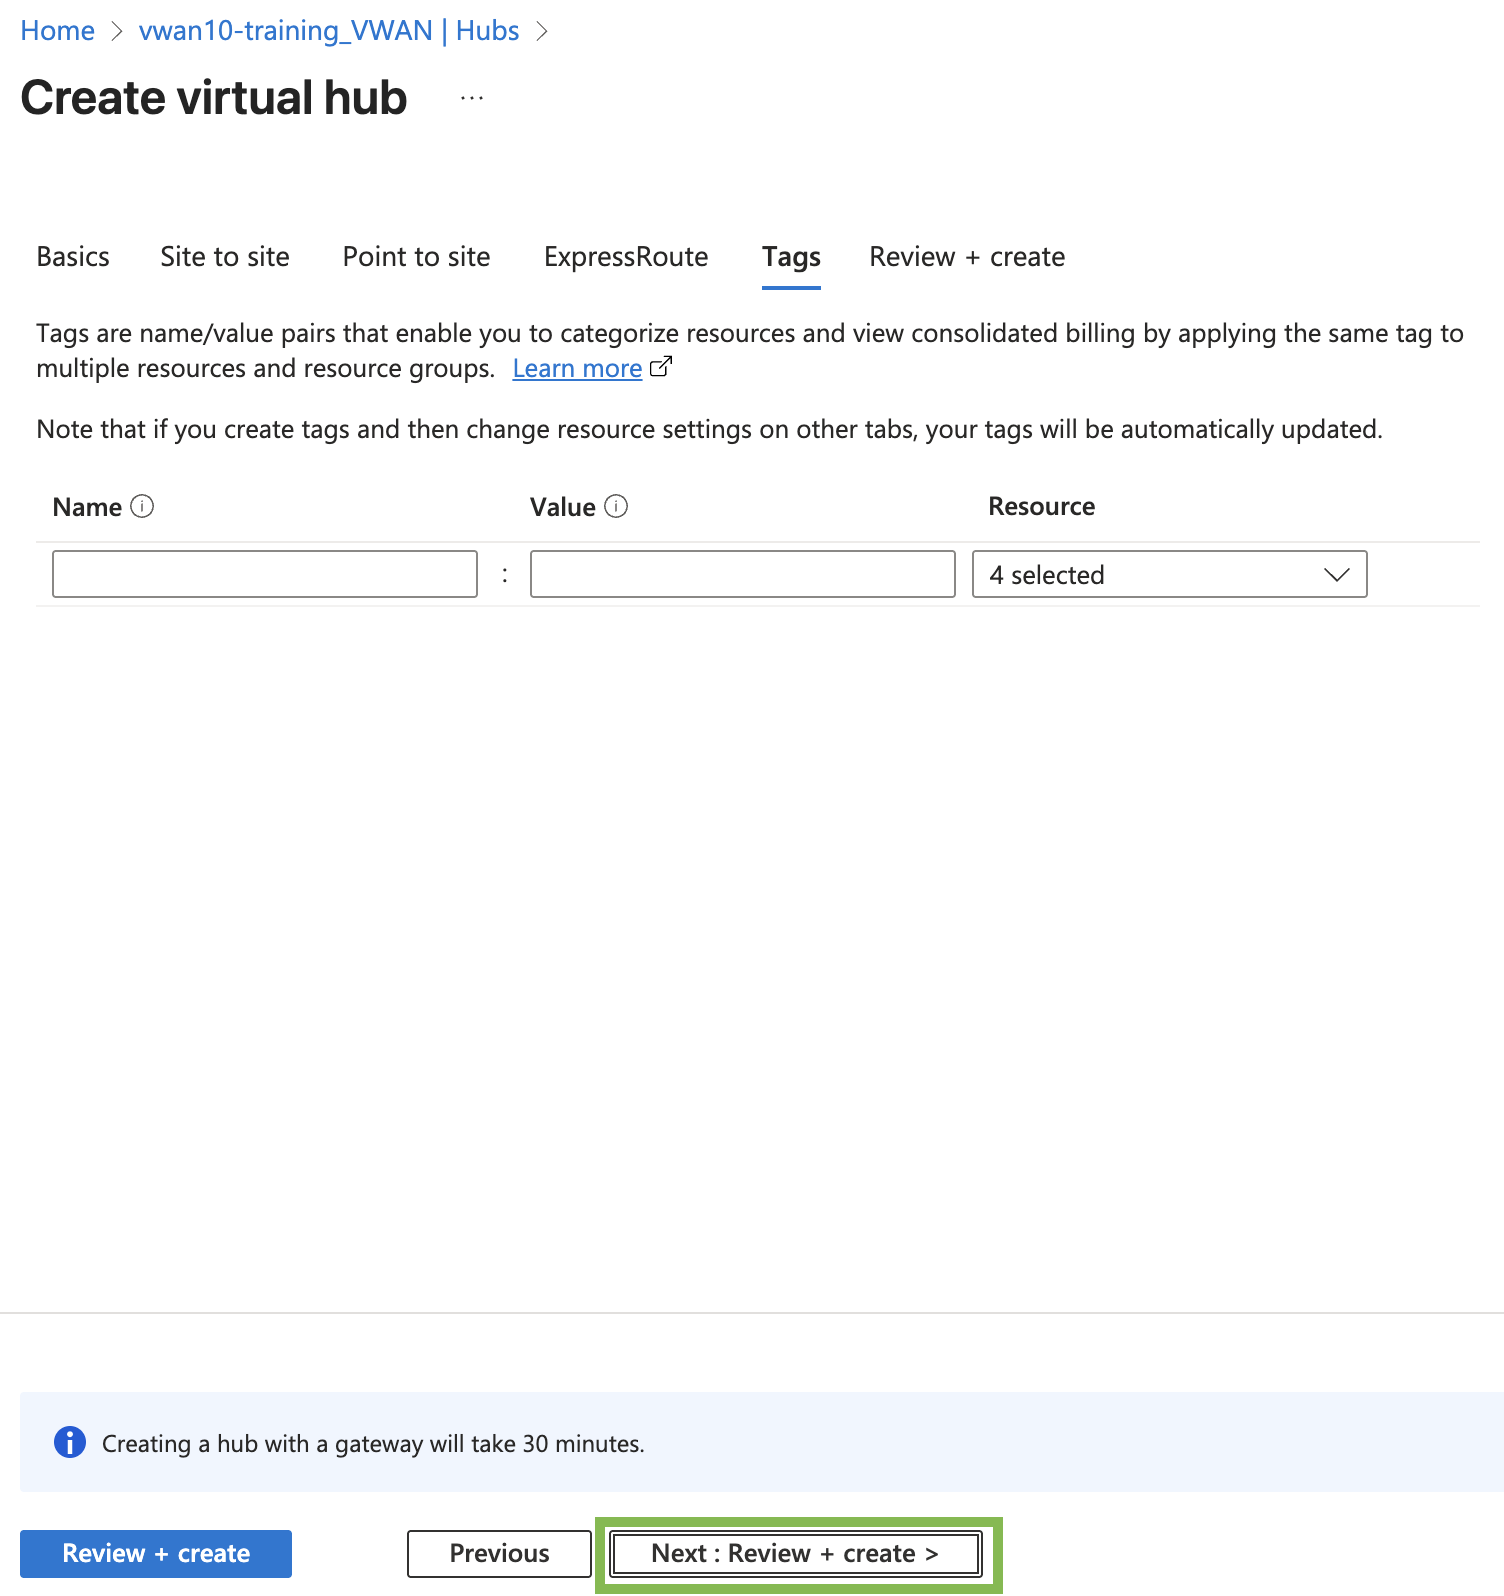
Click - “Next: Tags” button
Click - “Next: Review + create” button
Click - “Next: Create” button
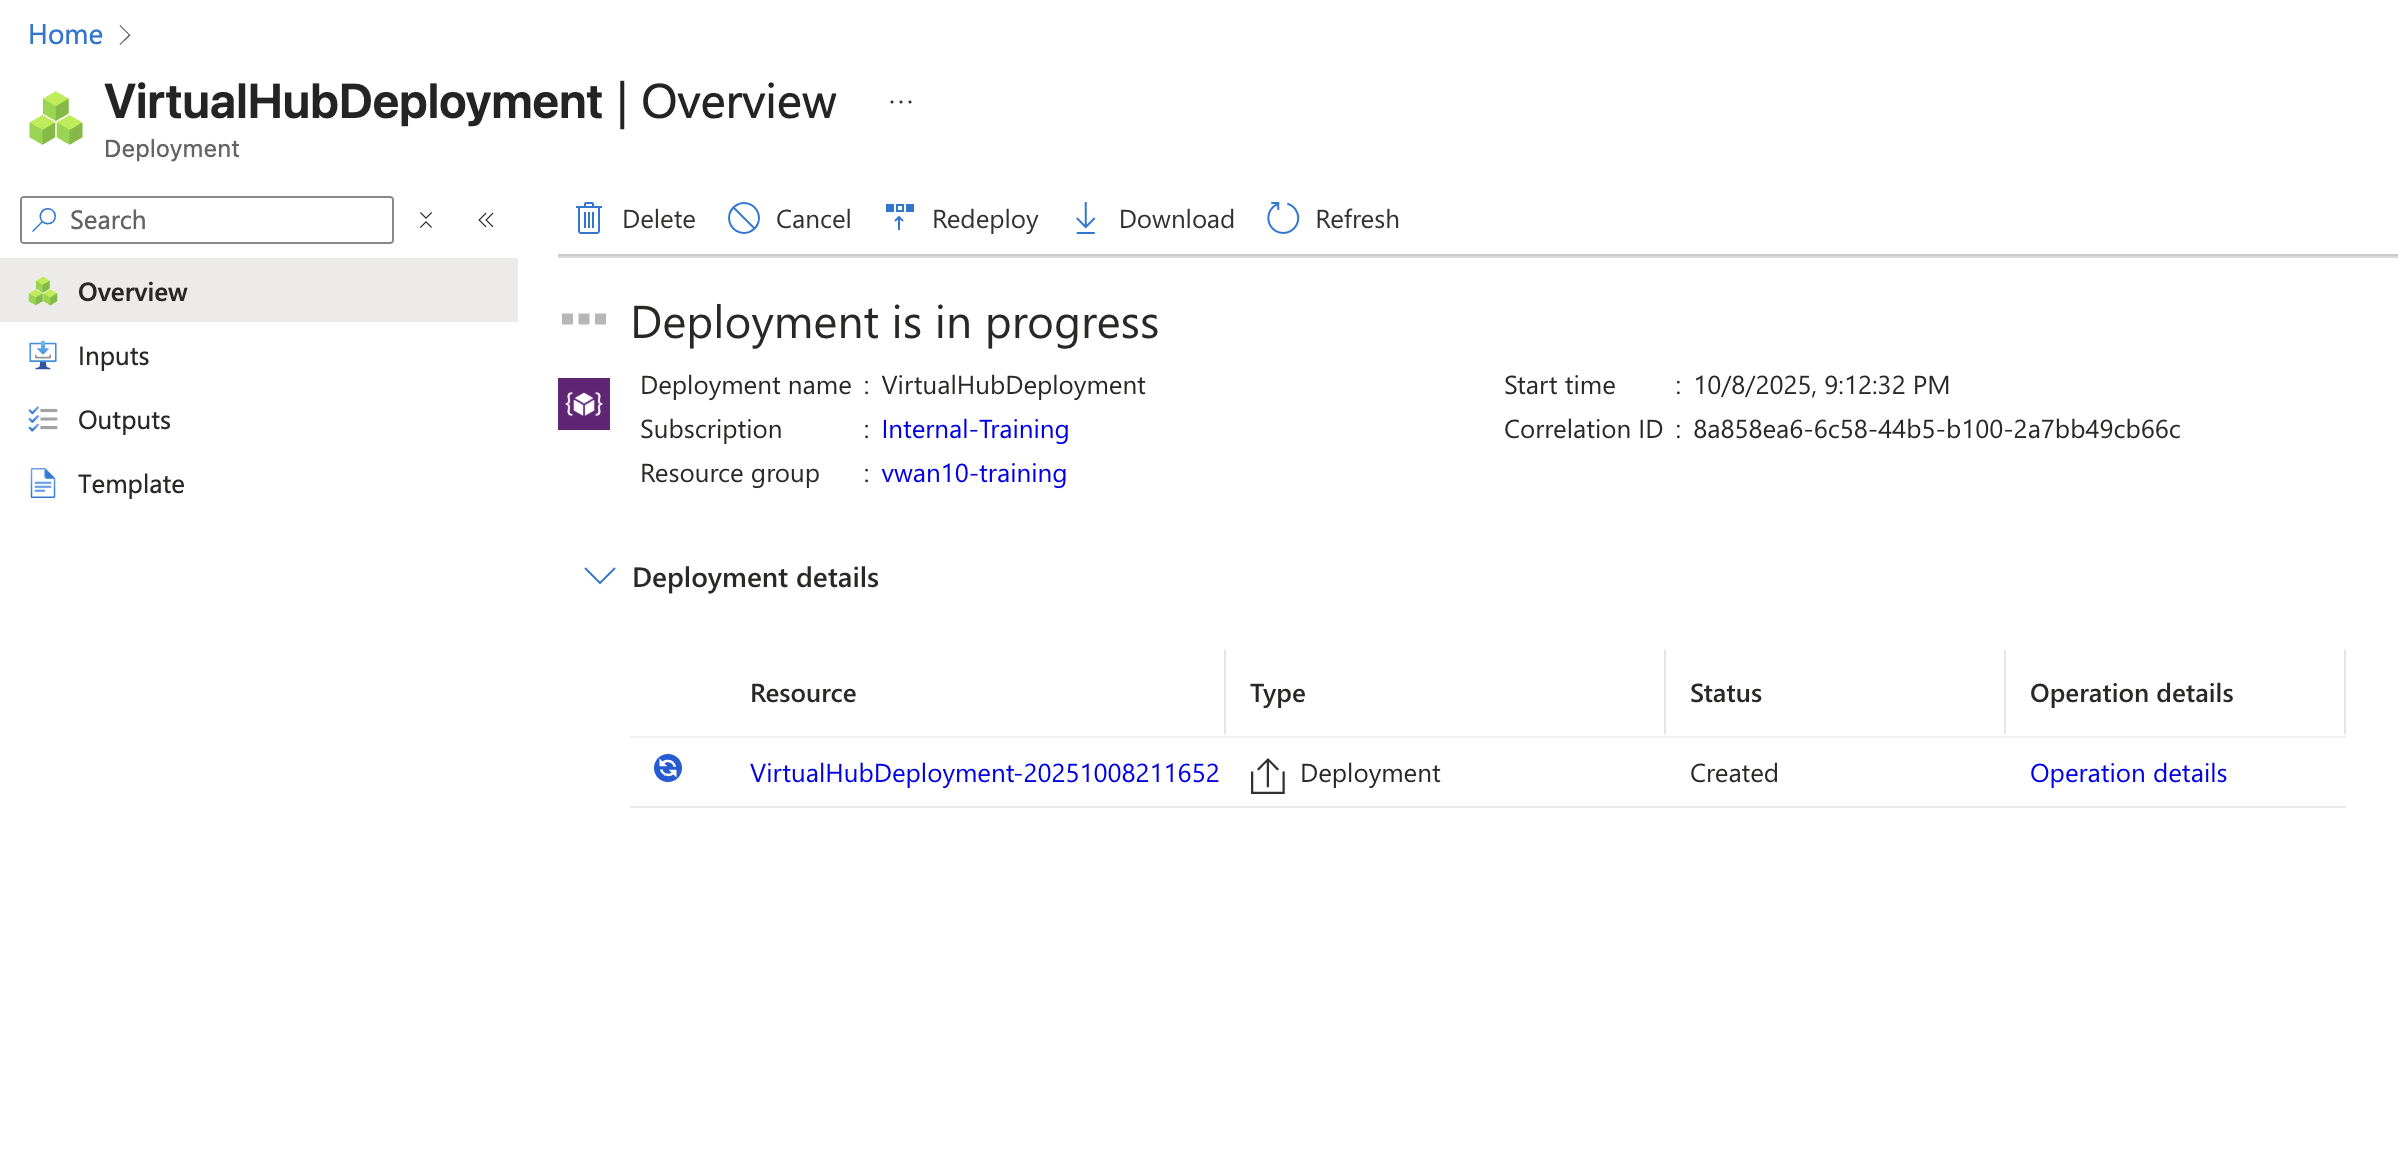
Tip
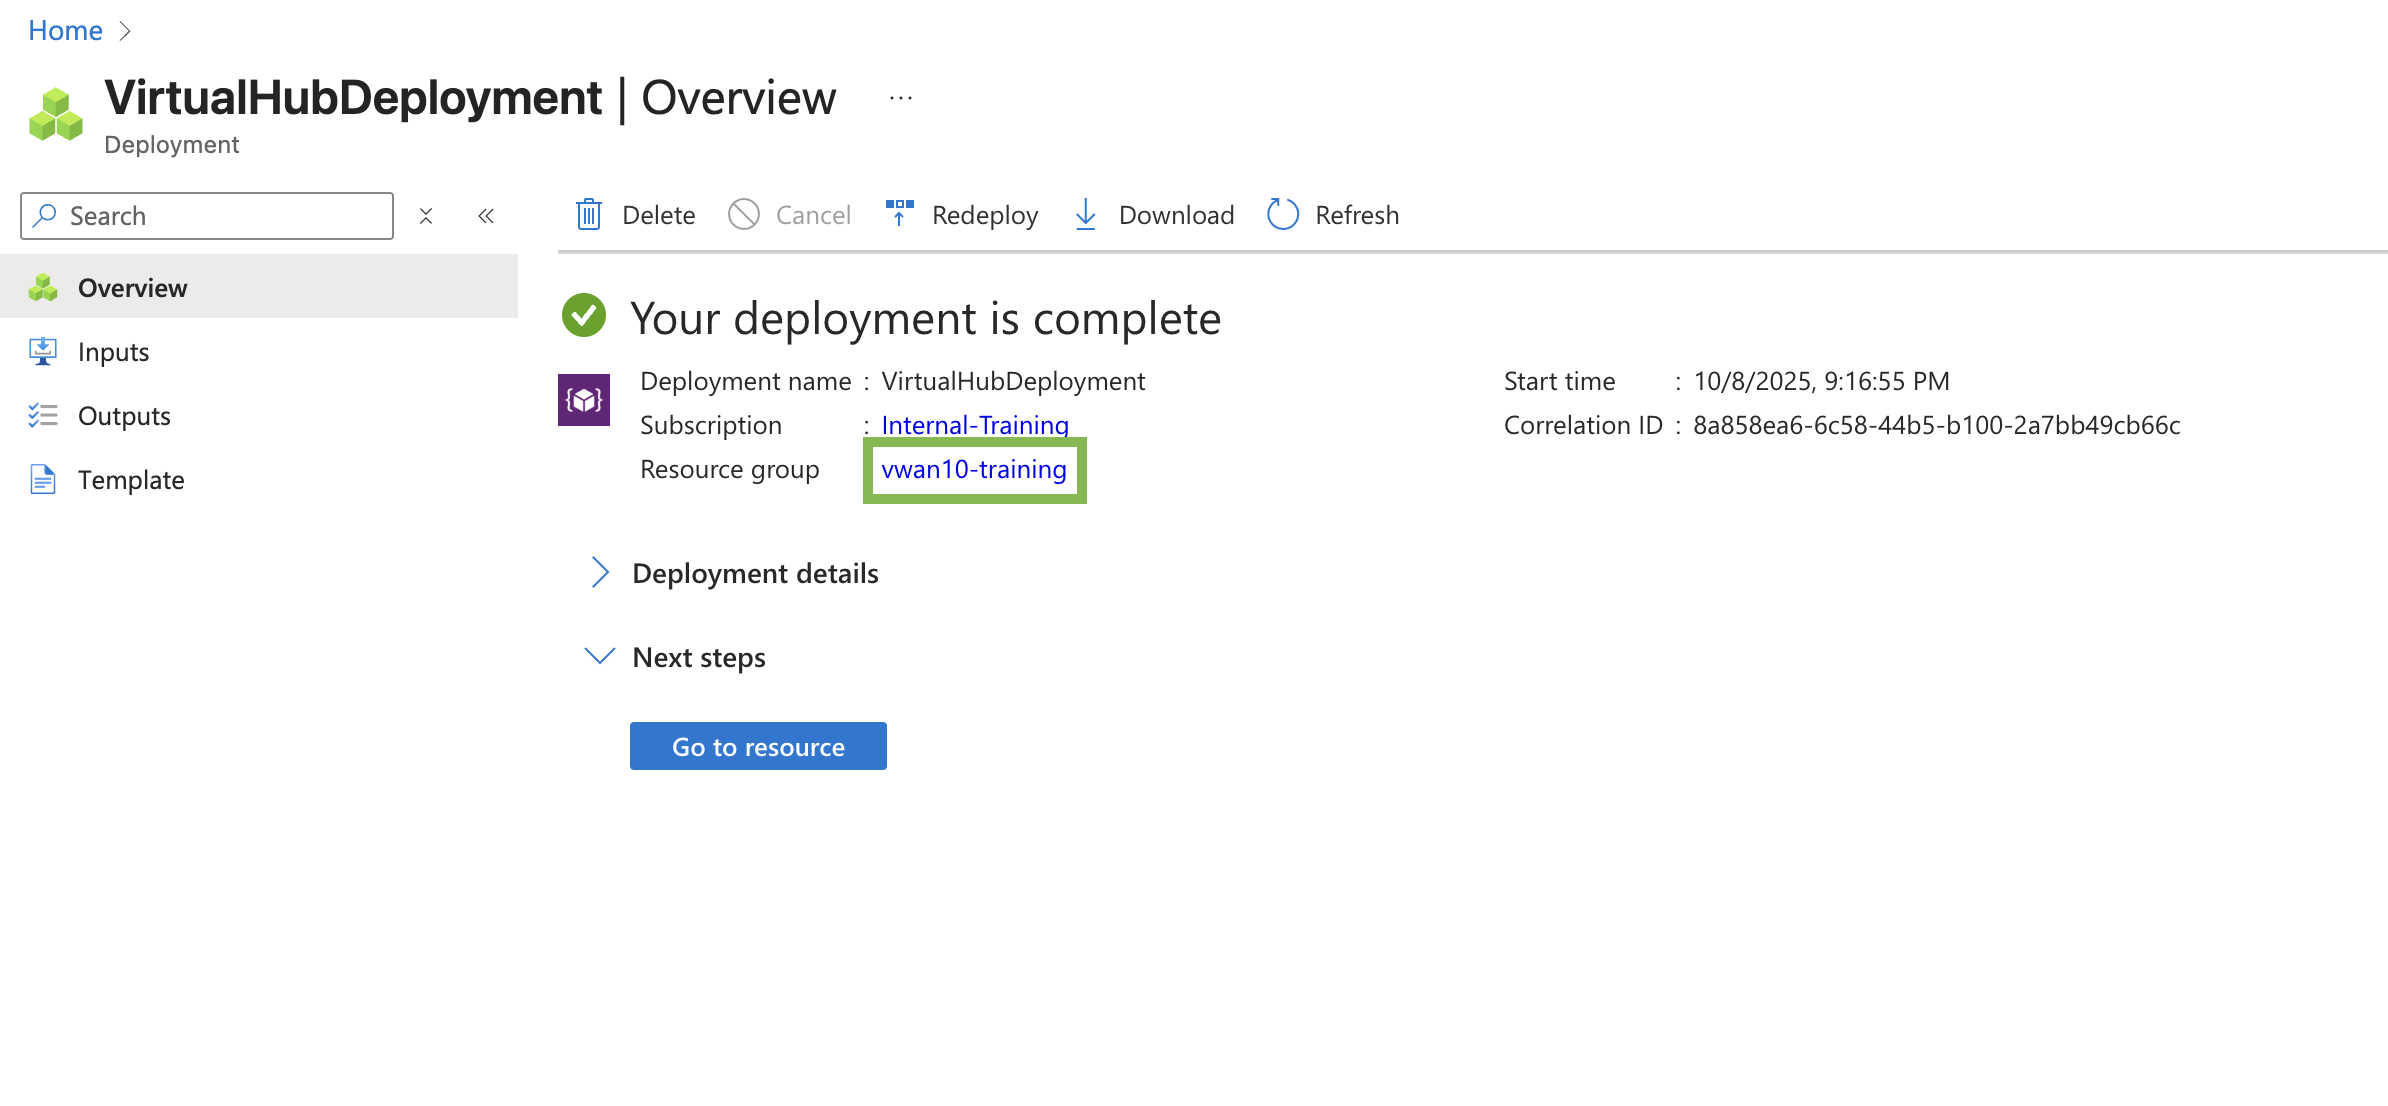
A deployment progress screen will be shown followed by a deployment completion screen. Hub deployment can take up to 30 minutes. Leave this browser tab open until you confirm the deployment has completed. Open the Azure portal in another browser tab and continue with the next task.
Continue to Chapter 6 - Task 2: Deploy a VNET