Task 2: Deploy a VNET
Deploy a VNET
Azure Virtual Networks (VNET) can be peered to a vWAN hub. Once a VNET is peered to a vWAN hub, workloads in the VNET can communicate with workloads in other VNETs connected to other vWAN hubs that are part of the same vWAN.
Add a VNET
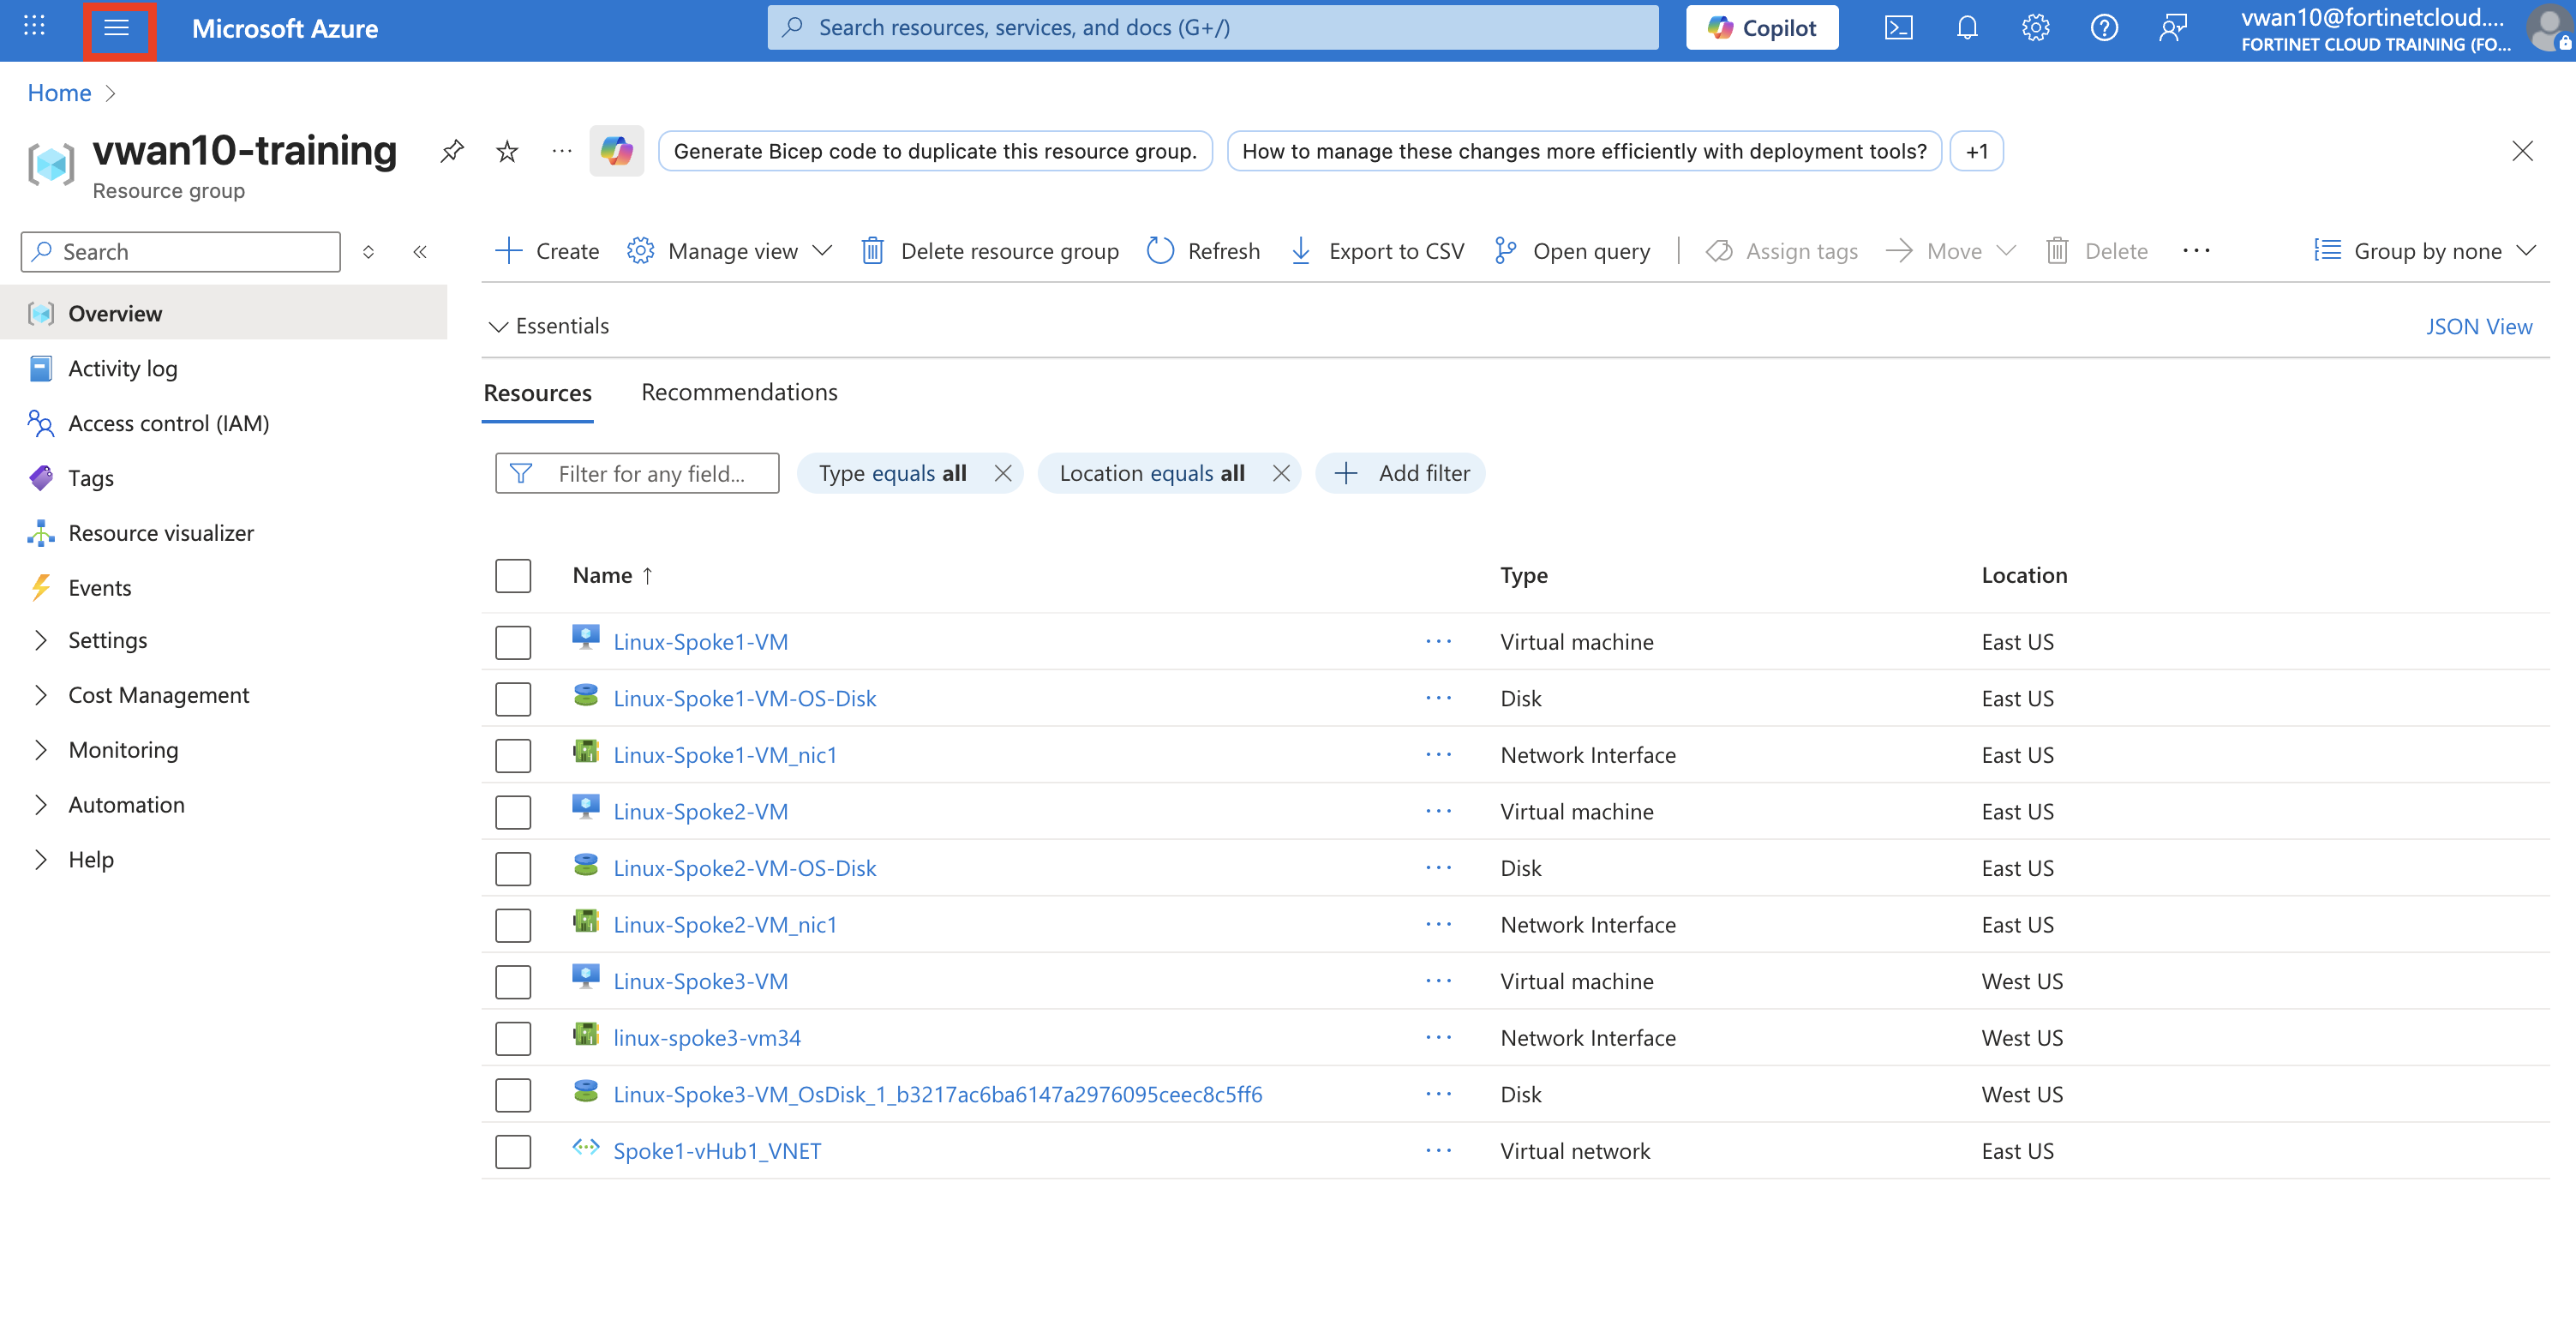
Navigate to your Resource Group vwanXX-training
Click - The Portal Menu button in the upper-left corner, sometime referred to as the hamburger button
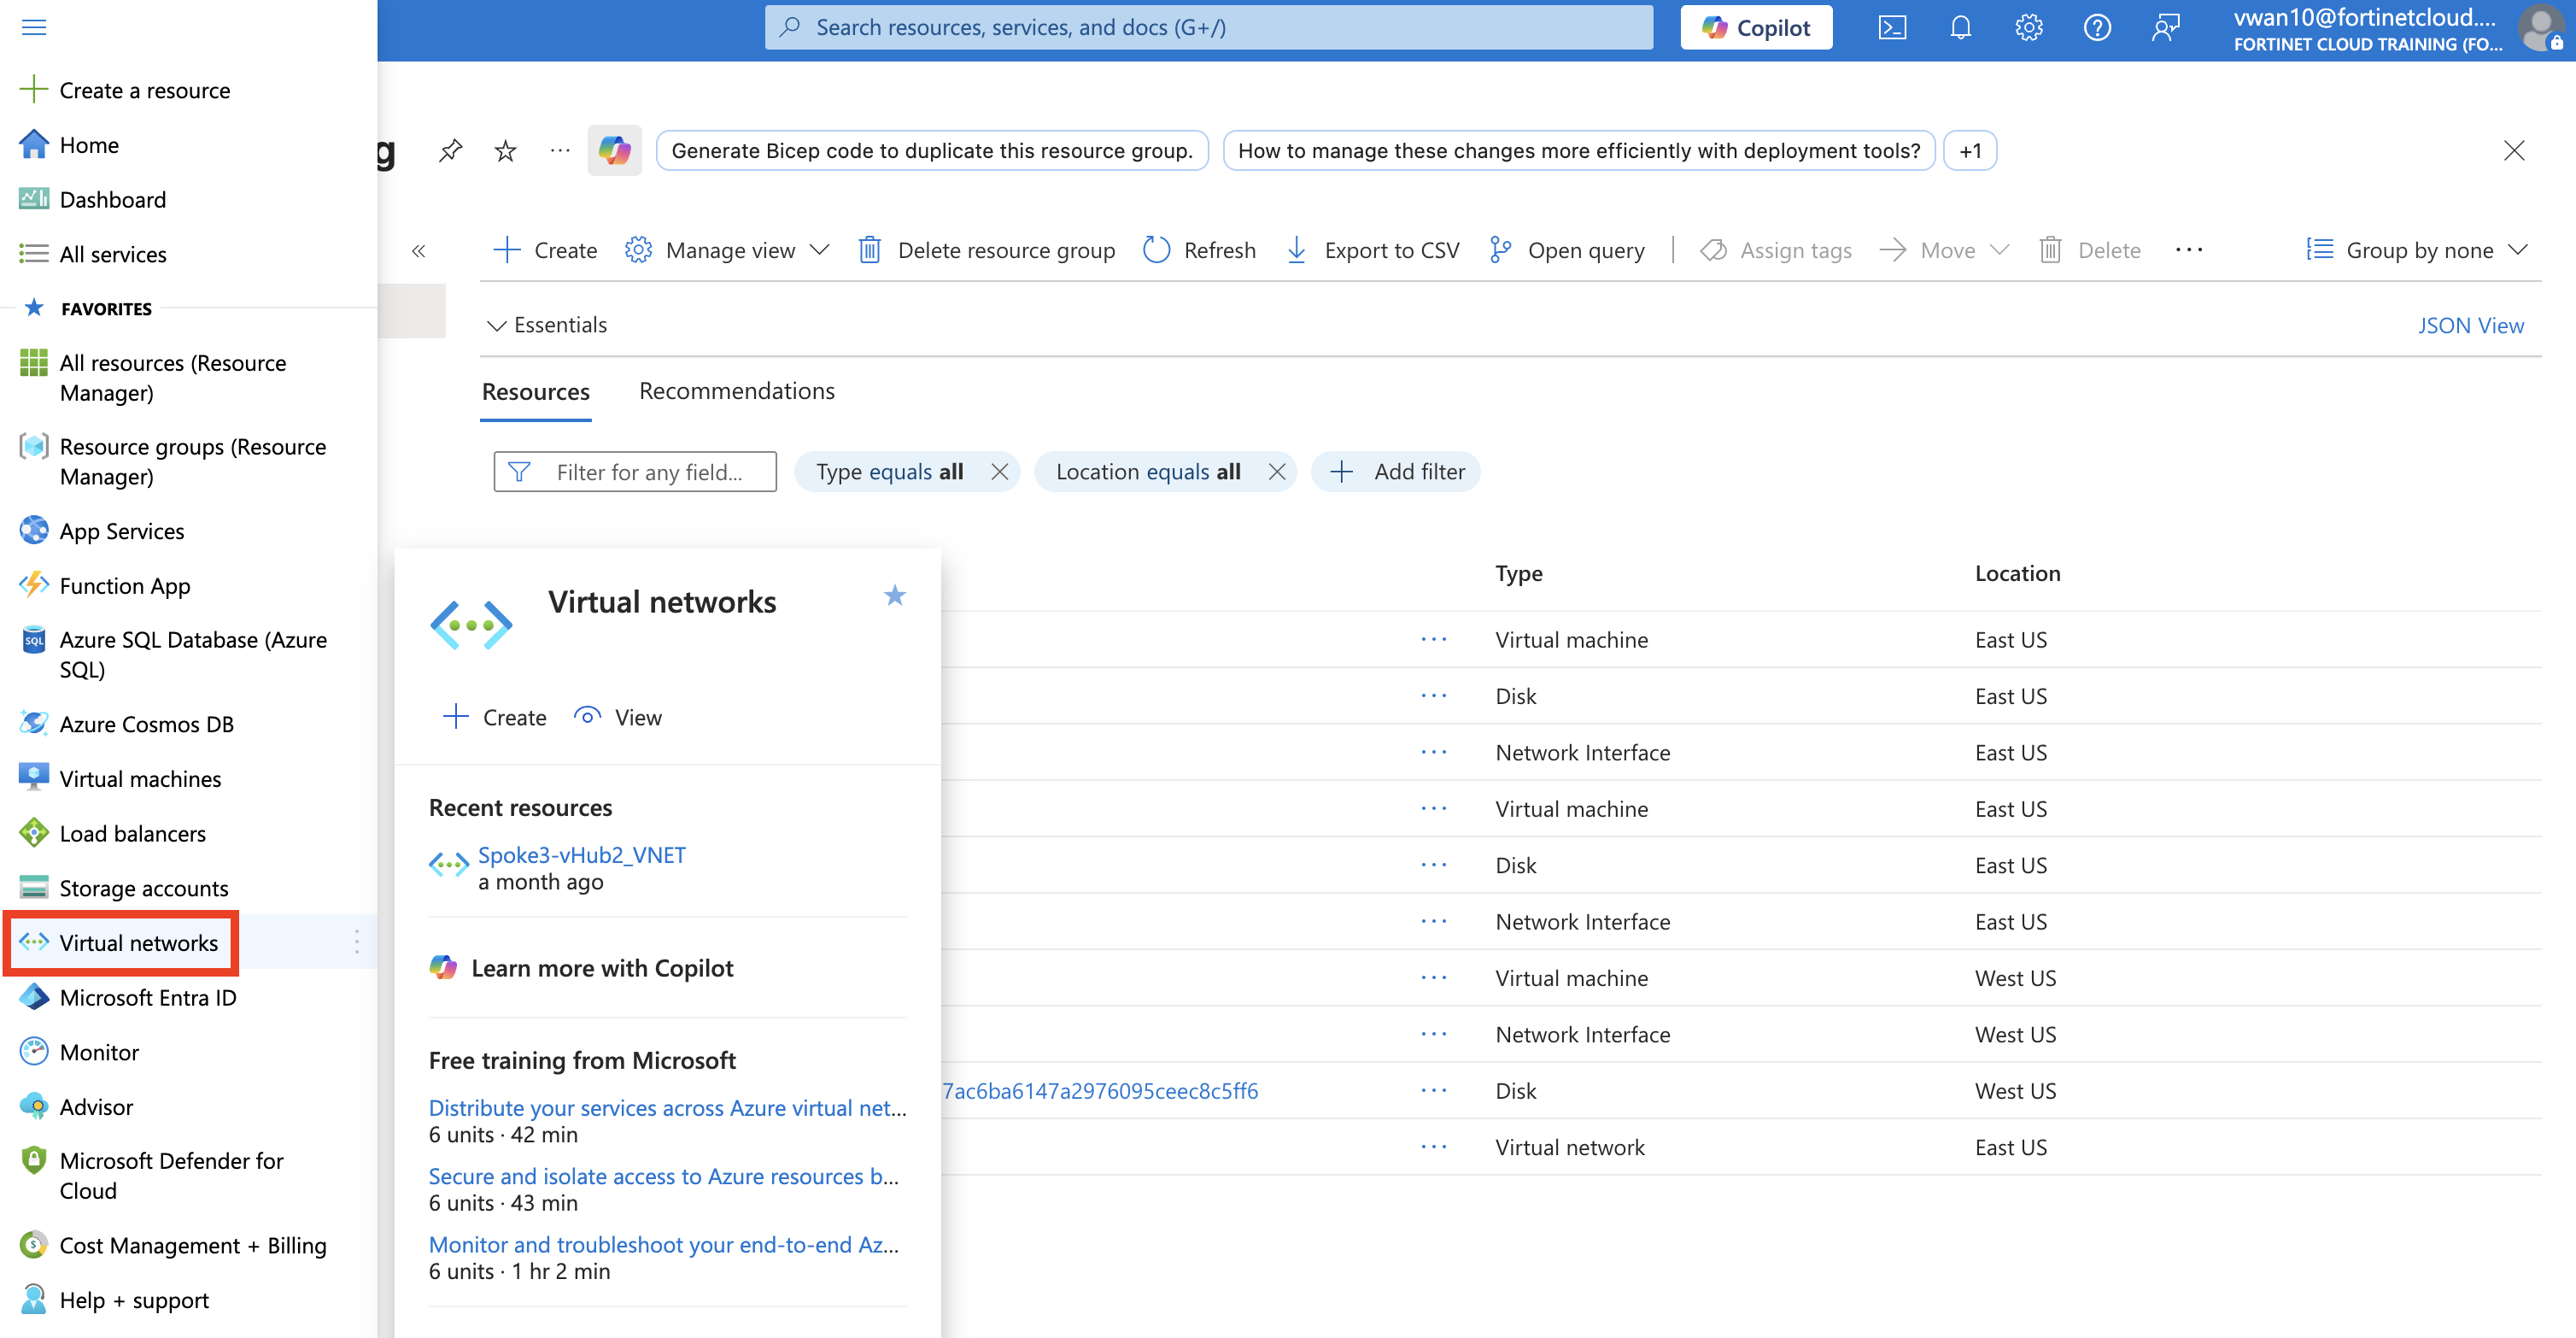
Select - Virtual Networks in the left-hand navigation
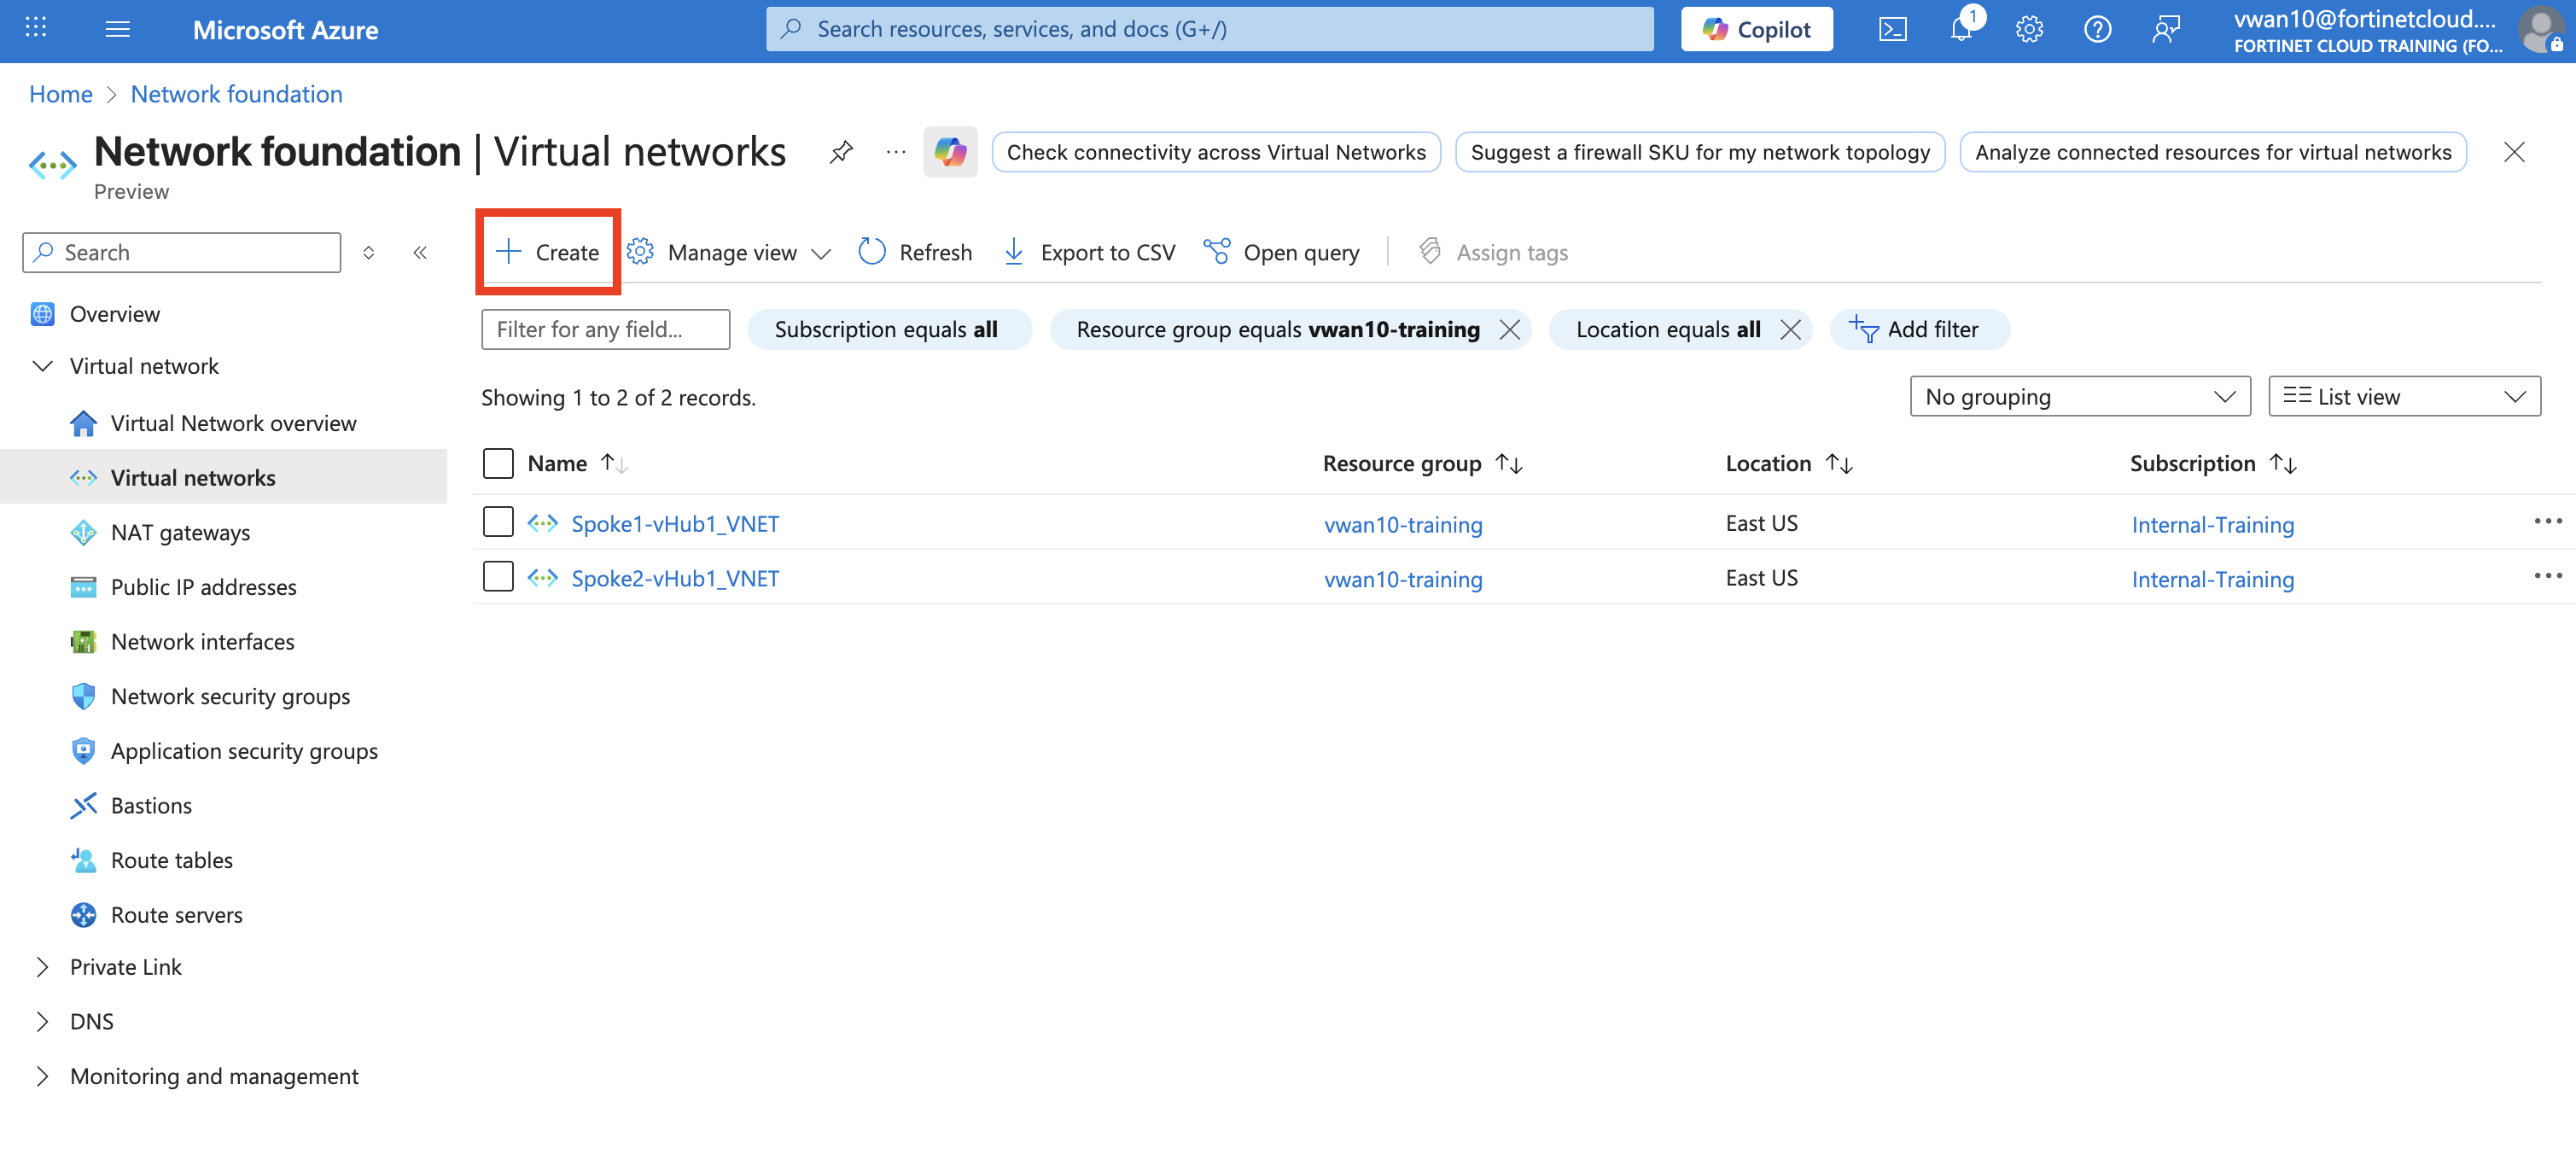
Click - “+ Create” button
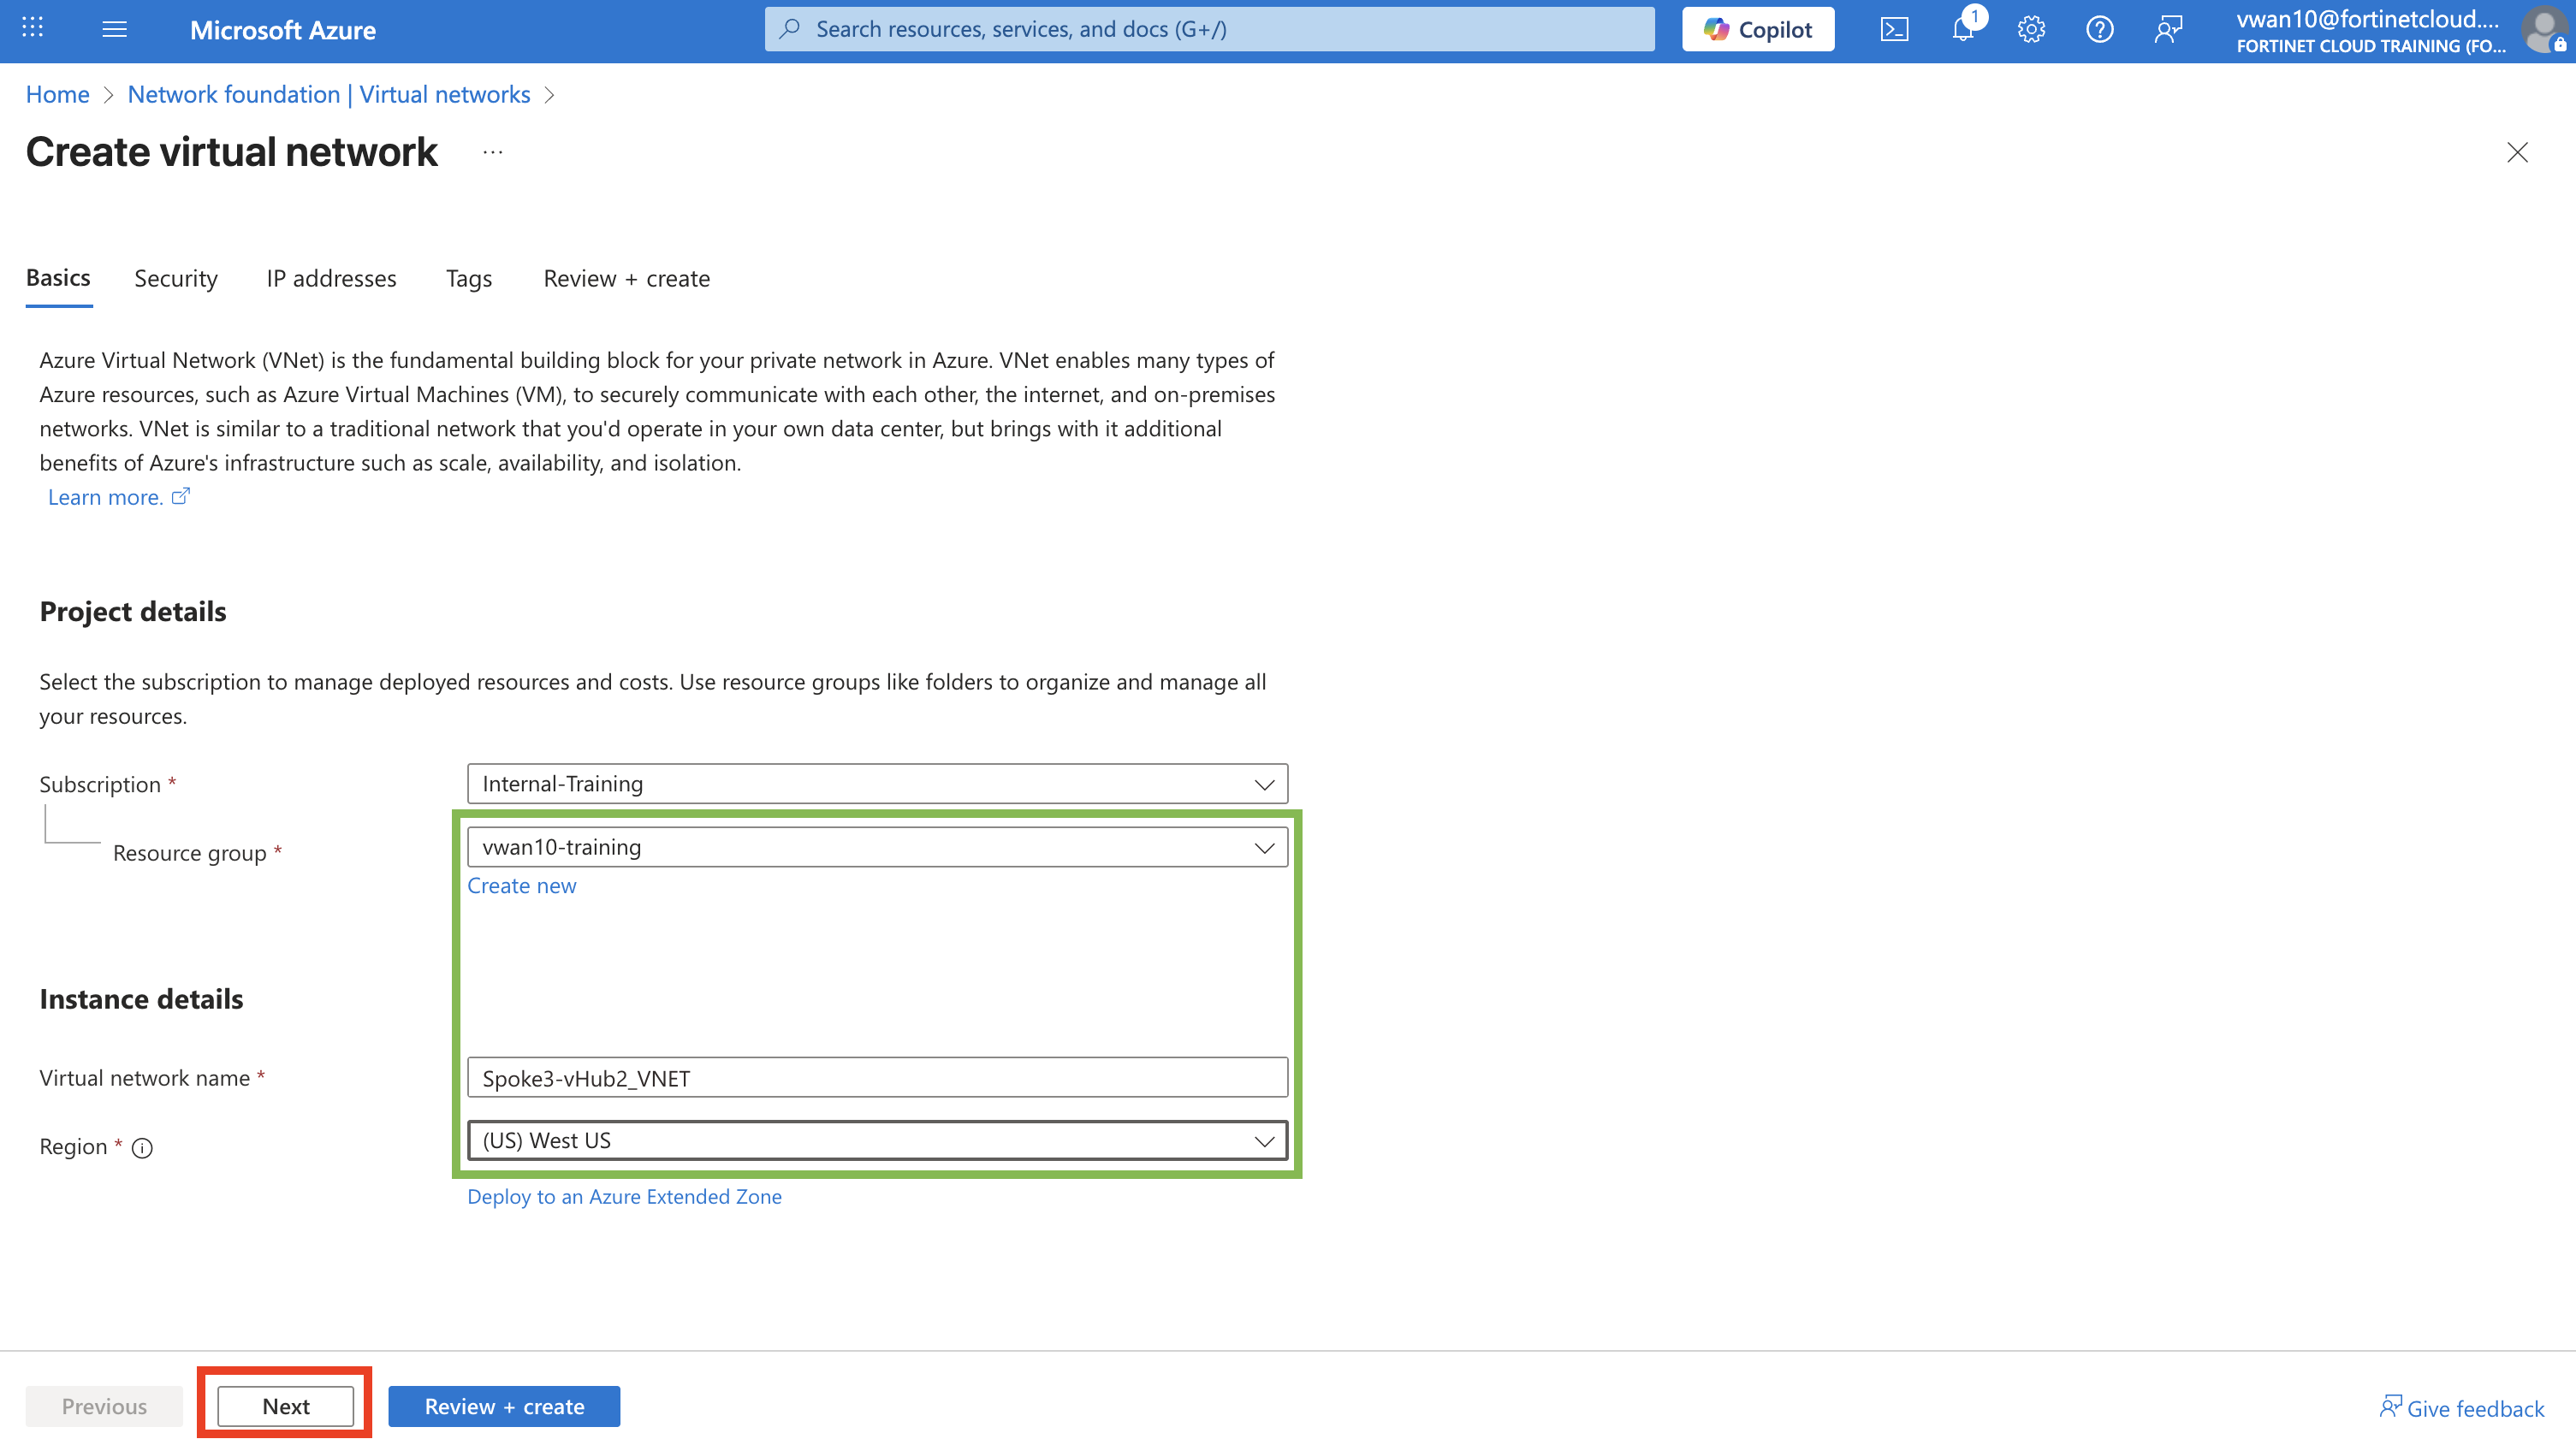
Select - your Resource Group vwanXX-training
Enter - Virtual network name
Spoke3-vHub2_VNETSelect - Region “(US) West US”
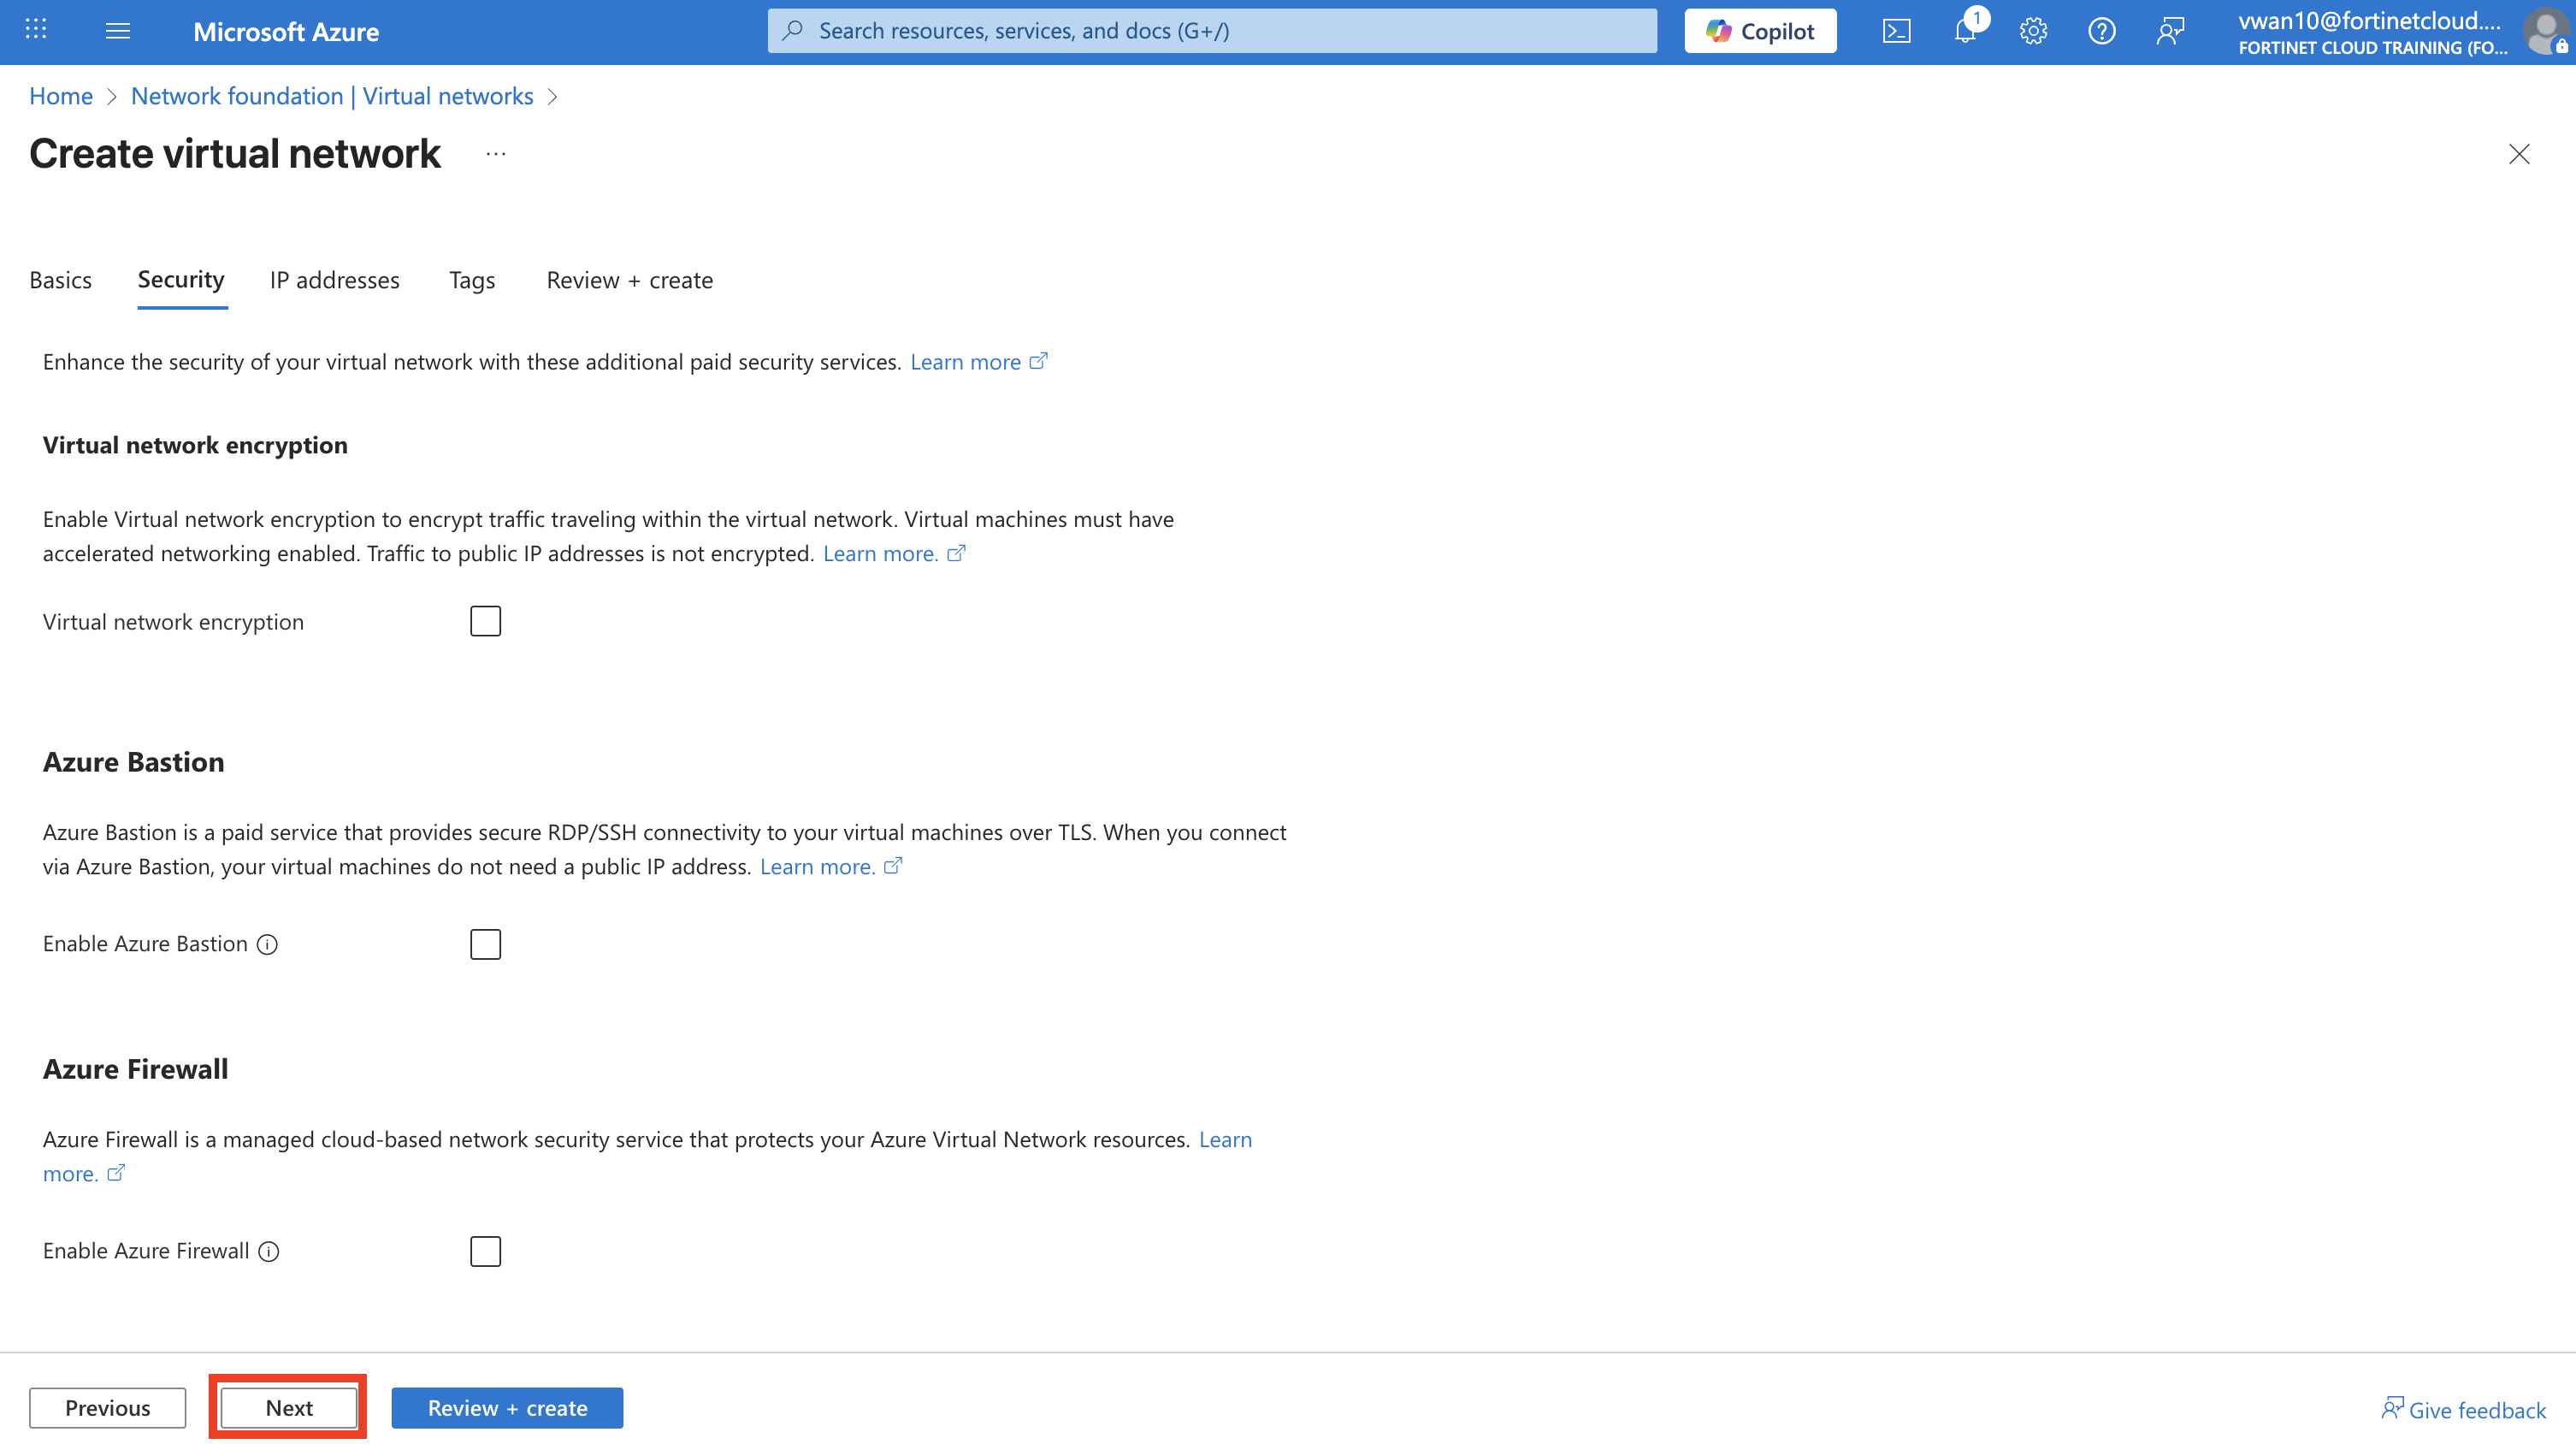
Click - “Next” button
Click - “Next : IP addresses” button on “Security” tab
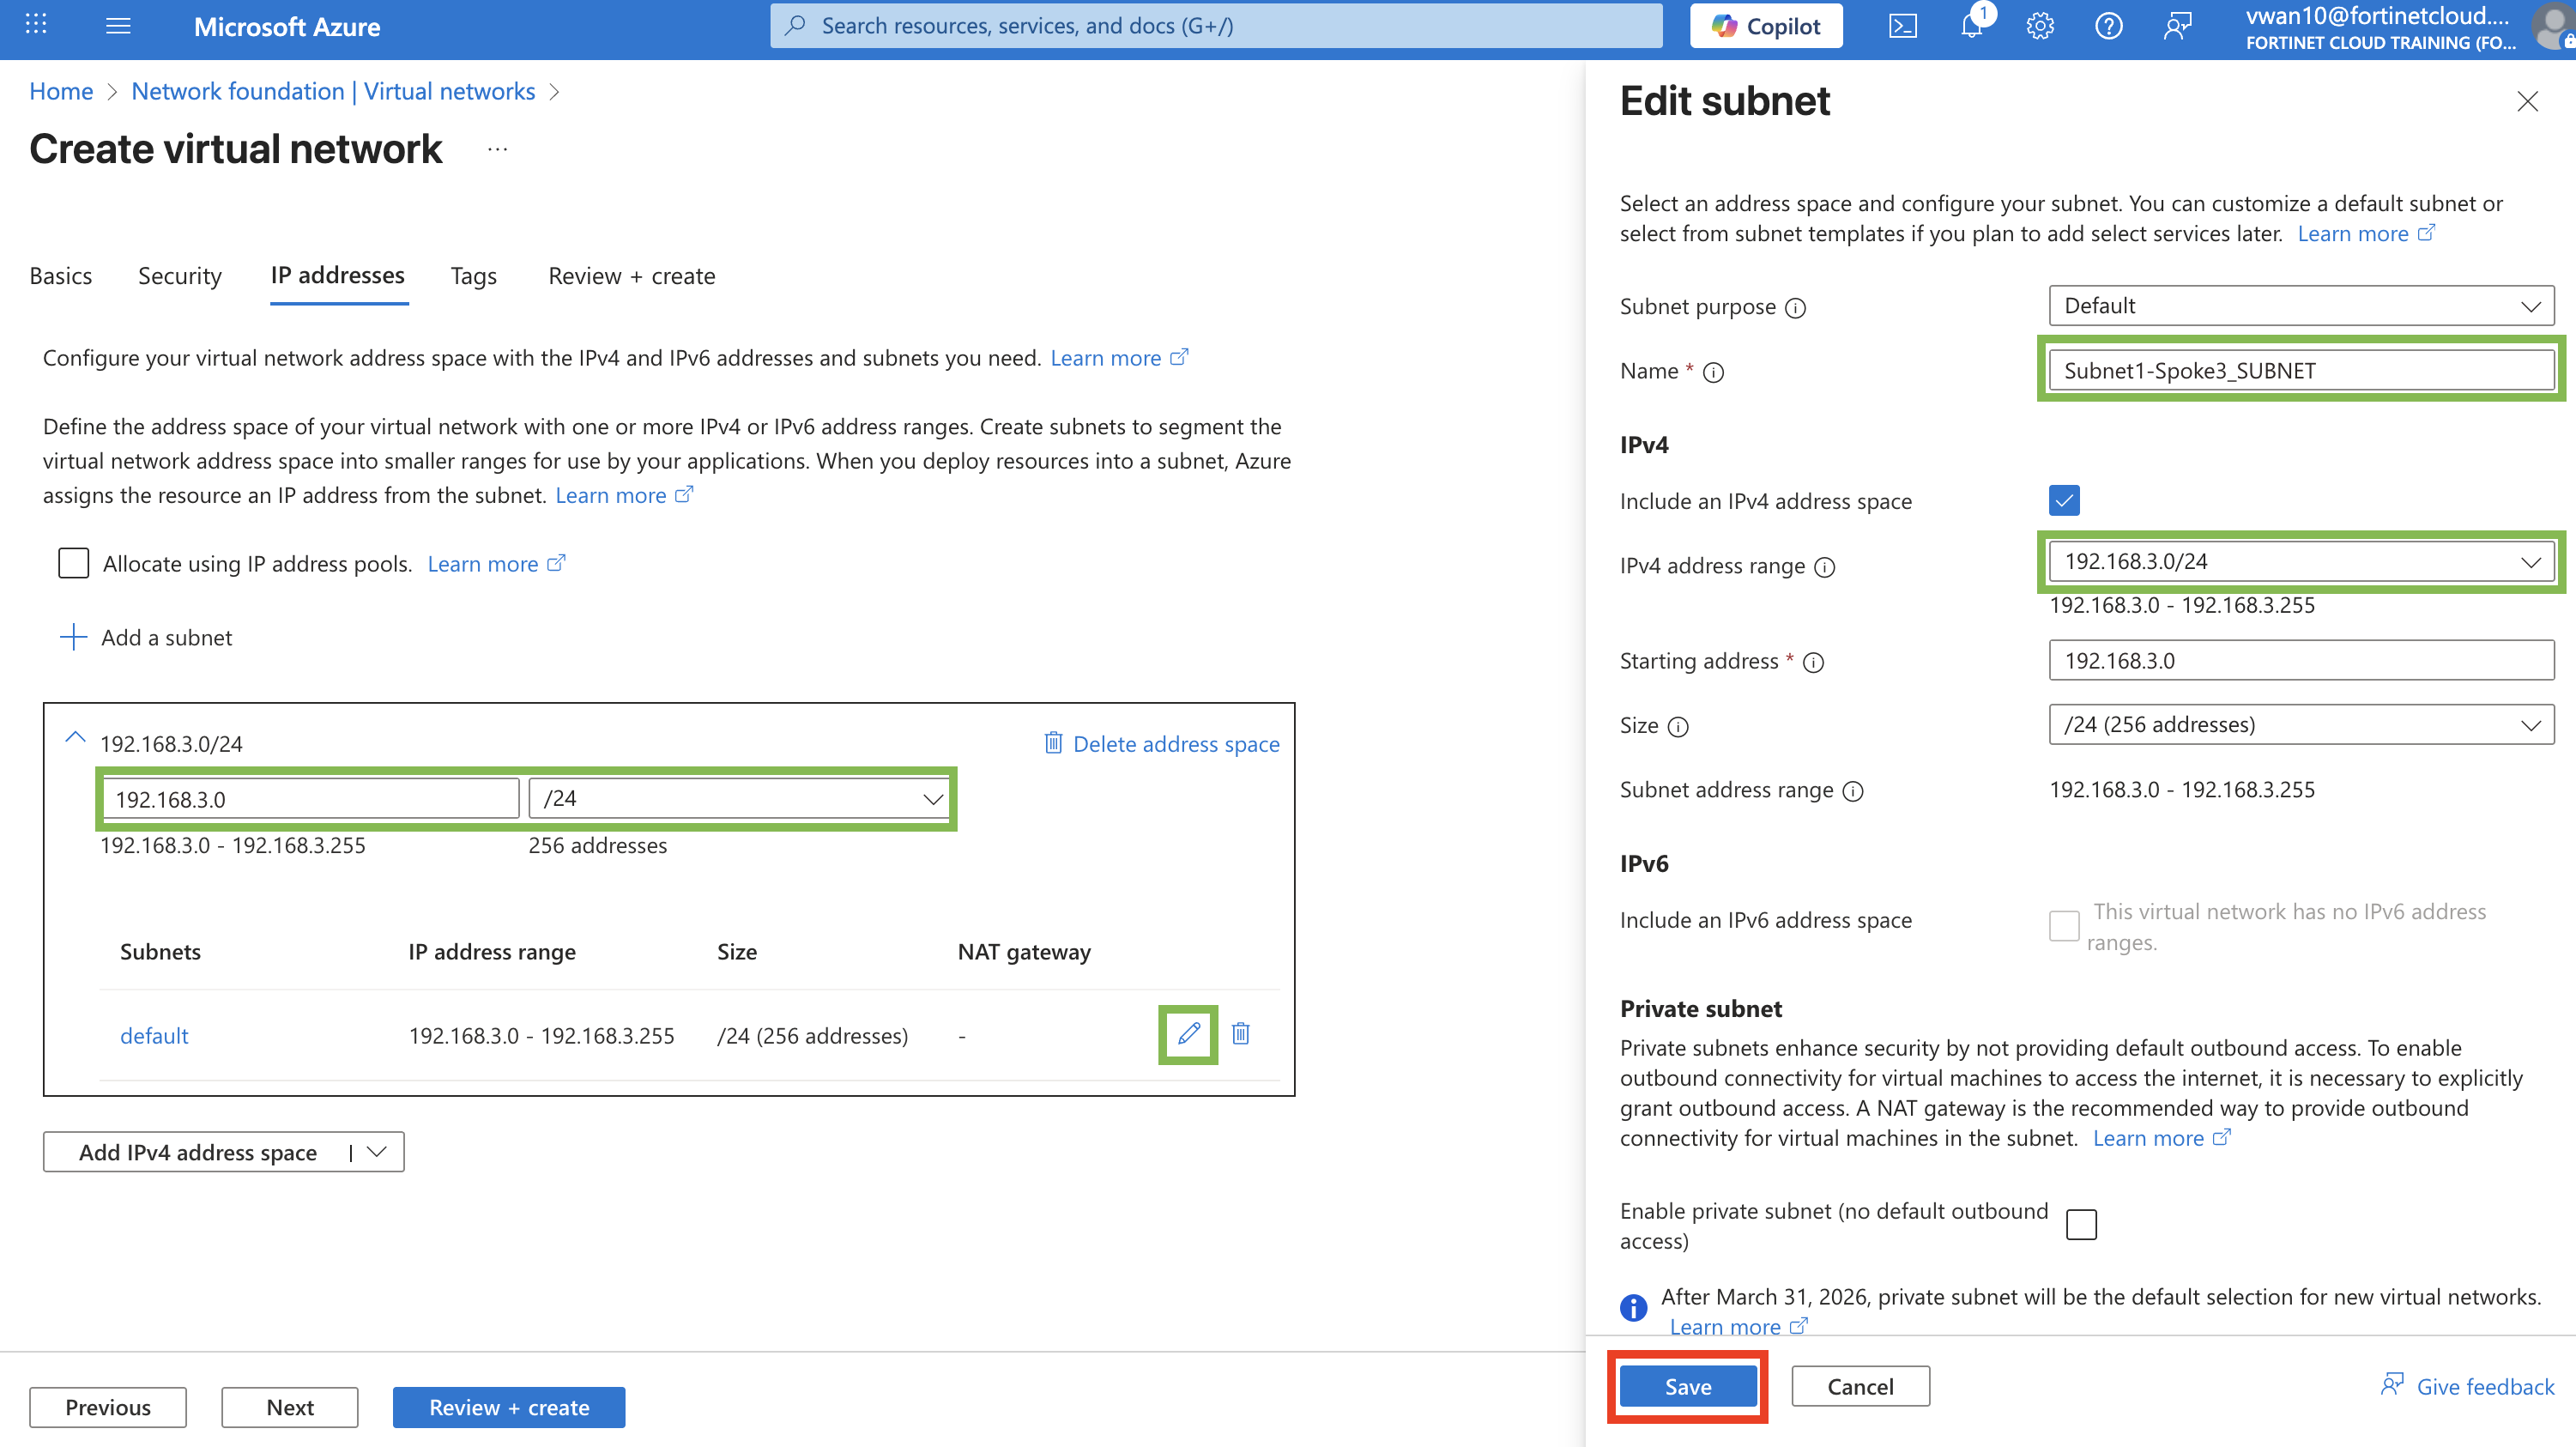
Enter - Address Space
192.168.3.0Select - Netmask /24
Click - “Pencil” button to edit subnet configuration
Enter - Name
Subnet1-Spoke3_SUBNETEnter - Starting address
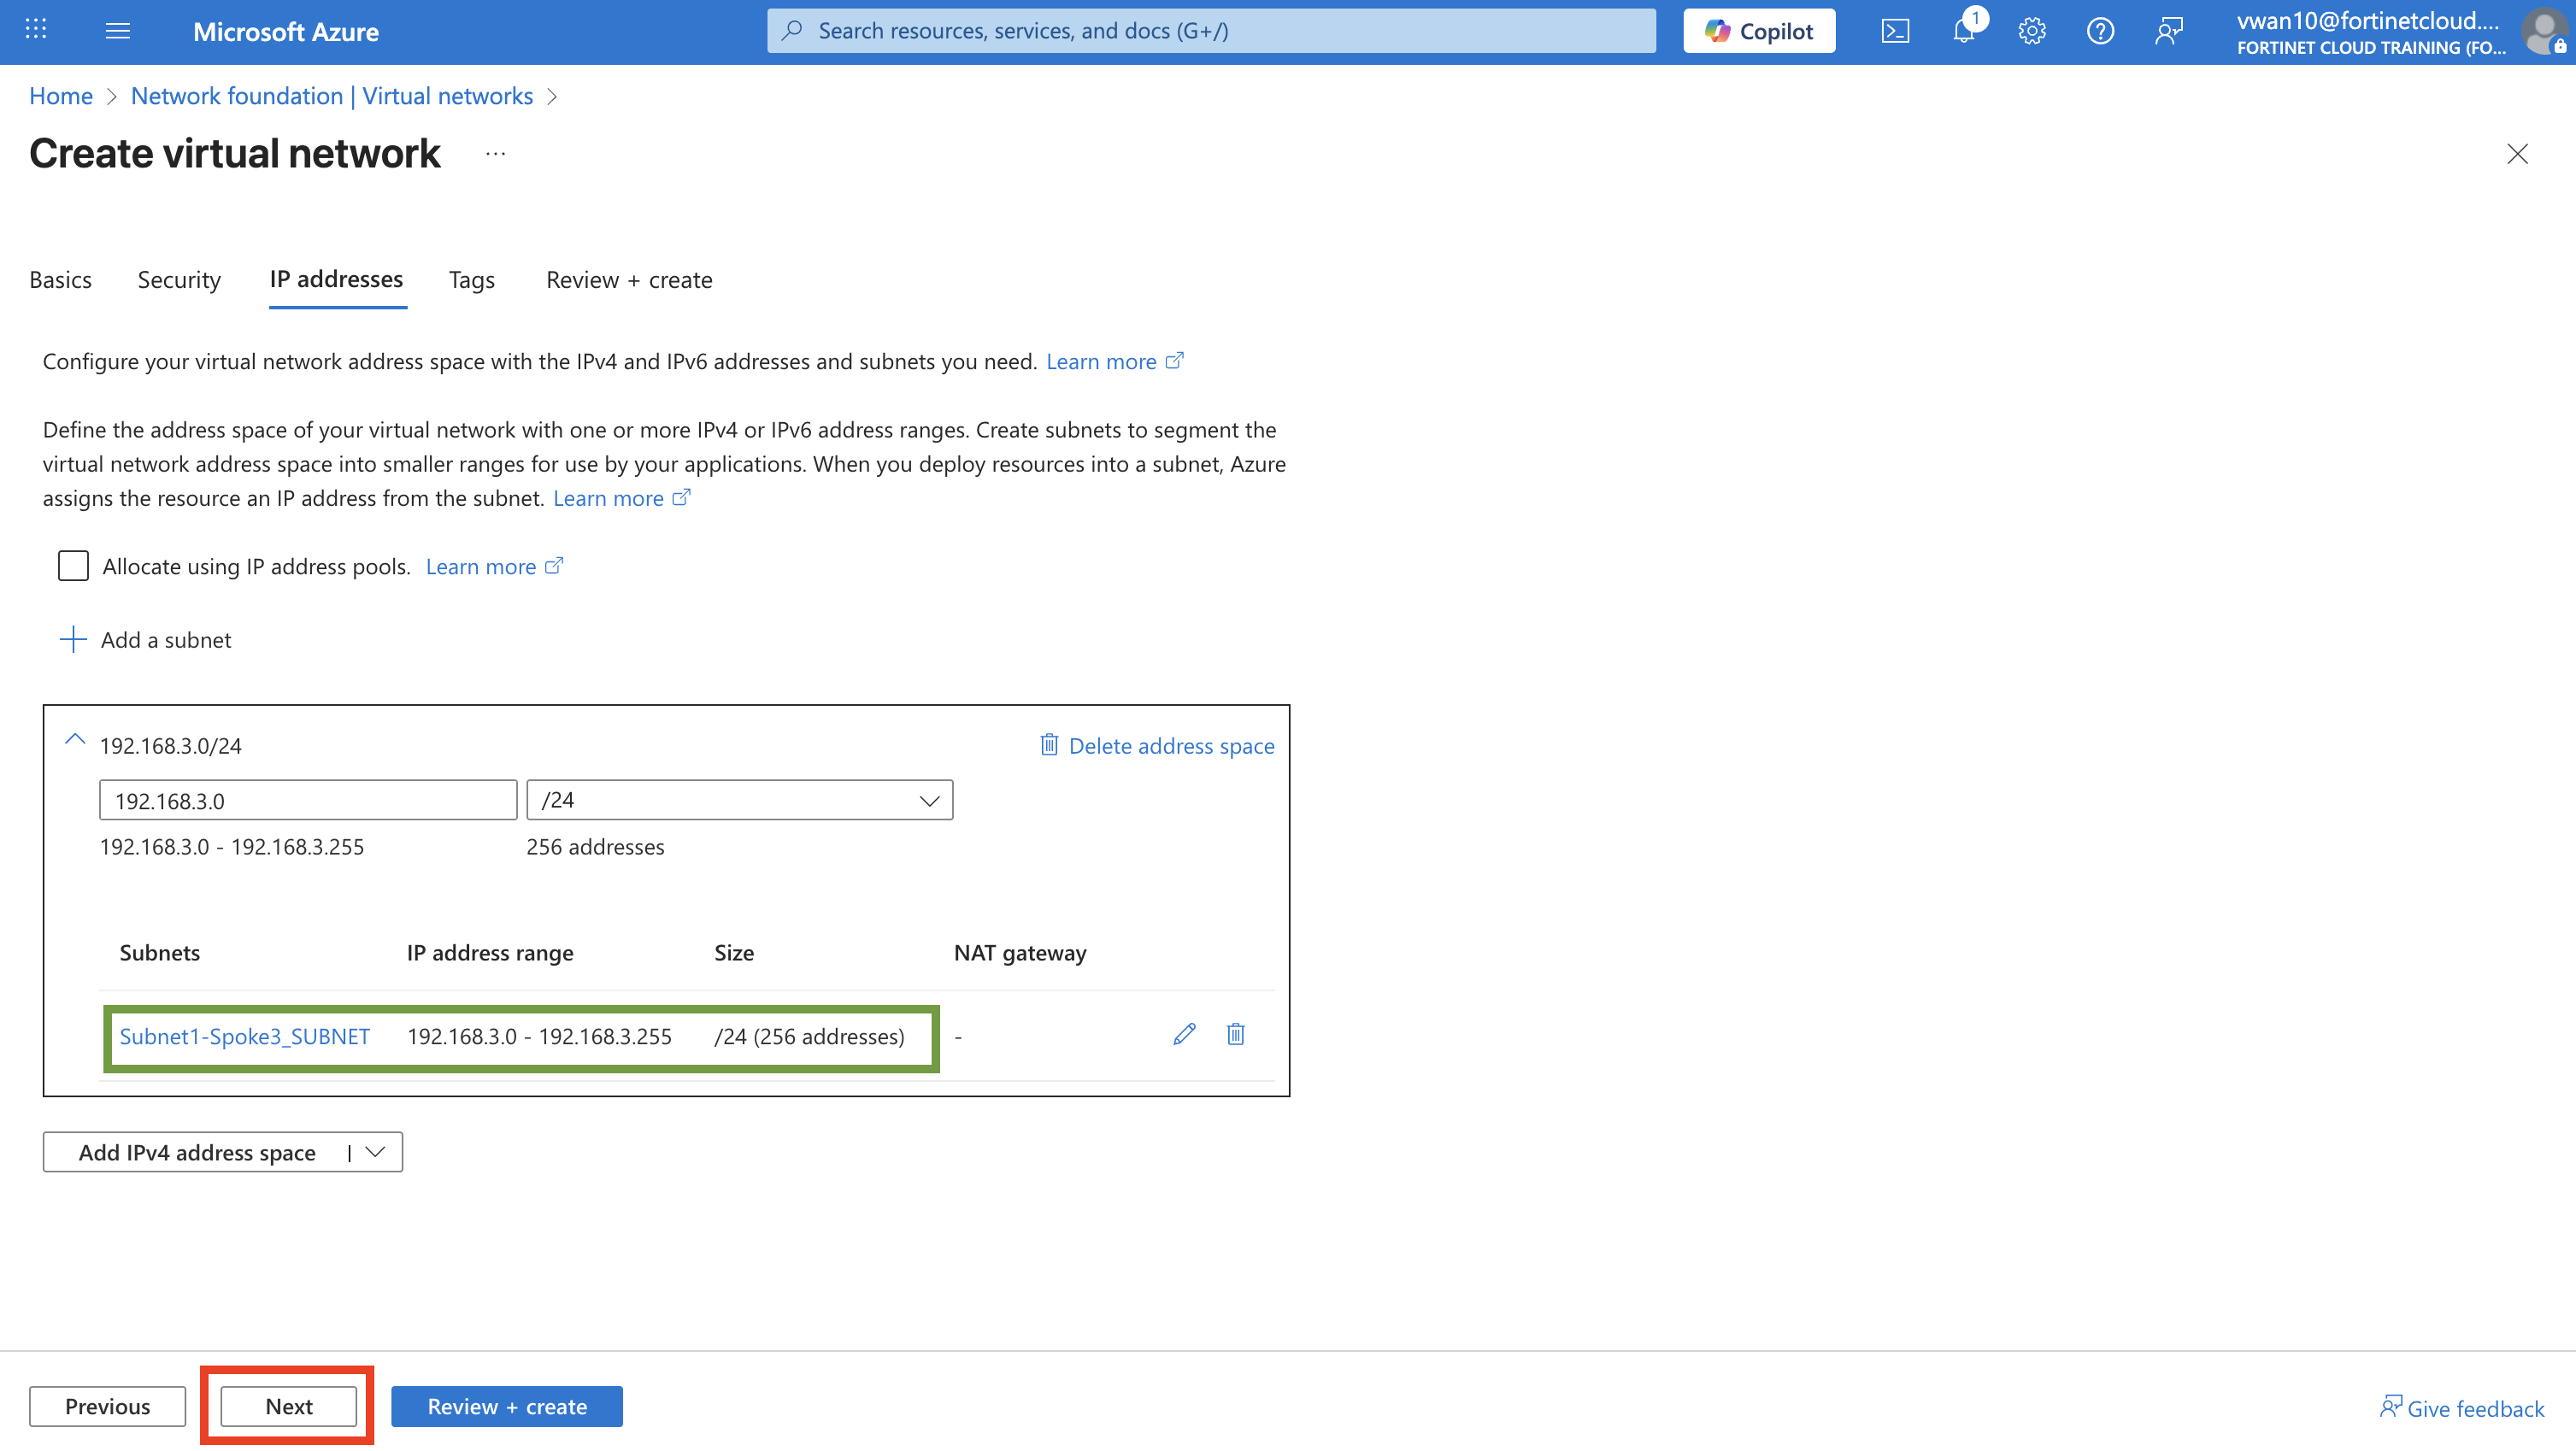
192.168.3.0Click - “Save” button
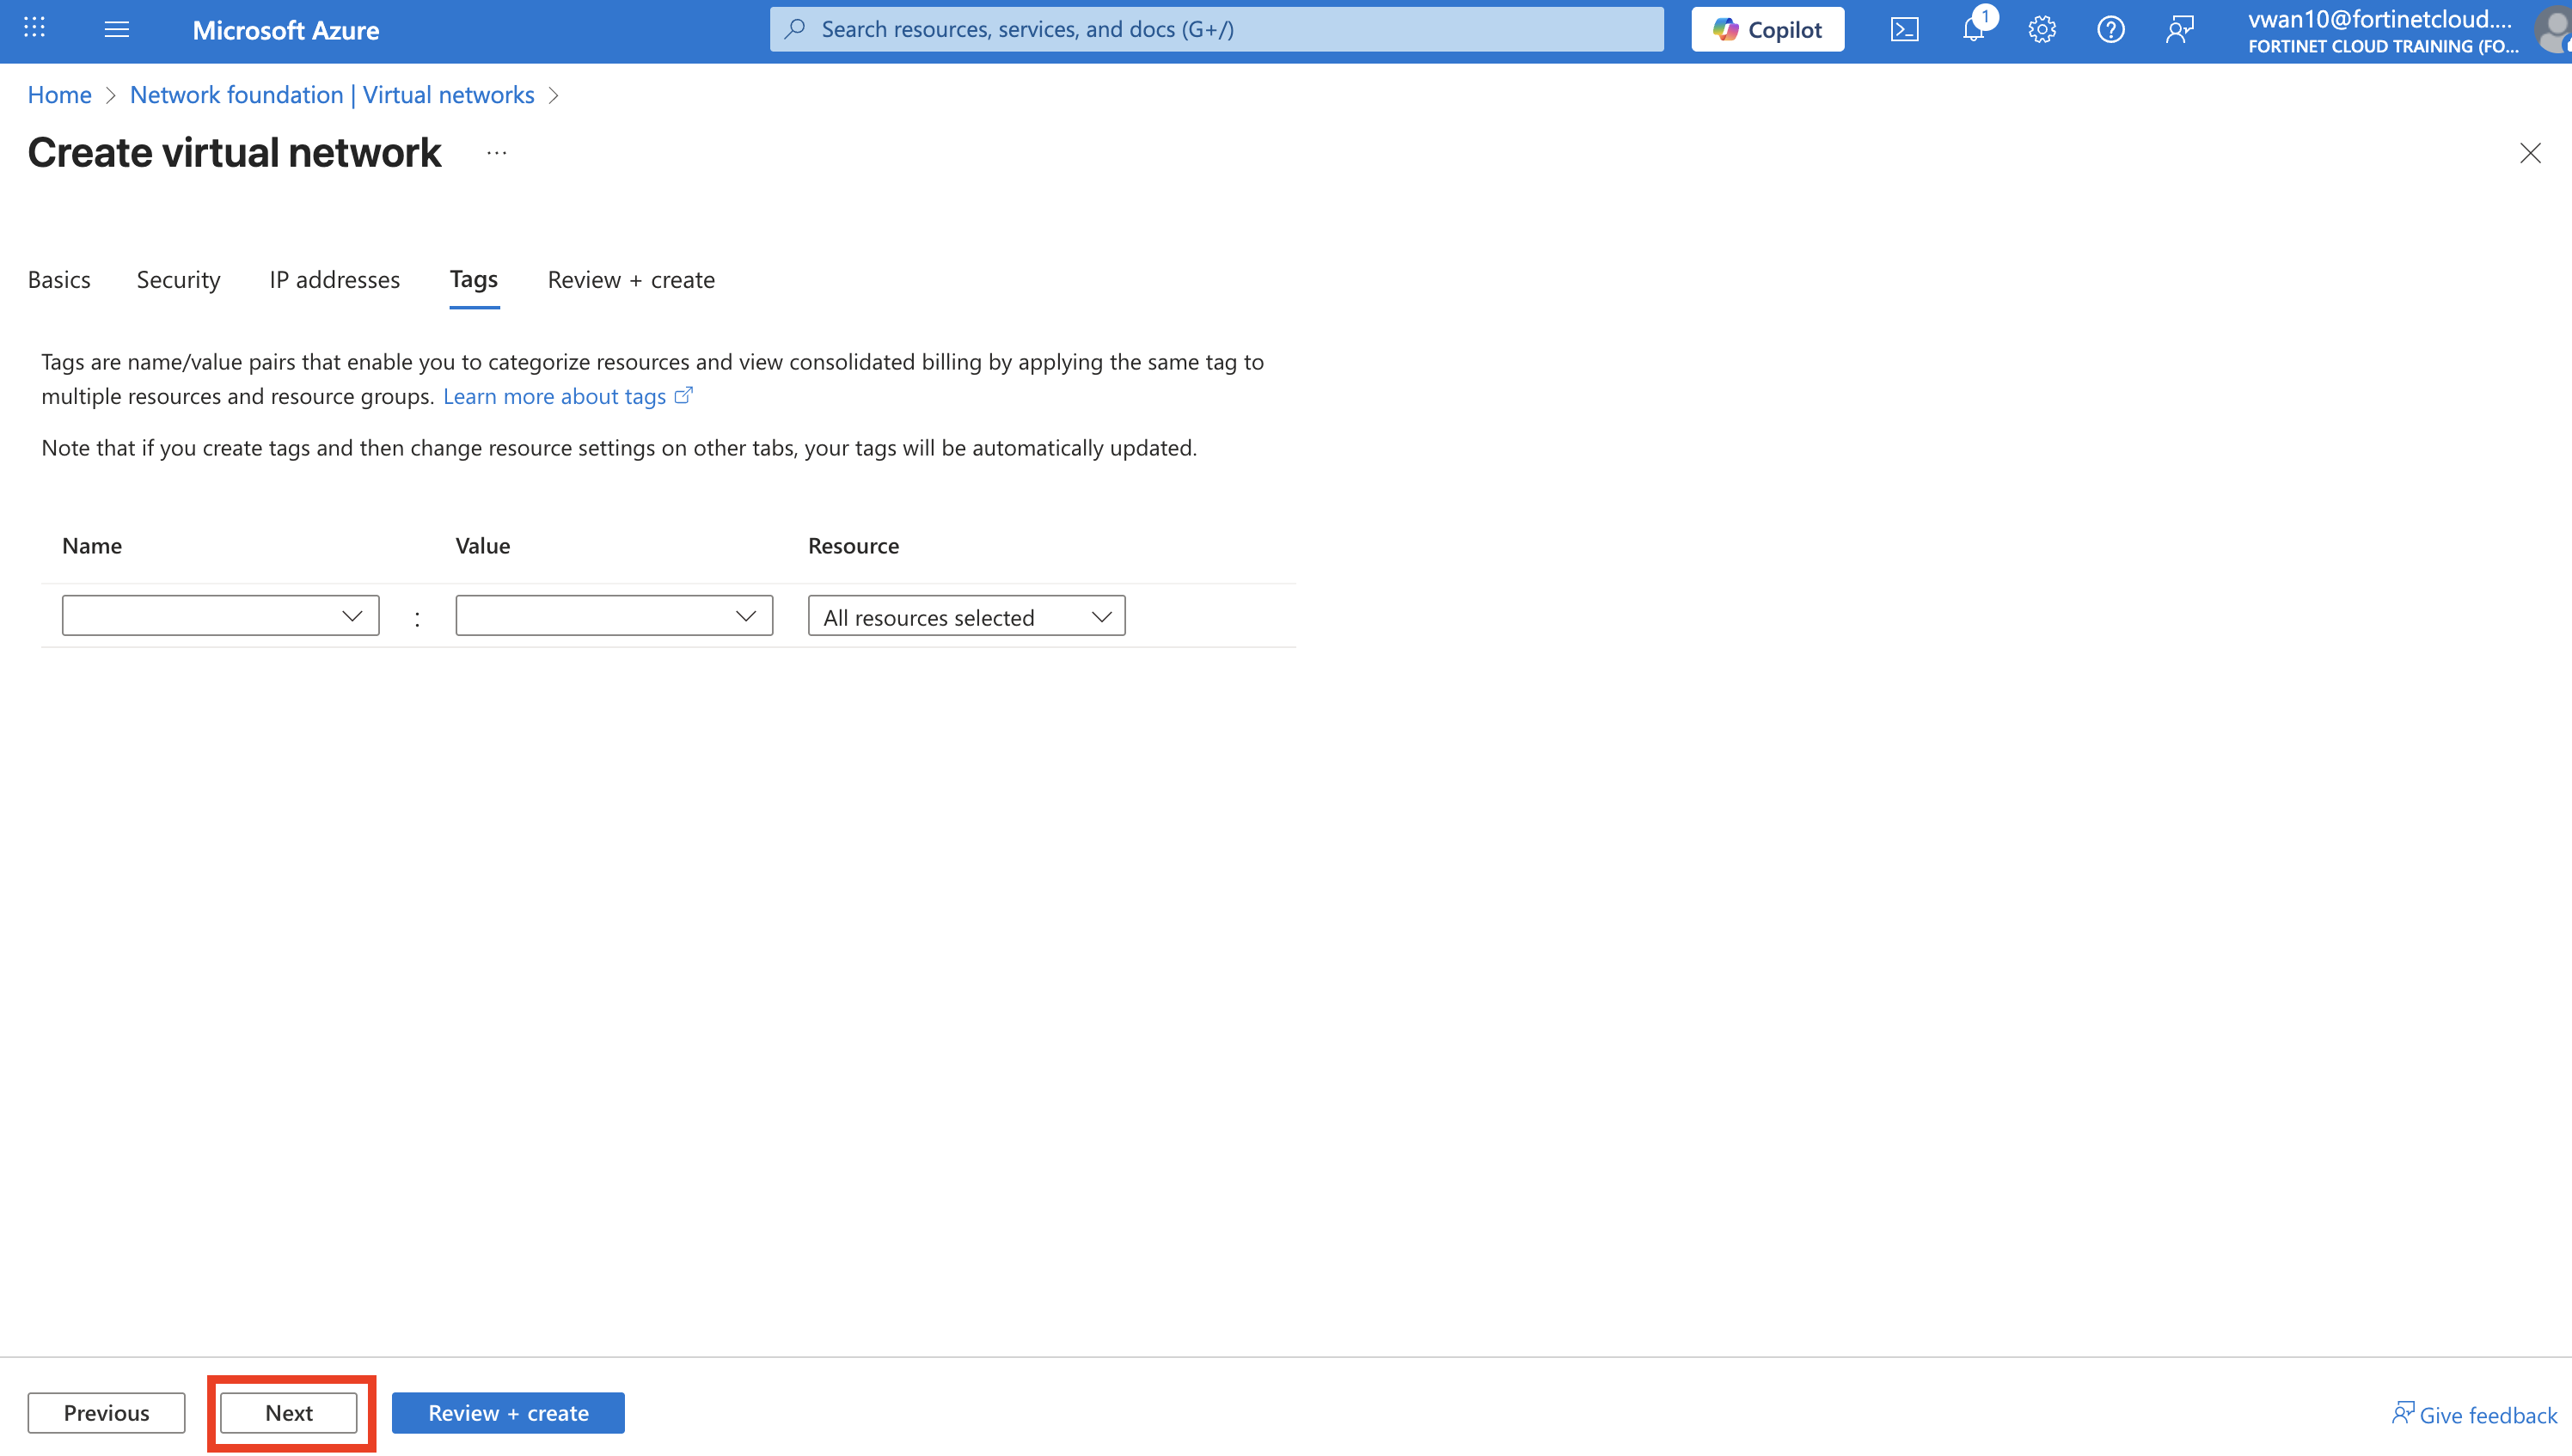
- Click - “Next : Tags” button
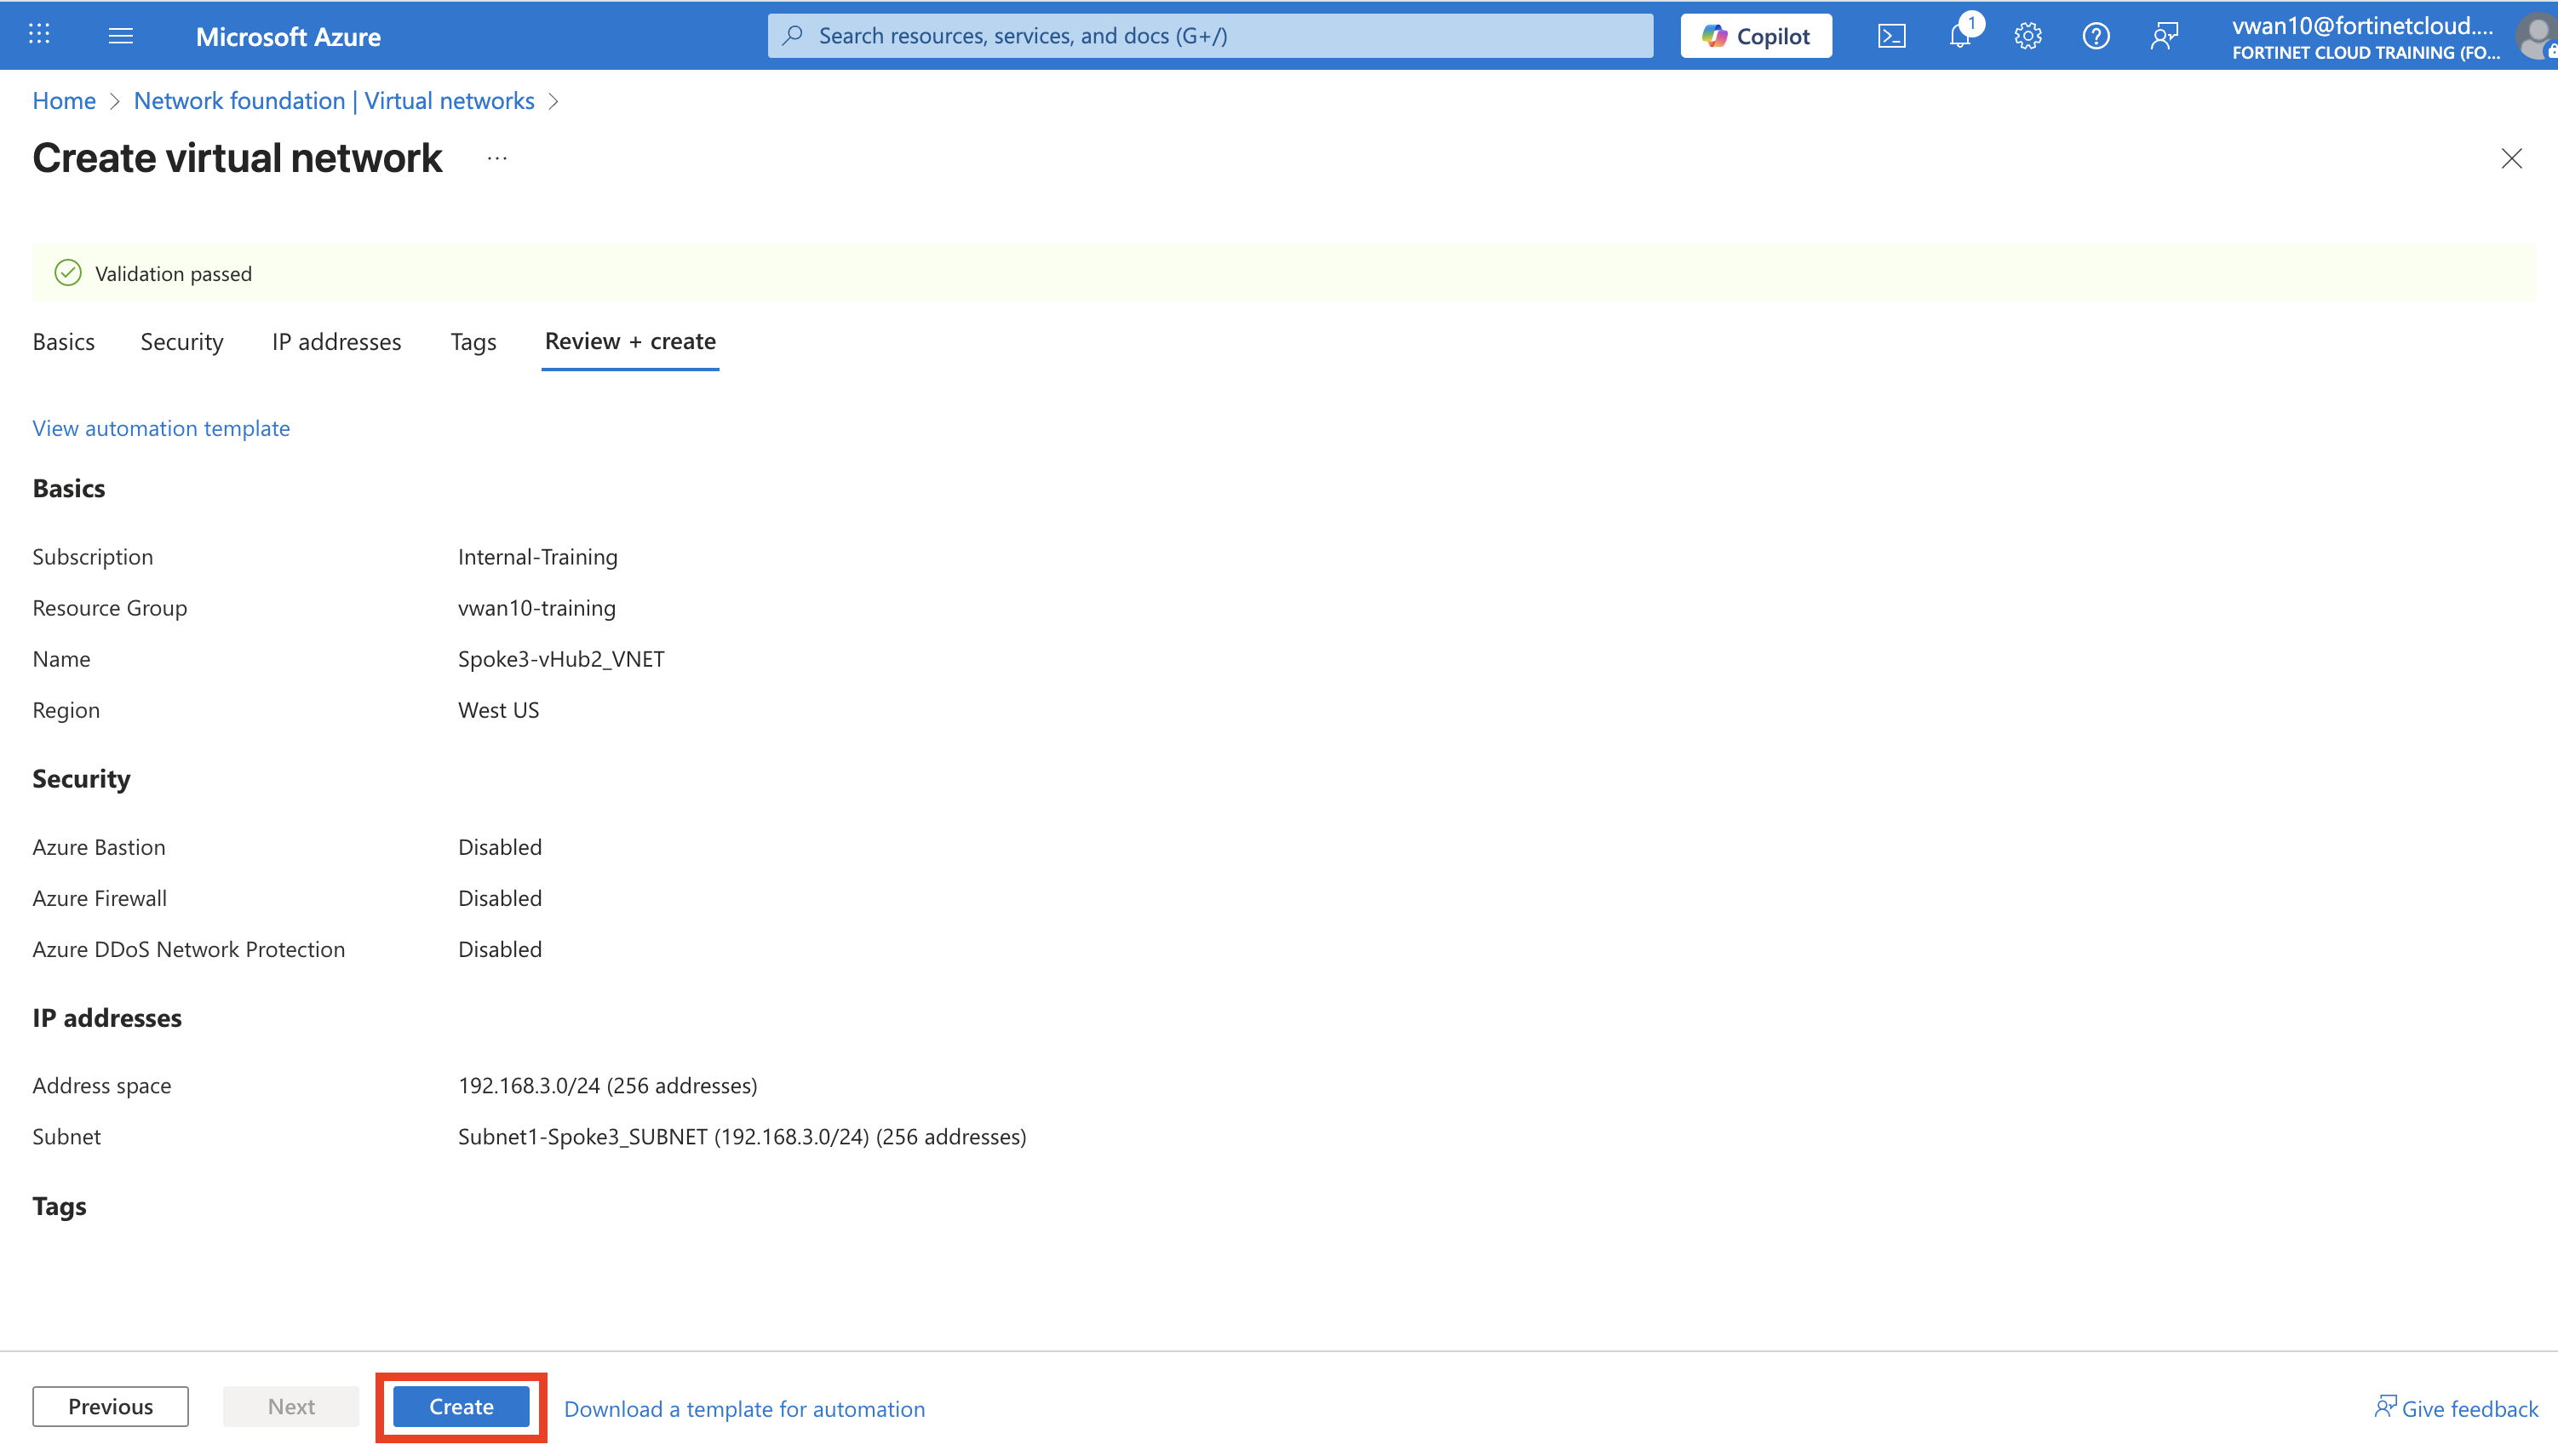
- Click - “Next : Review + create” button
- Click - “Create” button
- Click - your resource group name when the deployment is complete and confirm the new “Spoke3-vHUB2_VNET”.
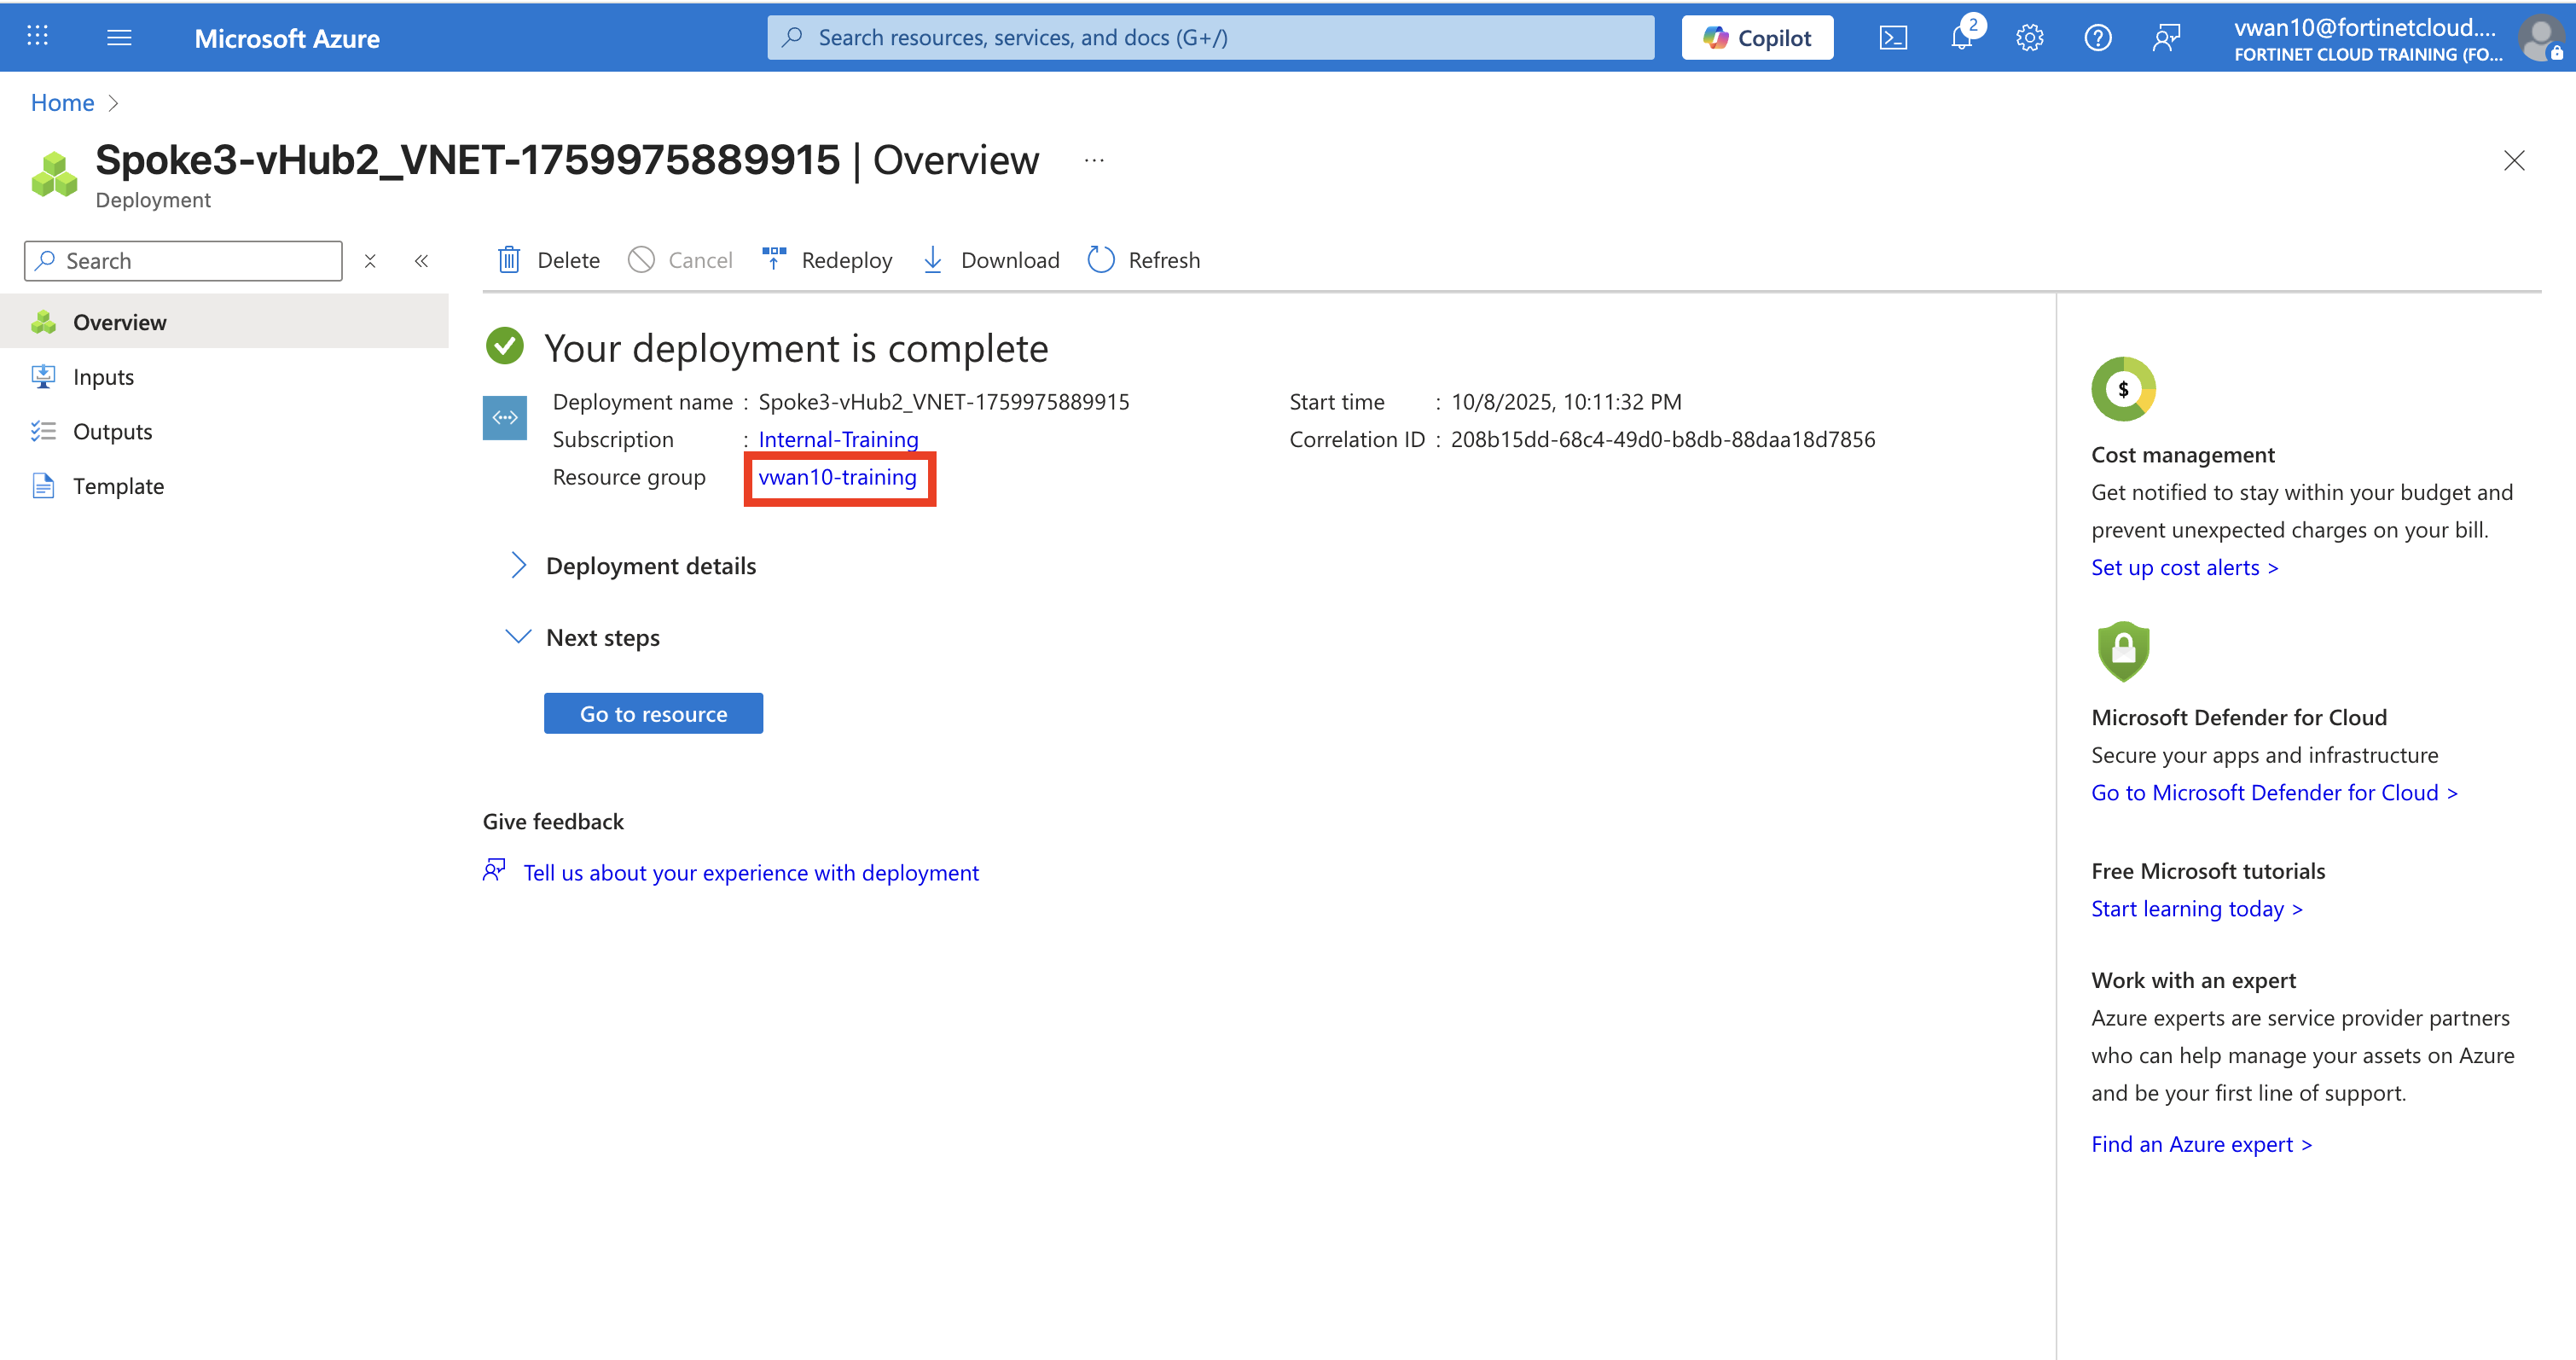
Continue to Chapter 6 - Task 3: Deploy a Linux VM