Installing FortiAIGate
FortiAIGate Installation
In the previous sections we worked on getting an environment to run Kubernetes (K8s), installing K8s, and setting up additional containers and pods to build out the resources we will protect in this demo environment. The next step will be to install FortiAIGate itself using the supplied helm charts that come with the FortiAIGate release files.
Background Information
FortiAIGate is distributed via a collection of container files in tar (Tape ARchive) format that must be loaded into a container repository so that they are available for download by K8s when deployed. We have already completed this step for you, but a customer might need to setup their own repo server (for example the Harbor repository server) and upload the images there. The FortiAIGate values.yaml file would need to be updated to reflect that new repo server location.
FortiAIGate Helm Charts
One of the files included with the FortiAIGate containers is a file that contains the helm chart files that we need to use to deploy FortiAIGate to K8s. We will download this file from blob storage in Azure, extract its contents, ensure we have a valid license file available, and then execute the process to install FortiAIGate using helm.
Start by logging into Azure Portal.
Open the Azure Cloud Console.

Run the following command to download the helm chart tar file:
cd $HOME
wget "https://faighelm.blob.core.windows.net/faighelm/FAIG_helm_chart-V8.0.1-build0031-FORTINET.tar"
wget "https://faighelm.blob.core.windows.net/faighelm/values.yaml"
If this downloads correctly you should see the file listed in your home directory.
ls -lash FAIG_helm_chart-V8.0.1-build0031-FORTINET.tar values.yamlNext, let’s extract the files from the tar file:
cd $HOME
tar xvf FAIG_helm_chart-V8.0.1-build0031-FORTINET.tar
In the email confirmation you received for this class should be a valid FortiAIGate license. Download that license and save it locally.
Using the Azure Cloud Console click on “Manage files” and then select “Upload”.
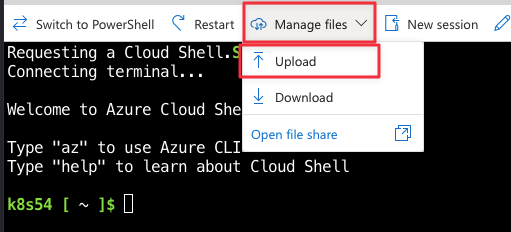
Select the local FortiAIGate license file and upload it to the Cloud Console’s home directory. You should see a notification in the bottom right that it was uploaded successfully.
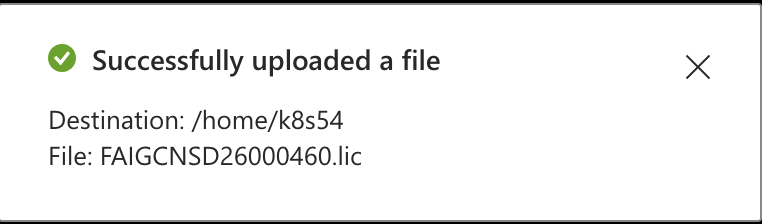
We will copy over your license file so that it is in the correct folder:
cd $HOME
cp *.lic fortiaigate/files/licenses/license.lic
Let’s create a K8s namespace that will contain FortiAIGate. Run the following:
kubectl create namespace fortiaigateYou should see:
namespace/fortiaigate createdNow that we have everything configured and ready to go, we can finally install FortiAIGate. The second values file keeps shared application storage on NFS while placing PostgreSQL and Redis on dedicated local storage for this single-worker workshop. Run the following command:
cd $HOME
helm upgrade --install fortiaigate ./fortiaigate \
  -n fortiaigate \
  -f values.yaml \
  -f "$HOME/faig-training-workshop/scripts/faig/fortiaigate-local-db.yaml" \
  --wait --timeout 30m
This command waits for the deployment to become ready and can take several minutes.
The output should return the following at the top:
NAME: fortiaigate
LAST DEPLOYED: Fri Jul 24 19:24:56 2026
NAMESPACE: fortiaigate
STATUS: deployed
REVISION: 1
DESCRIPTION: Install complete
TEST SUITE: None
NOTES:
🎉 FortiAIGate has been successfully deployed!
...
The containers will take a little bit to get deployed. We can watch the status of the deployment using the following command:
watch kubectl get pods -n fortiaigatePod Status
It might take a few minutes for the cluster to come online fully. Seeing pods crash or loop during startup is not unexpected. There are dependencies between the pods, but some pods might not start cleanly and take a few attempts before they start correctly. Just be patient and watch for your pod status to match that of the screenshot below.
You are looking for the pods to end up looking something like this:
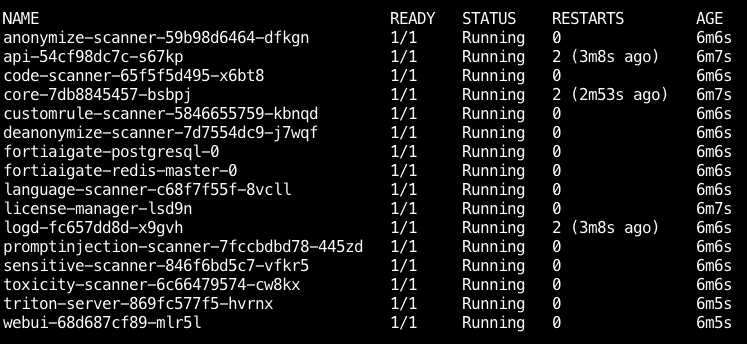
All pods are showing “Running” with “1/1” Ready. These indicate that each service has started correctly and is running without any issues.
If you have any pods running with a different status then you might need to investigate what went wrong.
kubectl describe pod -n fortiaigate <name of pod>Change out the <name of pod> to match the name of the pod (api, core, webui, etc).
If API, core, or logd reports PostgreSQL
P1000authentication failures, follow Troubleshooting PostgreSQL Startup.Once you have FortiAIGate up and running run the following command in Cloud Console and then click on the link it generates:
echo https://$(whoami)-worker.centralus.cloudapp.azure.comYou will be taken to the demo landing page. Click on FortiAIGate in the top menu:

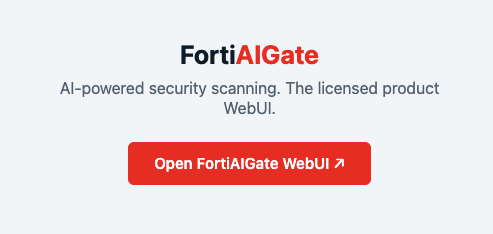
Then click on “Open FortiAIGate WebUI”:
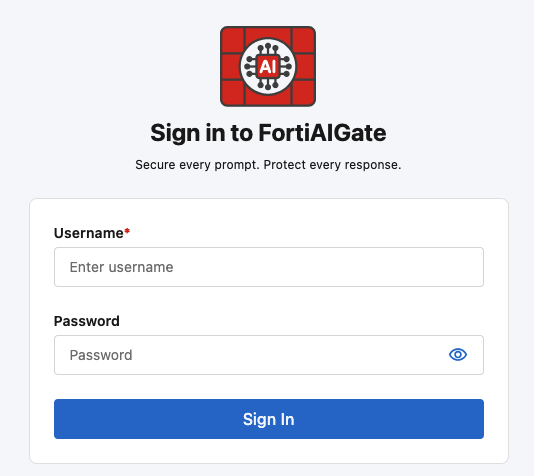
You should see the main login page for the FortiAIGate:
Good to Go?
If you can access the FortiAIGate WebUI and see the login screen, you are good to go! Proceed to the next section to start the demo.
Continue on to the next page.
Continue to the FortiAIGate Configuration.