Configuring FortiAIGate
Accessing FortiAIGate and Initial Setup
We will need to access the FortiAIGate to make some initial changes and grab some required information to help us setup the environment.
Logging In to the FortiAIGate
Log into the Azure Portal.
Open the Azure Cloud Console.

Run the following command so that we generate the URL to access the landing page.
echo https://$(whoami)-worker.centralus.cloudapp.azure.comThis will generate a URL for you to click on that will open in a new tab.
By default you will land on the “AI Chatbot” page. Keep this page open in another tab as we will need to come back to this page later. Click on the “FortiAIGate” link at the top.

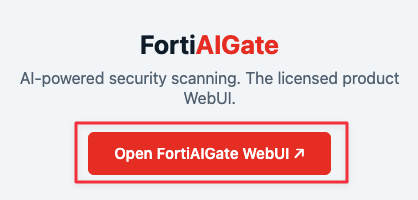
Now click on “Open FortiAIGate WebUI”. This will open FortiAIGate in another tab for you.
You will be presented with the FortiAIGate main login. Enter the following information and click on “Sign In”:
- Login:
admin - Password: "" blank
- Login:
You will be presented with a form to enter a new password:
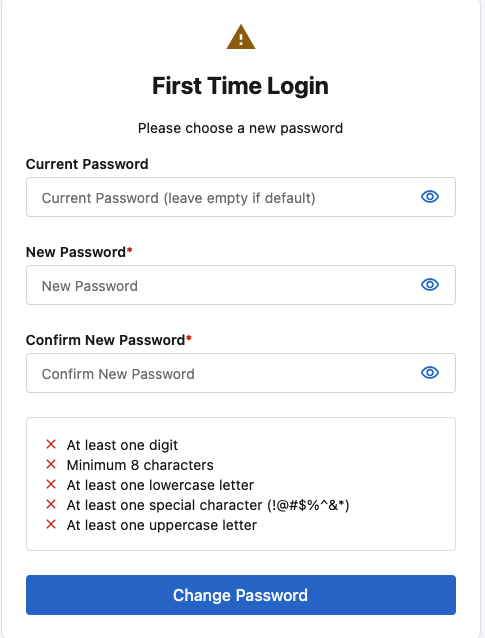
Enter the following details:
- Current Password: "" blank
- New Password:
Fortinet123! - Confirm New Password:
Fortinet123!
and click on “Change Password”. Then click on “Back to Login” once the password has changed.
Now login to the FortiAIGate using the password we just set:
- Login:
admin - Password:
Fortinet123!
- Login:
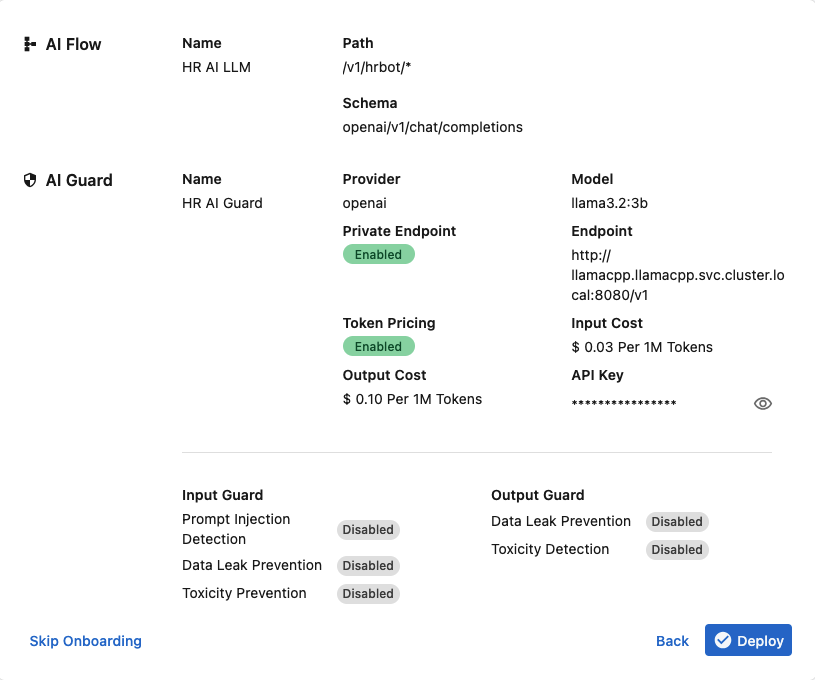
When you login for the first time you will be presented with a setup wizard to setup an AI Flow and AI Guard. Here we will setup the HR AI Chatbot flow so that we can use it in the Chatbot web interface. Enter the following information:
- Name:
HR AI LLM - Entry Path:
/v1/hrbot/* - Schema:
/v1/chat/completions(this should be the default)
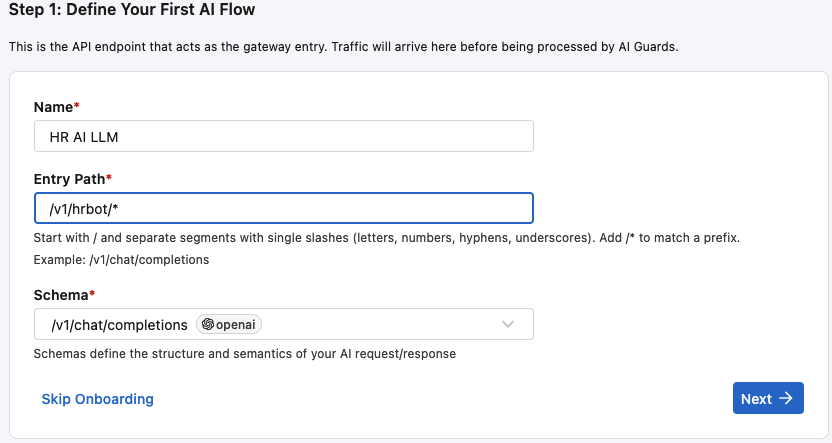
Click on Next to continue.
- Name:
Now we will setup the AI Guard. This tells FortiAIGate how it should route the requests that originate through the AI Flow’s endpoint URL. Enter the following information:
- Name:
HR AI Guard - Provider: “OpenAI”
- Model:
llama3.2:3b - Private Endpoint: on
- Endpoint:
http://llamacpp.llamacpp.svc.cluster.local:8080/v1 - API Key:
llamacpp-testing - Token Pricing: on
- Input Cost: 0.03
- Output Cost: 0.10
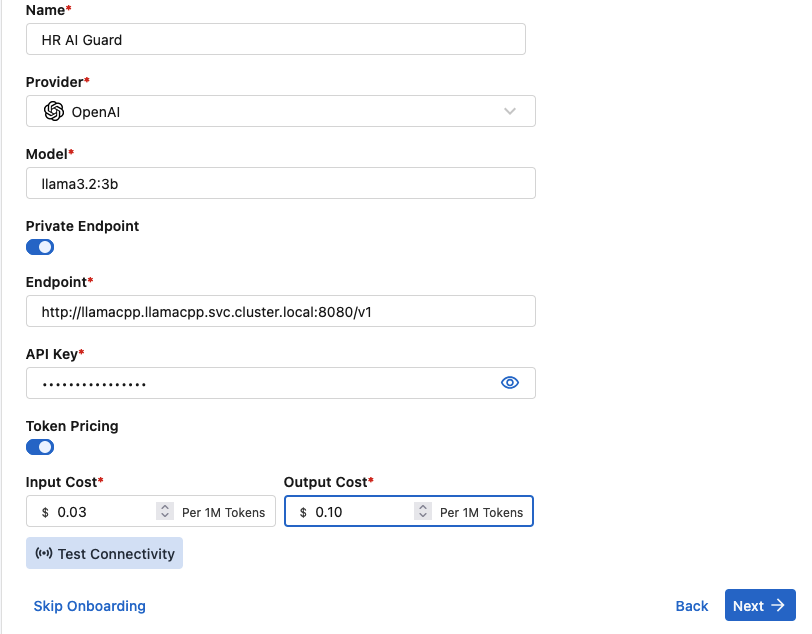
Click on “Next” to continue.
- Name:
After filling out the AI Guard settings, you are presented with a list of AI Guards to enable. We are going to leave all of these off for now. We will go over these more in depth later. Just click on Next in the bottom right.
The final screen is a confirmation screen. Verify that your information looks like the one below and then click on “Deploy”.
You will now see the completed AI Flow in the list of configured AI Flows.

FortiAIGate is Ready to Go
Okay. We have completed the setup of the FortiAIGate, let’s move on to the AI Chatbot application. Thankfully it is a little easier.
Continue on to the next page.
Continue to the Configuring the AI Chatbot.