Task 1: Setup Azure Cloudshell
| Goal | Login to Azure |
| Task | Create an Azure account and login. |
| Verify task completion | You will receive an email |
Info
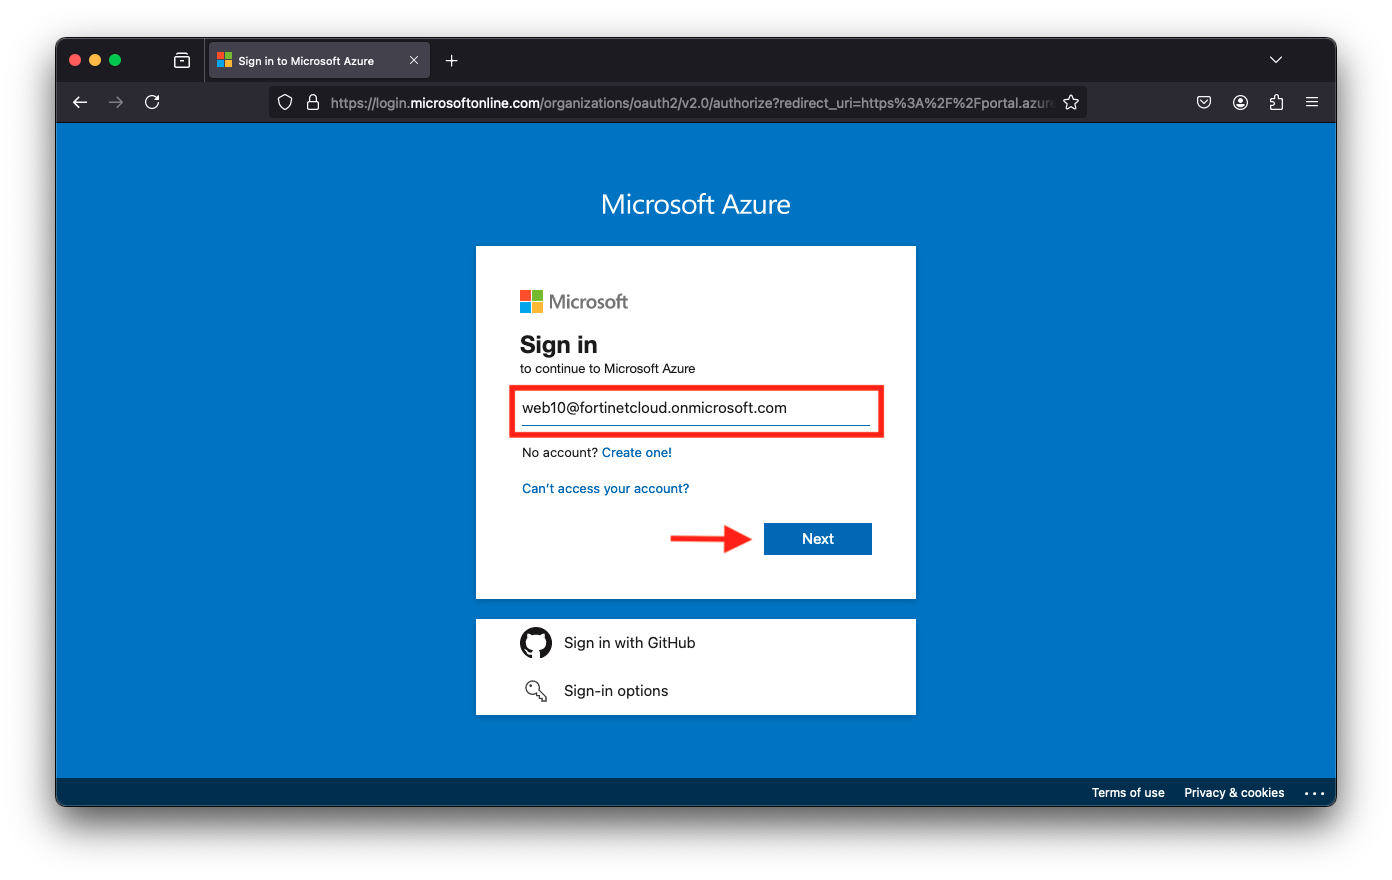
The below document references “student number” for a couple of the steps. This is the first portion of the Username you received in the initial email with your Azure credentials. For example if your username is web10@fortinetcloud.onmicrosoft.com then your student number would be web10. The same applies for a username of appsec10@fortinetcloud.onmicrosoft.com the student number would be appsec10
Setup your AzureCloud Shell
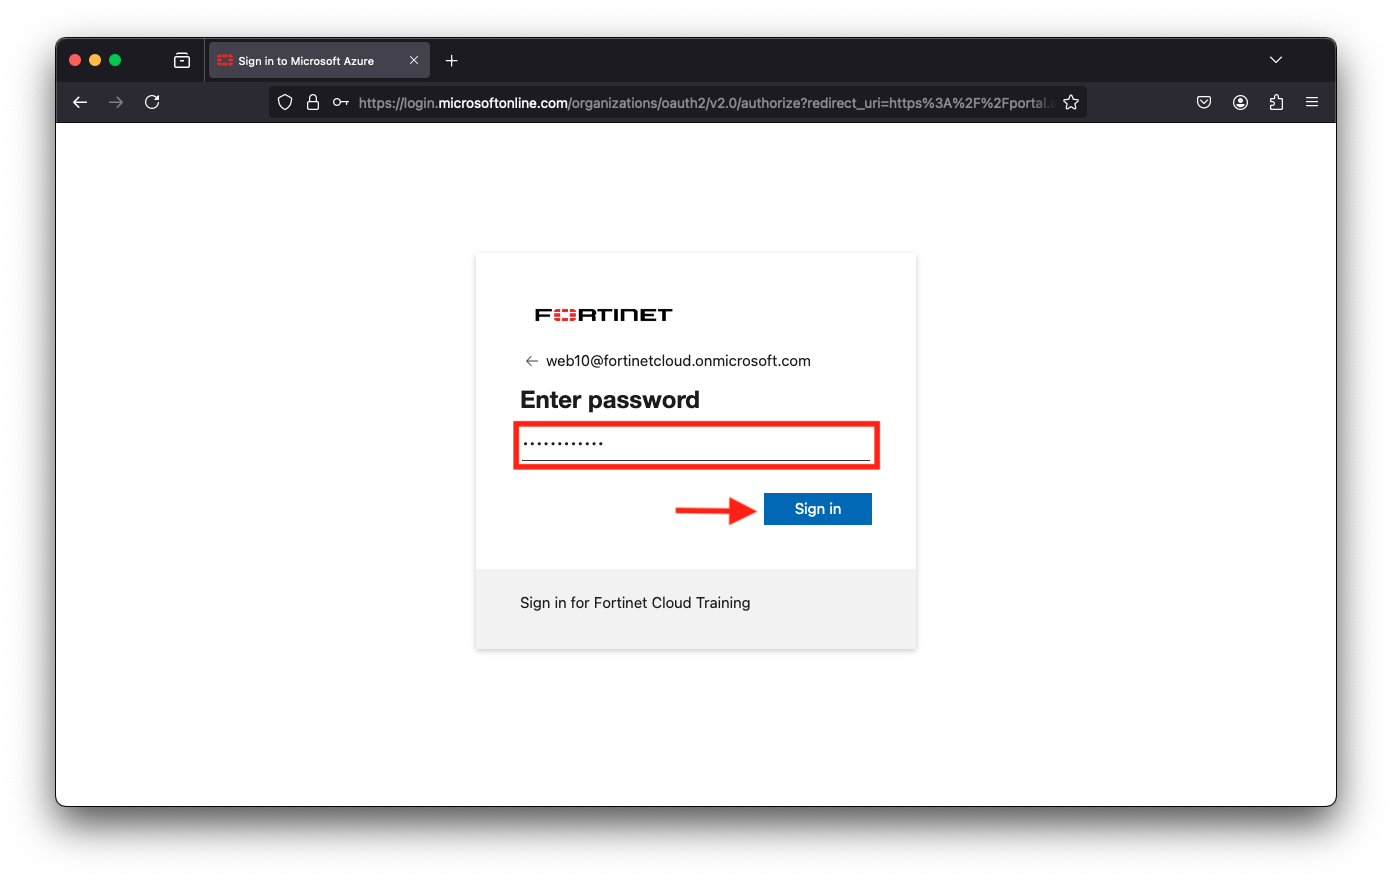
Login to Azure Cloud Portal https://portal.azure.com/ with the provided login/password
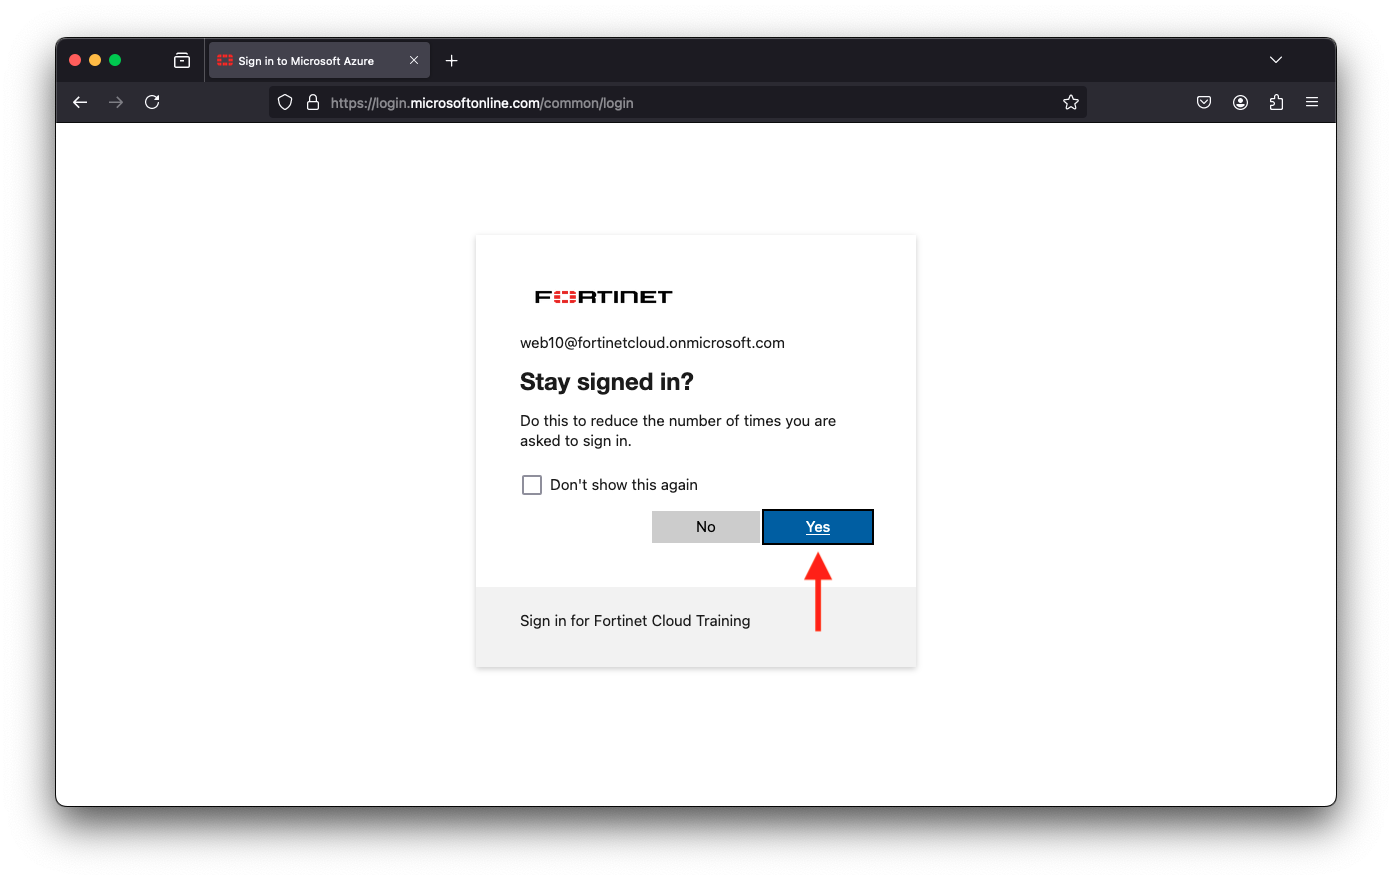
Select Yes when asked if you would like to stay signed in
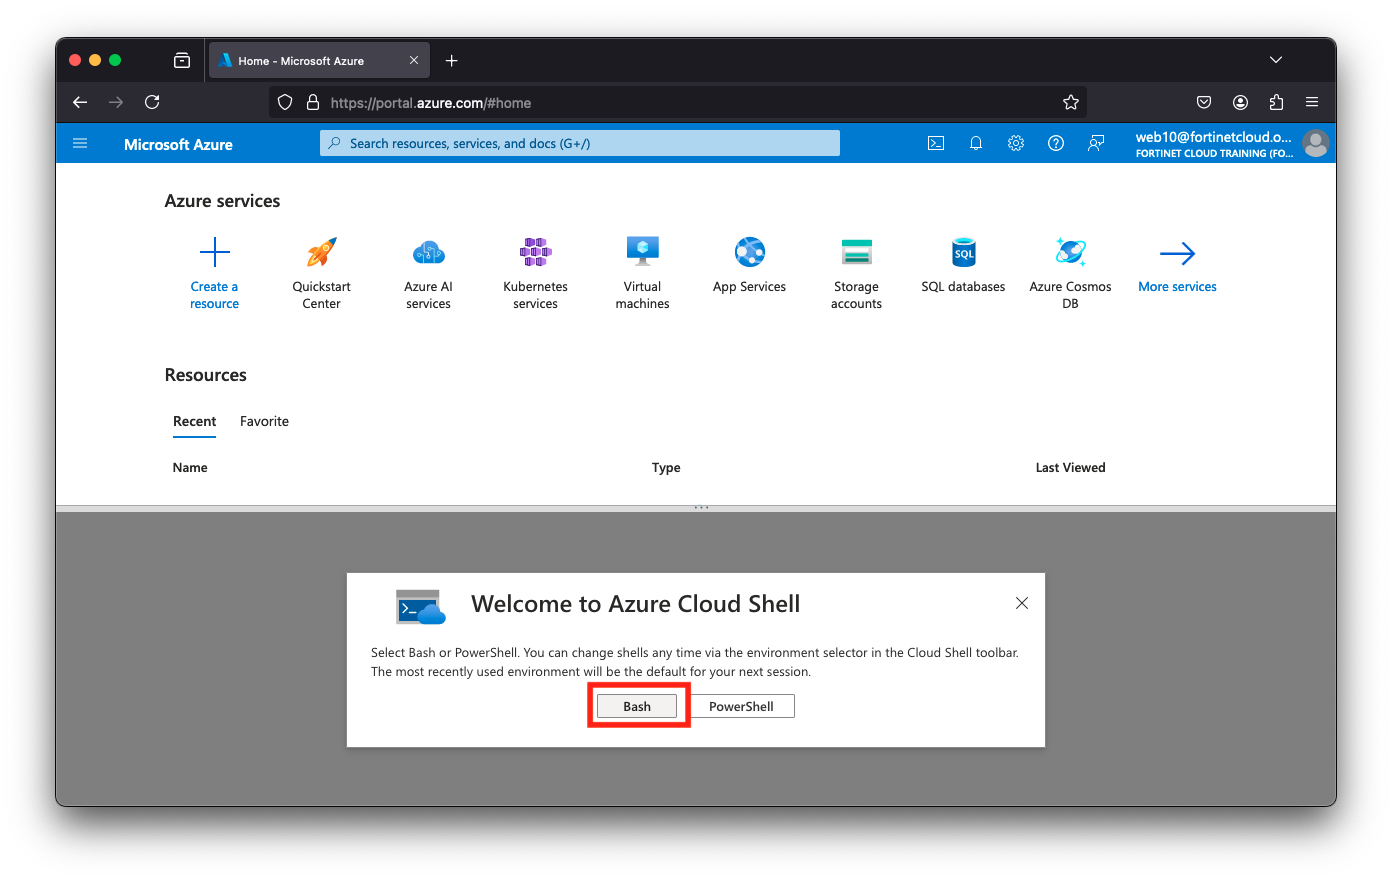
If you are presented with a “Welcome to Microsoft Azure” screen, click Cancel

Click on Cloud Shell icon on the Top Right side of the portal

Select Bash
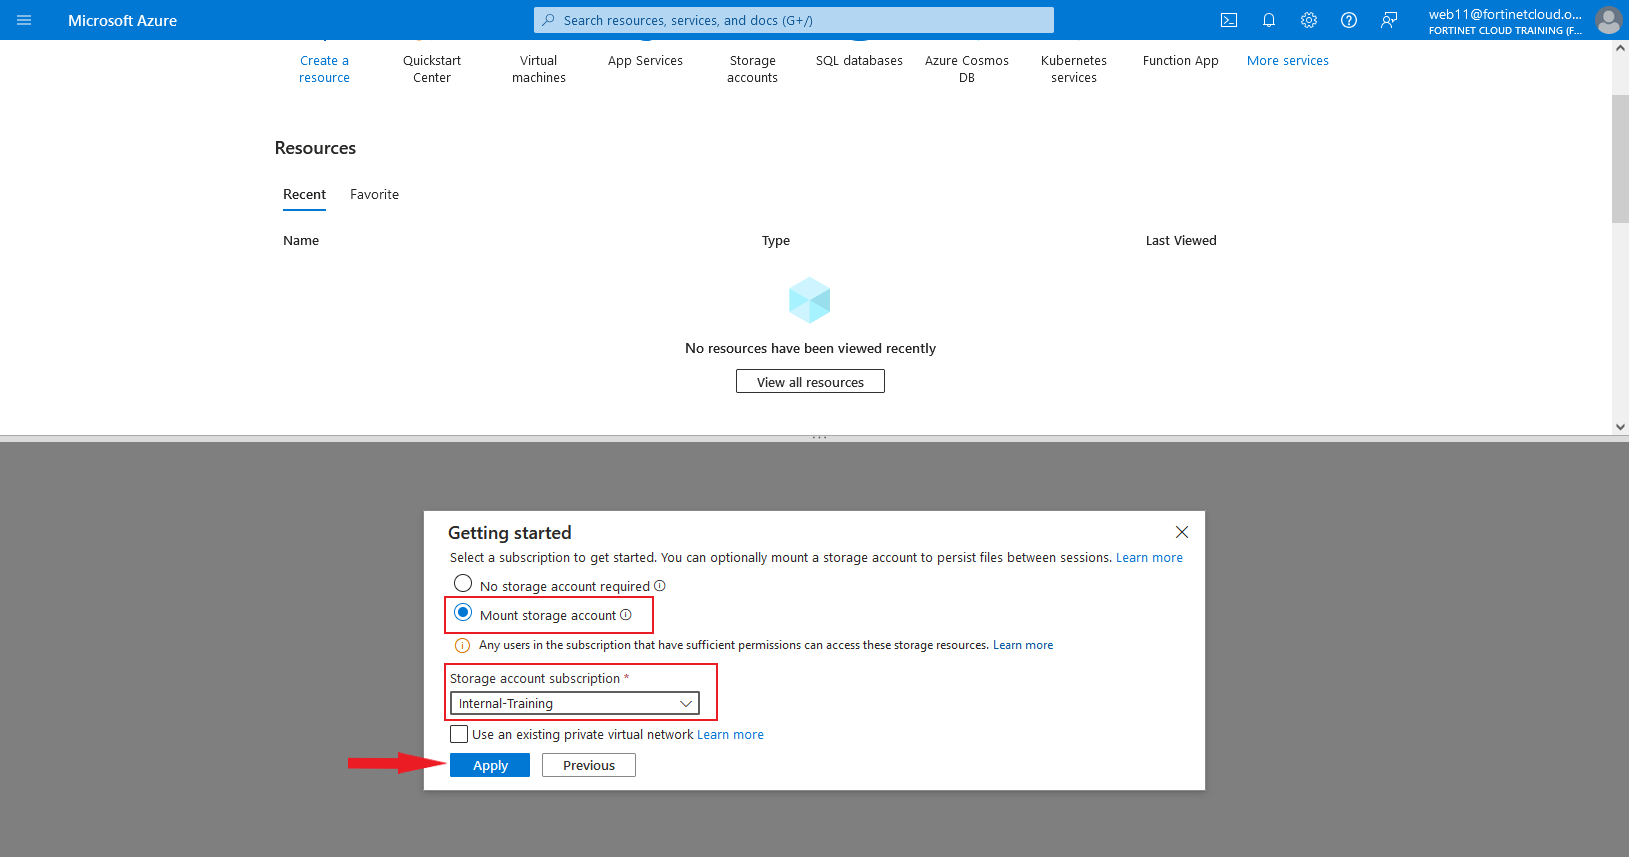
Next, you will see a “Getting started” page.
- Select Mount Storage Account
- Choose Internal-Training as the Storage account subscription
- Click Apply
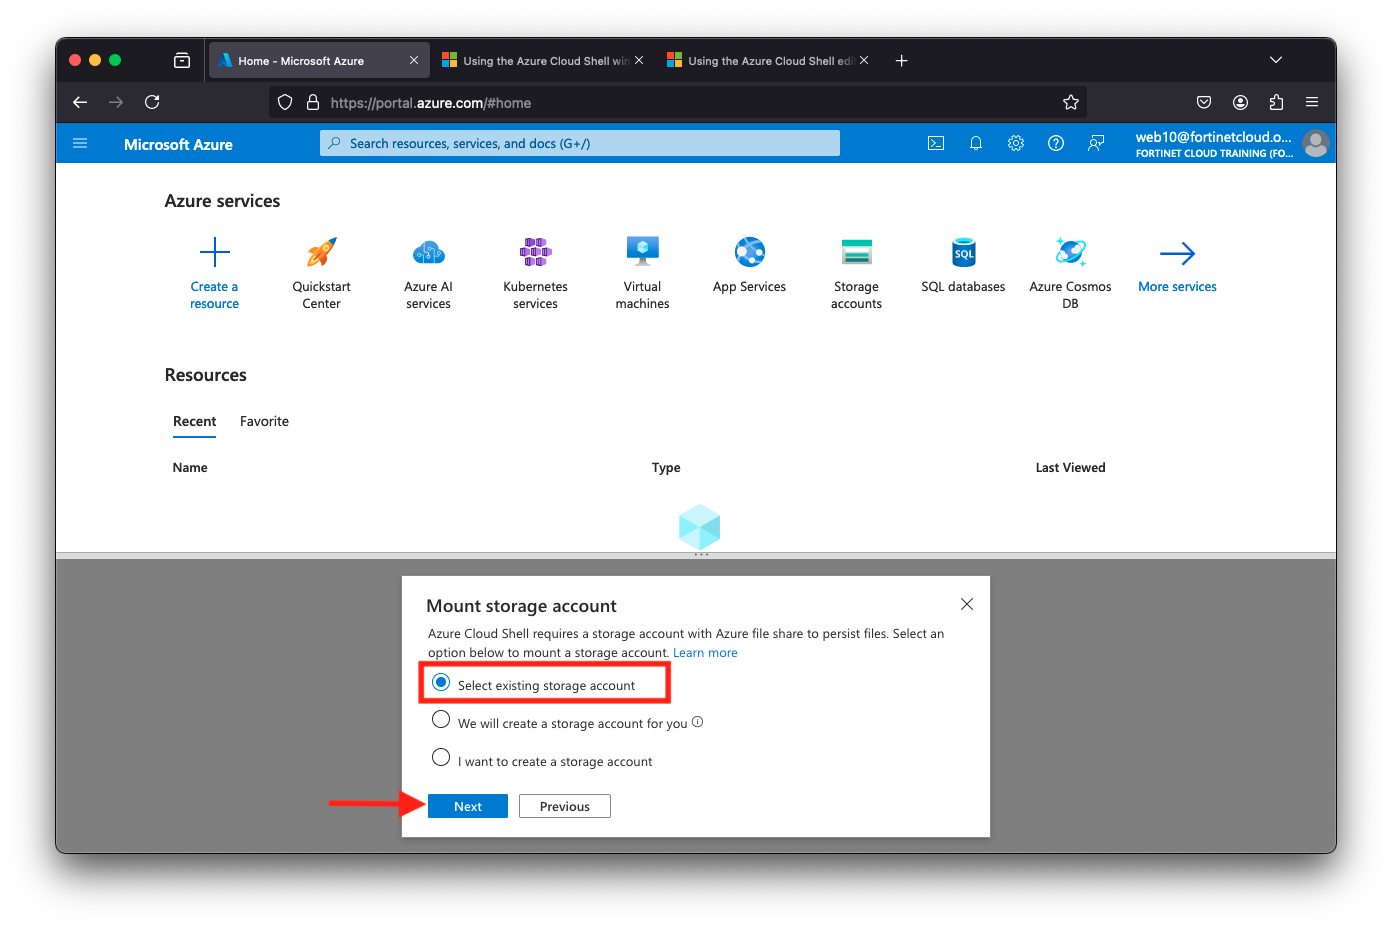
On the Mount storage account screen
click Select existing storage account
click Next
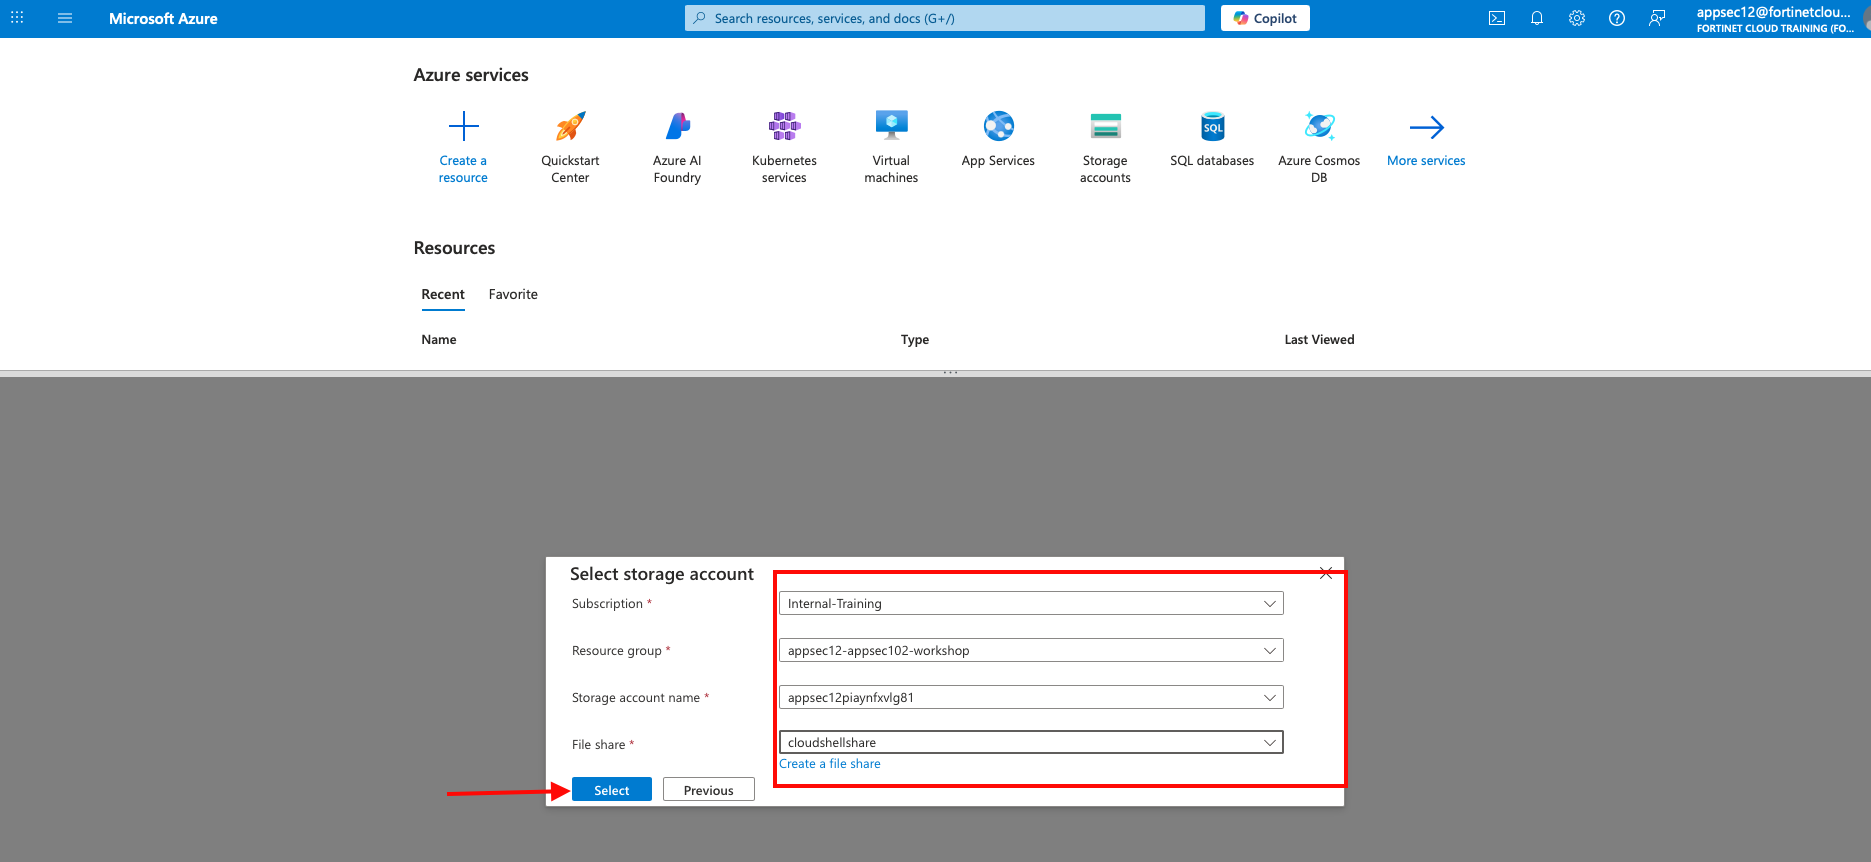
On the Select storage account screen (values in drop down)
choose Internal-Training as description
resource group will be “student number”-appsec-102-workshop
storage account name will be “student number” followed by some random numbers and letters
File share will be cloudshellshare
Click Select
Your Cloud shell is now configured.