Task 3: CSRF attack
| Goal | Use Burp Suite to Perform CSRF attack |
| Task | Burp Suite will modify a user password, using Cross Site Request Forgery, then block it with FortiAppSec Cloud |
| Verify task completion | The CSRF password change should go through initially, but be blocked after enabling CSRF protection on FortiAppSec Cloud |
A Cross-Site Request Forgery (CSRF) attack is a type of security exploit where an attacker tricks a user into performing actions on a web application without their consent. This can happen when a malicious website, email, or other online resource causes the user’s web browser to perform an unwanted action on a different site where the user is authenticated.
Let’s generate a CSRF attack with Burp Suite.
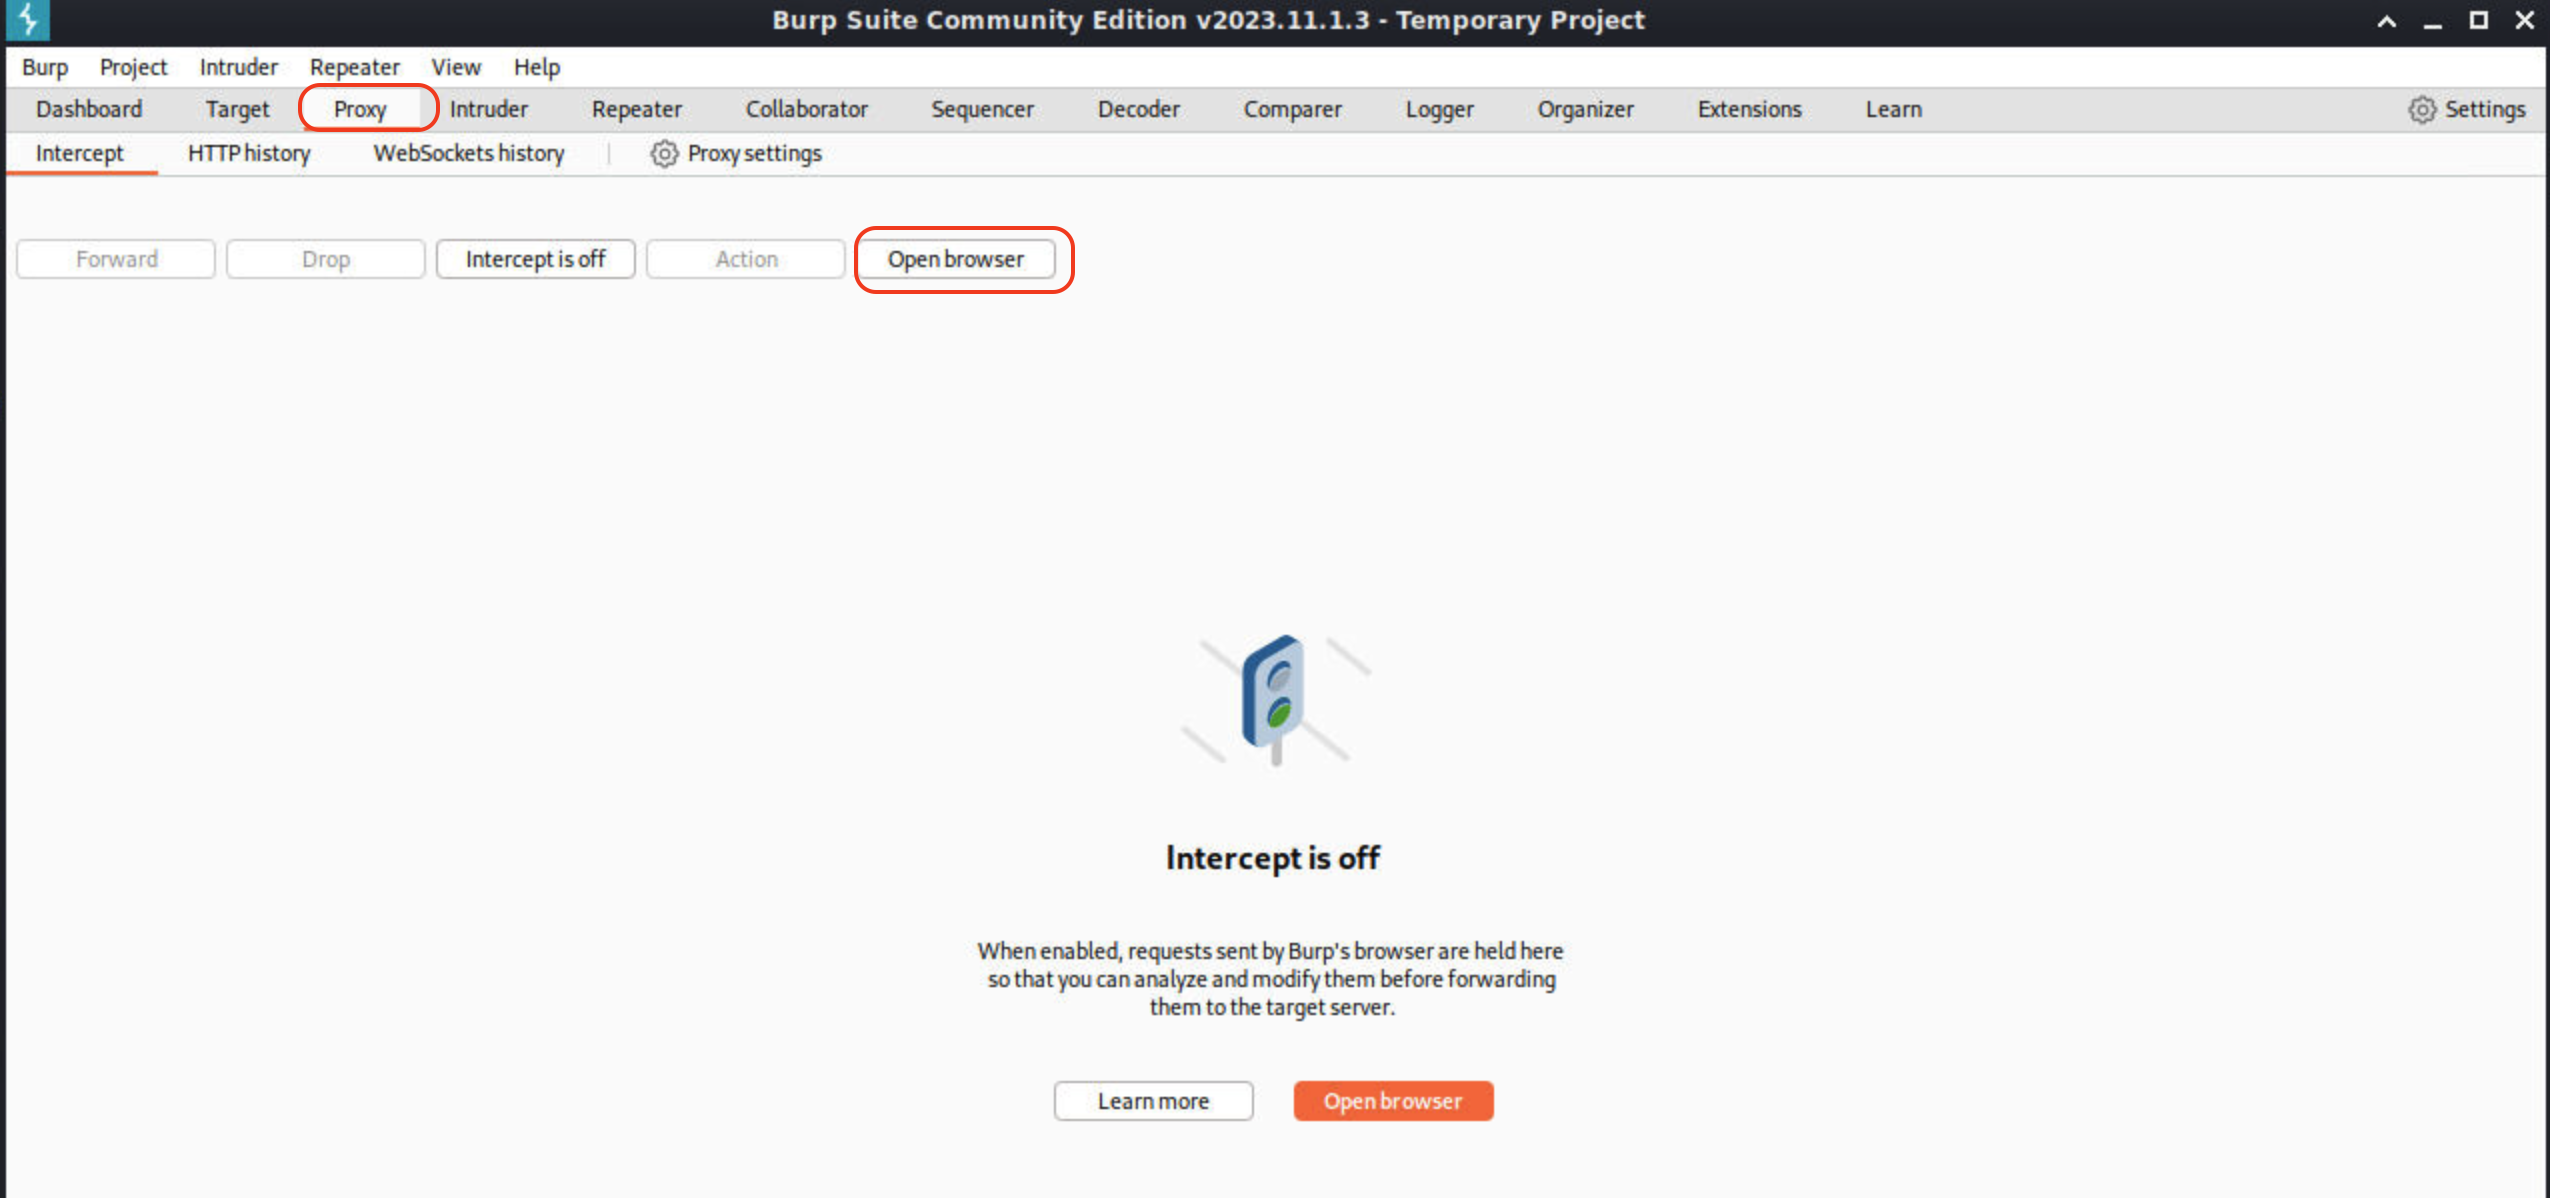
Repeat Step 1-5 from Task 1 to open Burp Suite. if Burp Suite is already running in the background just click to go back to at by clicking on the top left corner of Kali linux.
On the proxy tab, Click on Open Browser (this is Chrome in this lab and not Firefox)
Type the FQDN allocated:
https://<studentId>.fwebtraincse.cominto the browser.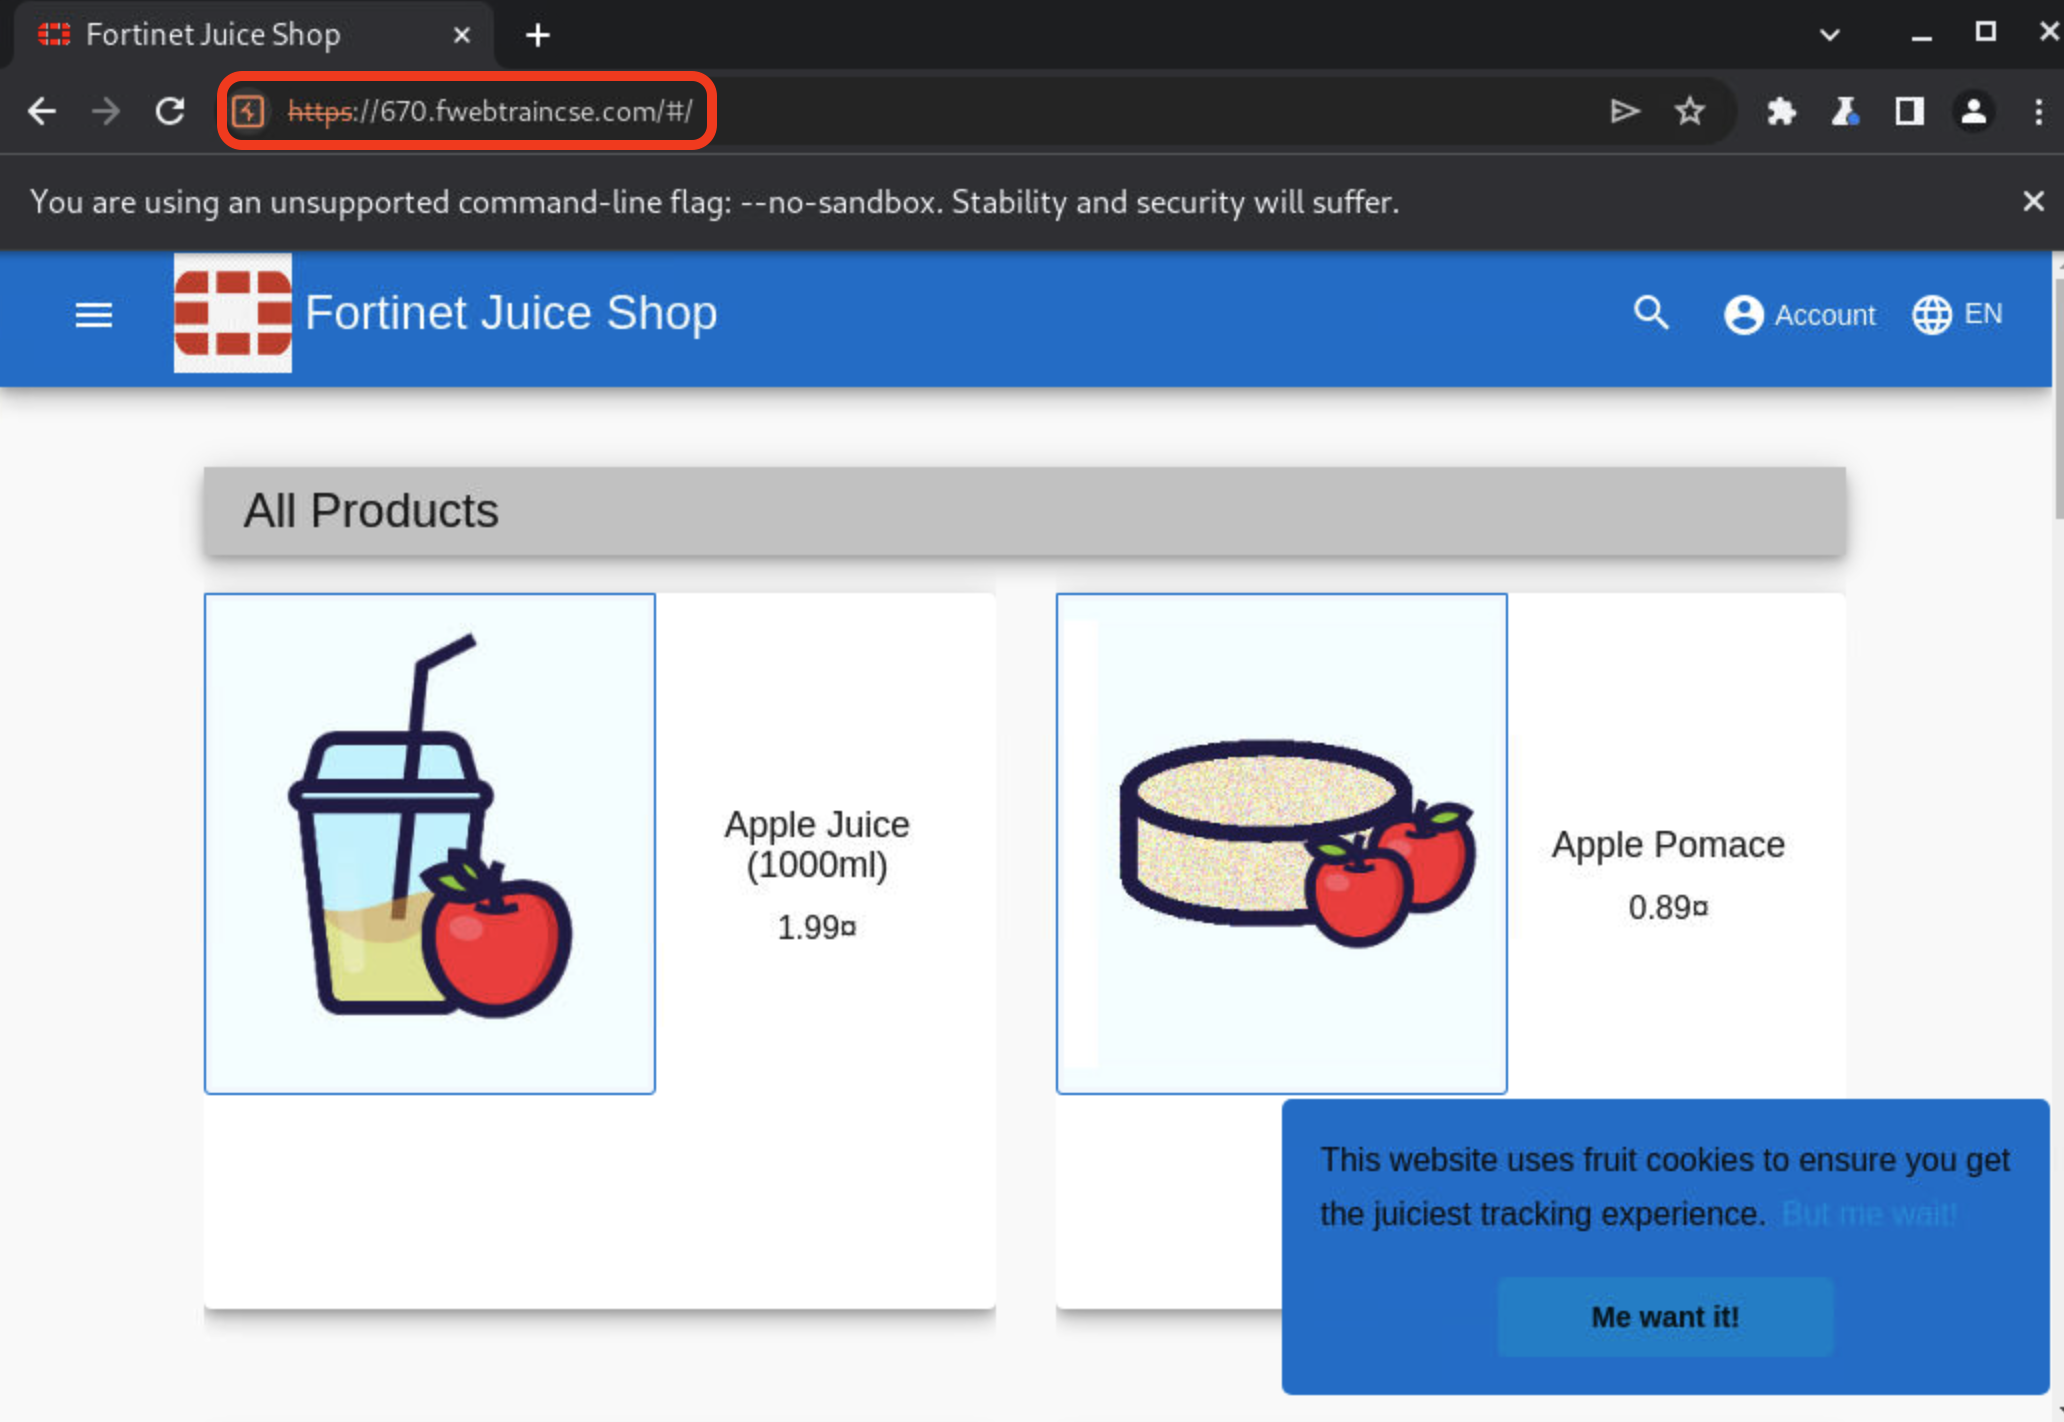
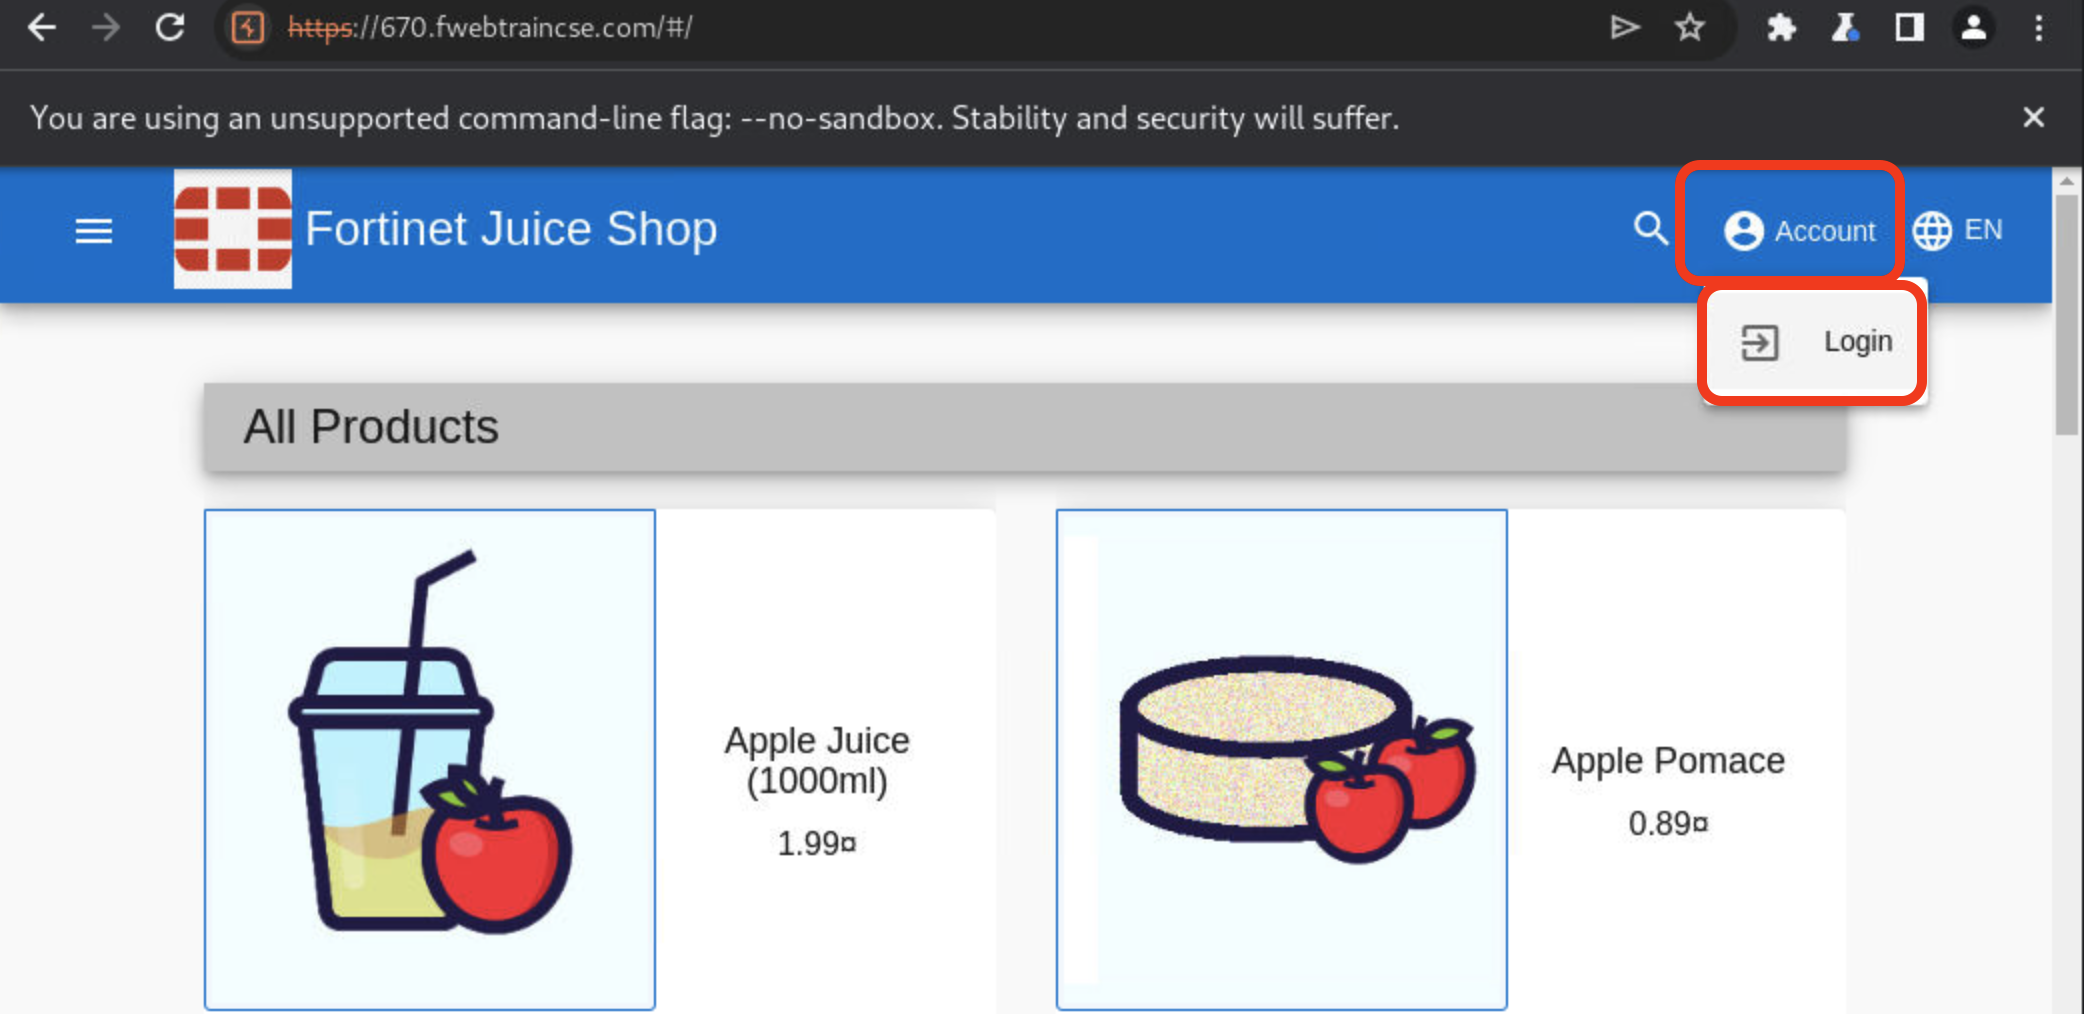
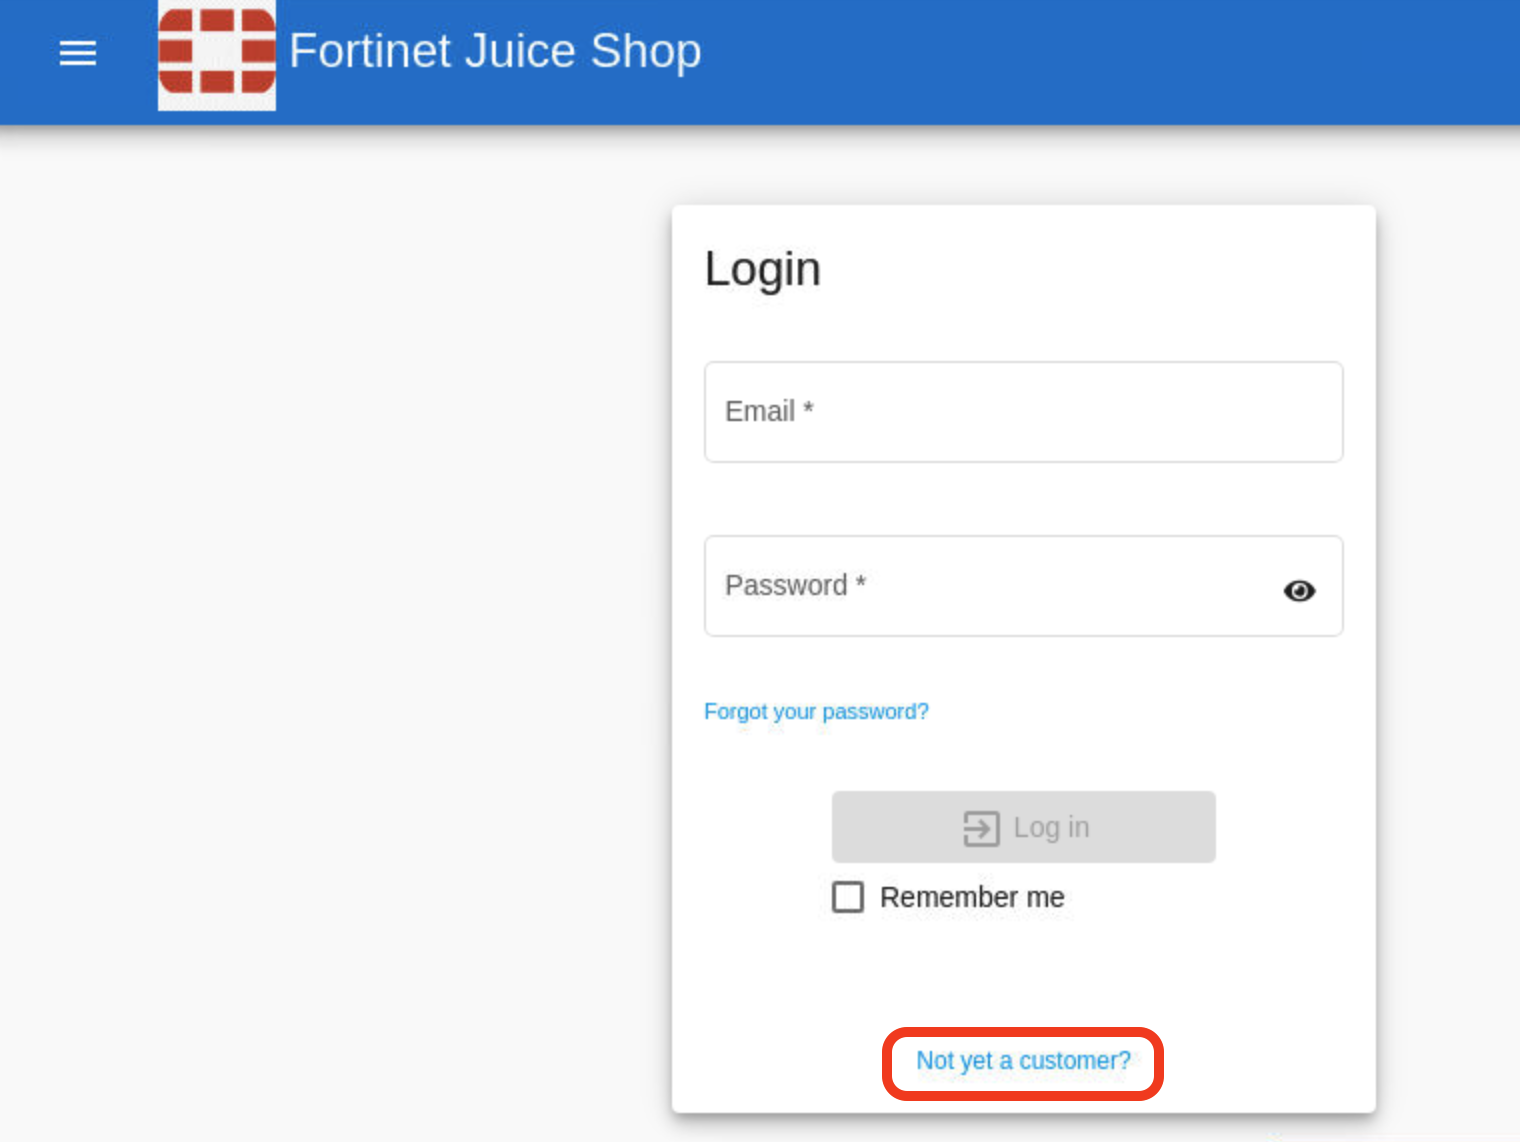
Once the Juiceshop app loads, click on Account > Login.
Note
If you don’t see Account in top right bar, you may have to expand the browser window
Create a user login by clicking on Not Yet a customer? at the bottom.
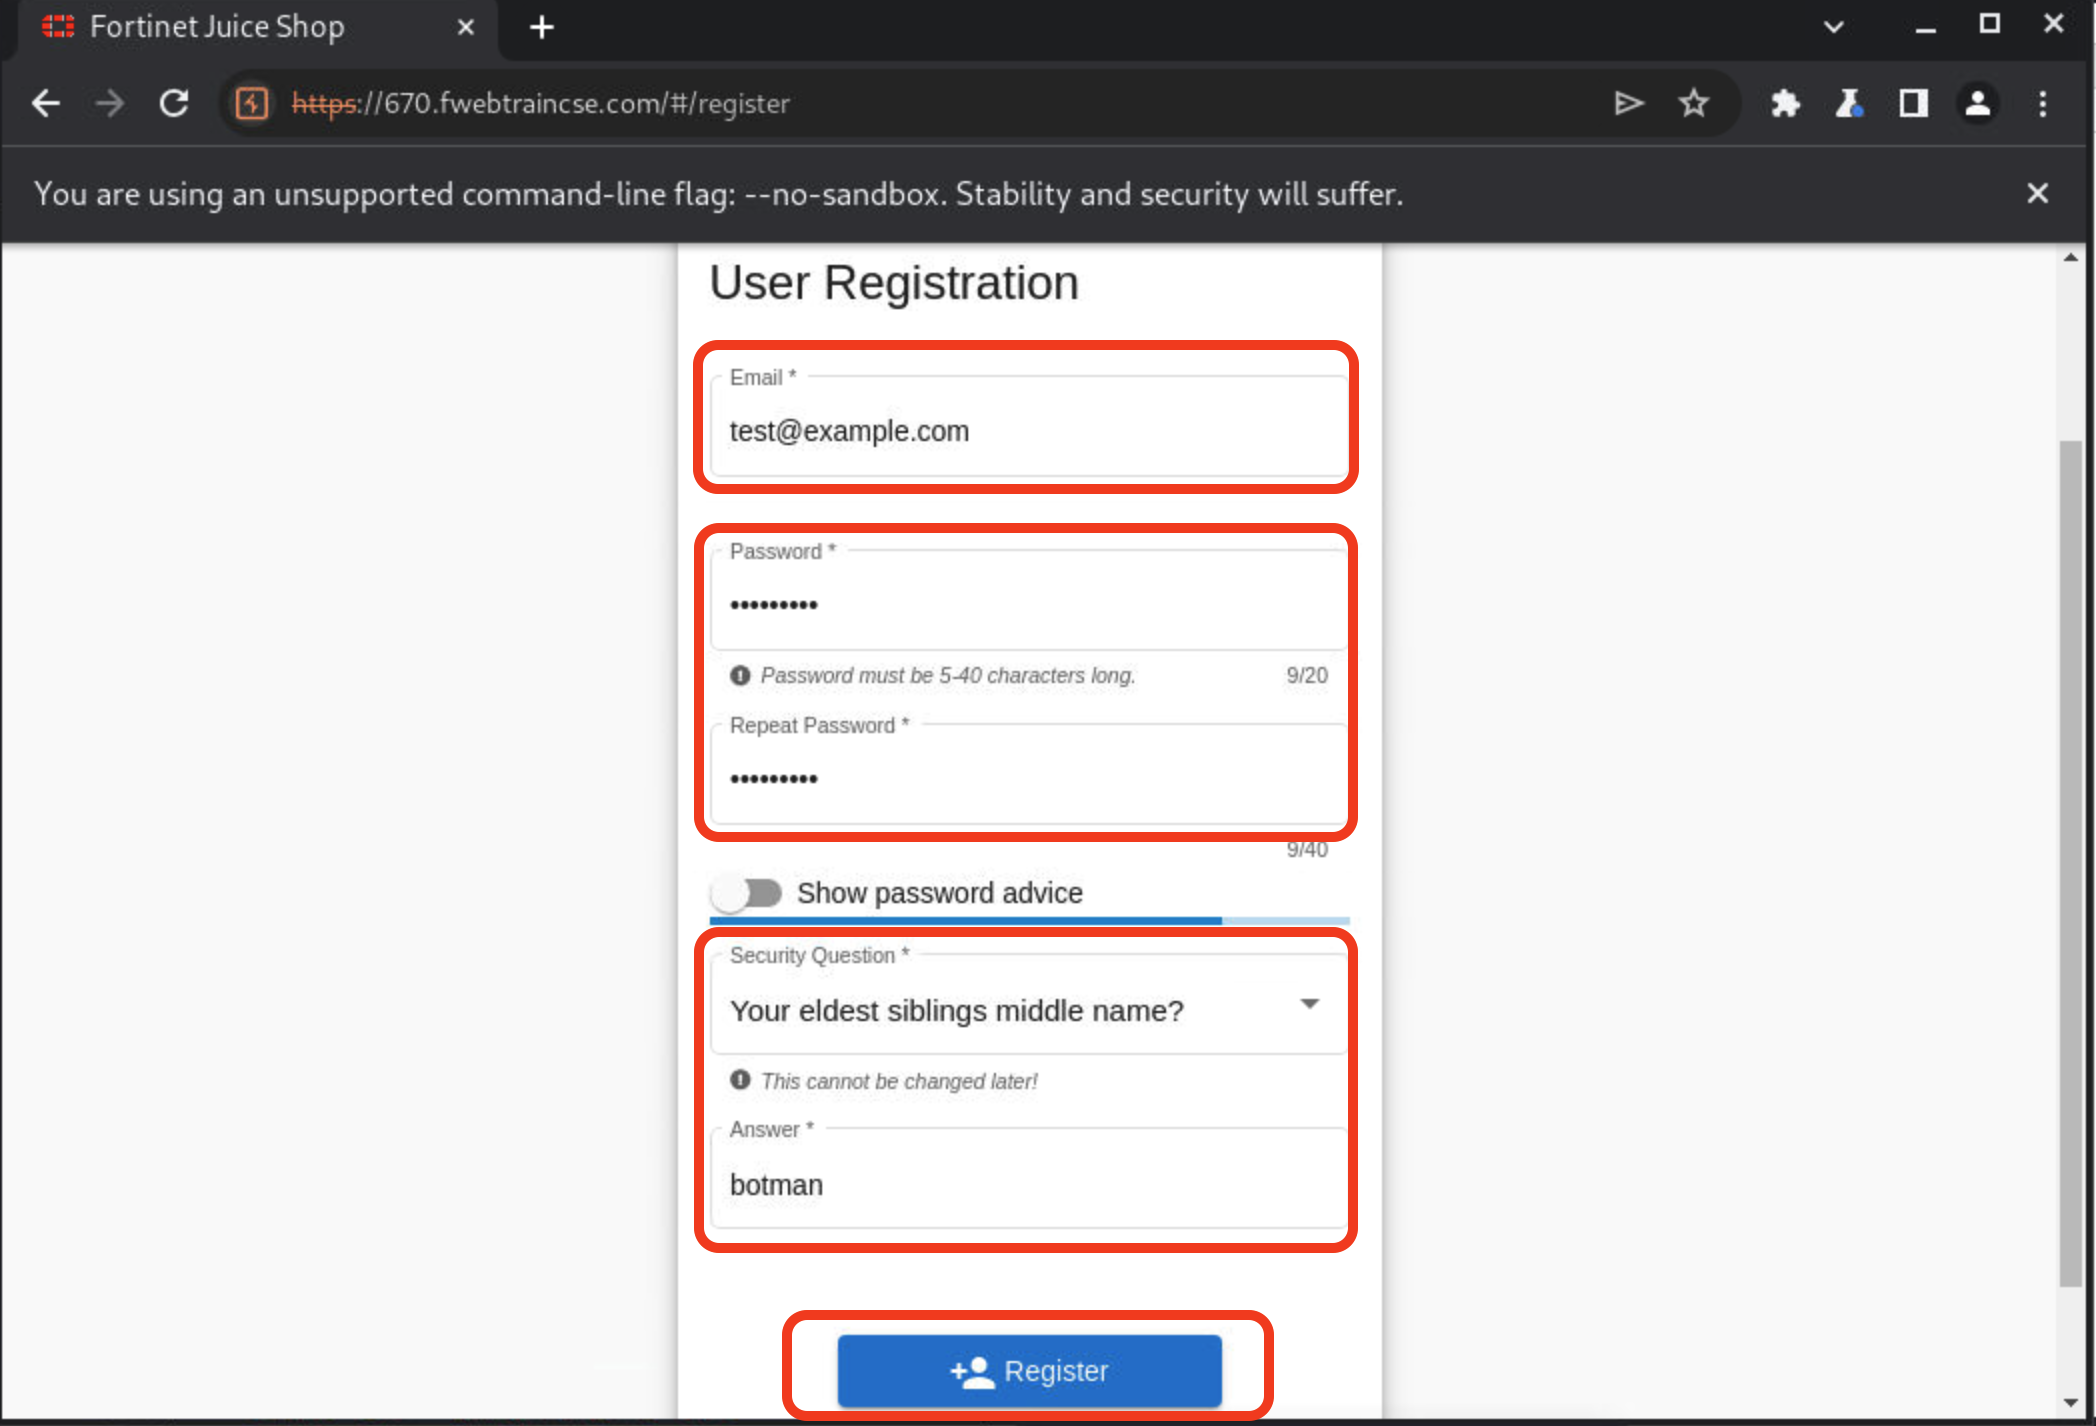
Make sure to use the same email and credentials as below just so we won’t forget.
email:
test@example.compassword:
test1234$Repeat Password:
test1234$Security Question: Select Your eldest sibling’s middle name from dropdown.
Answer:
botmanClick on register
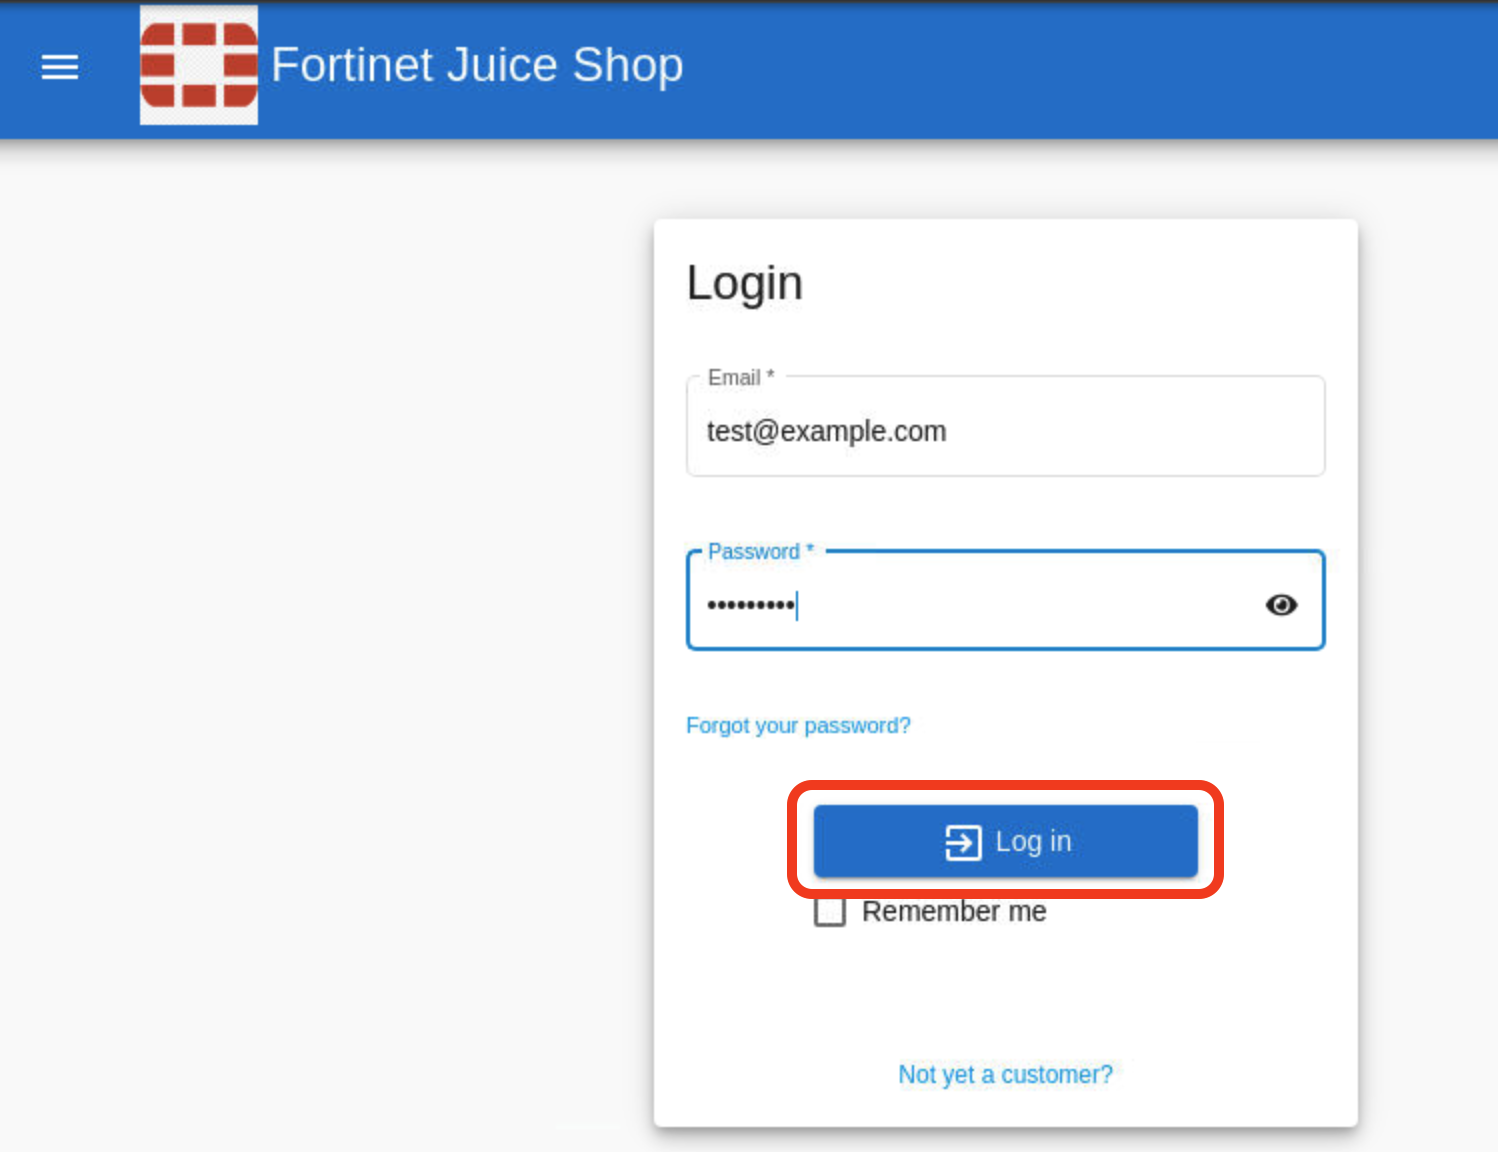
Login using the credentials above.
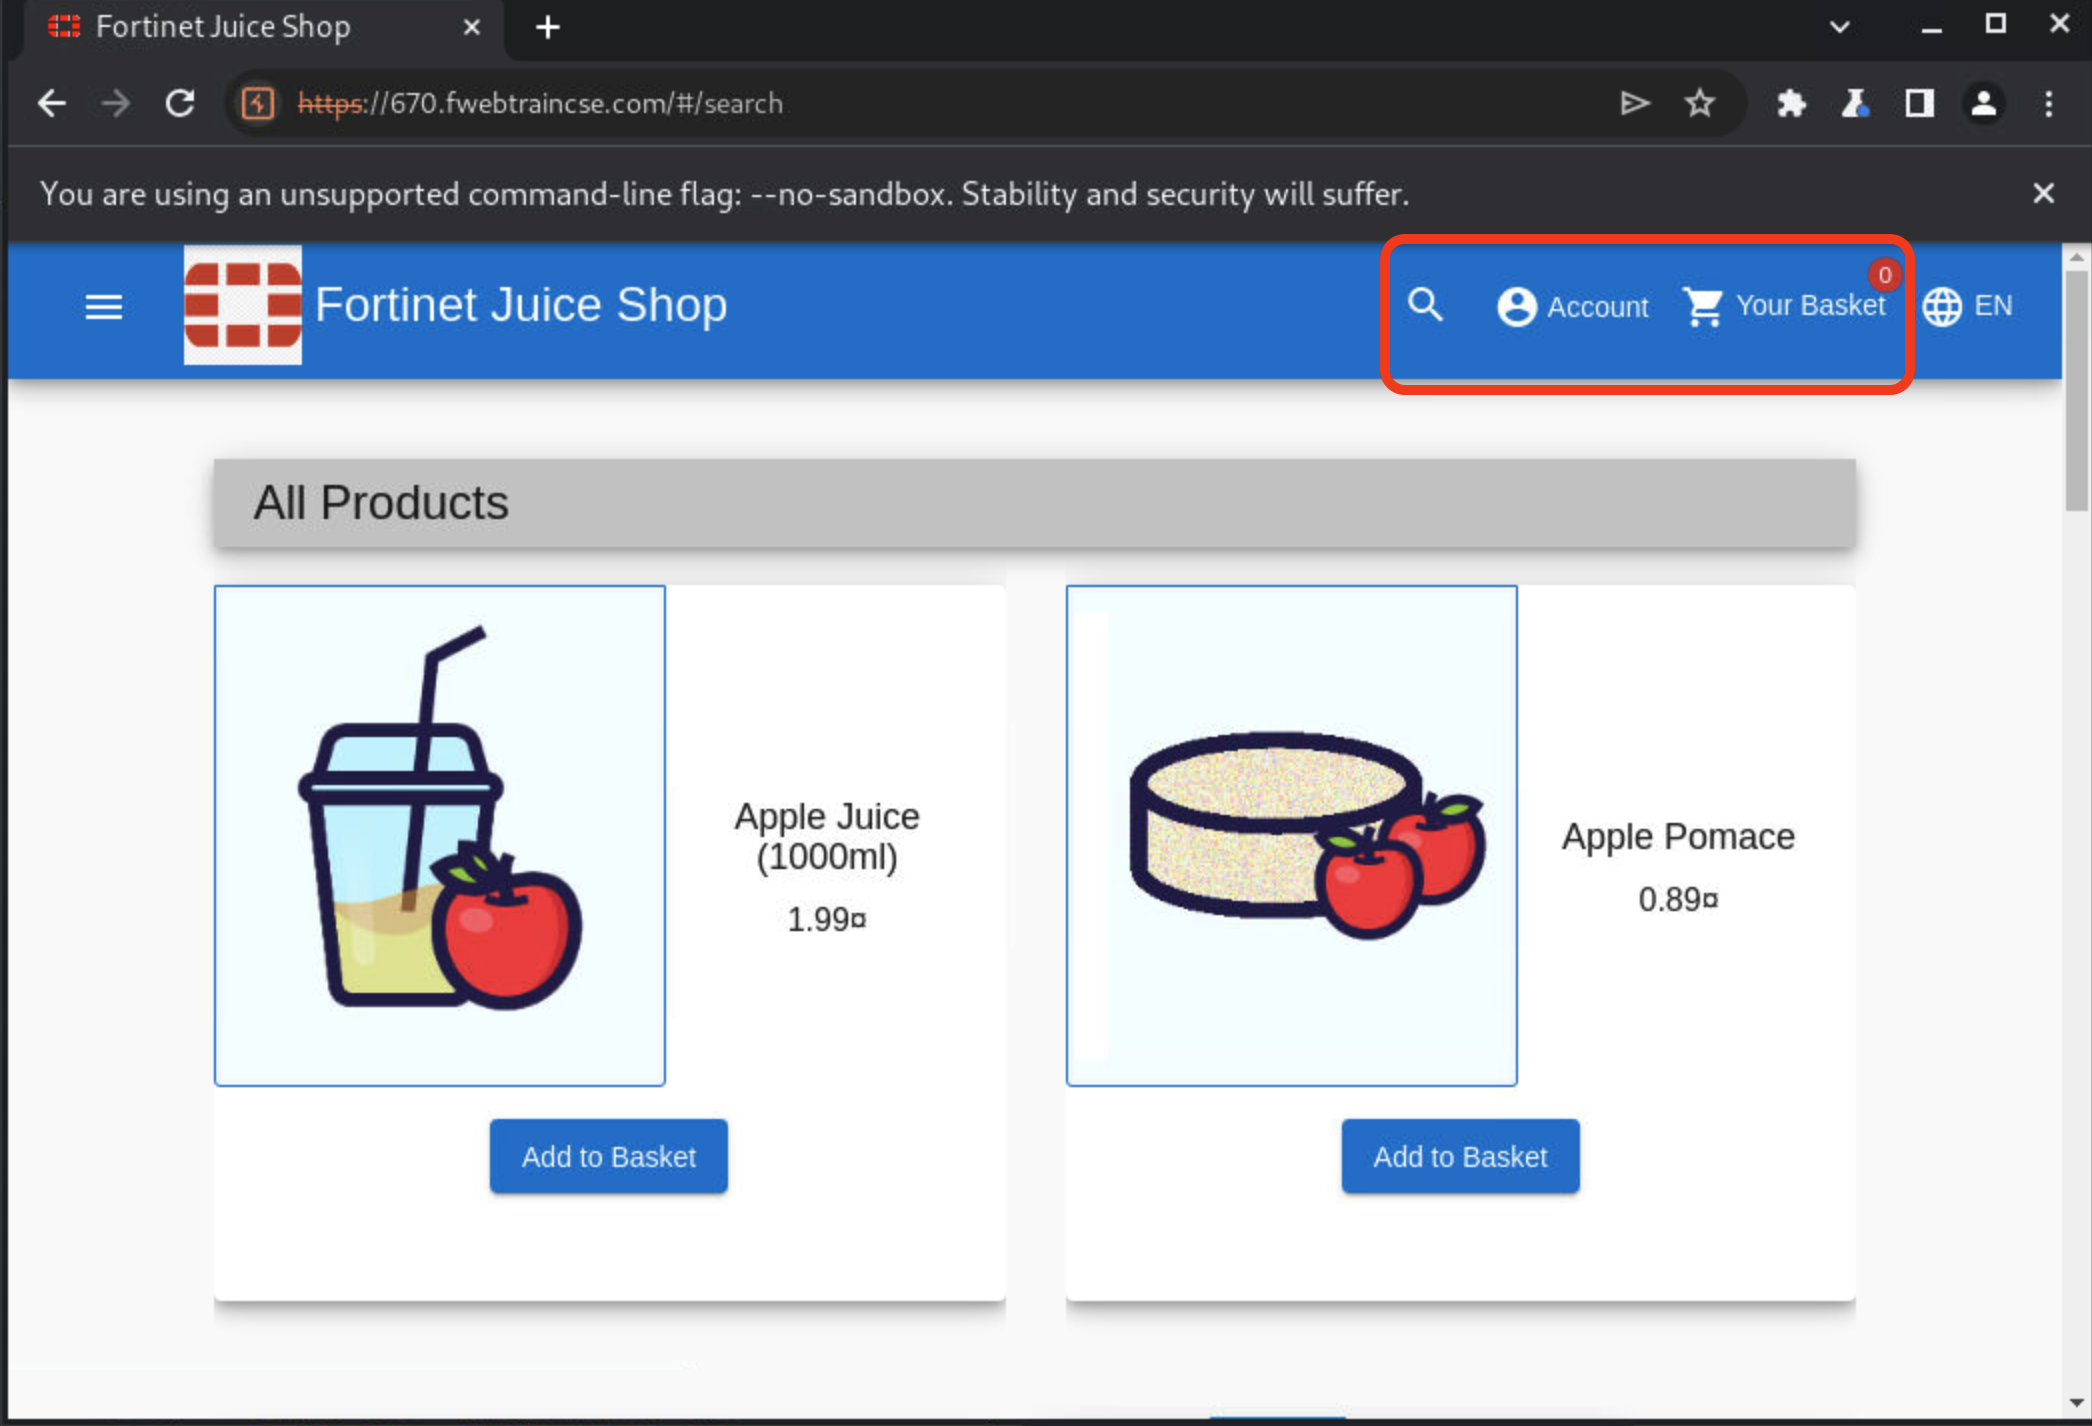
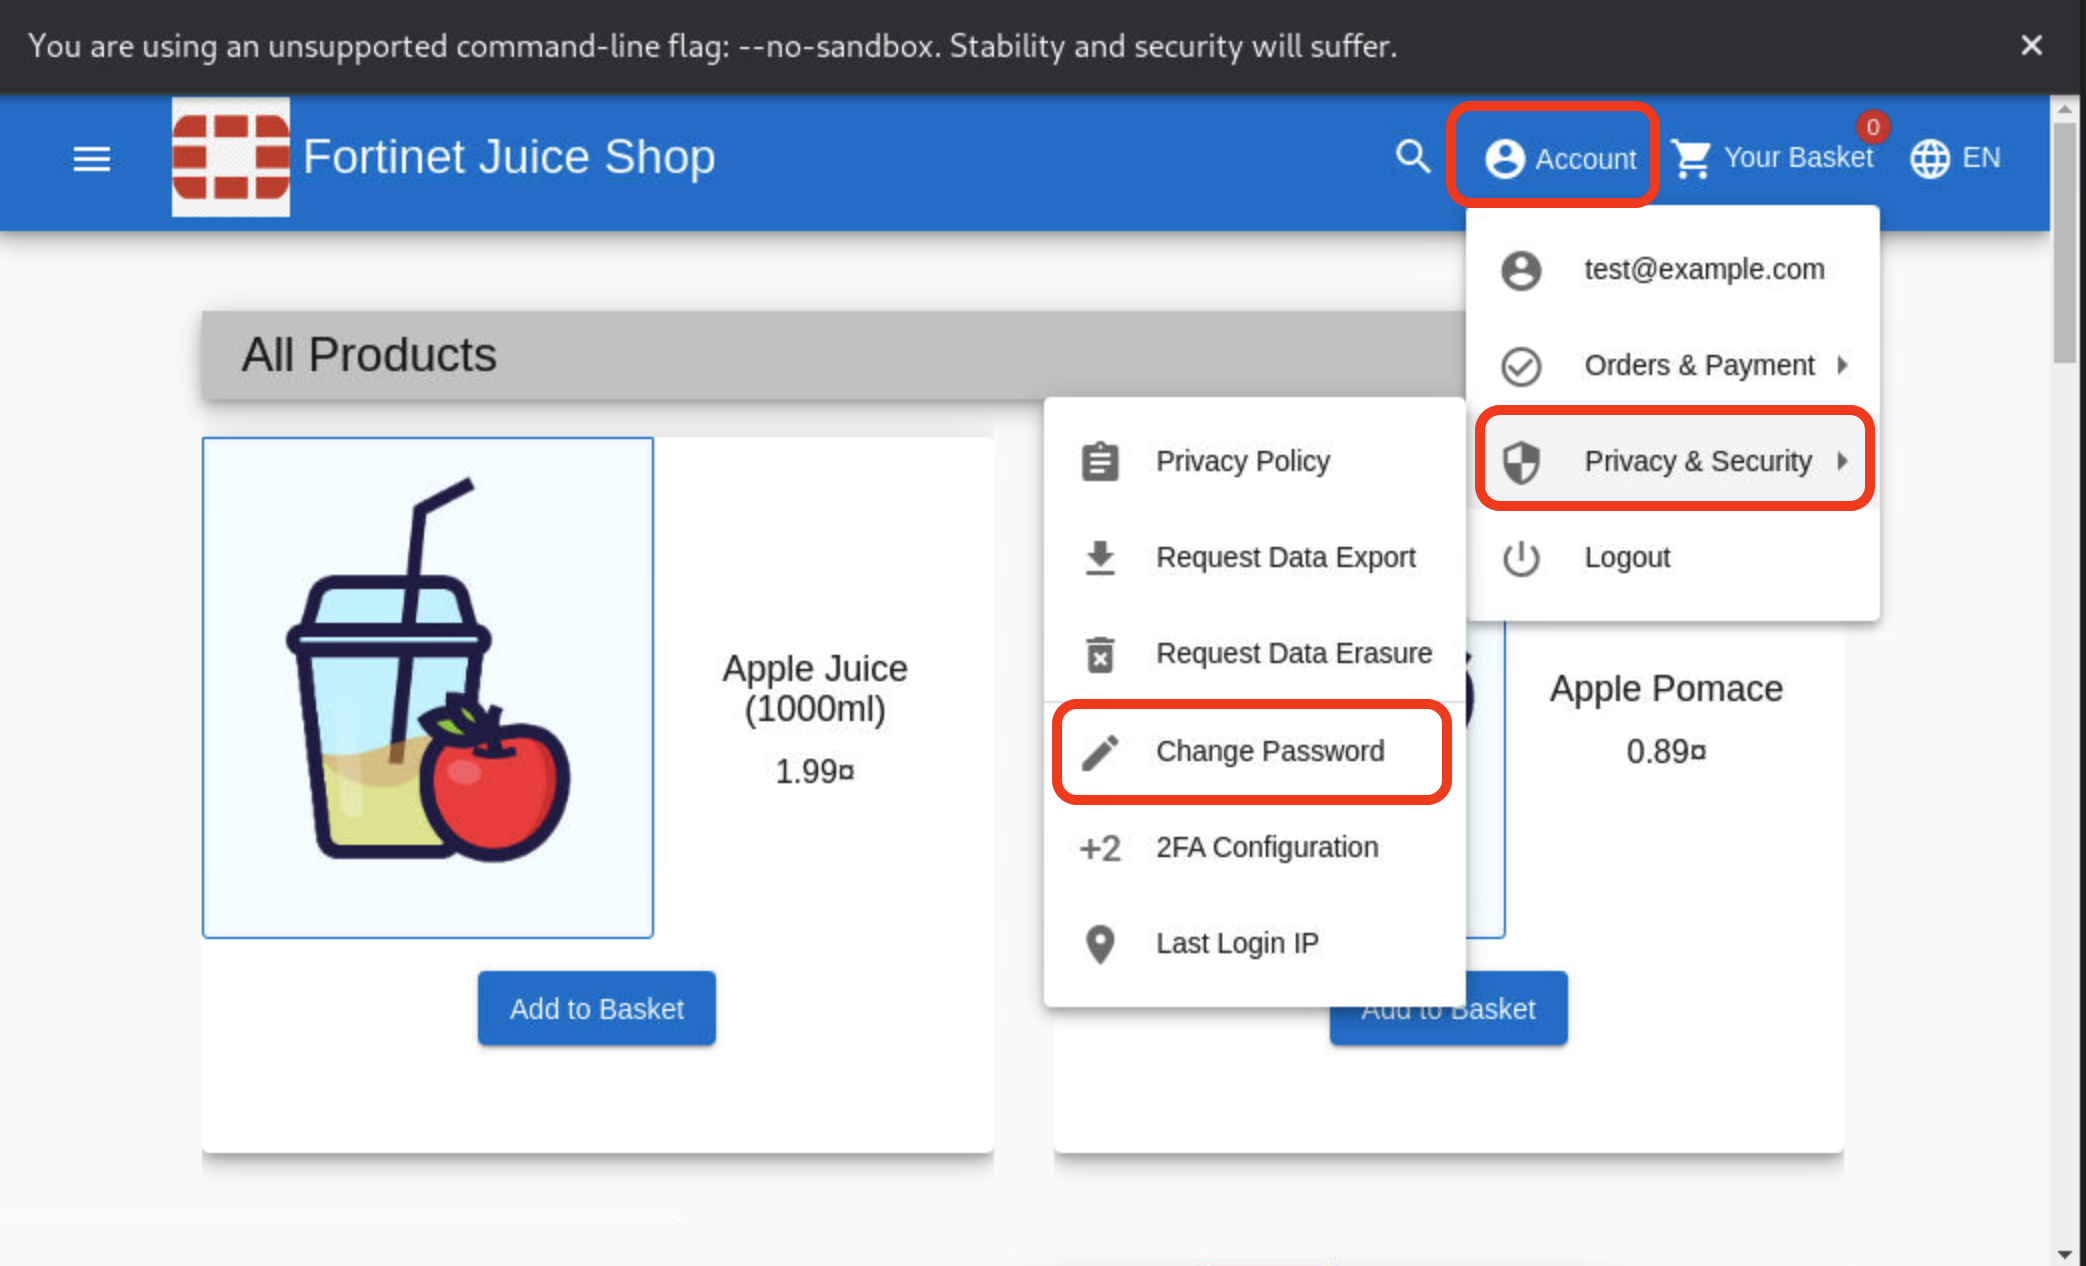
Once logged in clik on Account > Privacy and Security > Change Password.
Current password:
test1234$New Password:
password1234$Repeat New Password:
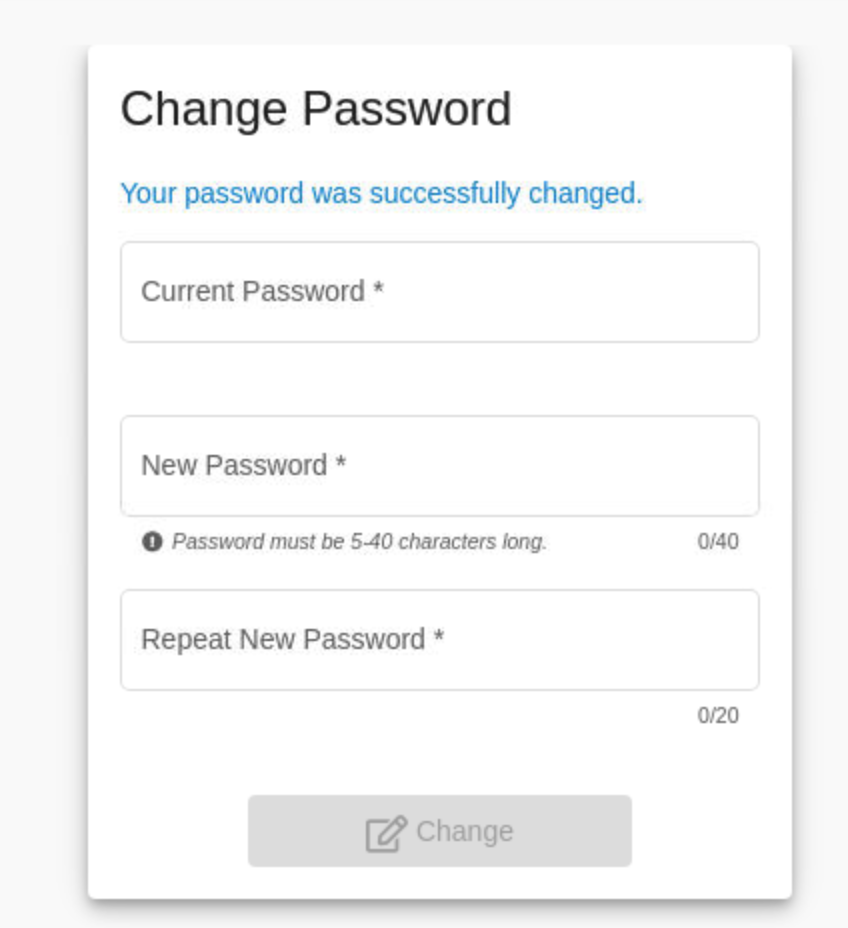
password1234$Click Change
Once changed we can see your password was successfully changed dialog.
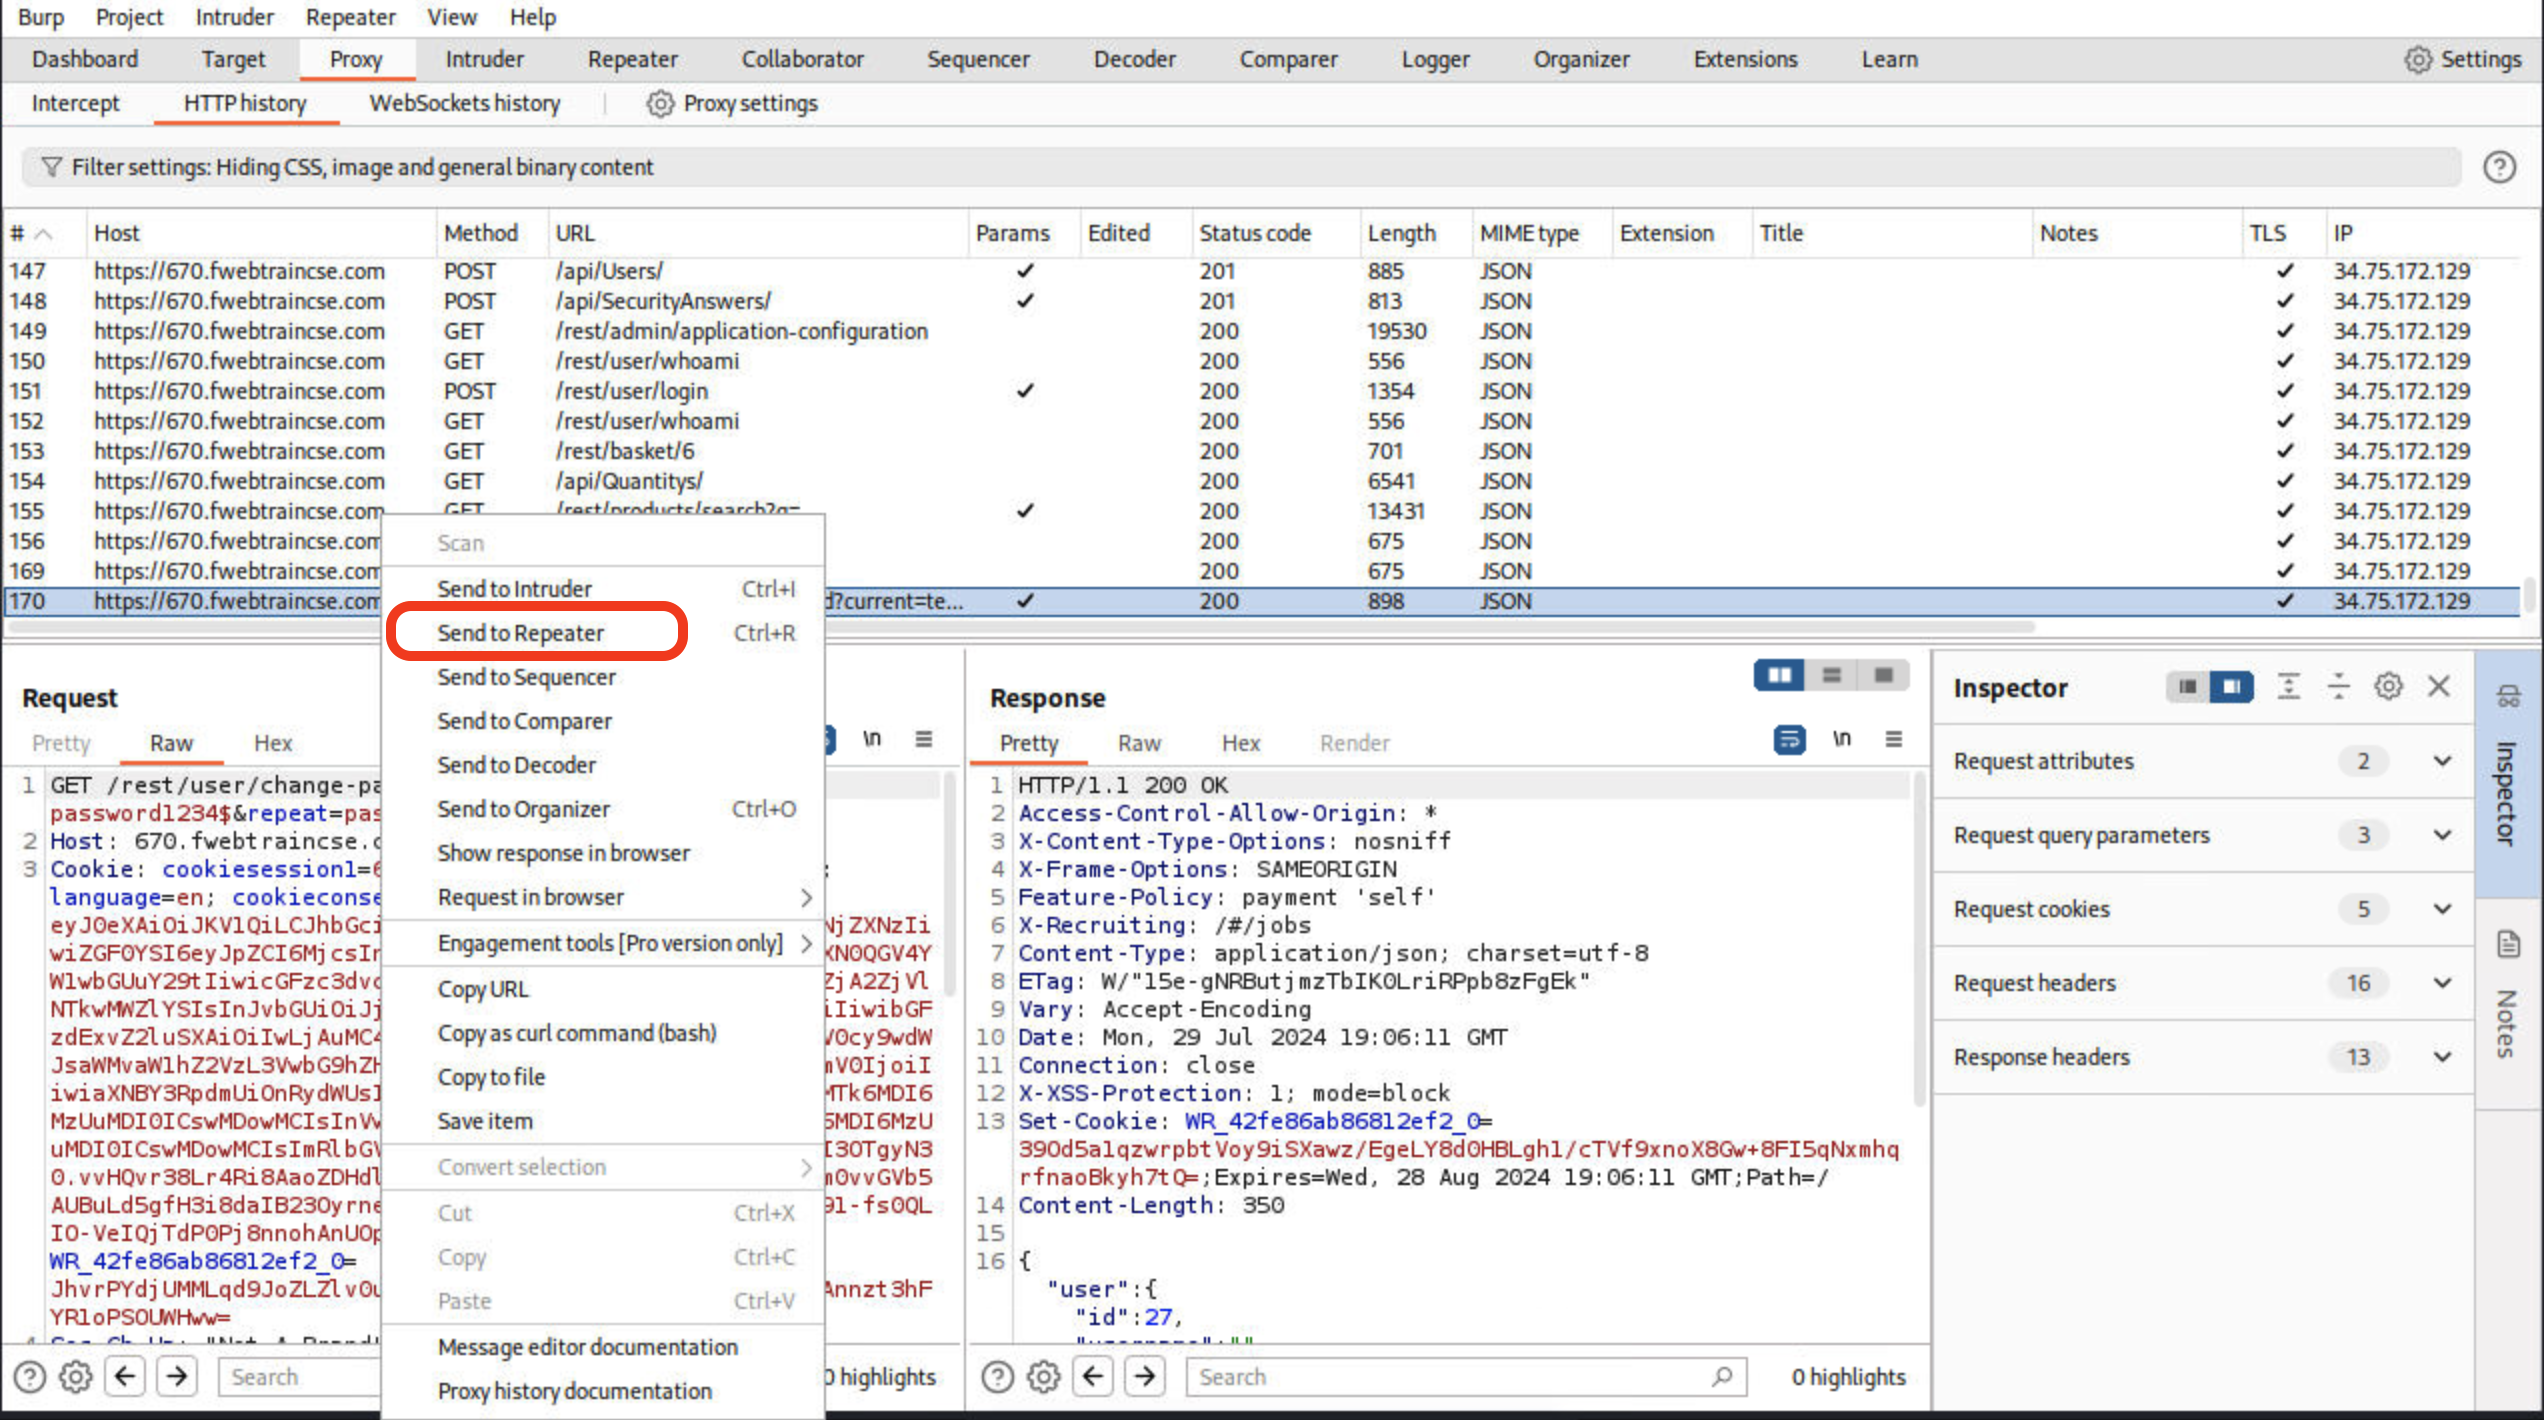
Go back to Burpsuite > Proxy > HTTP History and Scroll down to the end to see the last HTTP call made which is the /rest/user/change-password. Right-click on the change-password GET call and select send to repeater.
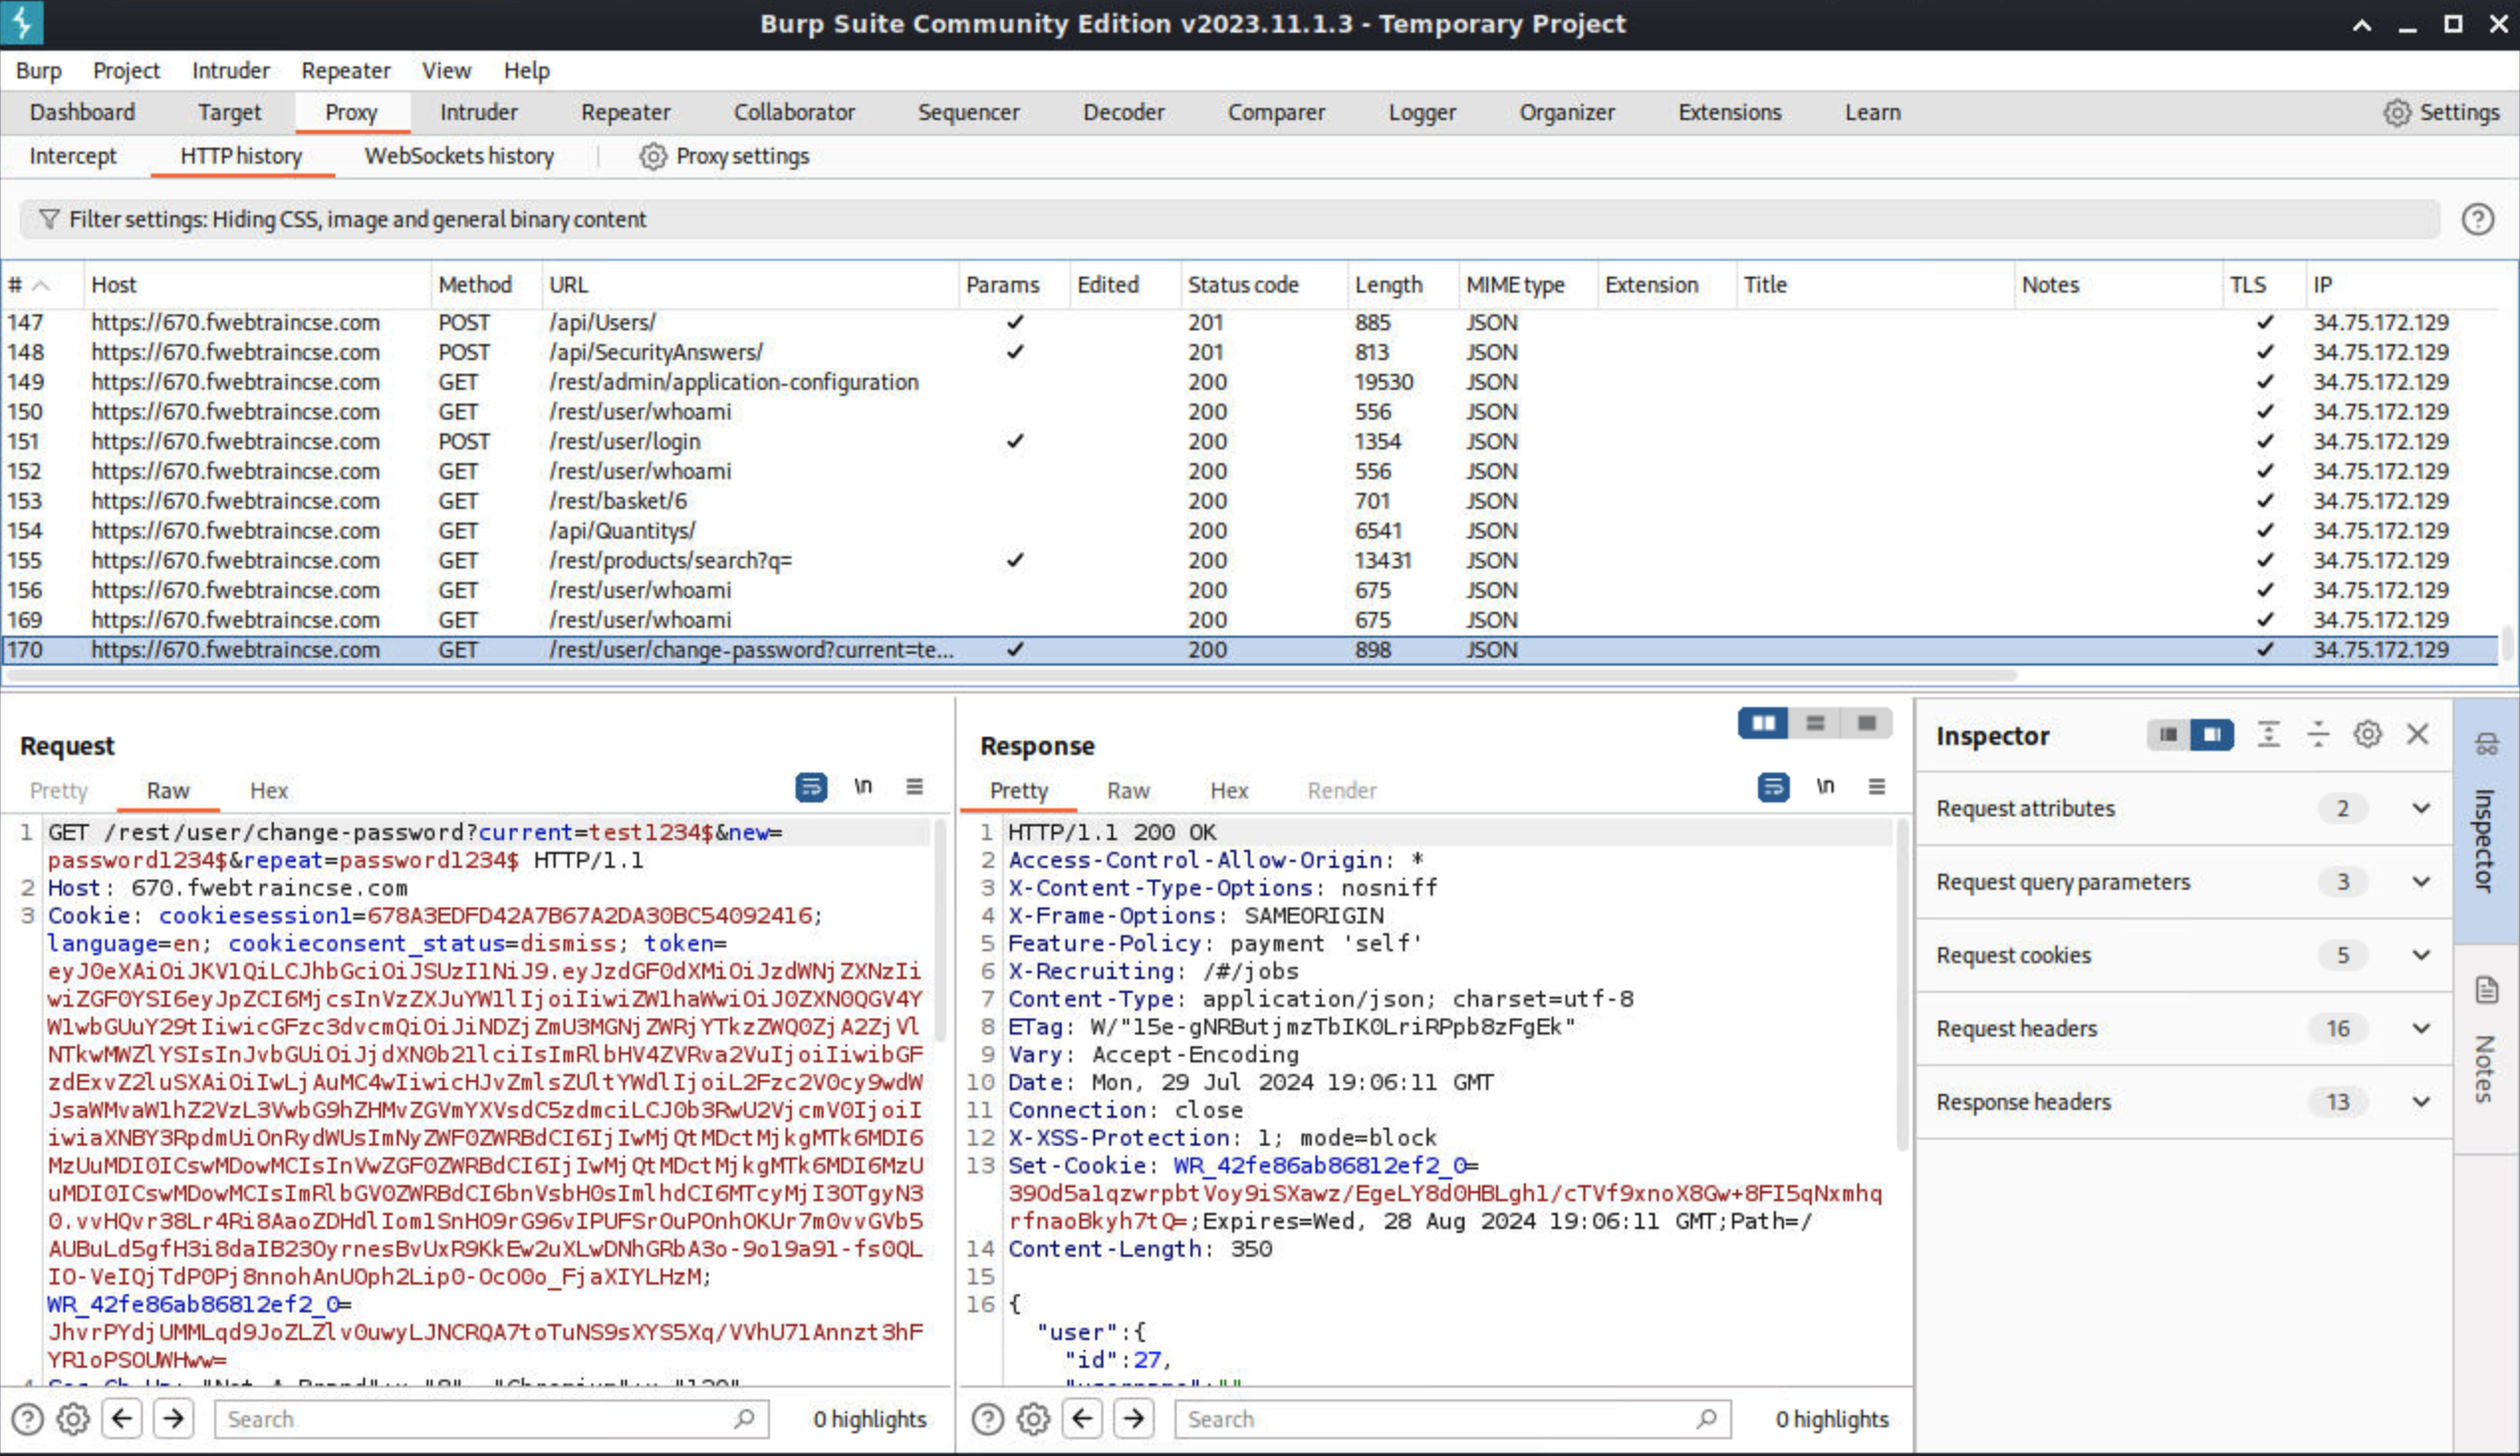
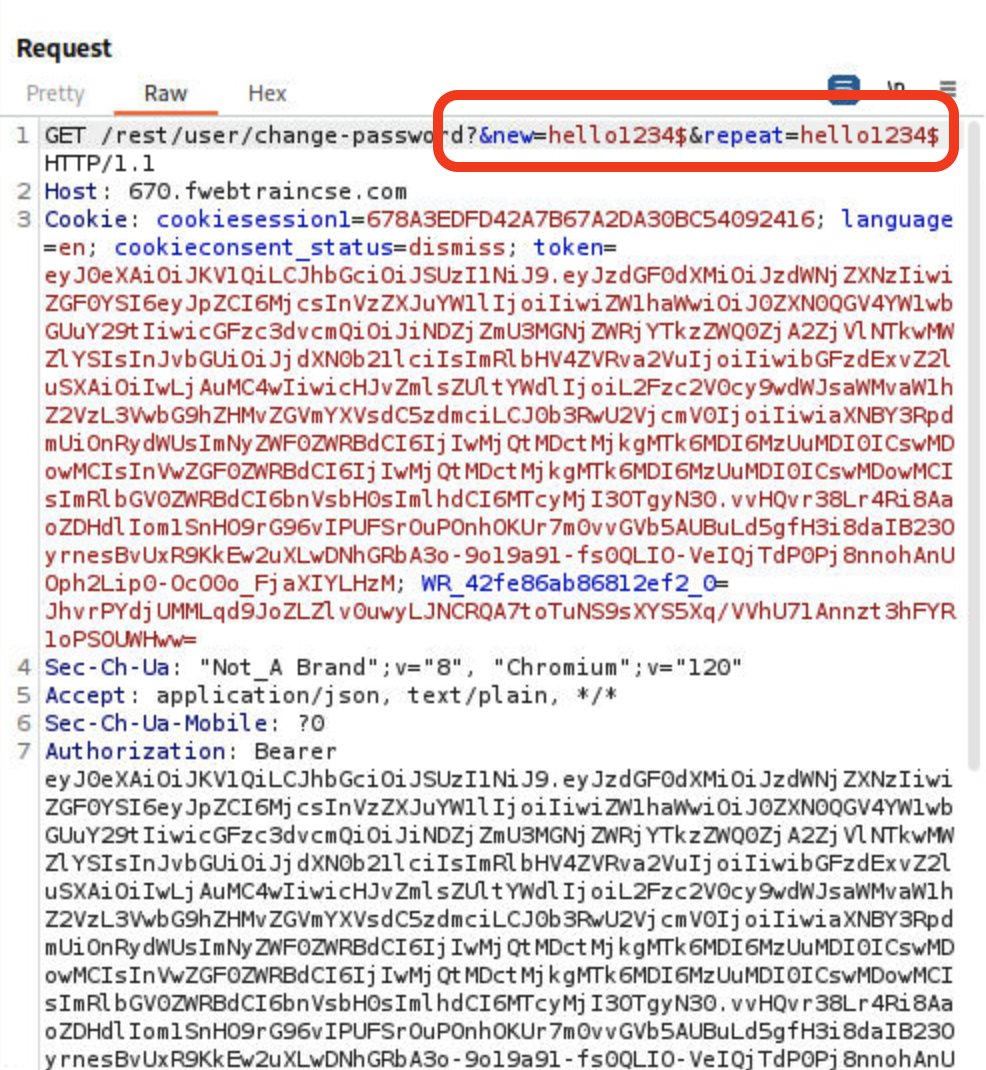
Click on the Repeater tab to see the change password request. The Raw request shows the current password and new password we updated.

Execute a Cross Site Request Forgery password change attack!
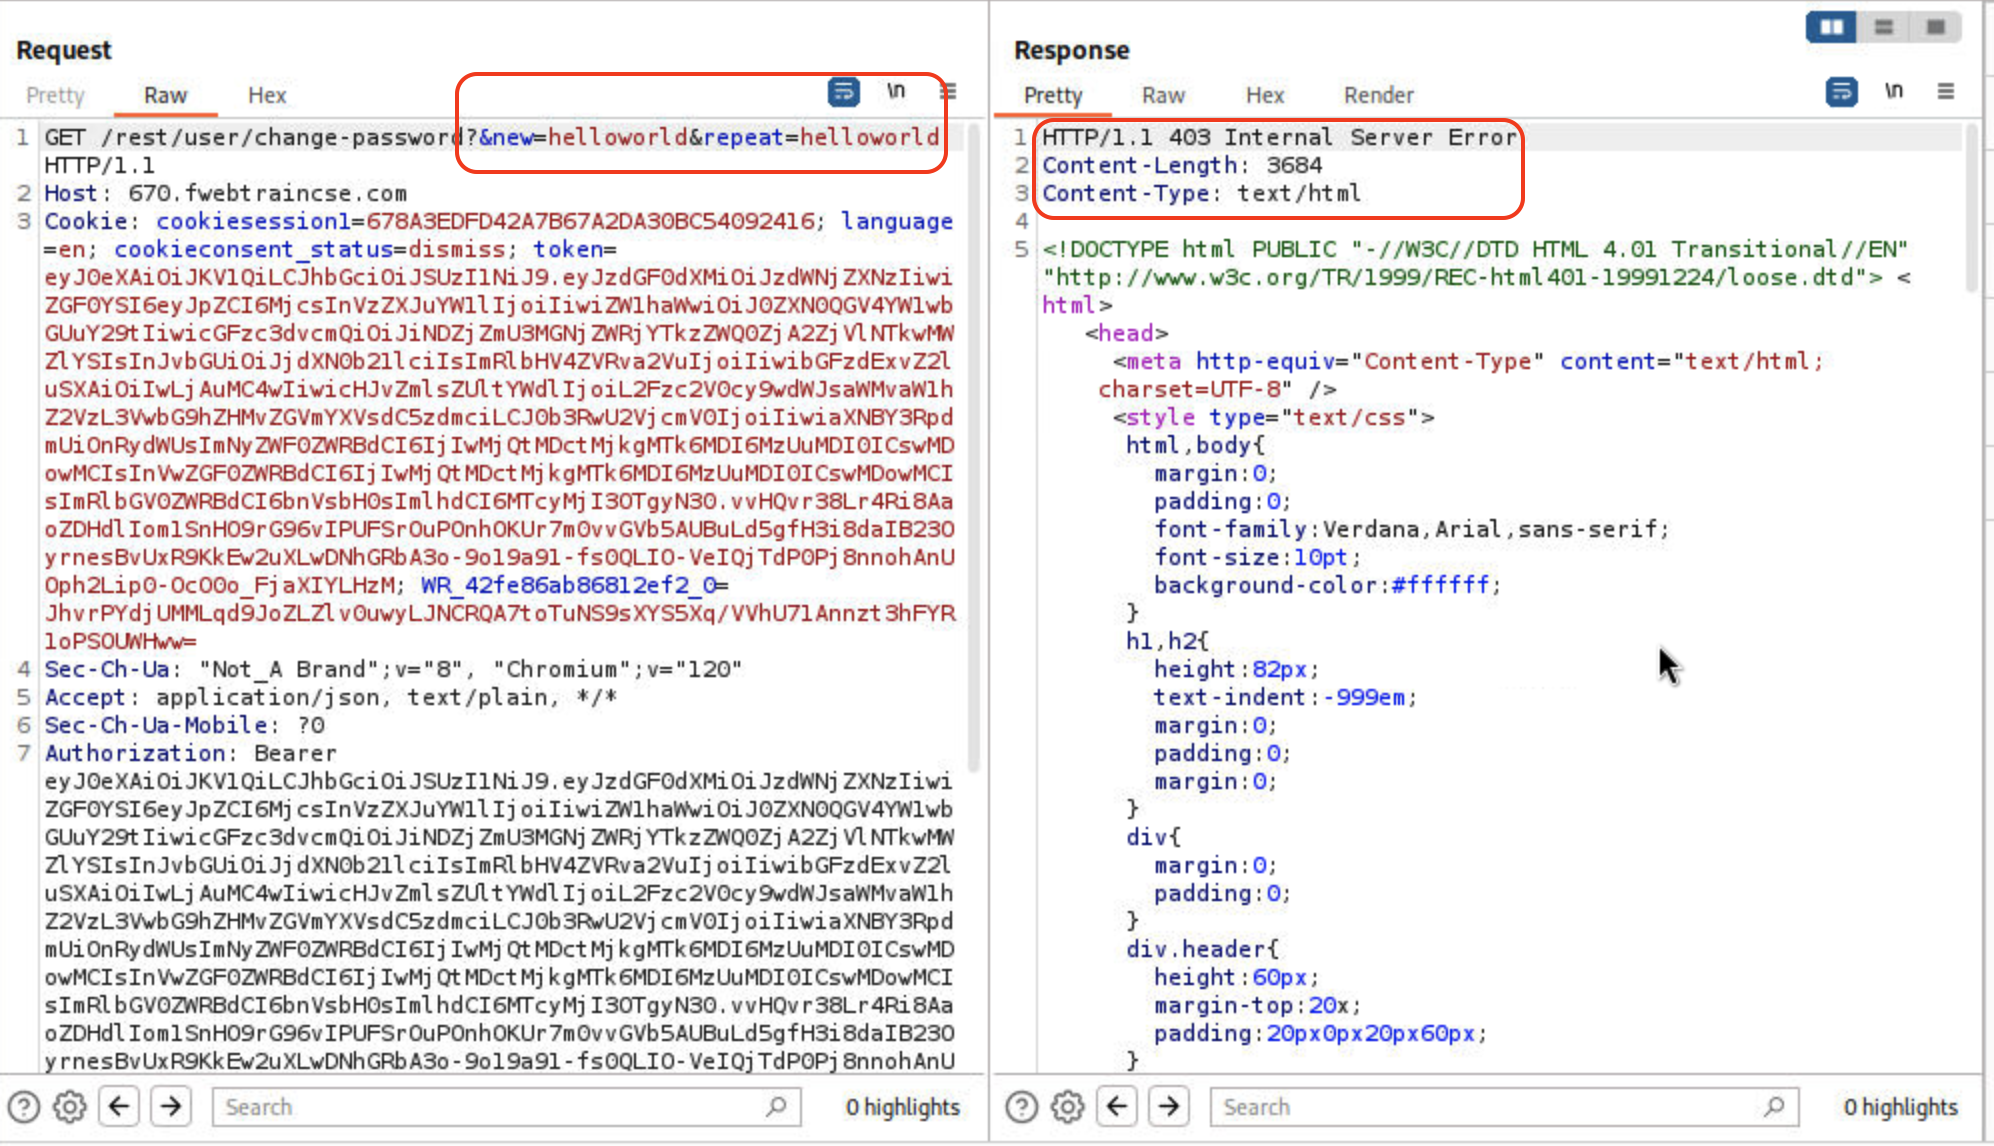
- Remove the current password field from the request
- Update the request to reflect only new and repeat password using:
hello1234$ - Your request should look like below:
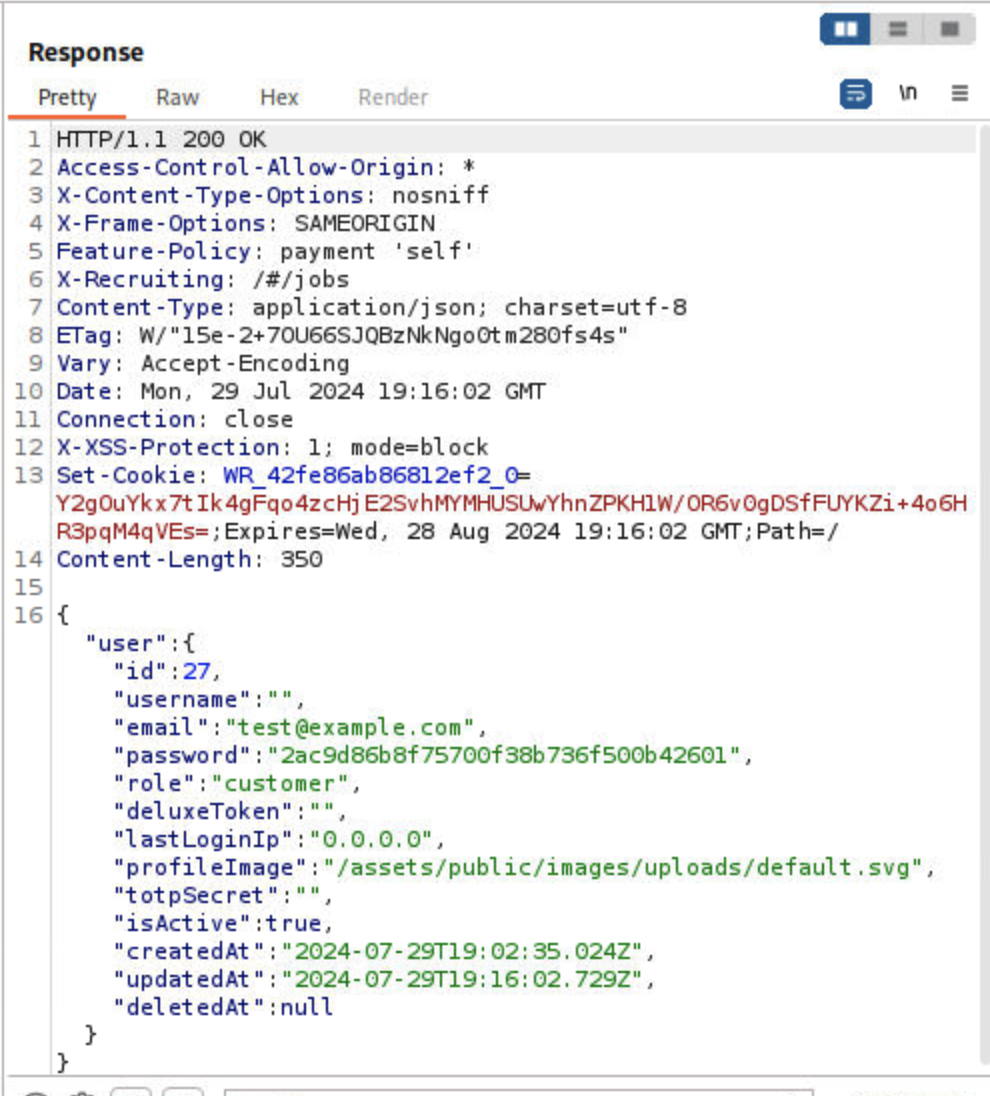
- Click Send after the request is updated.
Response is a 200 OK meaning that call is successful.
Verify by going back to juiceshop, account login. Logout if already logged in.
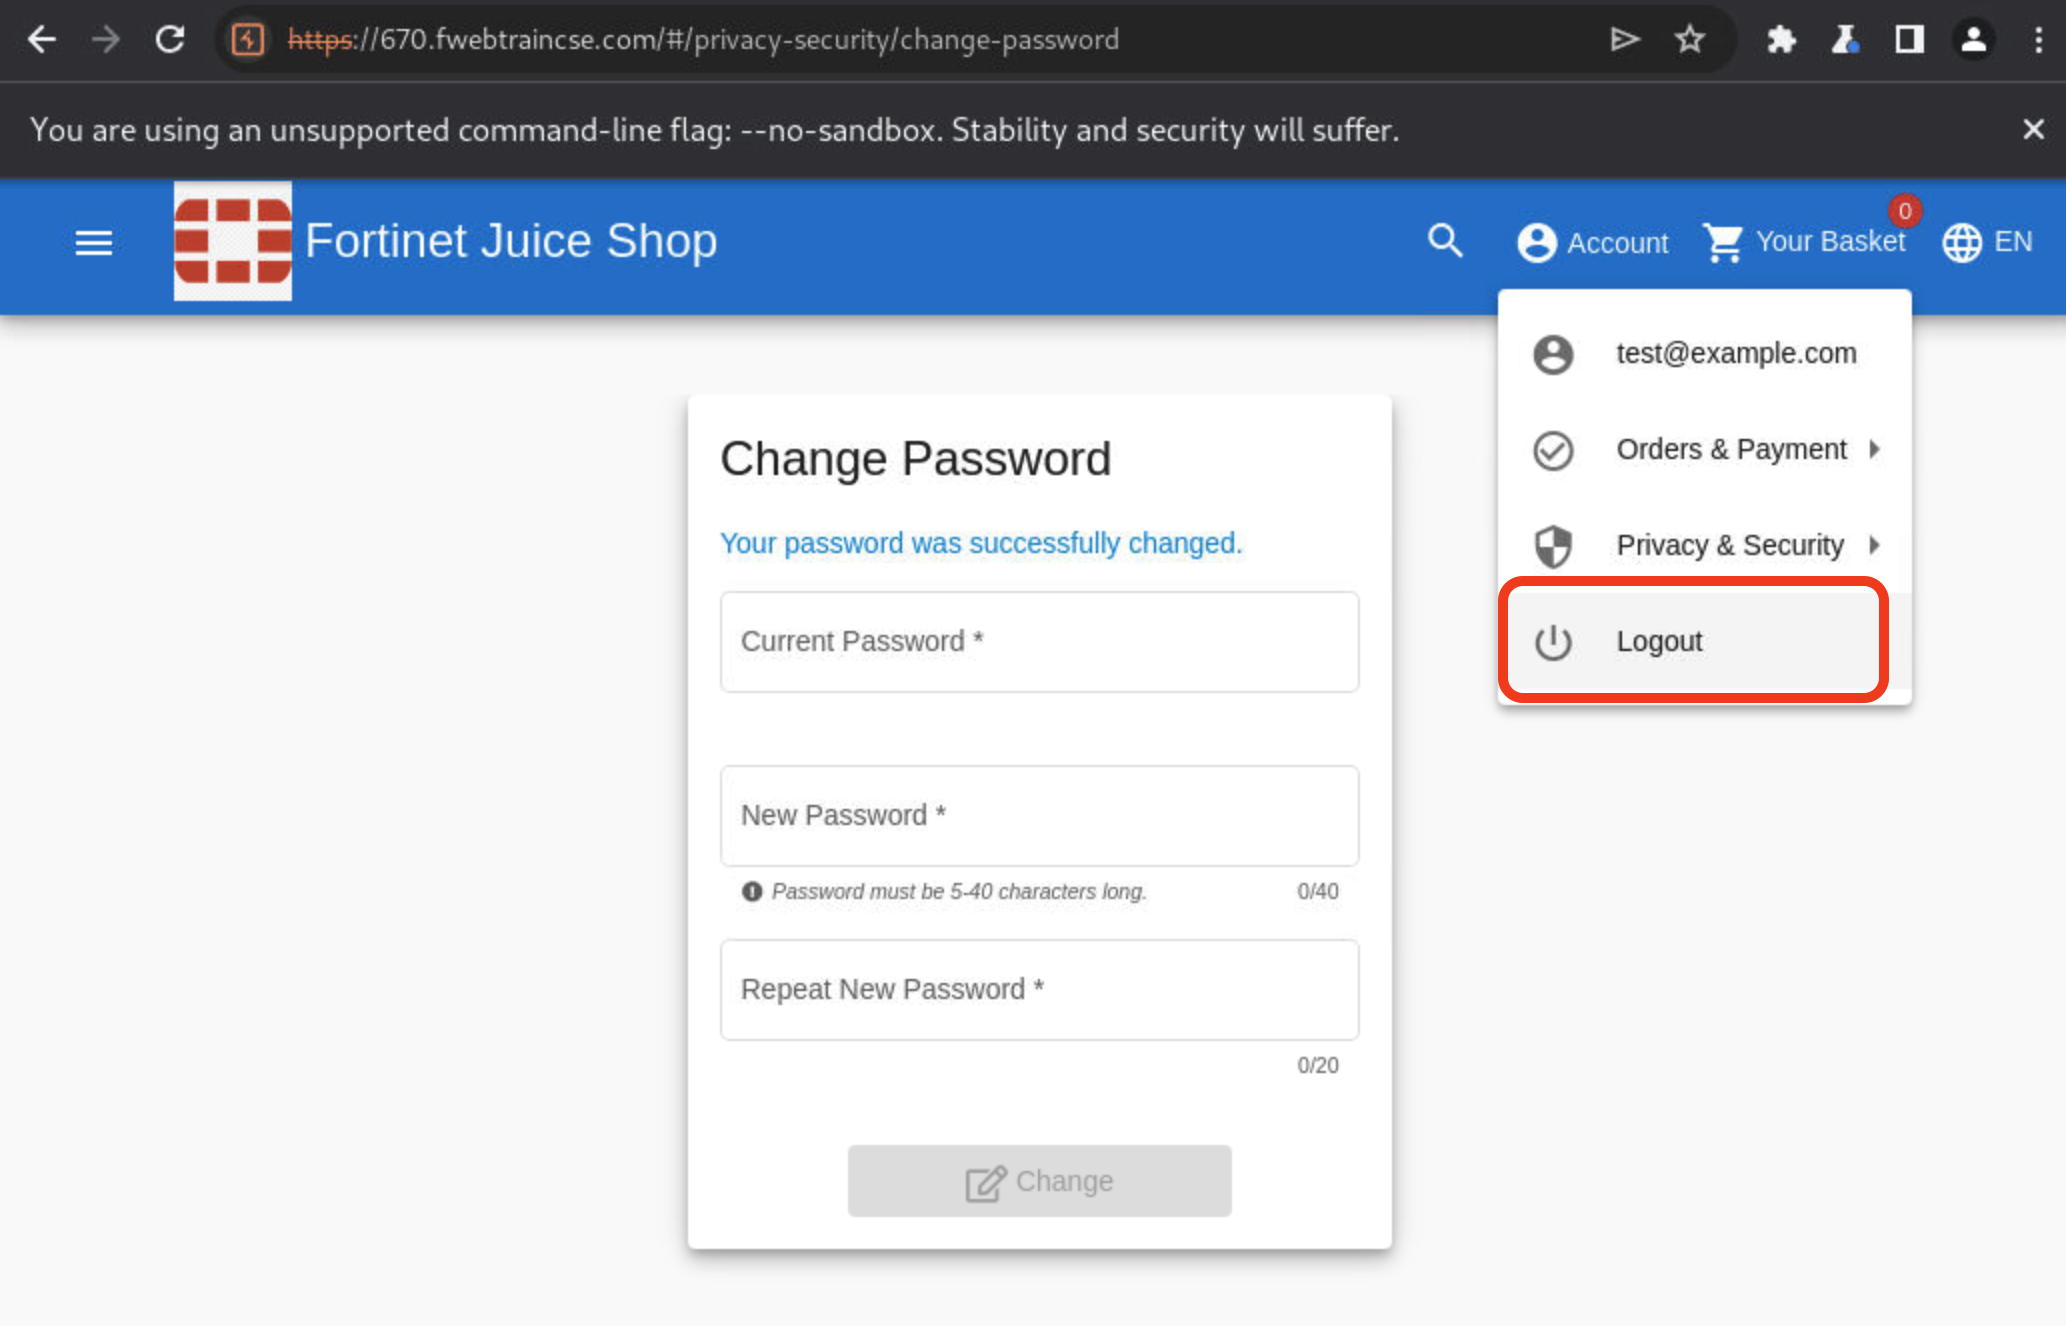
Account > login
- email:
test@example.com - password:
hello1234$ - Click Log In
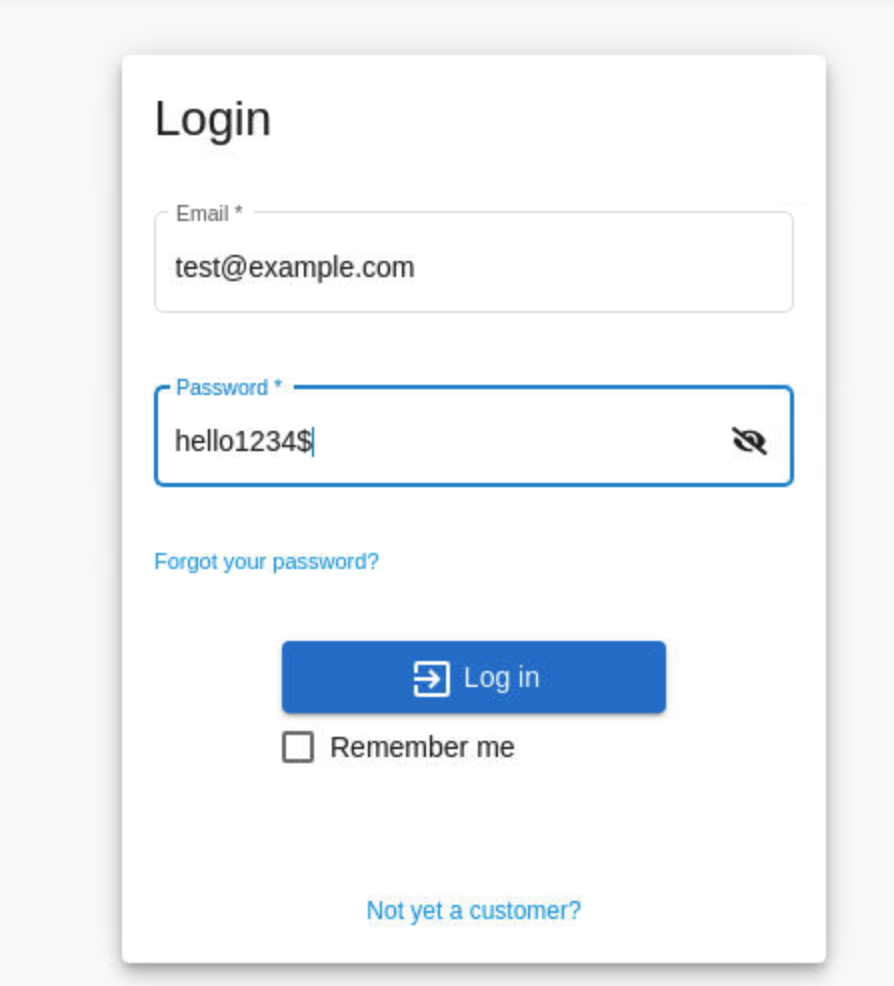
As we can see with successfully login using the new credentials, our CSRF attack was successful!
- email:
Now login to FortiAppSec Cloud
- Be sure to click on your allocated application.
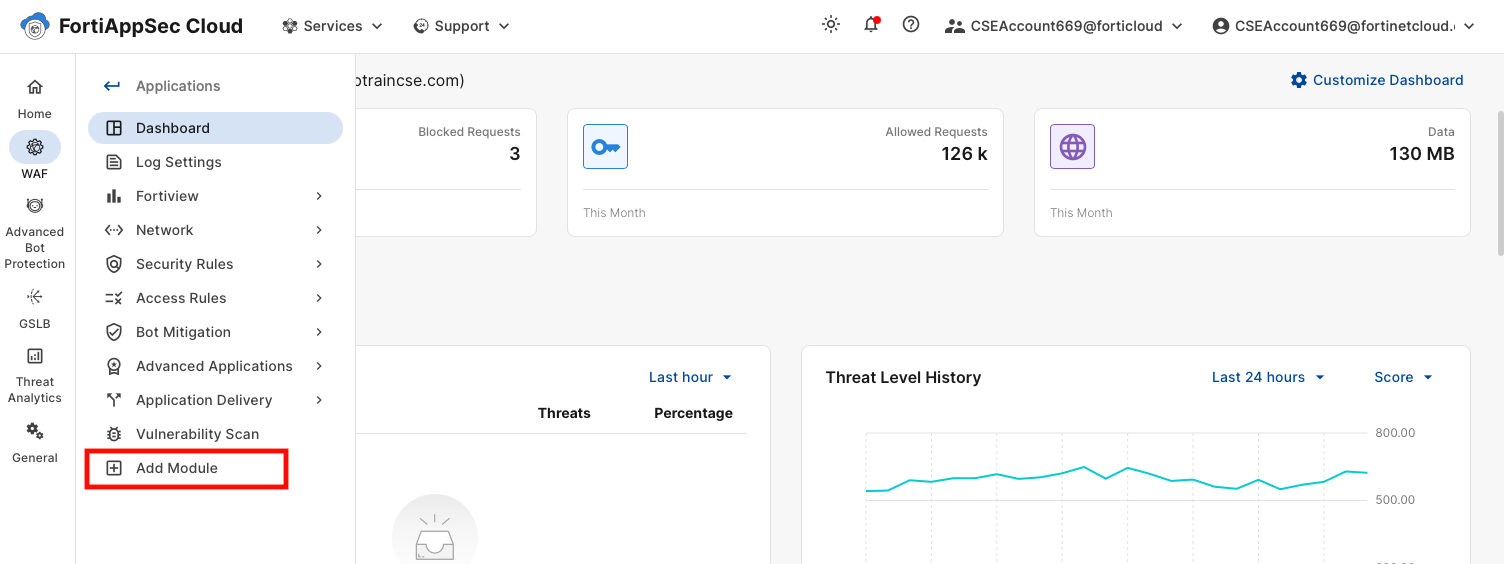
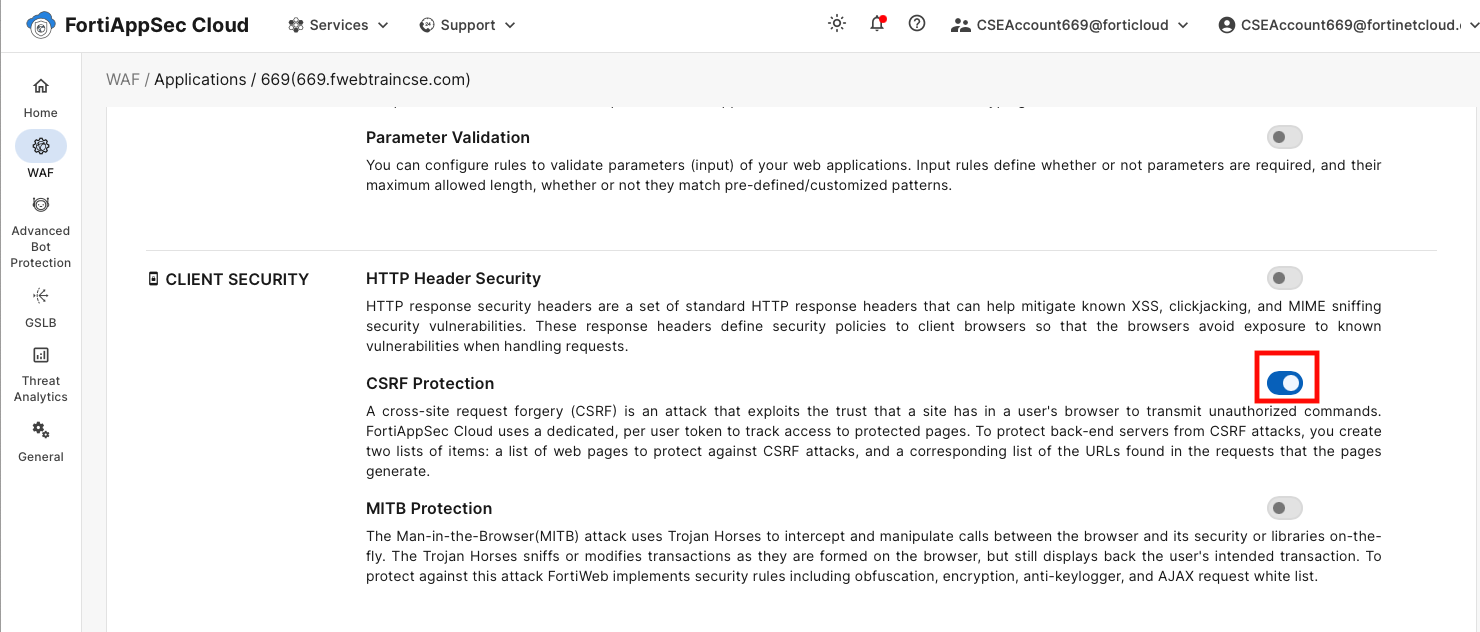
Scroll down to Waf -> Add modules at the bottom. Add CSRF protection under Client Security Module and click OK
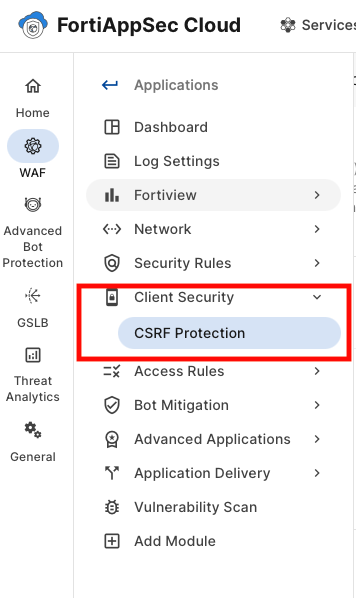
In the Application View > WAF > Client Security > Click on CSRF Protection.
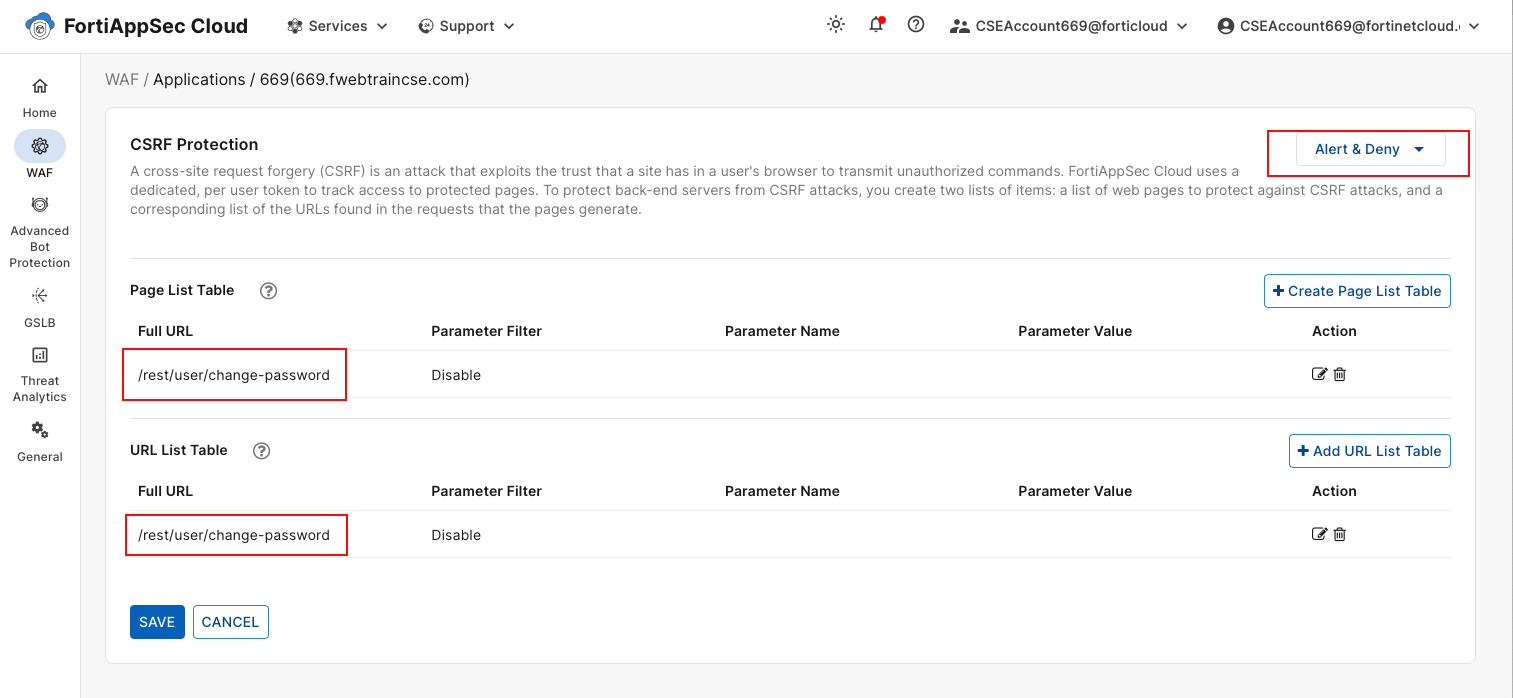
- On both Page List Table AND URL List Table, Add the URL
/rest/user/change-password - Update the Action to Alert and Deny and click Save. the Module takes ~3 minutes to be in effect.
- On both Page List Table AND URL List Table, Add the URL
Once done, repeat the attack again with Password of your choice, and you should see a block message.
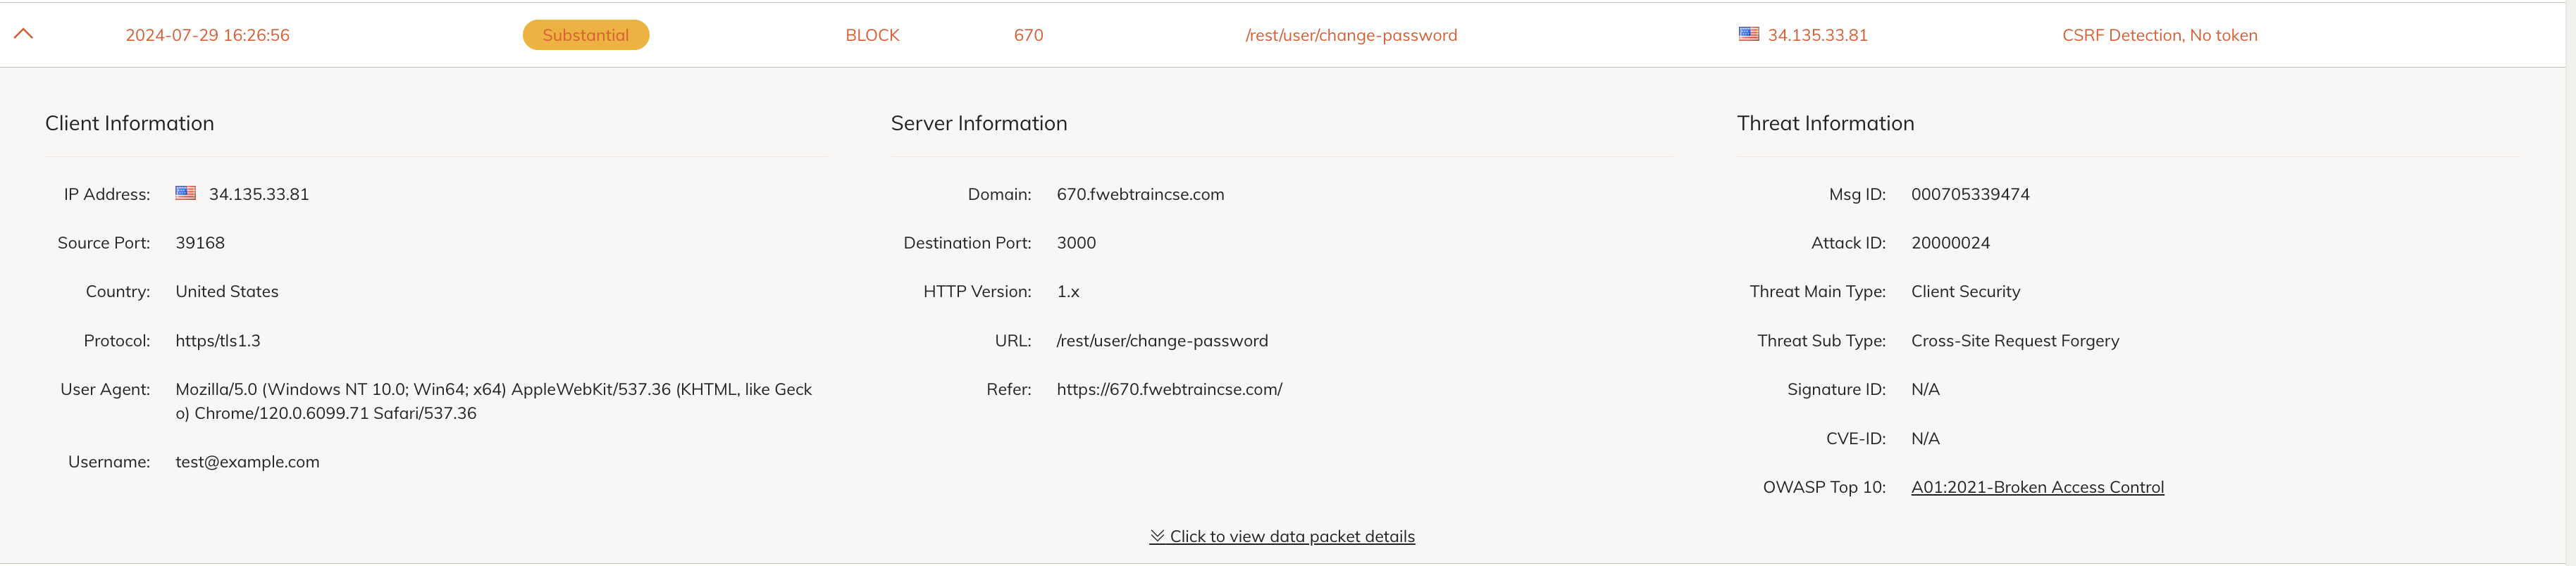
On FortiAppSec cloud, Threat Analytics > Attack Logs > There is a CSRF attack log.