Task 1 - Log into GCP
| Goal | Connect to GCP Console |
| Task | Open GCP Console in Incognito browser window |
| Verify task completion | You should see the resources configured in the lab environment |
Open Console
When your lab is fully provisioned, you will seee a list of student resources on the left panel. This screen should be left up for the duration of the lab. If you close it by accident, you can re-open it by clicking on the lab session again See “CH1: Setup”. It is probably a good idea to copy and paste these values into your text editor for safe keeping.
- Right lick on Open Console and choose Open Link in Incognito Window
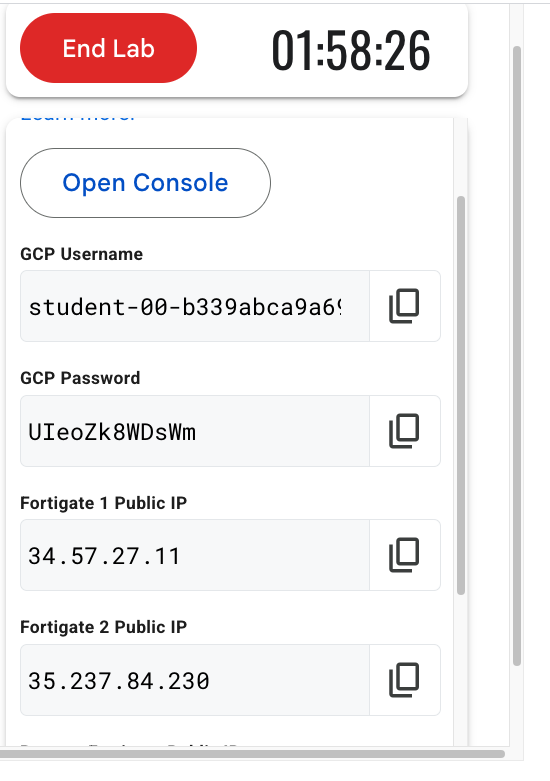
- This should populate your GCP student username into the “Email or phone” block. If not, return to the student resources pane and copy the GCP username and paste it in.
- Click Next
- Copy the GCP password from the student resources pane and paste it into the “Enter your password” section.
- Click Next
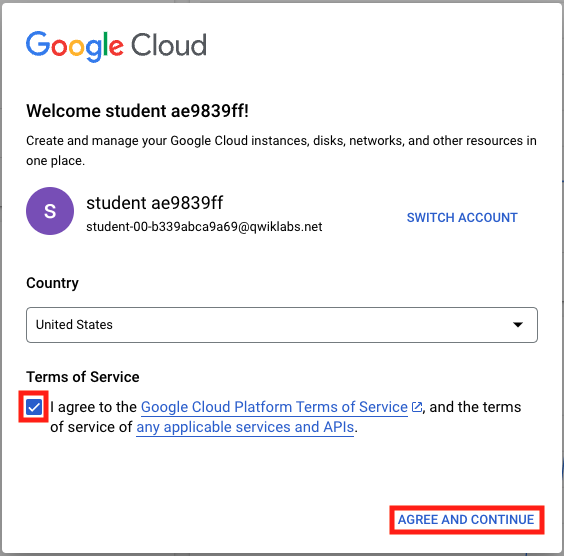
- Click I understand on the Welcome page.
- This will take you to the Console Dashboard, but you have to agree to the terms of service by clicking the box and then clicking AGREE AND CONTINUE
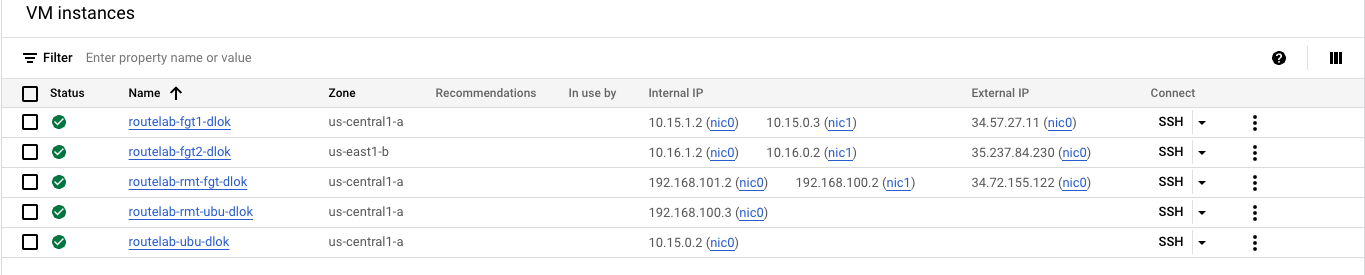
View VM Instances
Now we will look at the VMs resulting from the initial bootstrap of the environment.
- On the left side of the console, click Compute Engine > VM instances
- You should see a list of 5 instances. The names all start with routelab and end with random generated letters. There are Three FortiGates listed. The first two “fgt1” and fgt2 are in the central and east GCP regions, respectively. These are the devices that will become Network Connectivity Center (NCC) Spokes. The remote fortigate “rmt-fgt” will emulate our remote site. All of these have External (public) IP addresses assigned. Confirm that these addresses match with the ones provided in the student resources pane.