Task 3 - Get Familiar with cFOS
In this chapter, we will:
- Clone the scripts from GitHub
- Create a cFOS image pull Secret
- Create a cFOS license ConfigMap
- Deploy cFOS using a Deployment
- Config cFOS with cli command
If you are not familiar with Kubernetes Secrets and ConfigMaps, refer to ConfigMap and Secret in cFOS for more details.
When deploying cFOS, concepts such as Role and ClusterRole will be required. To better understand RBAC, Role, and ClusterRole, refer to K8s Role and RoleBinding
For more information about cFOS, check the cFOS overview and cFOS role in K8s.
Create namespae
cfosnamespace="cfostest"
kubectl create namespace $cfosnamespace
Create Image Pull Secret for Kubernetes
Use the script below to create a Kubernetes secret for pulling the cFOS image from Azure Container Registry (ACR). You will need an access token from ACR to create the secret.
Tip
If you have your own cFOS image hosted on another registry, you can use that. Just ensure that the secret is named “cfosimagepullsecret”.
Create cFOS configmap license
cFOS requires a license to be functional. Once your license is activated, download the license file and then upload it to Azure Cloud Shell.
Important: Do not change or modify the license file.
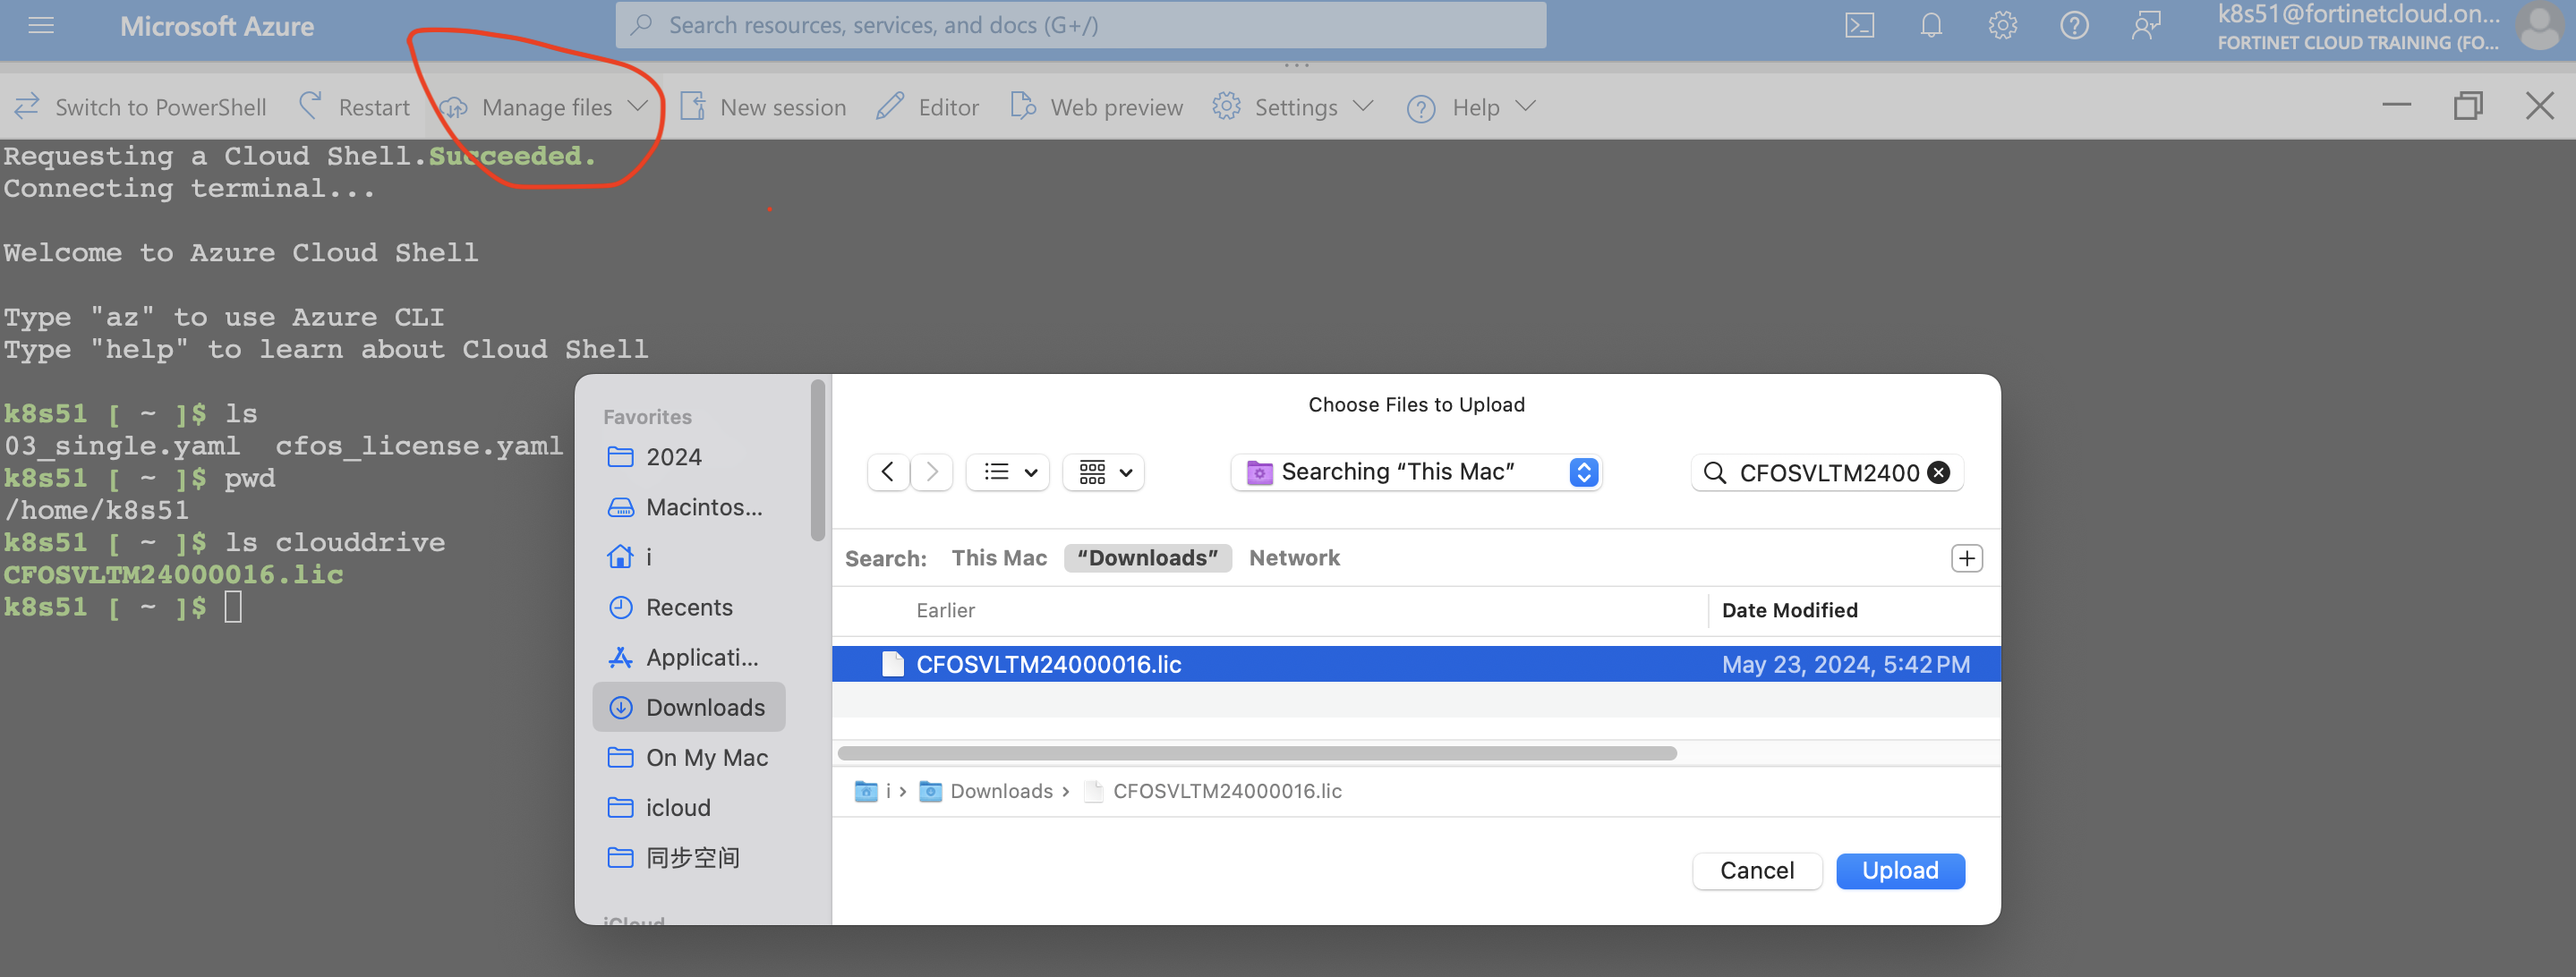
- After upload, your .lic license file will be located in $HOME
- replace your .lic license file name in the script below to create a ConfigMap for the cFOS license
- Once the cFOS container boots up, it will automatically retrieve the ConfigMap to apply the license.
Paste your license filename to use it in configmap
read -p "Paste your cFOS License Filename:|  " licFilename
echo $
cd $HOME
cfoslicfilename=$licFilename
[ ! -f $cfoslicfilename ] && read -p "Input your cfos license file name :| " cfoslicfilename
$scriptDir/k8s-201-workshop/scripts/cfos/generatecfoslicensefromvmlicense.sh $cfoslicfilename
kubectl apply -f cfos_license.yaml -n $cfosnamespaceTip
You should see the following result:
cfos_license.yaml created.
configmap/fos-license createdcheck license configmap
Use following command to check whether license is correct
kubectl get cm fos-license -o yaml -n $cfosnamespacediff -s -b <(k get cm fos-license -n $cfosnamespace -o jsonpath='{.data}' | jq -r .license | sed '${/^$/d}' ) $cfoslicfilenameFiles /dev/fd/63 and CFOSVLTMxxxxxx.lic are identicalBring up cFOS
Enter the following YAML manifest to deploy a cFOS Deployment. This deployment includes annotations to work around the cFOS mount permission issue. It also features an initContainers section to ensure cFOS gets DNS configuration from Kubernetes. The number of replicas is set to 1.
- The file
Task1_1_create_cfos_serviceaccount.yamlincludes a ServiceAccount configured with the necessary permissions to read ConfigMaps and Secrets from Kubernetes. This setup involves Kubernetes RBAC (Role-Based Access Control), which includes creating a Role and a Role Binding. For more details, refer to K8S RBAC. - The field “securityContext” has linux priviledge defined for cFOS container. check K8s Security for more detail.
- The field “volumes” about how to create storage for cFOS,the example below cFOS will not persist the data into storage.
kubectl create namespace $cfosnamespace
kubectl apply -f $scriptDir/k8s-201-workshop/scripts/cfos/Task1_1_create_cfos_serviceaccount.yaml  -n $cfosnamespace

k8sdnsip=$(k get svc kube-dns -n kube-system -o jsonpath='{.spec.clusterIP}')
cat << EOF | tee > cfos7210250-deployment.yaml
---
apiVersion: apps/v1
kind: Deployment
metadata:
  name: cfos7210250-deployment
  labels:
    app: cfos
spec:
  replicas: 1
  selector:
    matchLabels:
      app: cfos
  template:
    metadata:
      annotations:
        container.apparmor.security.beta.kubernetes.io/cfos7210250-container: unconfined
      labels:
        app: cfos
    spec:
      initContainers:
      - name: init-myservice
        image: busybox
        command:
        - sh
        - -c
        - |
          echo "nameserver $k8sdnsip" > /mnt/resolv.conf
          echo "search default.svc.cluster.local svc.cluster.local cluster.local" >> /mnt/resolv.conf;
        volumeMounts:
        - name: resolv-conf
          mountPath: /mnt
      serviceAccountName: cfos-serviceaccount
      containers:
      - name: cfos7210250-container
        image: $cfosimage
        securityContext:
          privileged: false
          capabilities:
            add: ["NET_ADMIN","SYS_ADMIN","NET_RAW"]
        ports:
        - containerPort: 443
        volumeMounts:
        - mountPath: /data
          name: data-volume
        - mountPath: /etc/resolv.conf
          name: resolv-conf
          subPath: resolv.conf
      volumes:
      - name: data-volume
        emptyDir: {}
      - name: resolv-conf
        emptyDir: {}
      dnsPolicy: ClusterFirst
EOF
kubectl apply -f cfos7210250-deployment.yaml -n $cfosnamespace
kubectl rollout status deployment cfos7210250-deployment -n $cfosnamespace &
Config cFOS
By default, cFOS does not have an SSH server installed, so you cannot SSH into cFOS for configuration. Instead, you need to use kubectl exec to access the cFOS shell for configuration. Another way to configure cFOS is by using a ConfigMap or the REST API.
For CLI configuration, the cli parser is “/bin/cli”, the default username is “admin” with no password.
To use kubectl exec to access the cFOS shell, you need to know the cFOS pod name first. You can use kubectl get pod -n $cfosnamespace to display the pod name, then use kubectl exec -it po/<cFOS podname> -n cfostest -- /bin/cli to access the cFOS shell:
podname=$(kubectl get pod -n $cfosnamespace -l app=cfos -o jsonpath='{.items[*].metadata.name}')
kubectl exec -it po/$podname -n $cfosnamespace -- /bin/cli- Username admin
- Password:
- Try a command:
diagnose sys license
cFOS # diagnose sys license
Version: cFOS v7.2.1 build0255
Serial-Number:
System time: Fri Jun 28 2024 12:46:41 GMT+0000 (UTC)
Type exit to quit cFOS cli.
- cFOS package update
cFOS can keep updated with FortiGuard services. use below command to trigger package updates for all FortiGuard services.
after login cFOS , at cFOS # prompt, type
execute update-now2024/07/03 02:52:21 everything is up-to-date
2024/07/03 02:52:21 what to do next? stop
2024/07/03 02:52:21 created botnet ip db v7.3756
2024/07/03 02:52:21 DB updates notified!Q&A
- How much CPU/memory does cFOS consume in the cluster?
- How quickly does cFOS become fully functional from the moment it is created?
Cleanup
kubectl delete -f $scriptDir/k8s-201-workshop/scripts/cfos/Task1_1_create_cfos_serviceaccount.yaml  -n $cfosnamespace
kubectl delete namespace $cfosnamespace
do not delete cfosimagepullsecret.yaml and cfos_license.yaml, we will need this later.
What to do Next
if you want learn how to use cFOS for ingress protection , go directly to Chapter 7.
if you want learn how to use cFOS for egress protection , go directly to Chapter 8 and Chapter 9
if you want learn cFOS role in k8s security , check out Chapter 2.
if you want understand more about what is RBAC in k8s, check out Chapter 3 and Chapter4 .
if you want understand more about configmap, secret and how cFOS use configmap and secret, check out Chapter 5.
if you want undertsand what is k8s network and multus in general, check out Chapter 6 and Chapter 8.